3G Alternator Swap
I finally got tired of the dim dash lights and low amperage of the stock alternaor, so I installed a 130 amp 3G alternator.
The five pictures below are courtesay of Ryan (Fireguy50 on FSB) of RJM Injection and Ford Fuel Injection.
Basic schematic of old charging system.
More detailed schematic of old charging system.
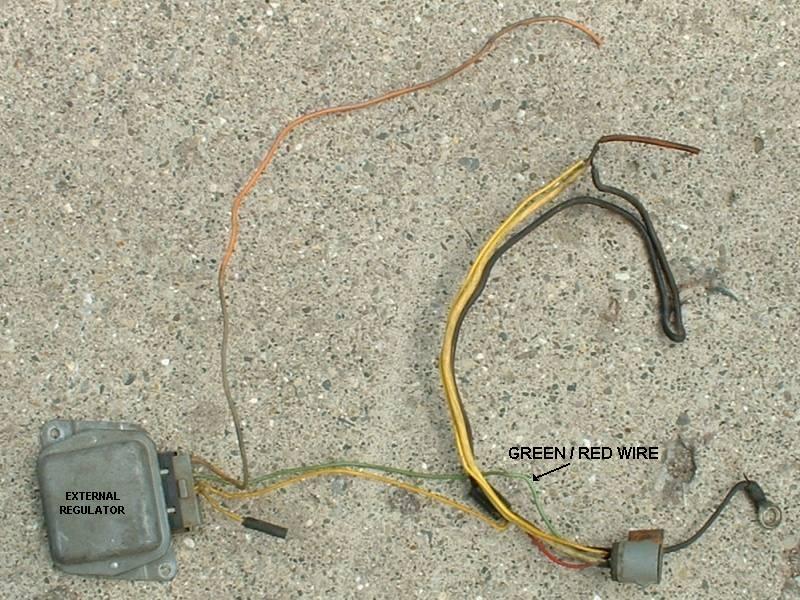
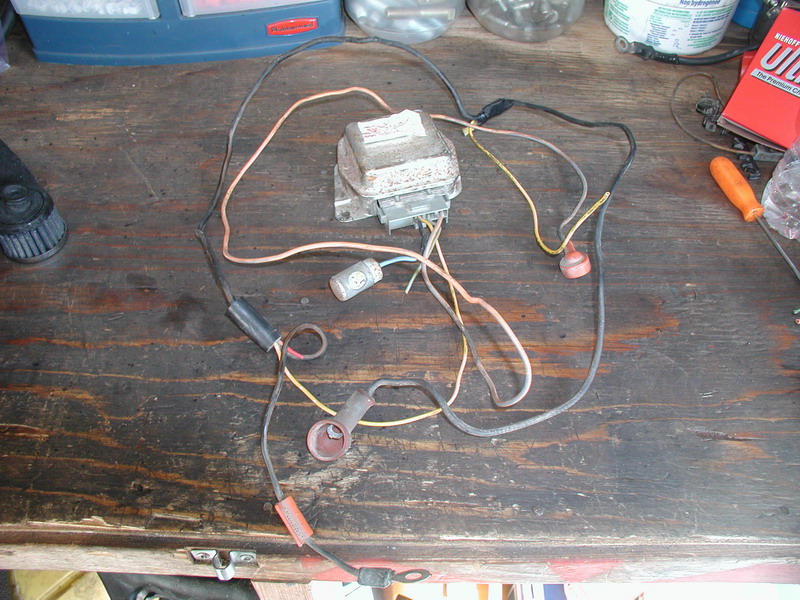
Sample of old wires that need to be removed.
Basic schematic of new charging system.
More detailed schematic of new charging system,
showing how to integrate with the old wiring..

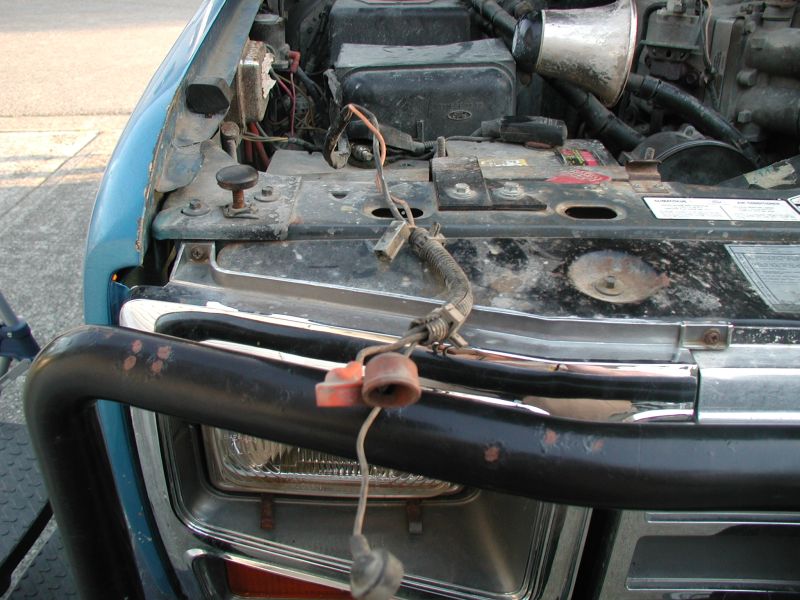
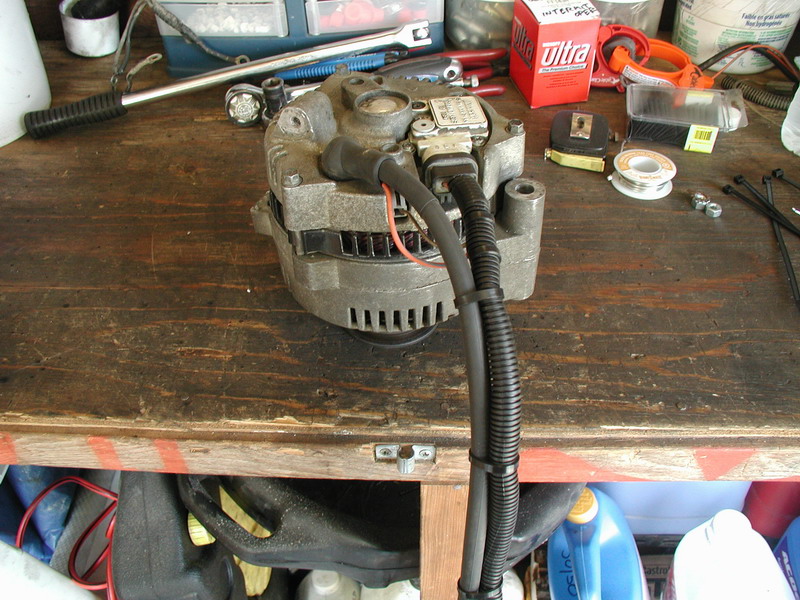
Remove the old alternator.

Disconnect the old wiring.
Remove the original tape to expose all the wires.
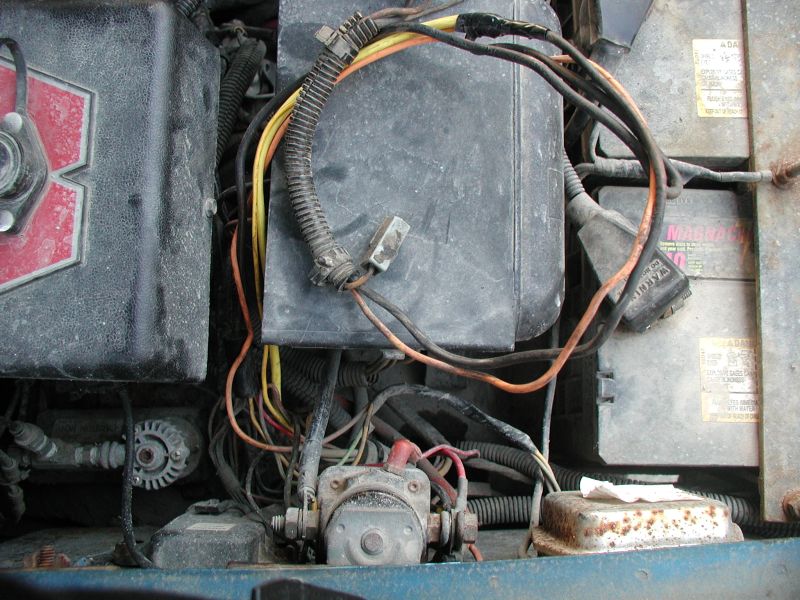
Remove all this wiring, along with the voltage regulator.
What is left of the original harness.
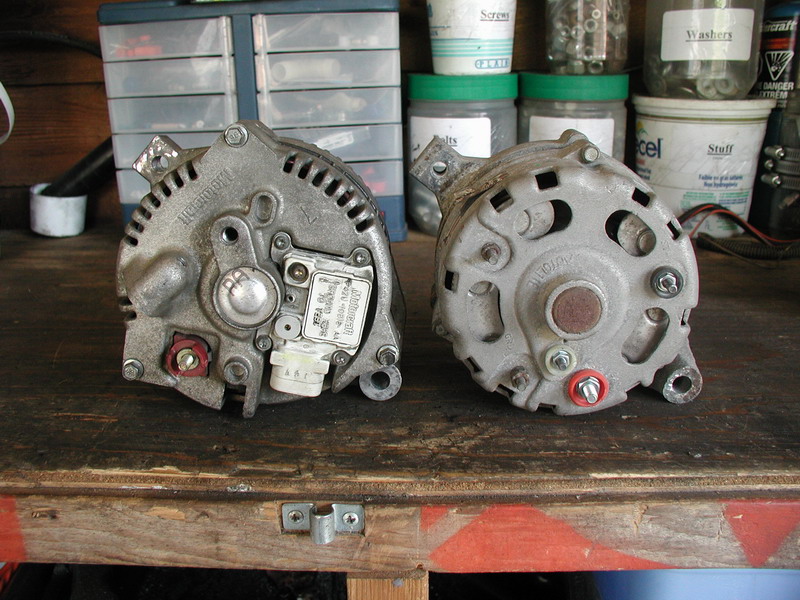
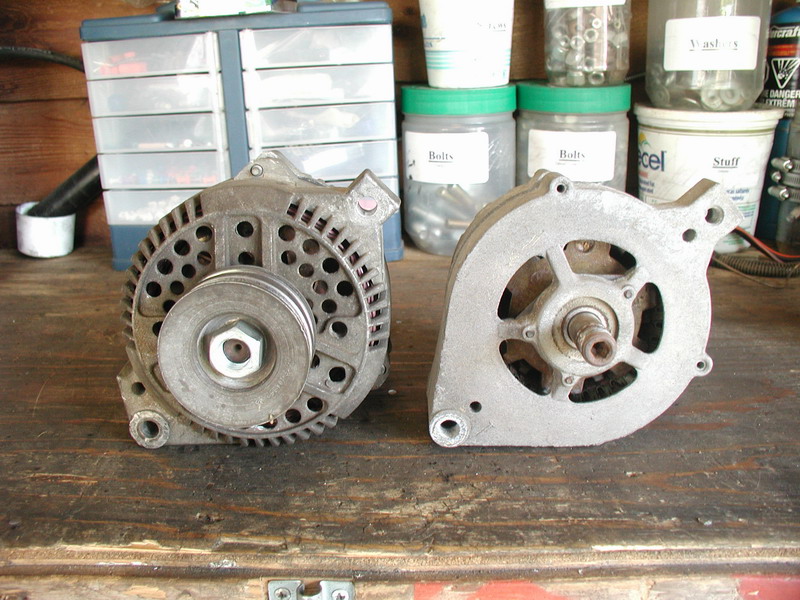
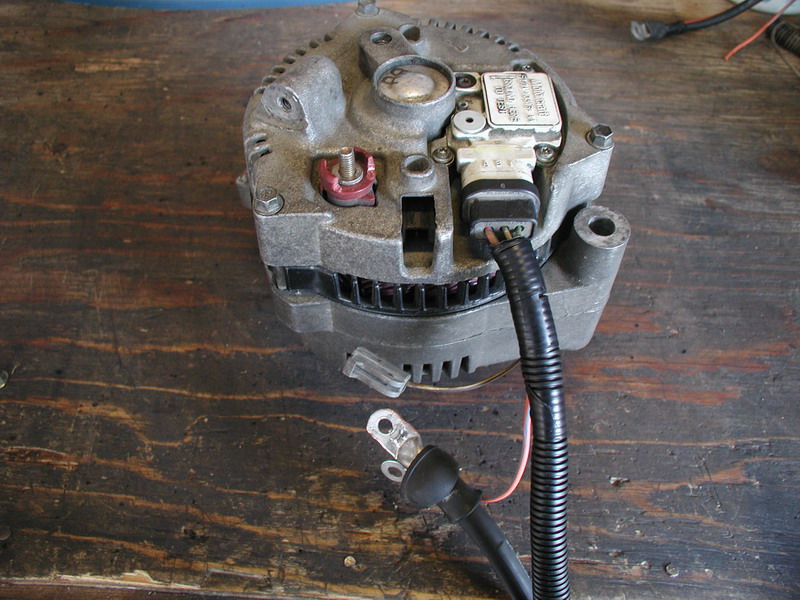
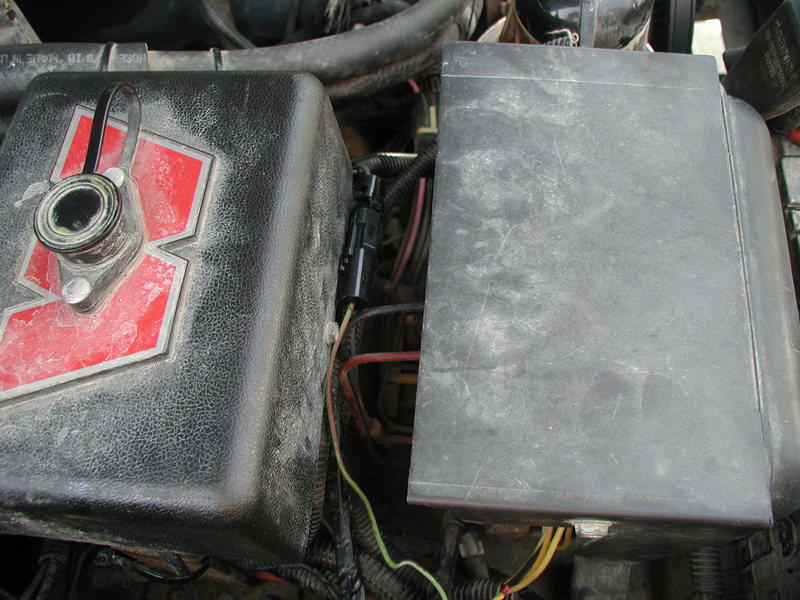
3G on the left, 1G on the right.
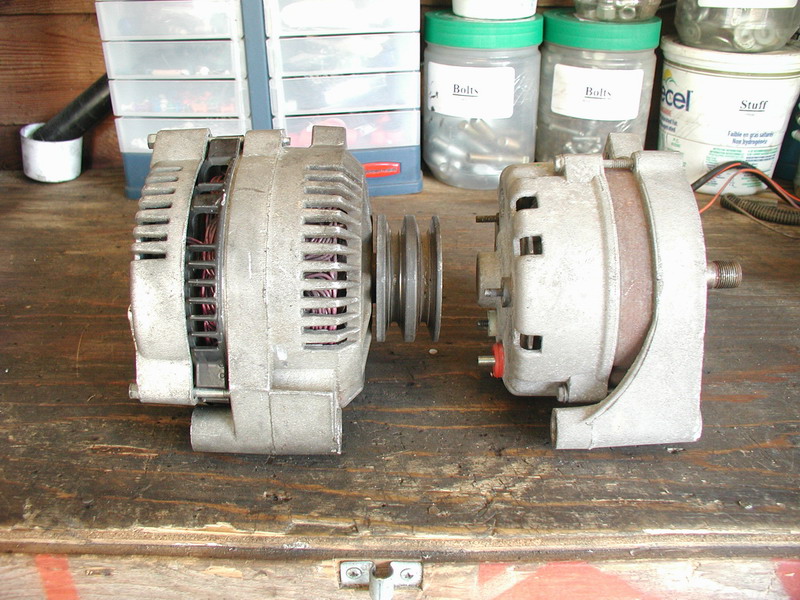
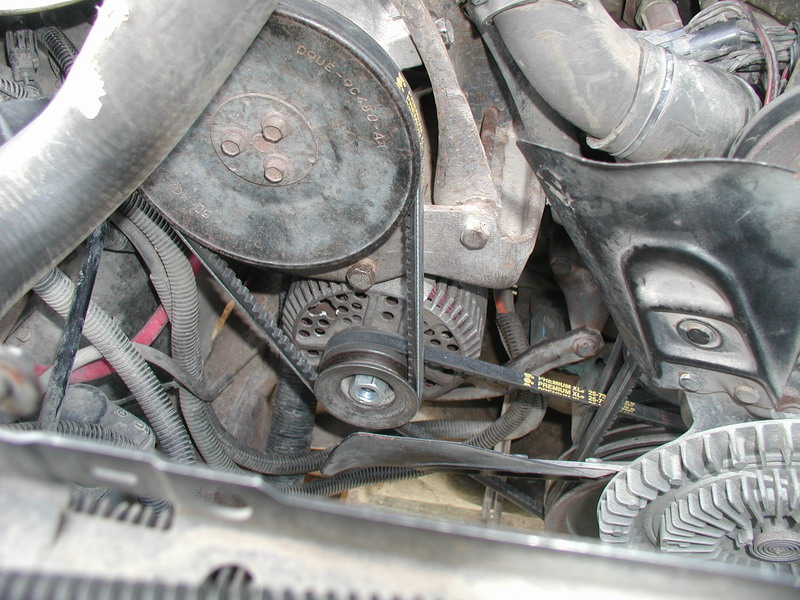
I had to use a flat washer to clearance the old pulley on the new alternator.
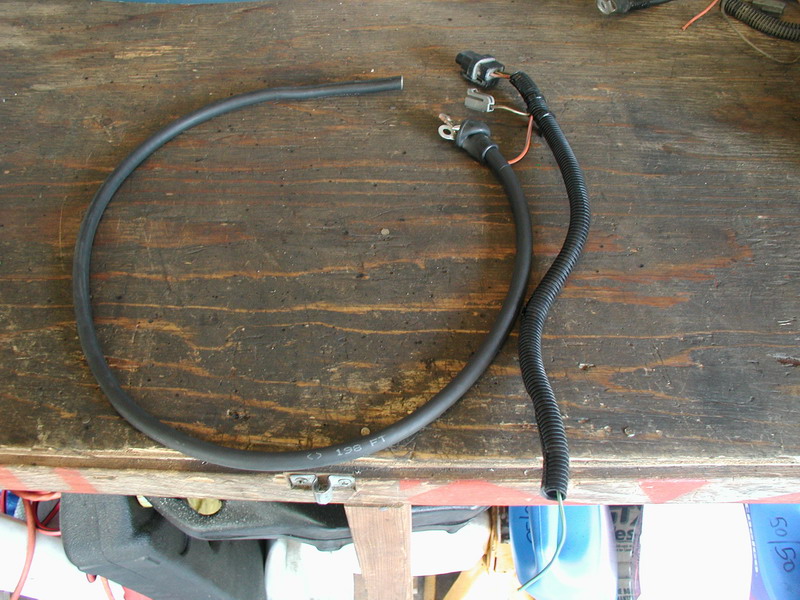
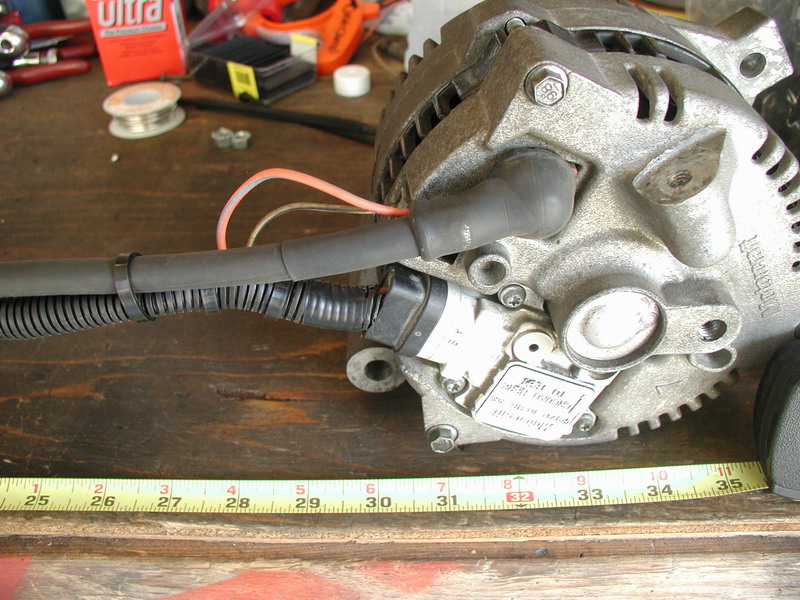
The new harness.
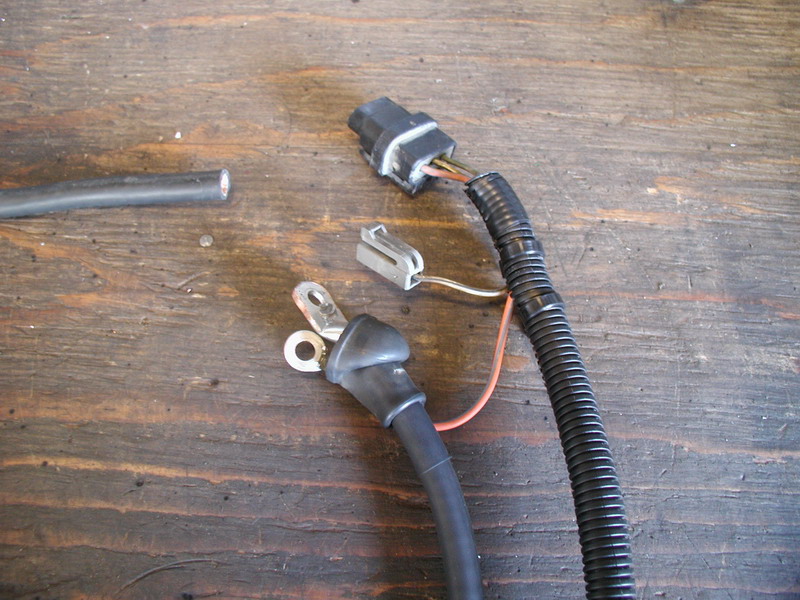
I had the Taurus wiring harness, which got me the plug and the boot for the charge cable.
I removed an 1/8" from each side of the plastic housing.
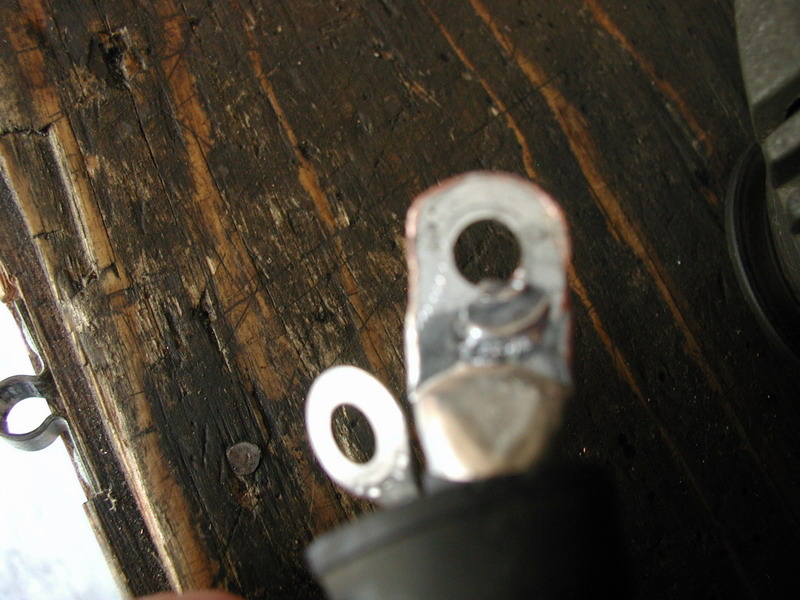
Then did some dremel work to the outside of the lug to make it fit.


The cable from the alternator to the HMEG fuse is 30".
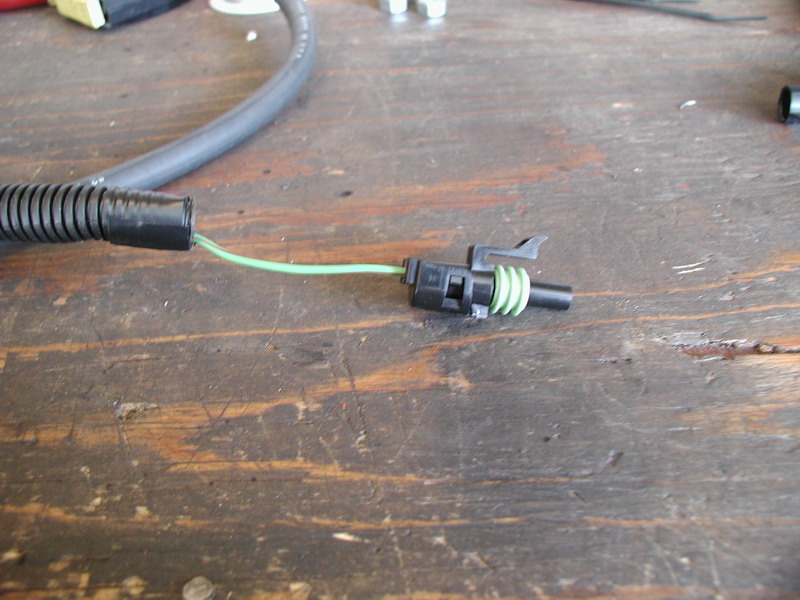
One half of the Pico weatherpack on the green wire.
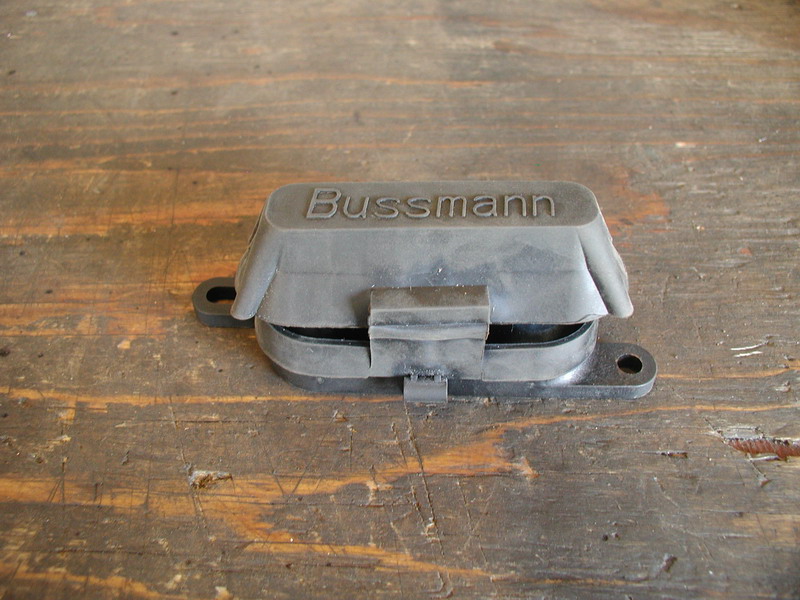
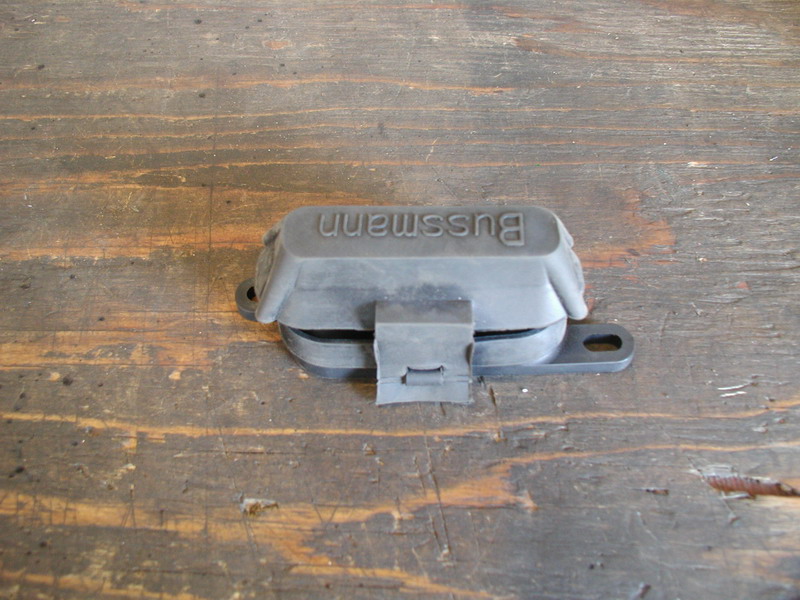
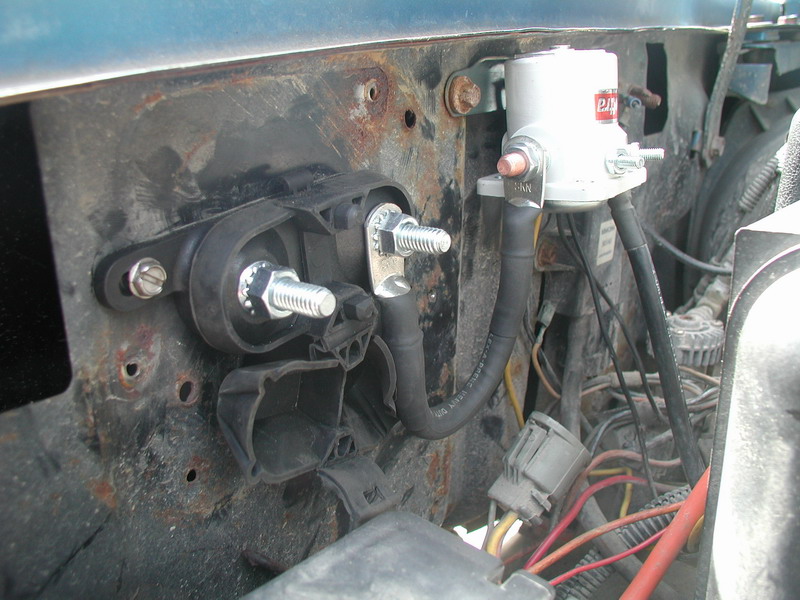
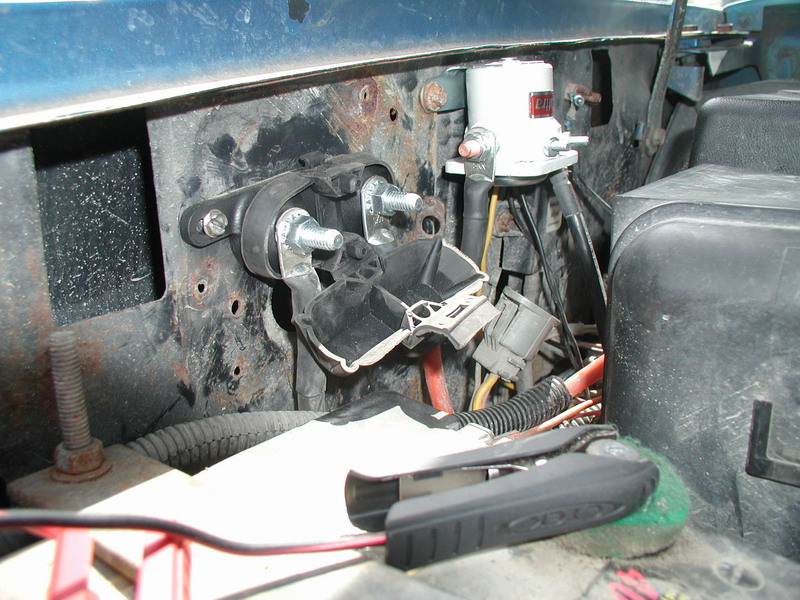
The HMEG fuse holder.
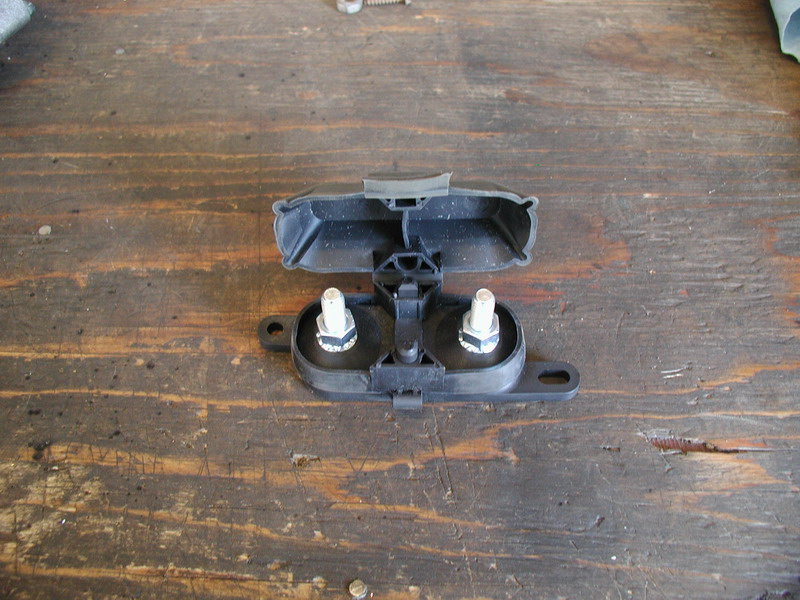
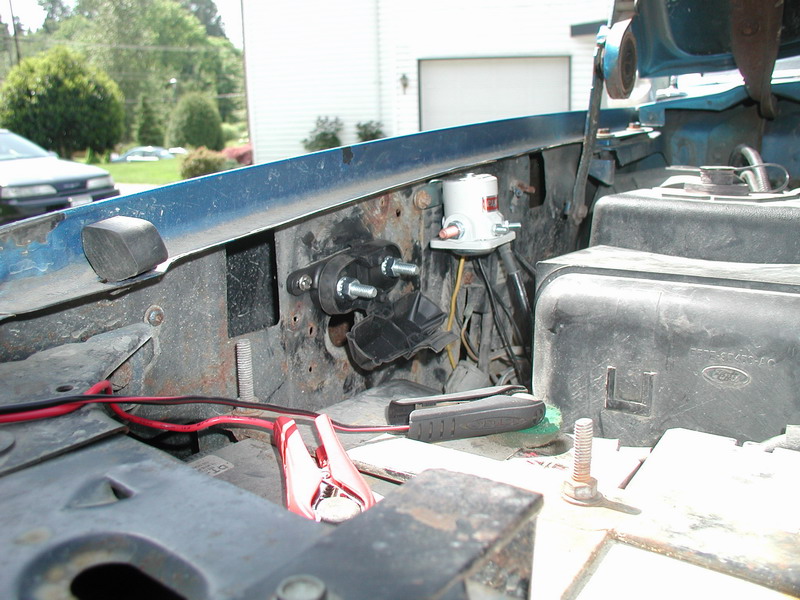
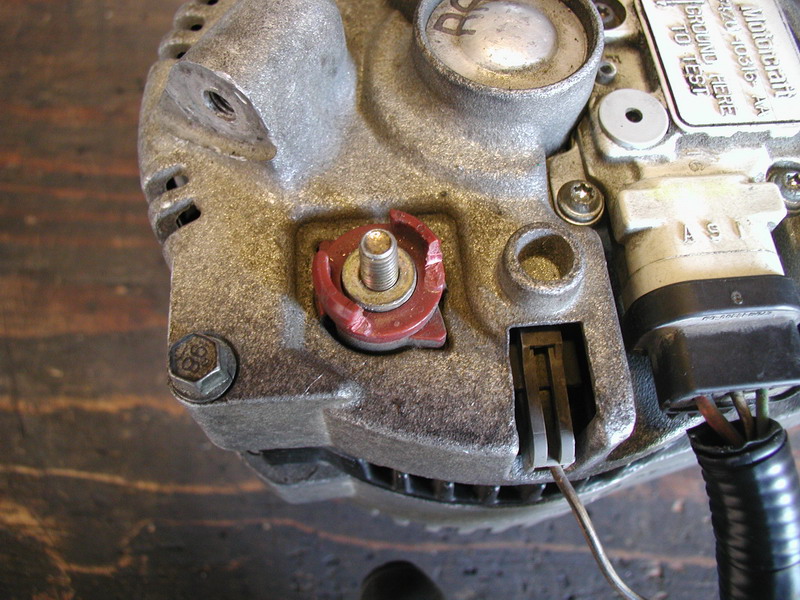
I mounted the HMEG fuse holder where the old voltage regulator was.
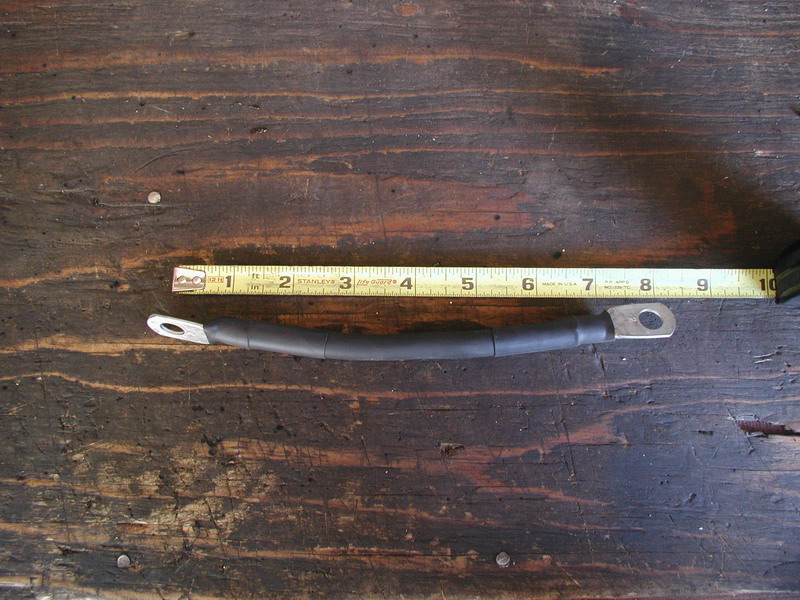
This is the cable that goes from the HMEG fuse holder to the starter solenoid.
I had to bend the lower bracket just bit to mount the 3G.
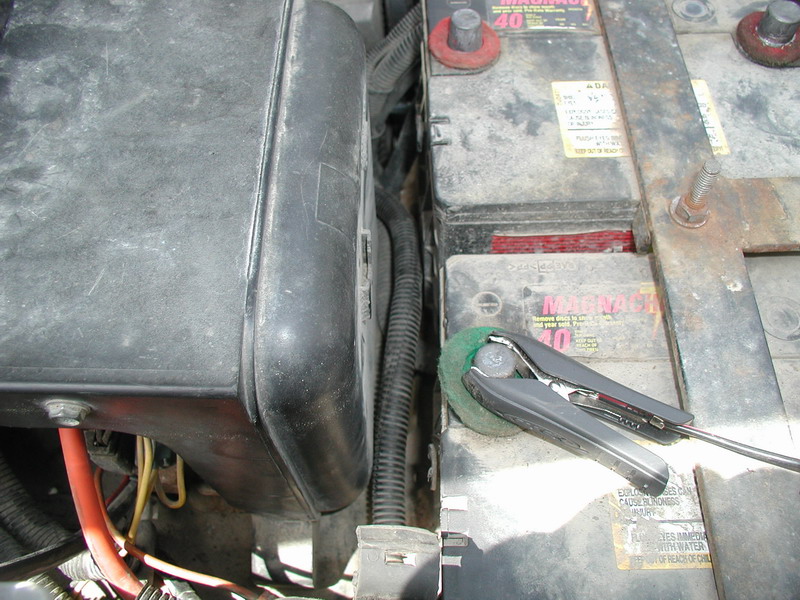
I ran the charge cable next to the batteries.
The green wire connected.
Now to connect all the other wires to the fuse holder.
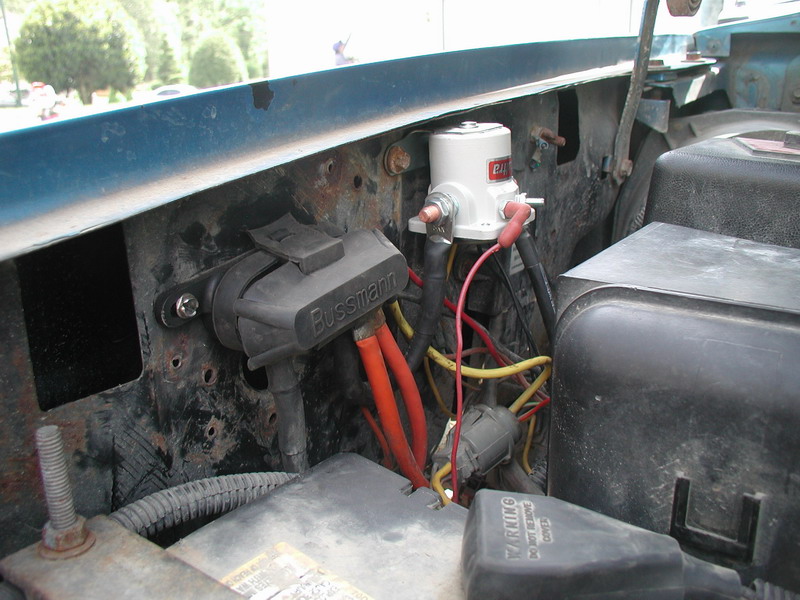
All done.
Fan on hi, wipers on, and hi-beams on.
The only downside is that the factory amp meter no longer works, so I will have to install a voltage gauge.
More useful links and info on this upgrade:
3G Interchange Facts. If you're thinking 3G read here (FSB)
3G alternator FACTS (its wins agian!) (FSB)
yet another 3g alternator install (FSB)
130 amp alternator upgrade
Crazed 3G install (FSB)
(May 23/08)
Added a volt gauge:
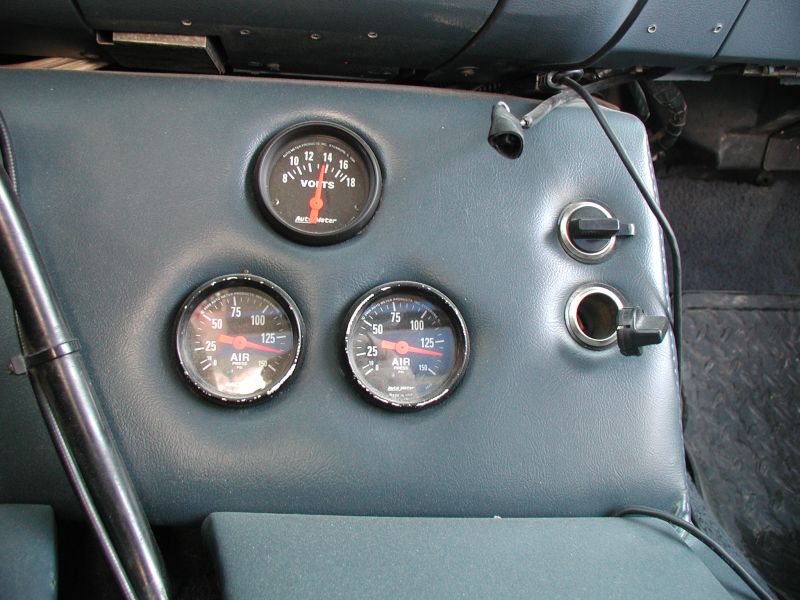
Autometer Z-Series, short sweep, #2645.
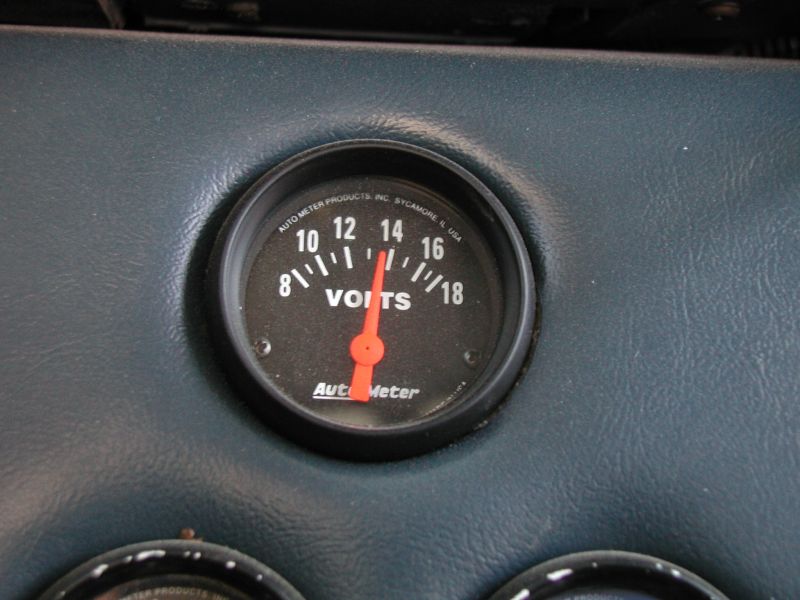
I tapped into an ignition source on the factory fuse block, but the reading isn't to
accurate. Throughout the first day of having it, it read 14v, then 14.2v, then down
to 13.7v. I will find better source to get a reading, but at least I know what is going on.
(June 1/08)
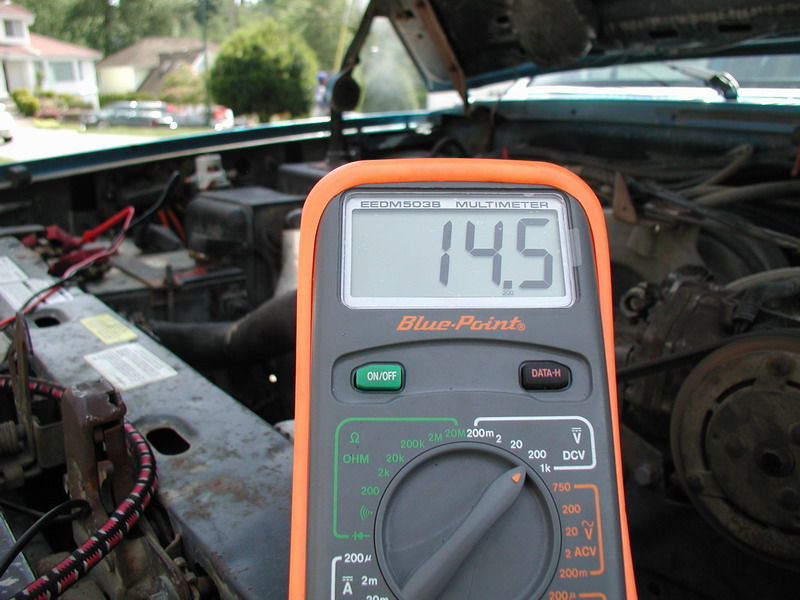
I changed my wiring so that my auxillary fuse block was "ignition hot", giving me a fused spot to get a good voltage reading:

Perfect.

My meter read 14.4v at the battery and the fuse block.