Installing a leaf sprung straight
D44 axle into a TTB '85 Bronco.
Day 1 (May 6/03)
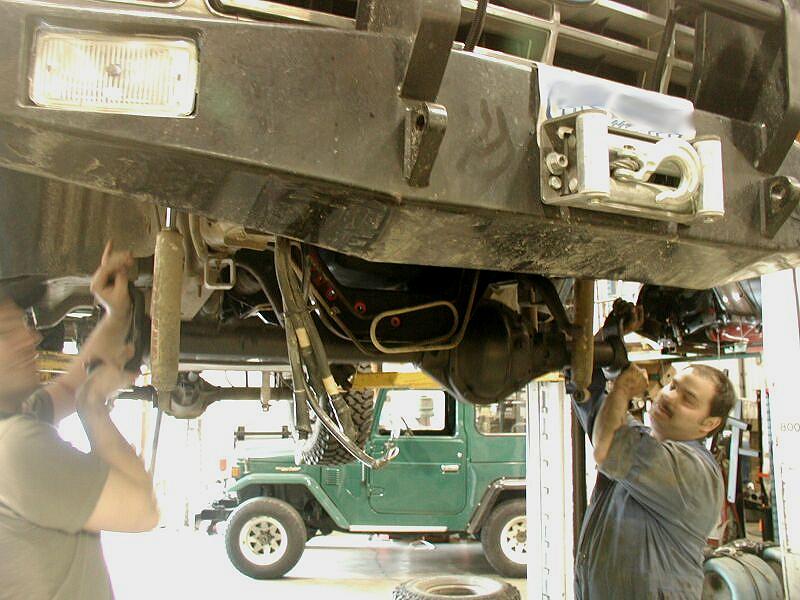
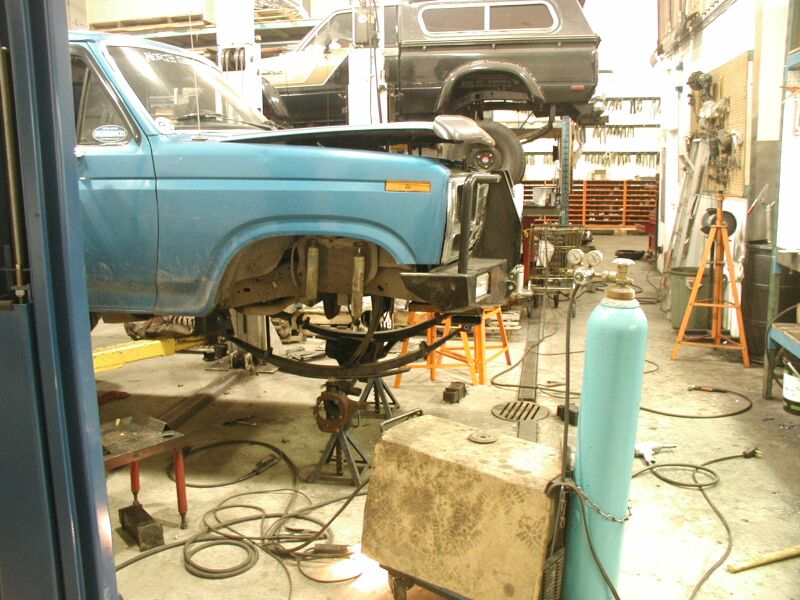
The Bronco finally gets in the shop.
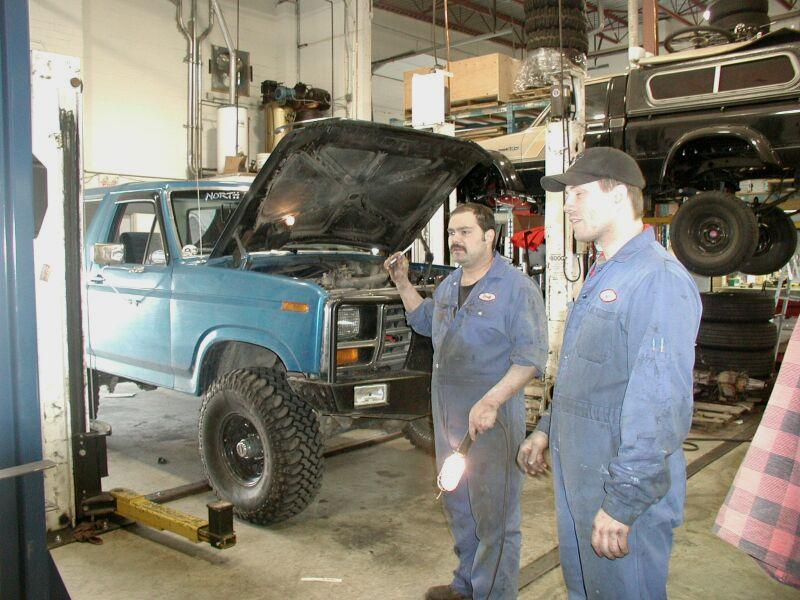
Not sure what Doug and Jason are doing here?!?
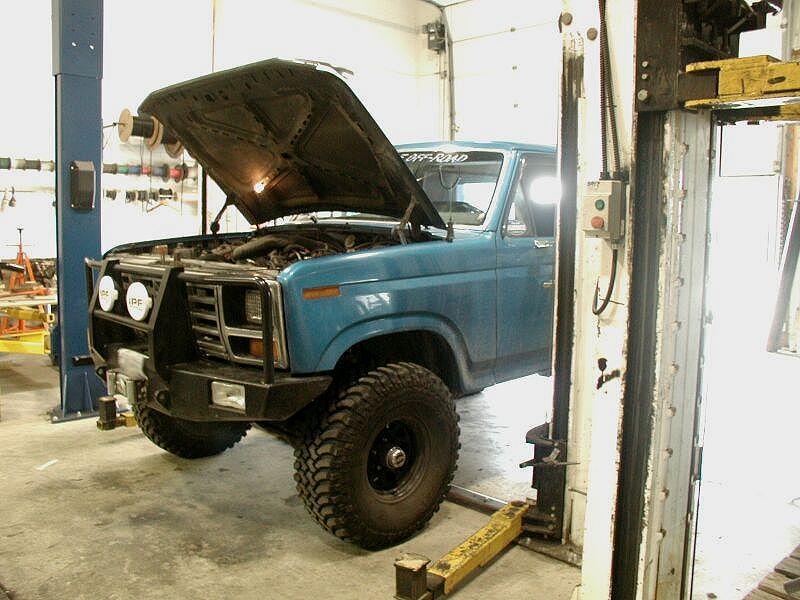
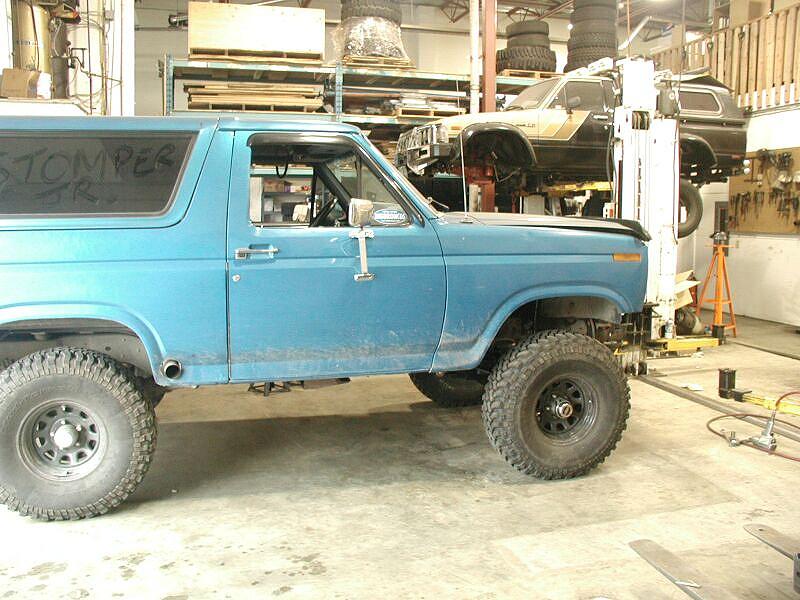
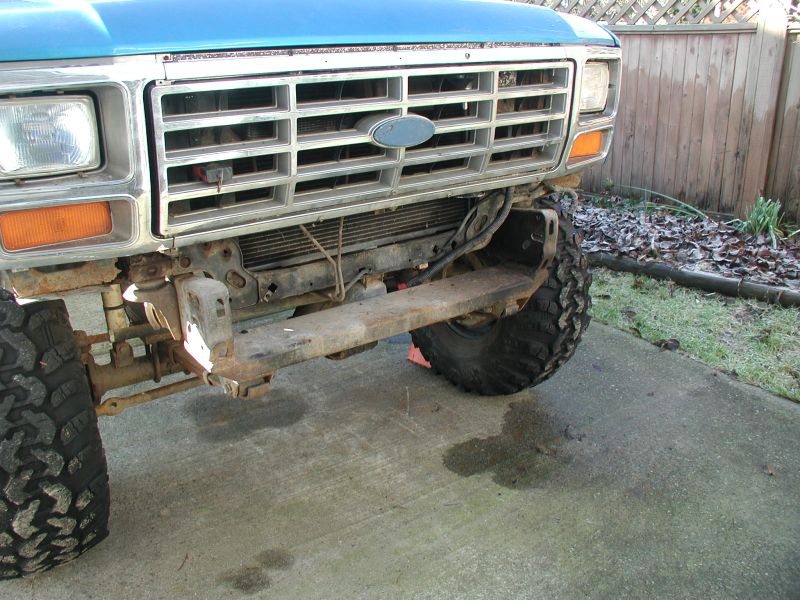
The last picture of the TTB on the Bronco.
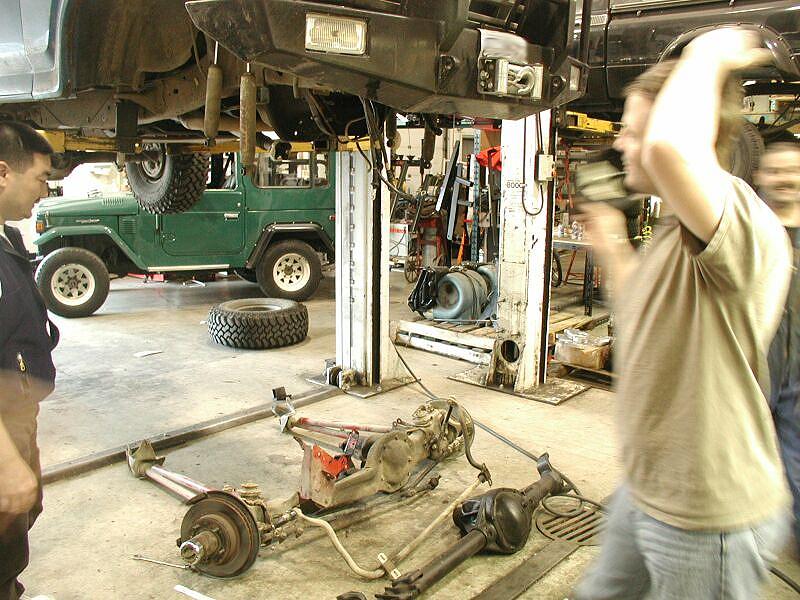
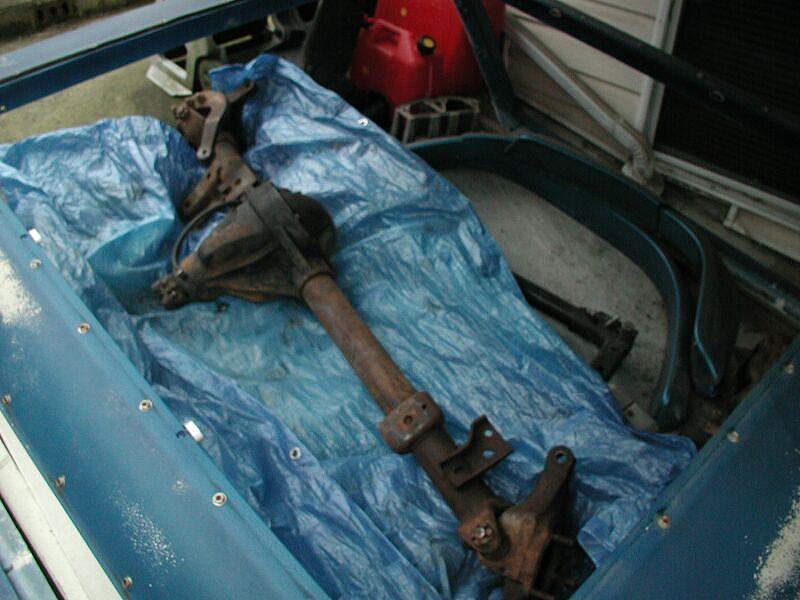
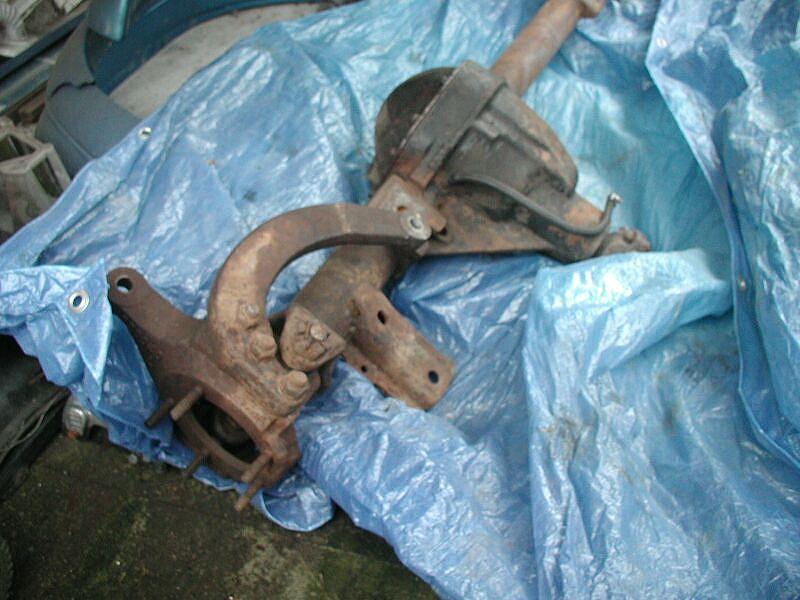
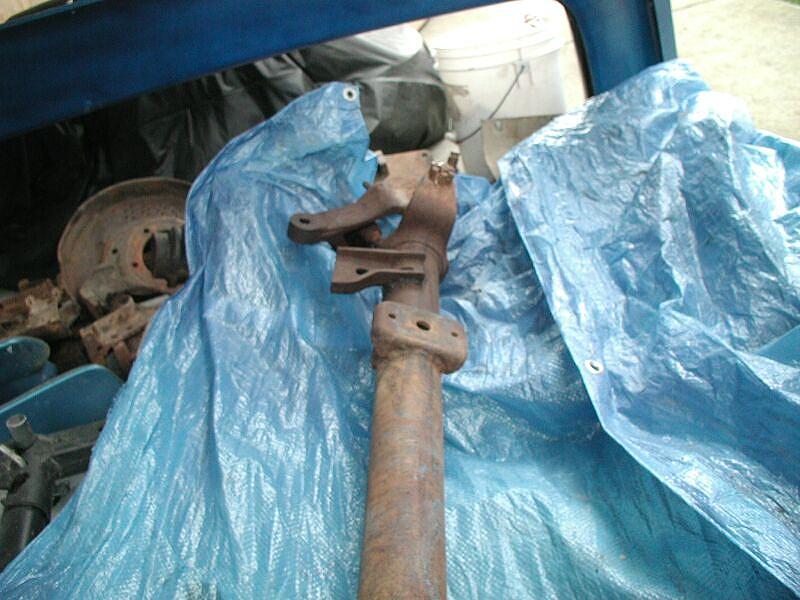
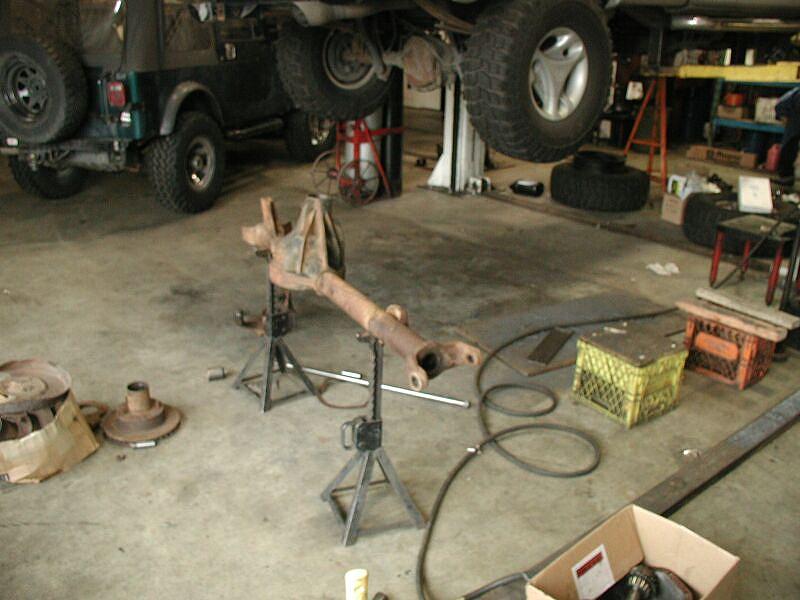
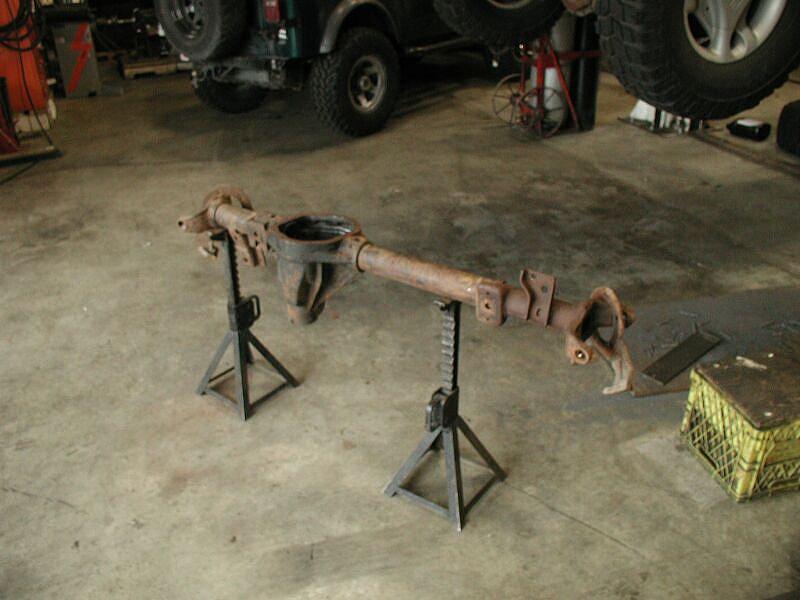
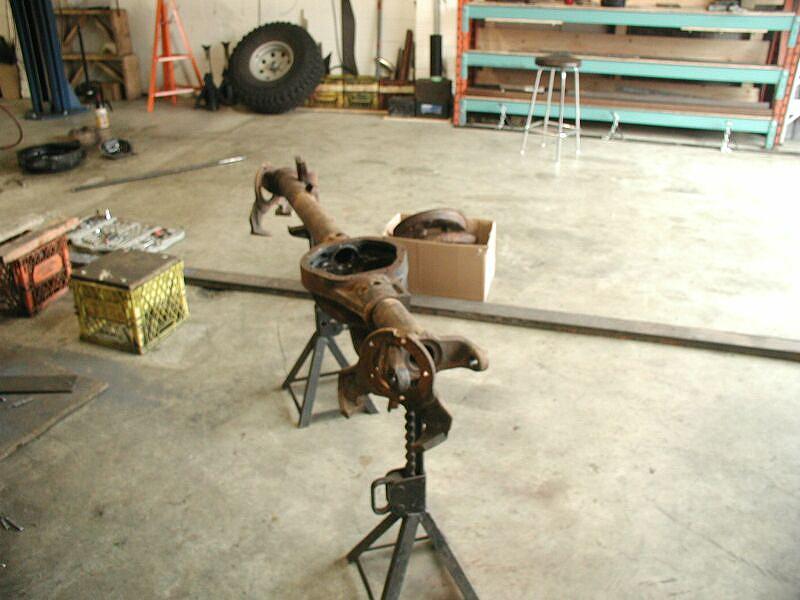
The TTB out and the straight D44 waiting to go in.

The TTB out and the straight D44 waiting to go in.

Almost at the point of no return.
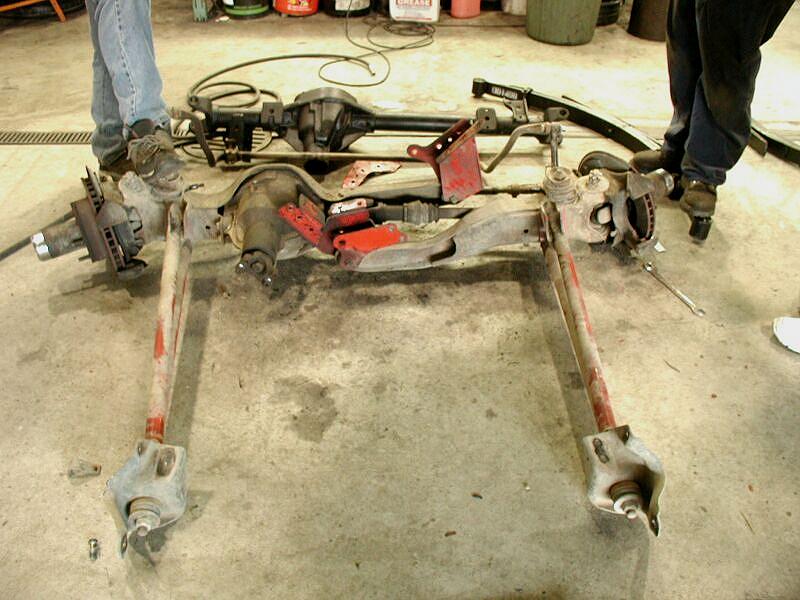
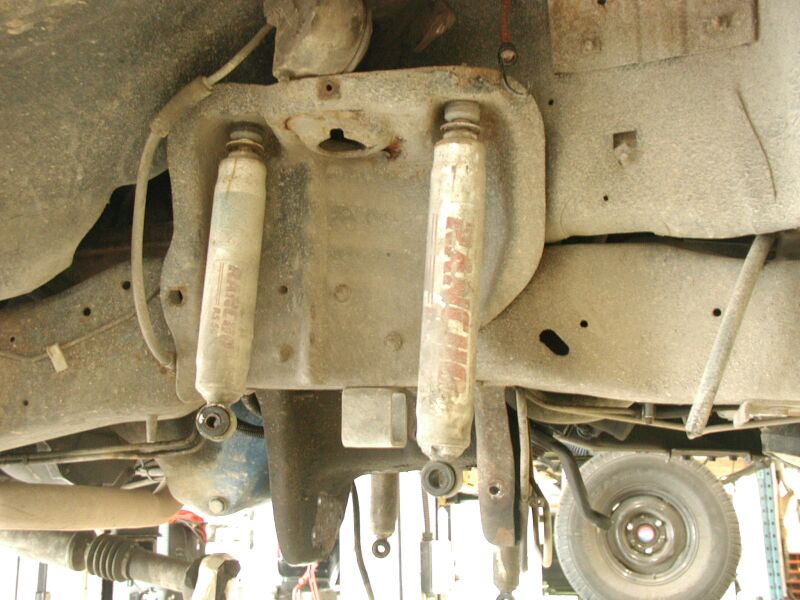
No wonder they call it the 'chicken wing' suspension.
The new suspension. Hope it holds up!
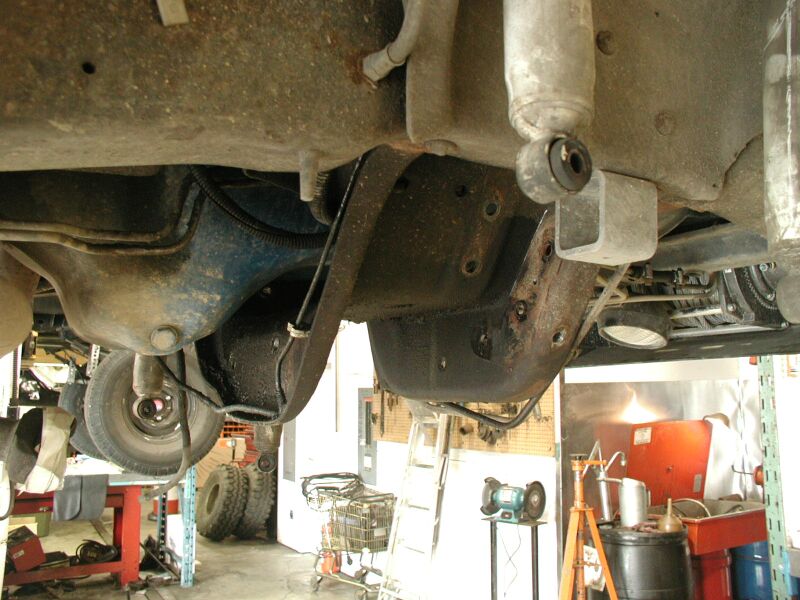
Both coil buckets will have to be removed.

Close up of the coil bucket.

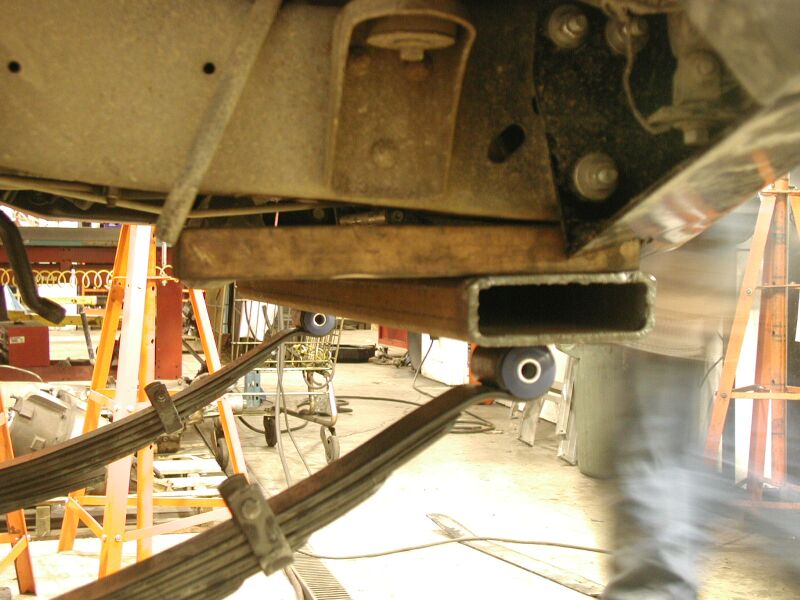
The crossmember has to be trimmed to clear
the straight axle.

The factory power steering cooler will be plumbed
into an aftermarket cooler.
The brake line for the right caliper will have
to be bent a little.
Day 2
(May 17/03)

The plan was to box the frame and mount Ford
Super-Duty shackle eyes underneath.
The plan was to box the frame and mount Ford
Super-Duty shackle eyes underneath.
Here is the start of the front crossmember.
Here is everything tacked in place with the vehicle
weight on the 4" springs.
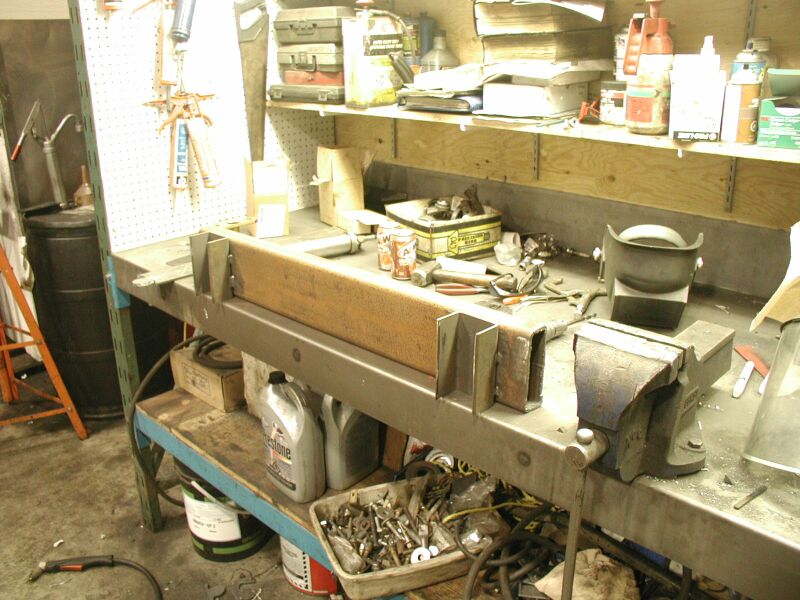
The crossmember being made.
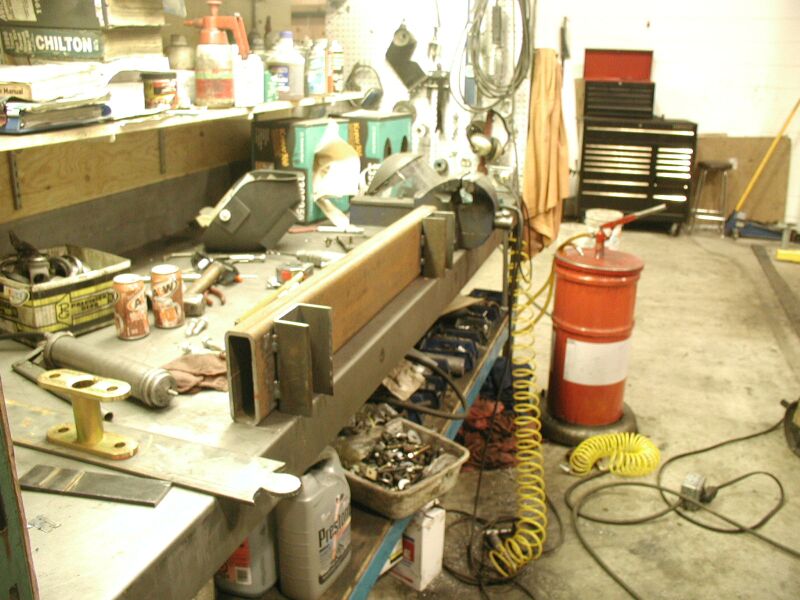
The crossmember being made.
Day 3
(May 18/03)
This was a stressful day. Once everything was tacked into place,
the full weight of the Bronco was put on the suspension and we were
surprised at the 8" of lift we had gotten. We removed 2 leafs of the
spring pack
but lost barely an inch of lift. We tried some different spring
configurations but could get none of them to work for us; what we
needed were some stock height springs, but none were readily available.
After an hour of re-designing in our heads, we soon realized that with
the springs that we had access
to, having the shackle hanging below the frame was not going to work,
so
all the previous work was removed and plan B was brought into action.
This
meant going to a 48" long spring, cutting the exhaust and putting the
shackle
eye in the frame.
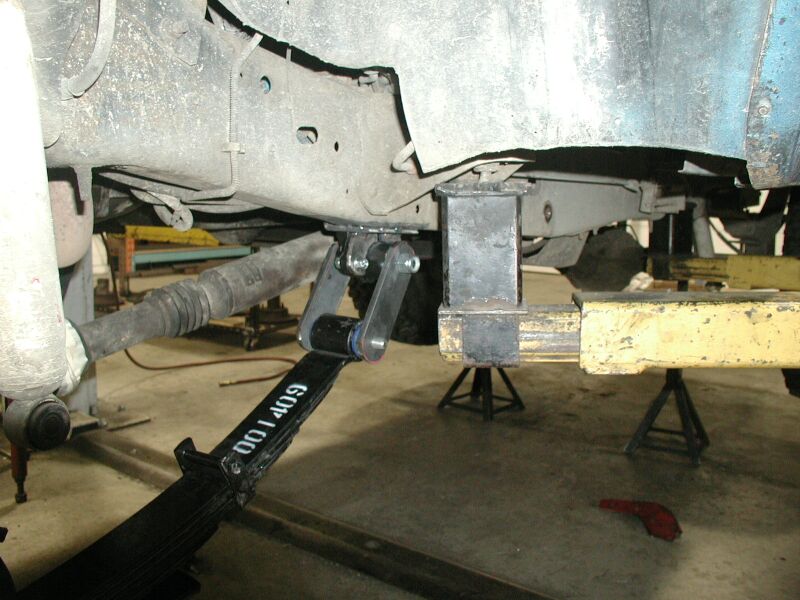
The new shackle mount tacked into place.
The new shackle mount tacked into place.

The drop pitman arm will have to replaced with
a stock one.
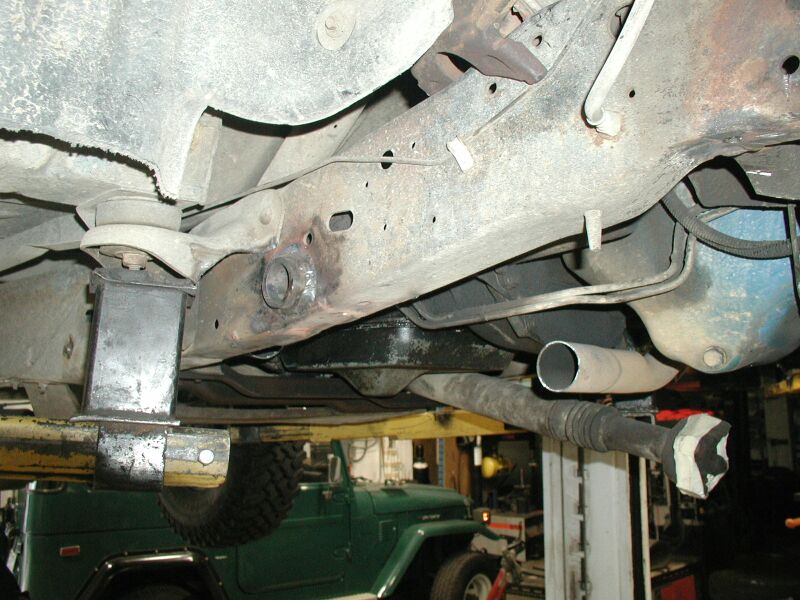
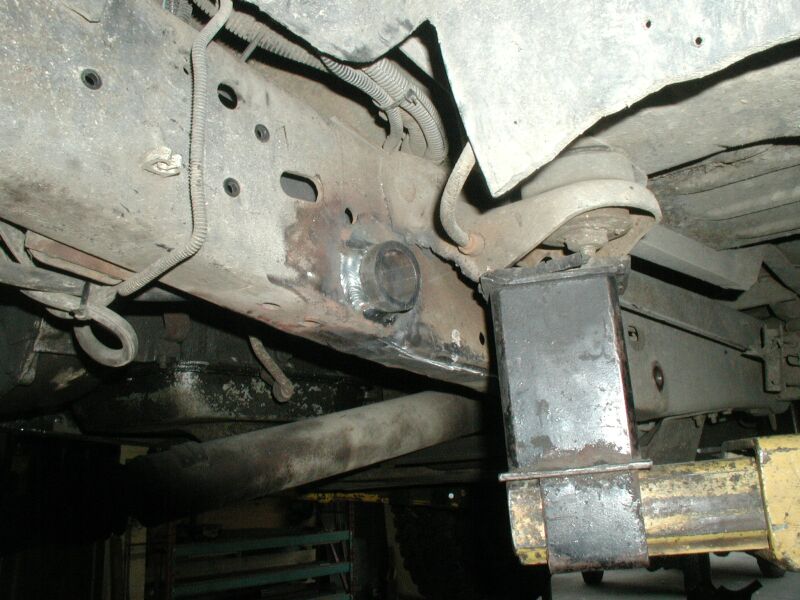
Here you can see the clearance between the 2"
lift springs and the factory crossmember.
Day 4
(May 19/03)
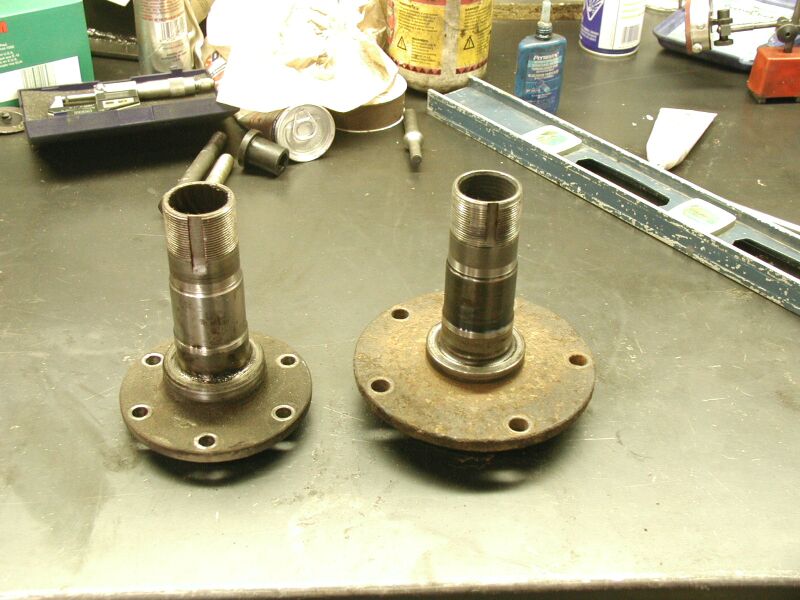
TTB spindle on the left, solid spindle on the right.
The new right side shackle eye all welded in place.
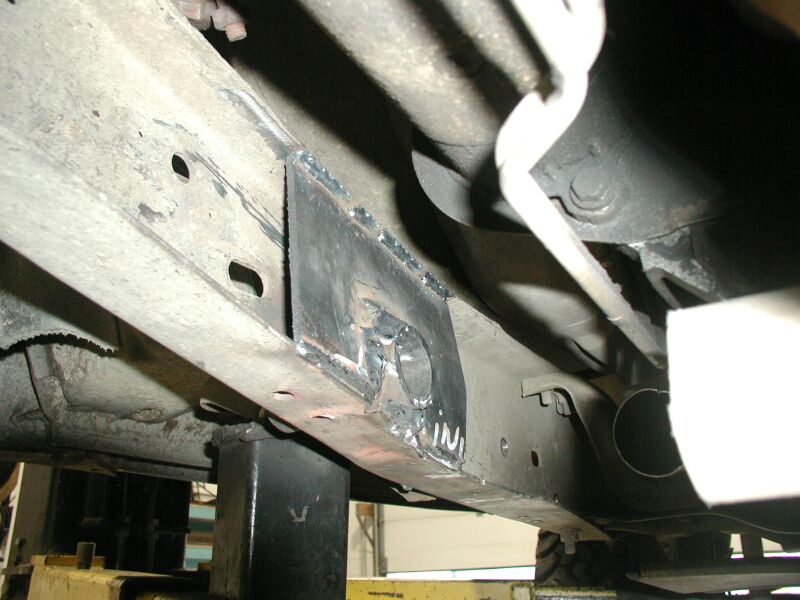
Right side boxed on the inside.
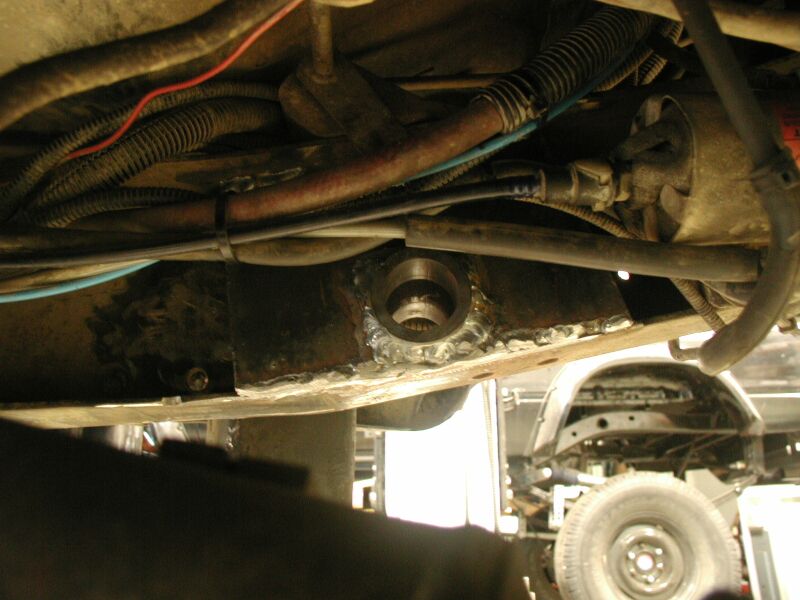
Left side boxed on the inside.
The new left side shackle eye welded in place.
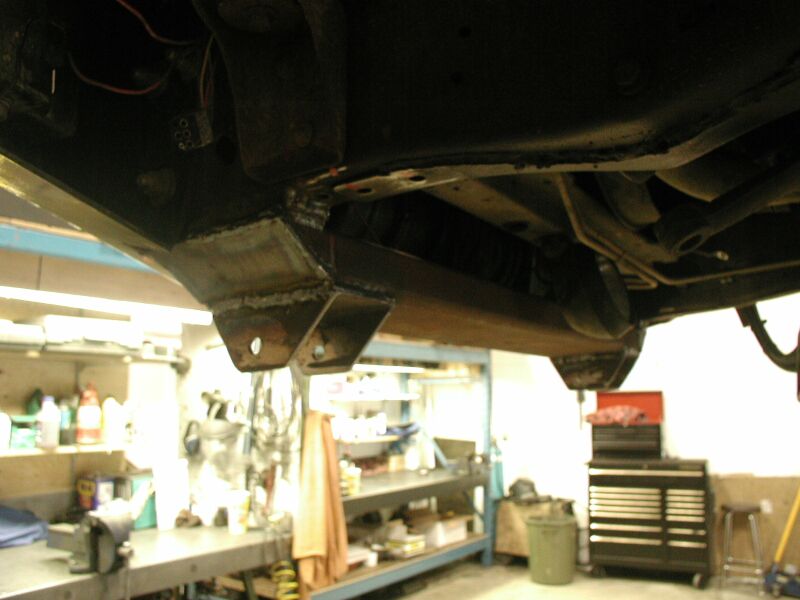
Front crossmember capped off.

Front spring hangers trimmed off.
Factory crossmember trimmed.
Day 5
(May 24/03)
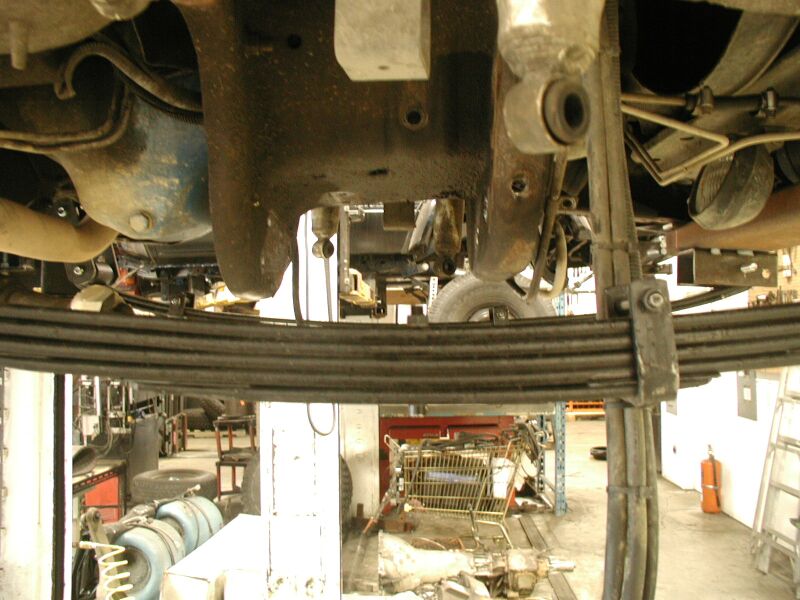
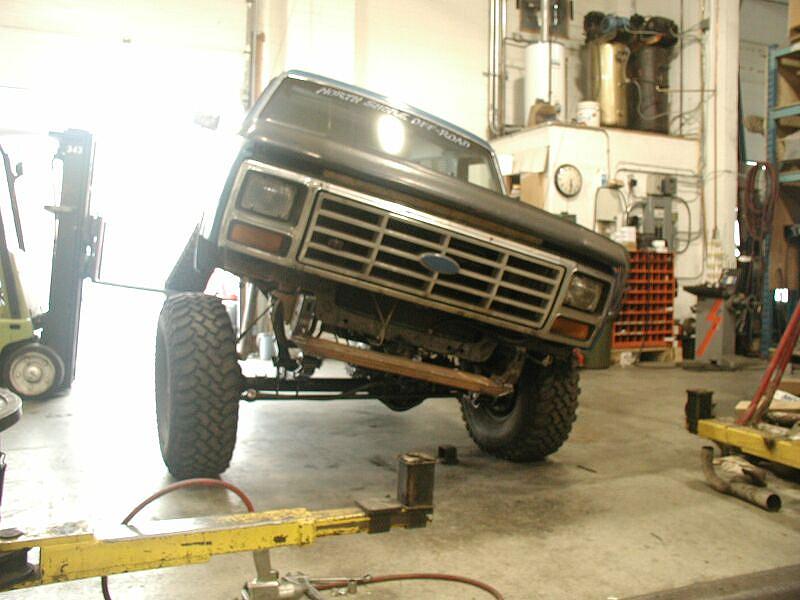
Time for a flex test to check for any problems
with the 4" lift springs.
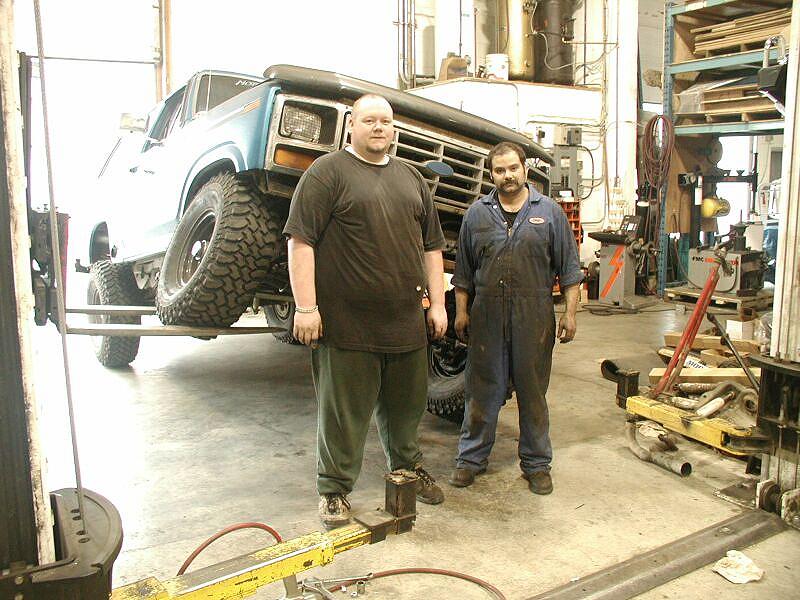
Me (left) and Doug.

No binding.
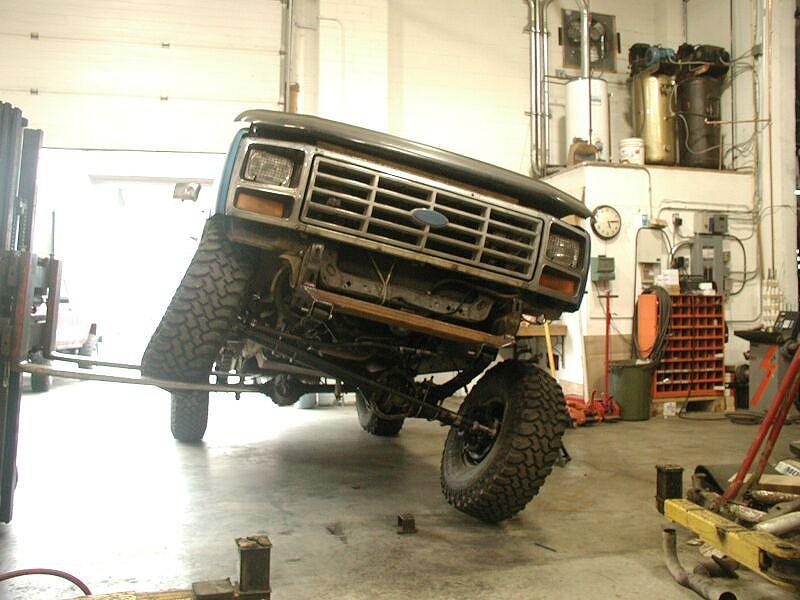
The bottom of the forks are 32".
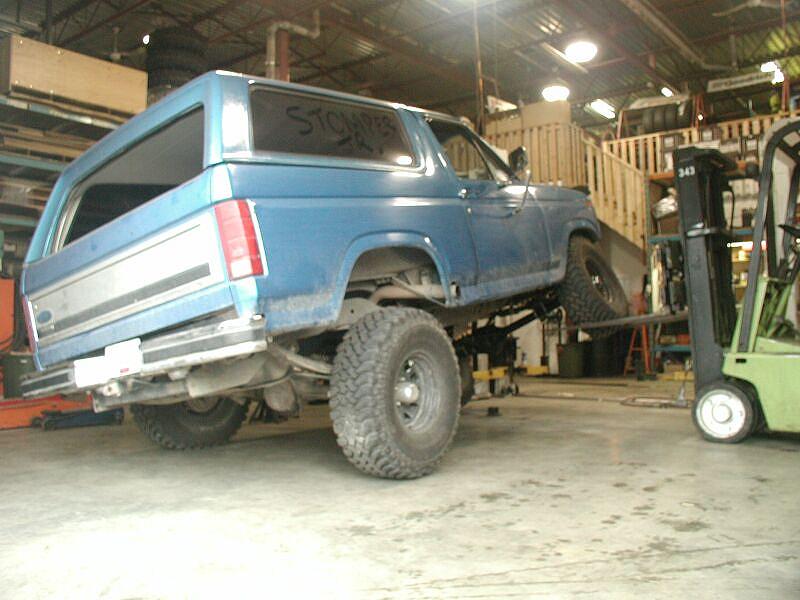
Rear is fine too.

Front is slightly limited by the brake hoses. Longer
braided ones are in store.

Again, the rear is fine.

No rubbing in the front.
Yes, I'm happy with the results.
Day 6
(May25/03)


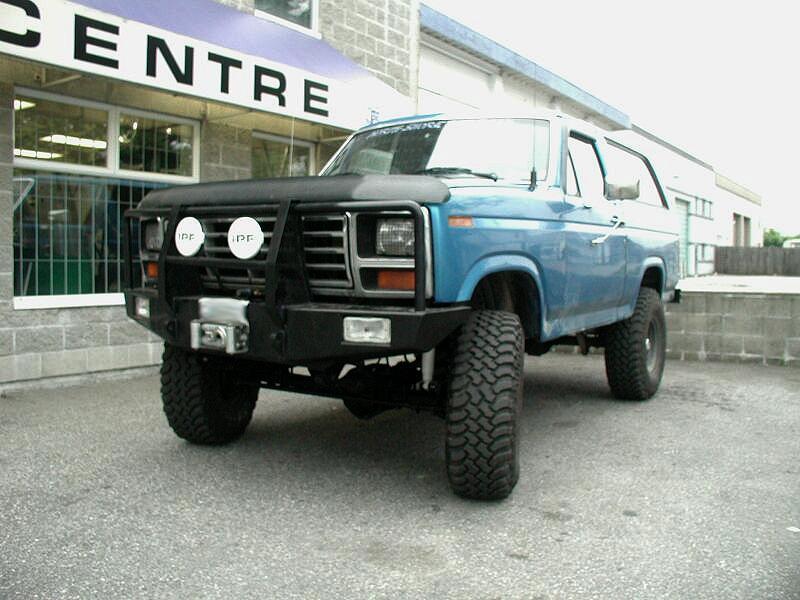

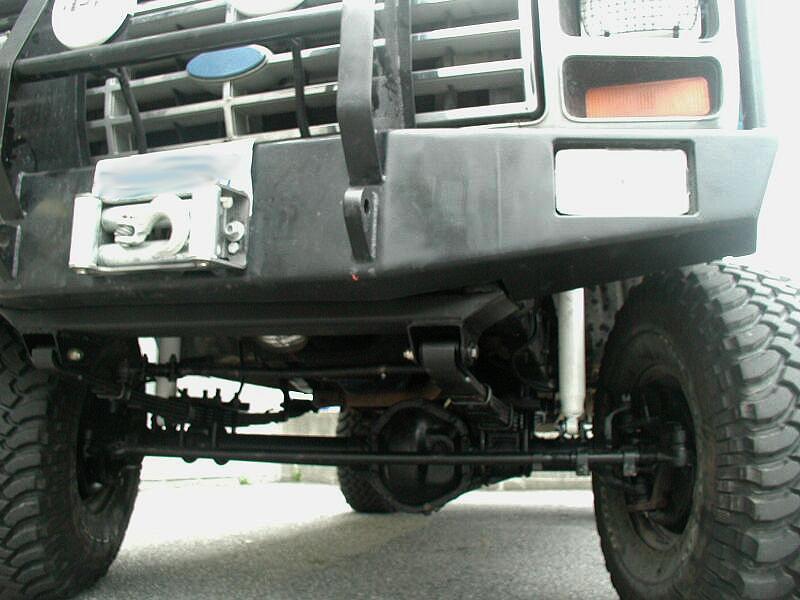
The way Ford should have made it.
See the
list of parts
that were used
in this SAS.
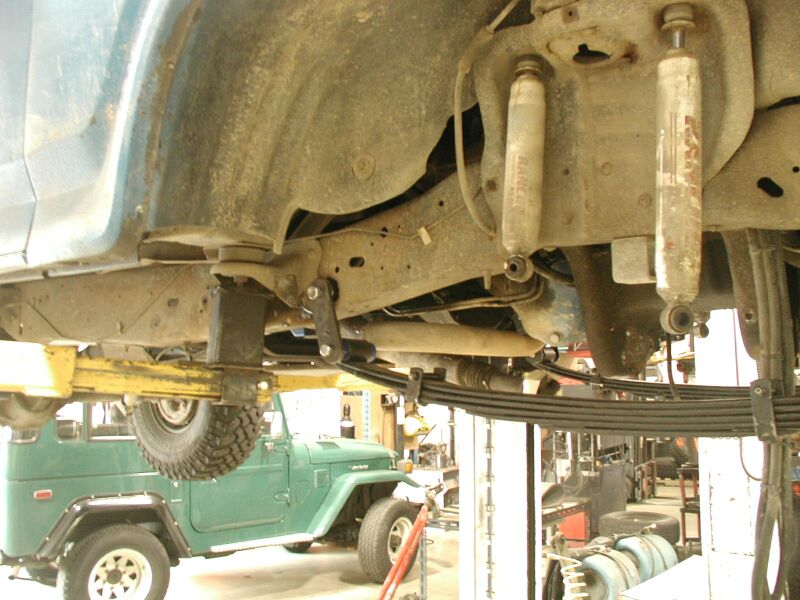
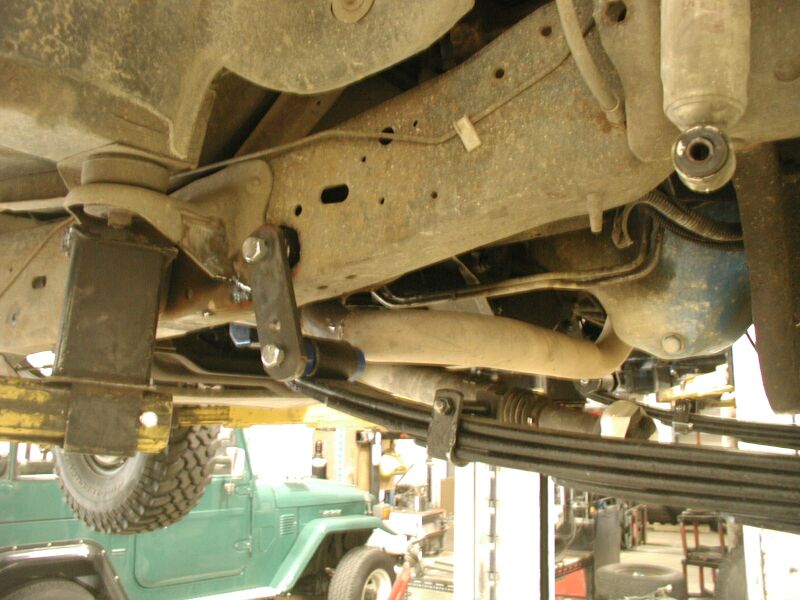
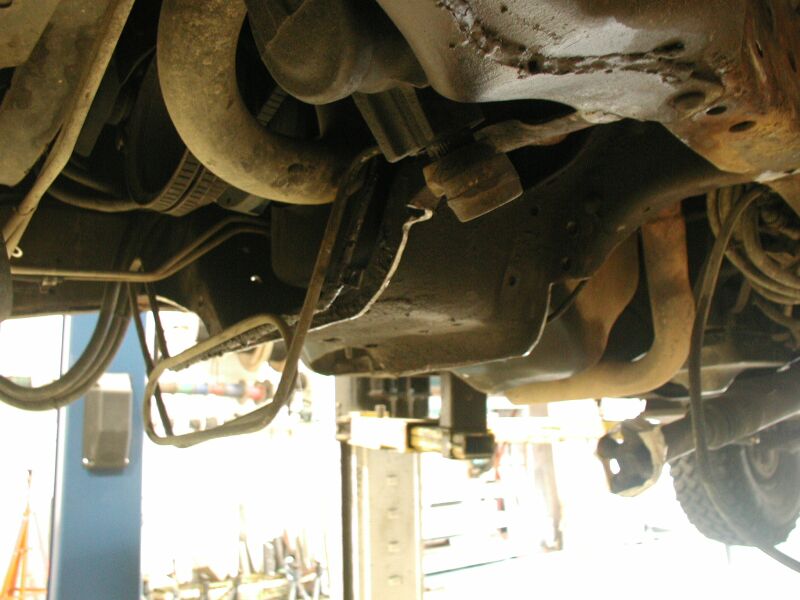
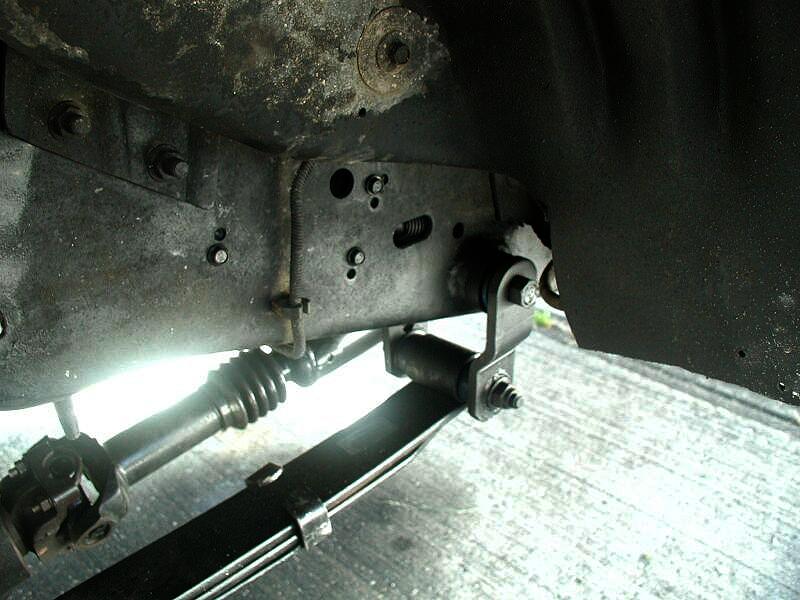
Ok, here are a few close up pics. They didn't turn out to well
because
of the weather, but it should give you an idea of what is going on
underneath.
Please
note that the draglink is a tad to short and will be replaced very
shortly.
Also the lower shock mounts will be cut off and re-installed in the
opposite
direction.
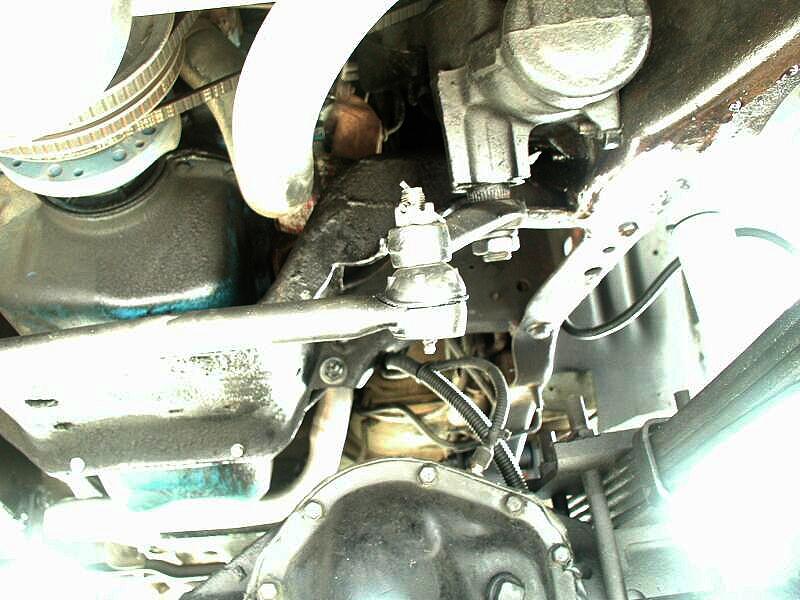
Pitman arm and draglink.
Draglink
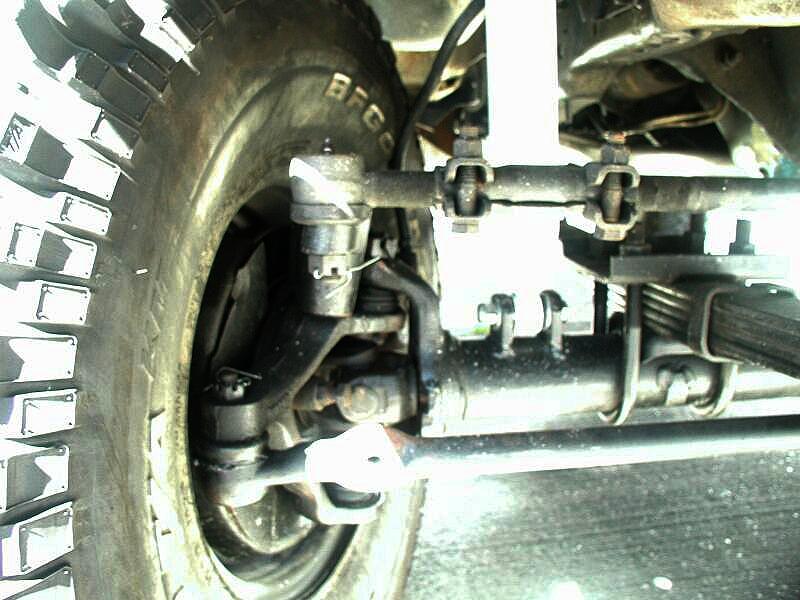
Right tie rod end.

Left shock
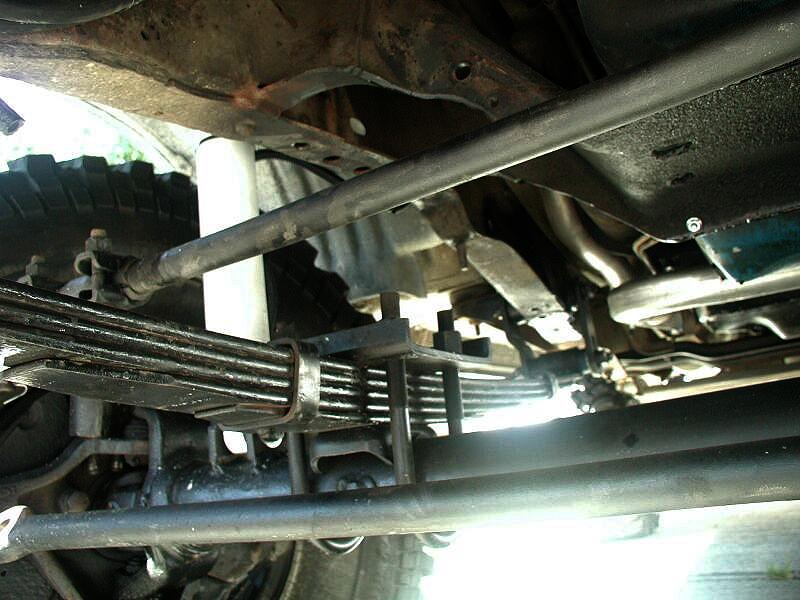
Left shackle.
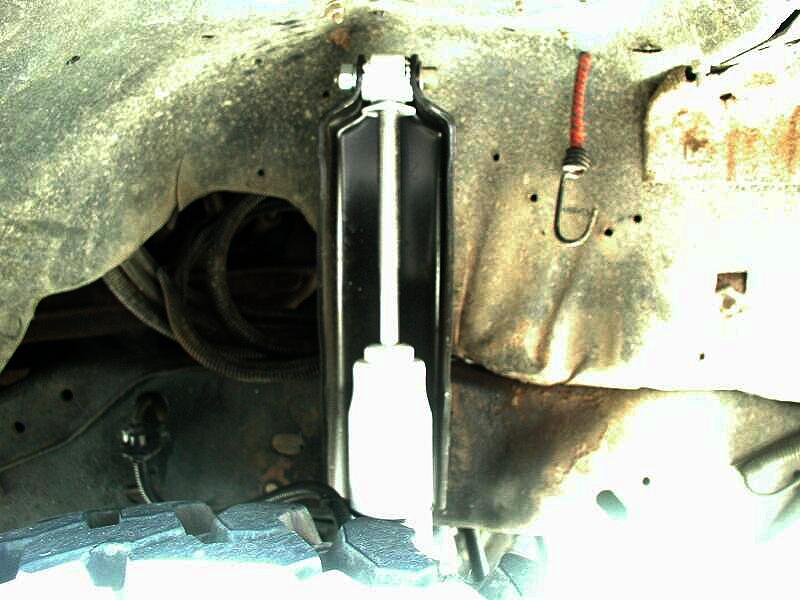
Right shock.
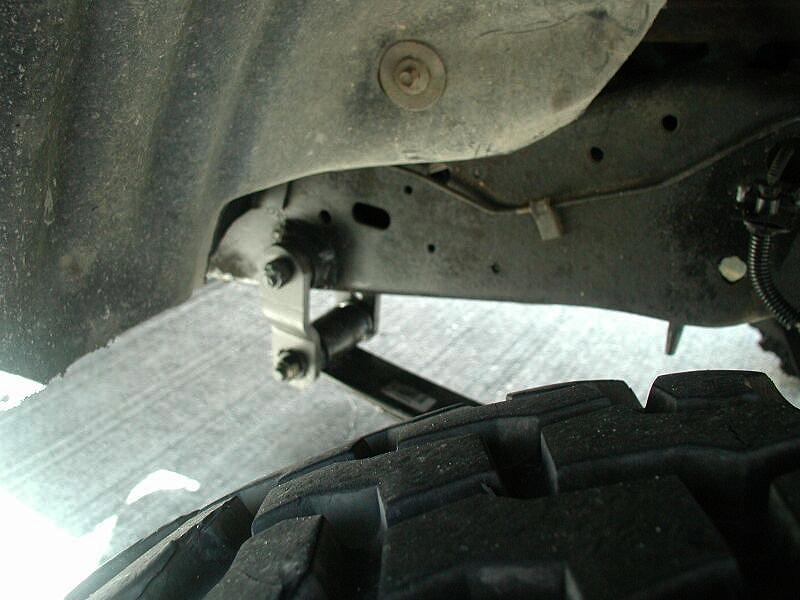
Right shackle.
Jan 4/09
Update:

I replaced the bushings in the front leaf springs (rear main eye's).
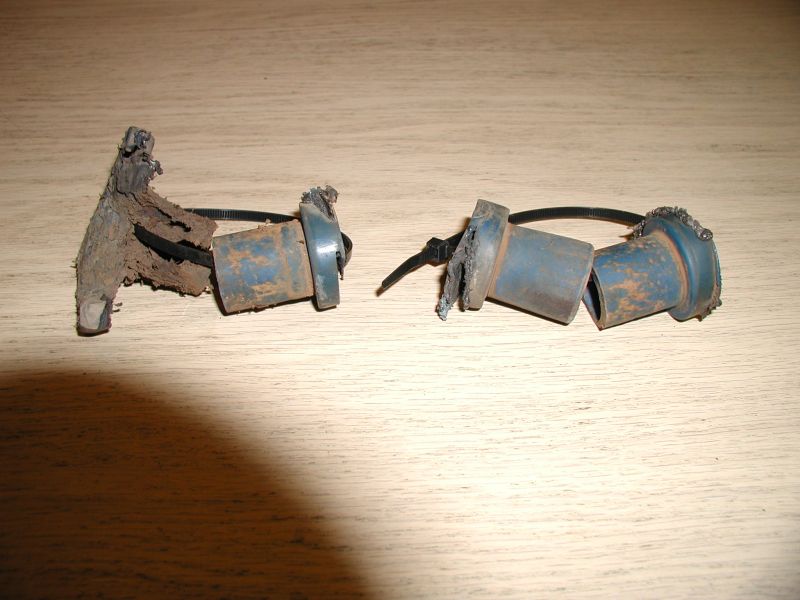
I knew the shoulder was worn on the one, but I was surprised
to see it worn that badly. I guess I got my 5 years of abuse out of it.
I also found some old pictures that I took the last time I had the
front bumper
off; I've had people asking to see close ups of the front crossmember.
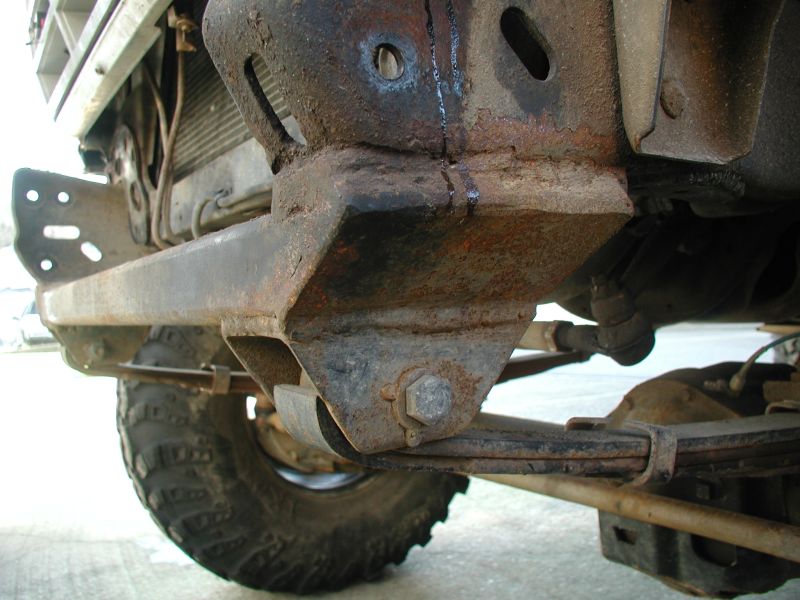
Left side.
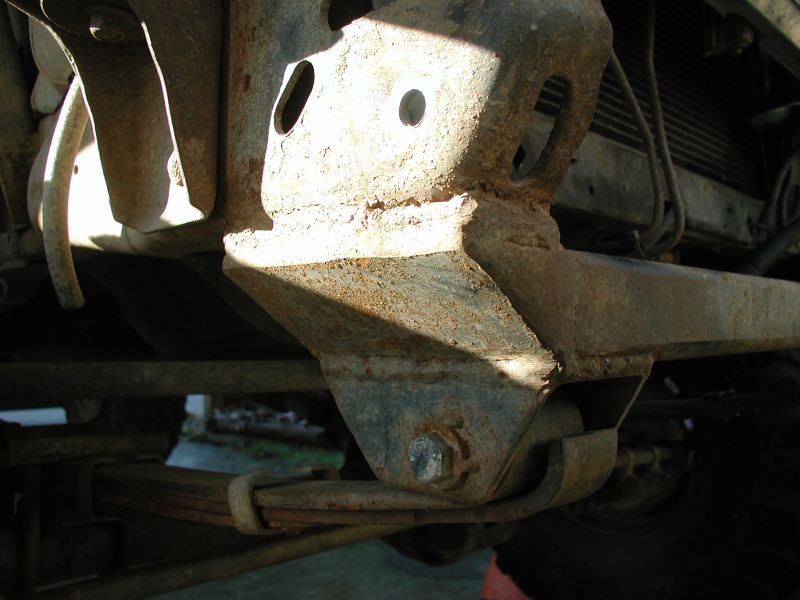
Right side.

Right side.
