Steering Column
I was all packed and ready for a day of wheeling, but 10:30 the night before the Bronco decided not to start. The action of the ignition cylinder felt
different, and I could start the Bronco by manually moving the ignition rod, so I new there was a problem inside the column.
The next morning I talked to my buddy and I bailed on the trip. I then started cruising the net, and found that a common problem was the ignition
actuator rod, which made sense from what I had seen so far. Below are detailed instructions on how to replace the broken lower ignition actuator.
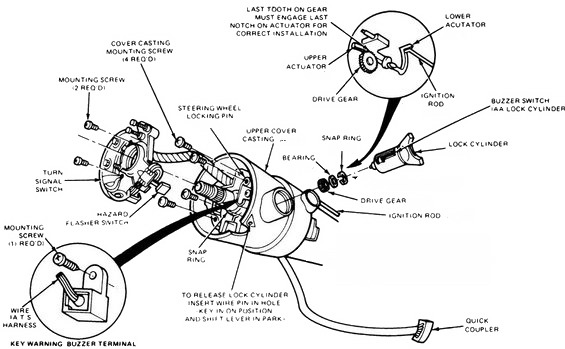
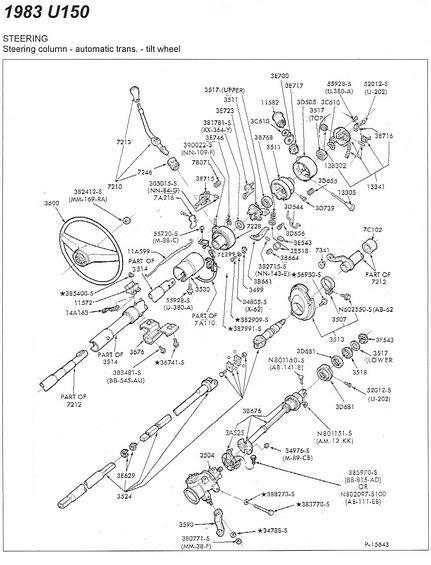
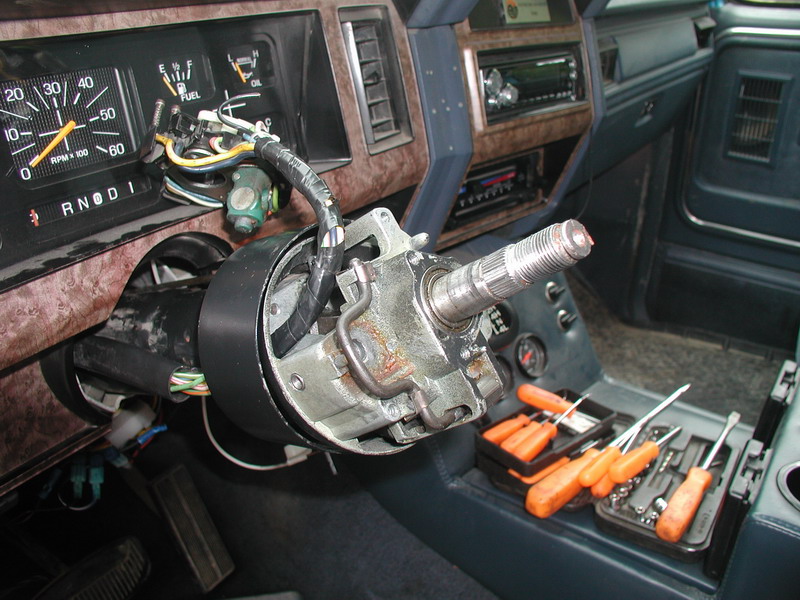
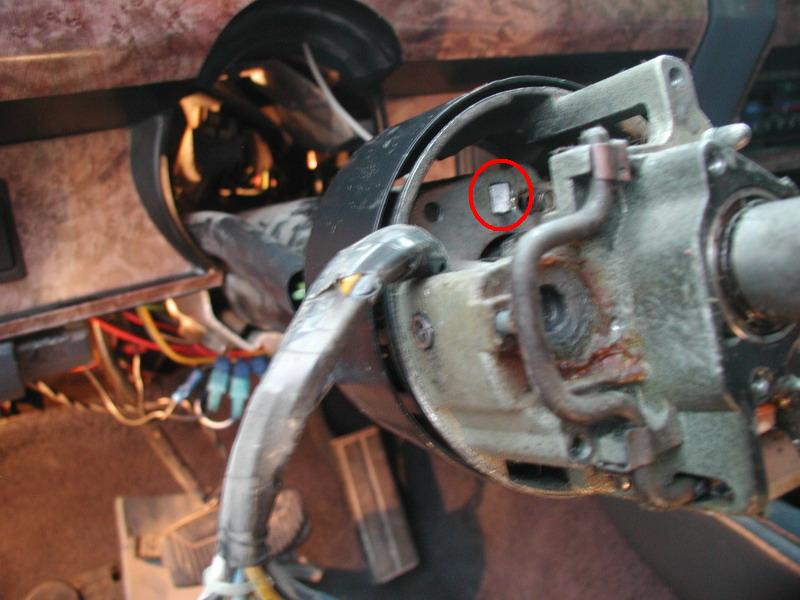
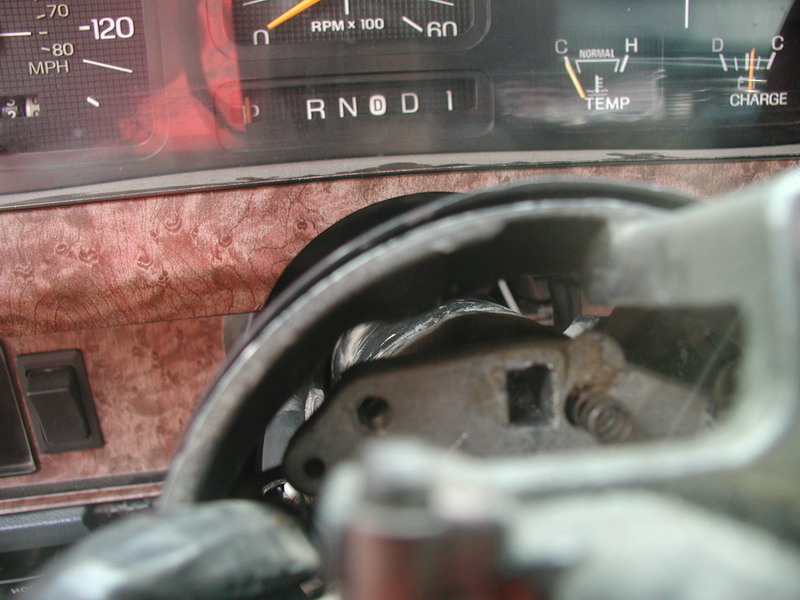
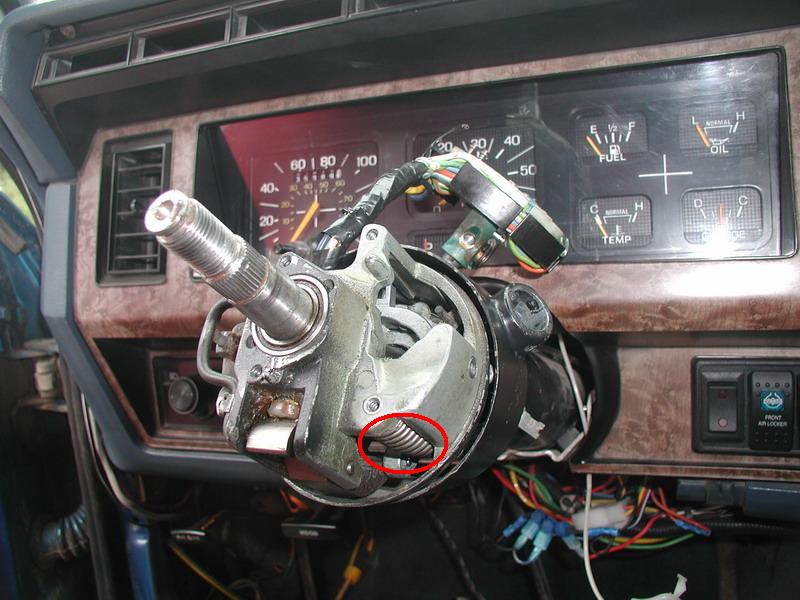
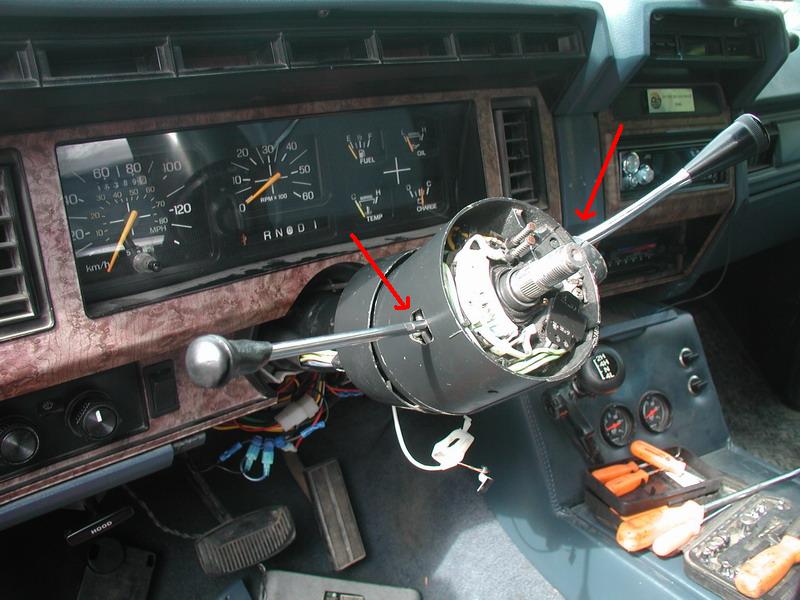
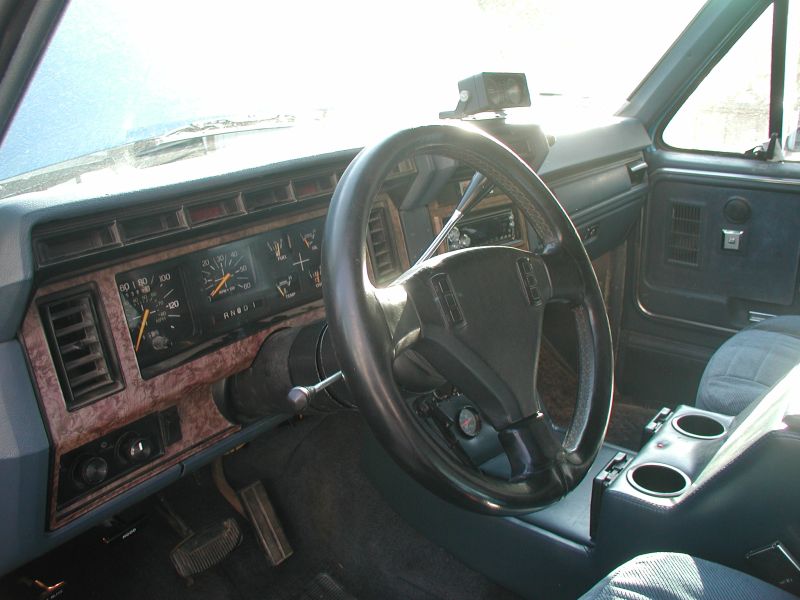
First, here are a few breakdown pictures so you get an idea of what is going on inside the column.
Disconnect the battery and remove the steering wheel.
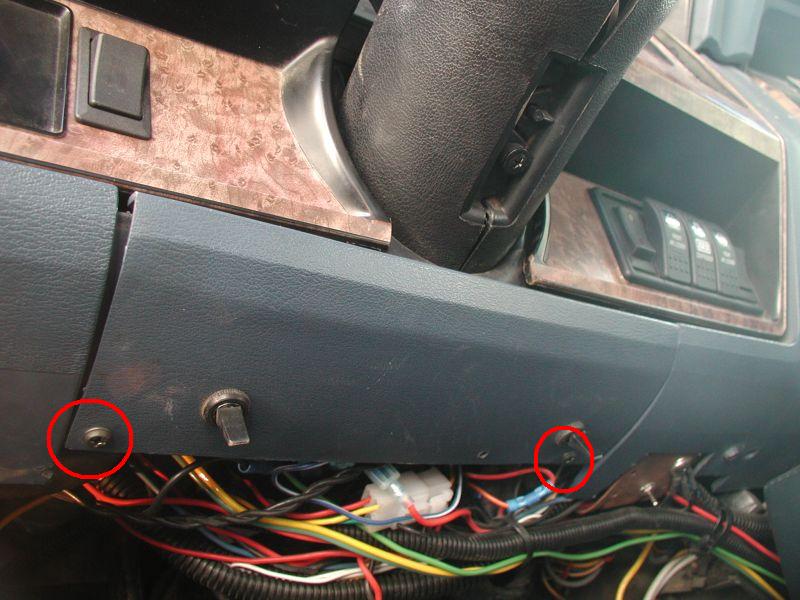
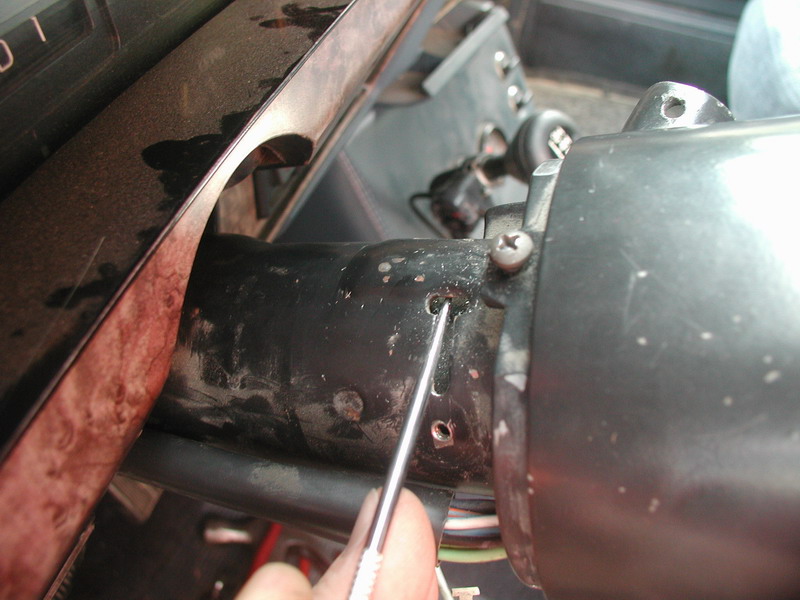
Remove the access panel under the steering column.

Remove the plastic housing at the bottom of the steering column.

Remove the two screws (8mm and phillips) for the transmission indicator.
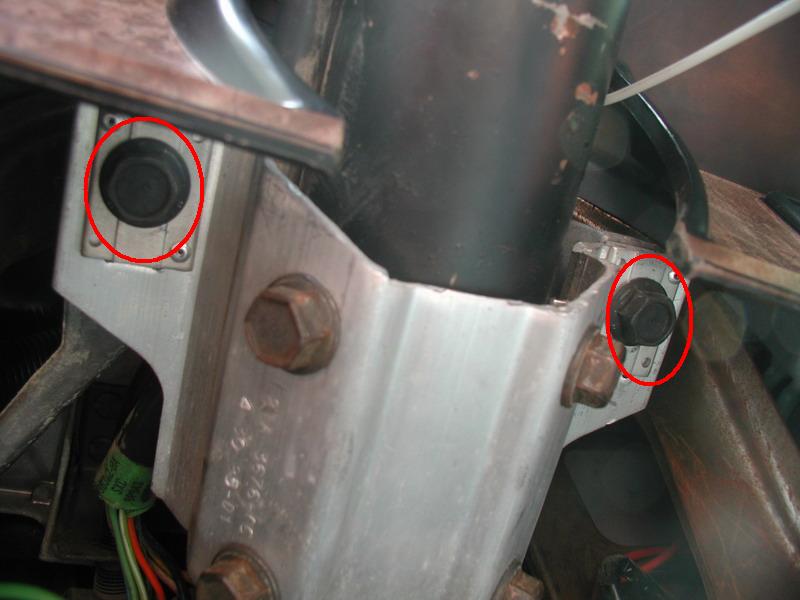
Remove the two 9/16" bolts holding the column to the dash.
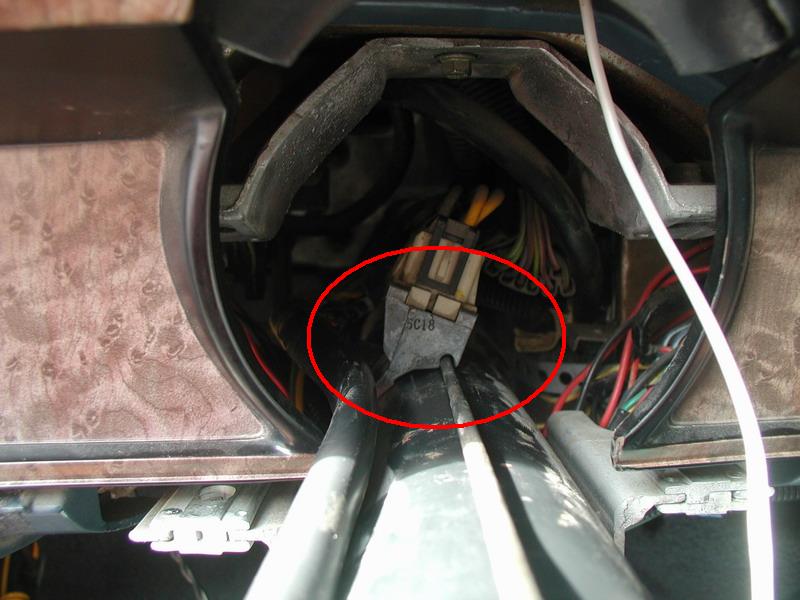
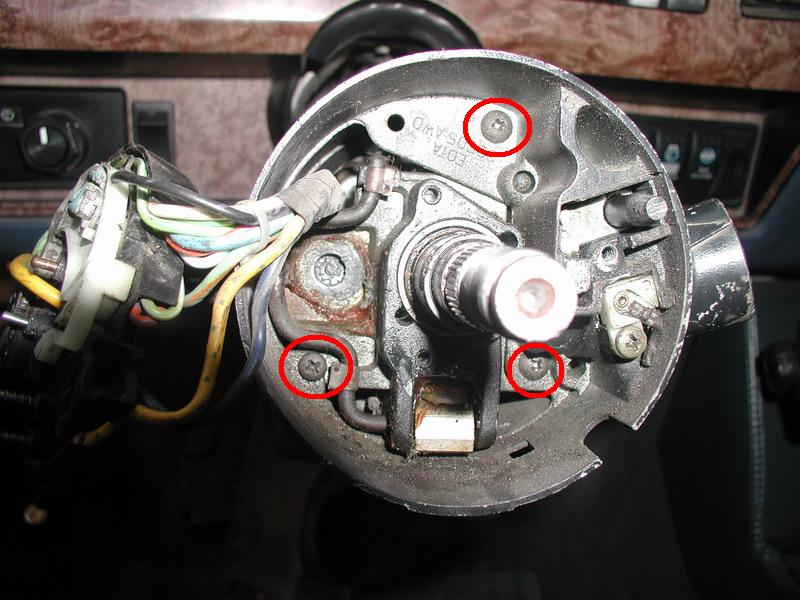
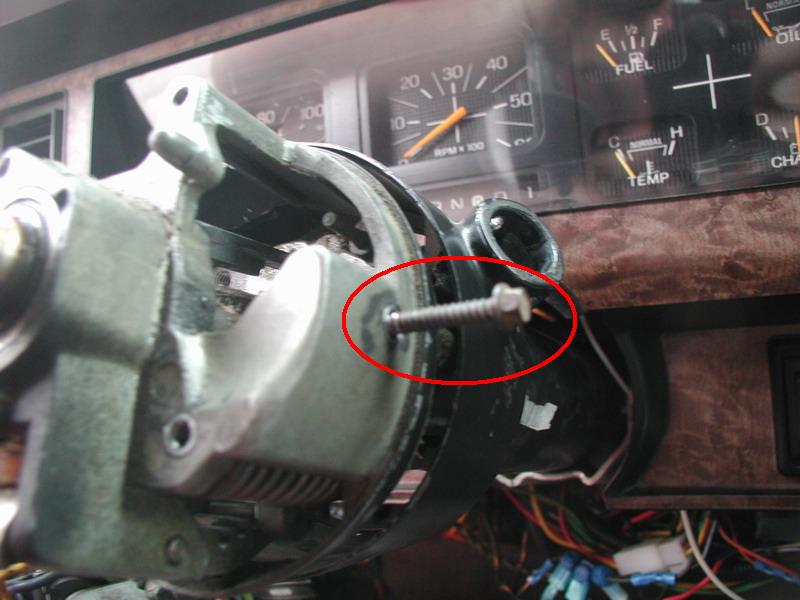
Lower the steering column and remove the two (11mm) bolts holding the ignition switch to the
steering column. Separate the ignition rod from the ignition switch and pull some slack for
the wiring harness running up the column. Raise the column and bolt it back to the dash.
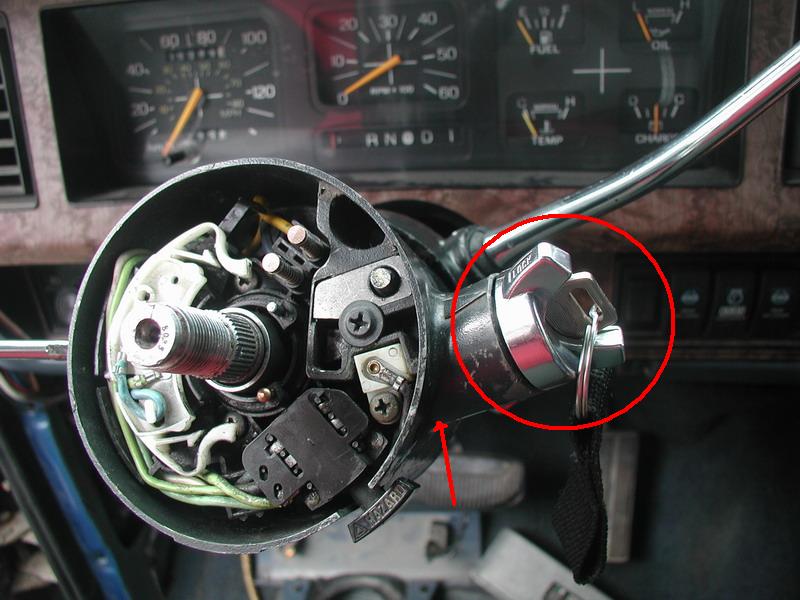
Turn the ignition cylinder to "on", press in the retaining pin and pull out the cylinder.

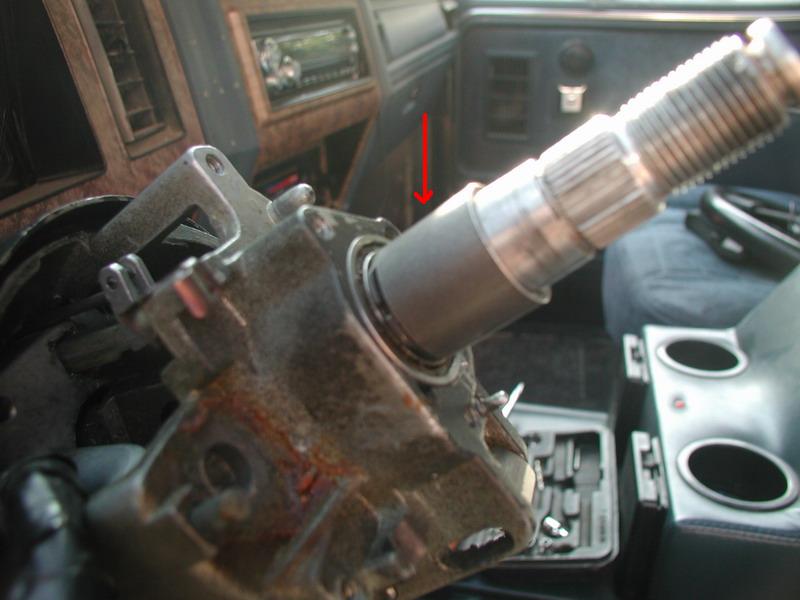
Remove the snap ring.

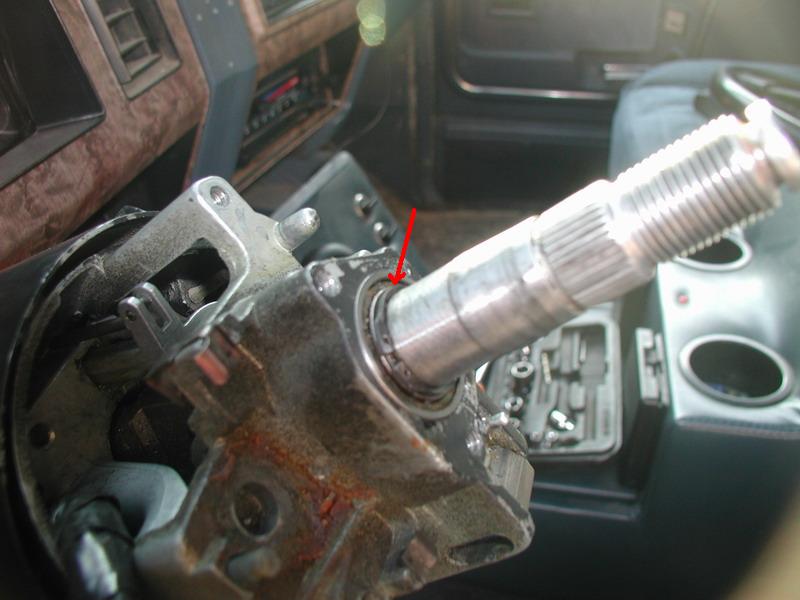
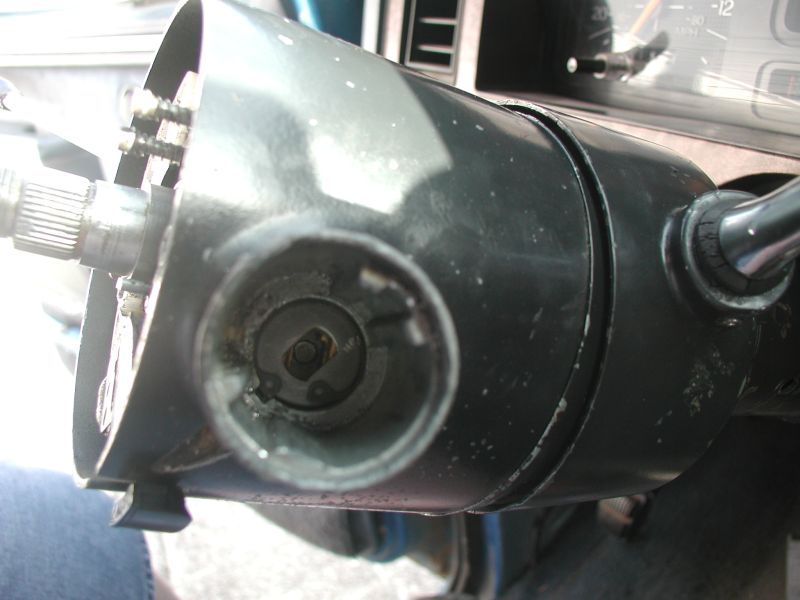
Remove the bearing.

Remove the drive gear.
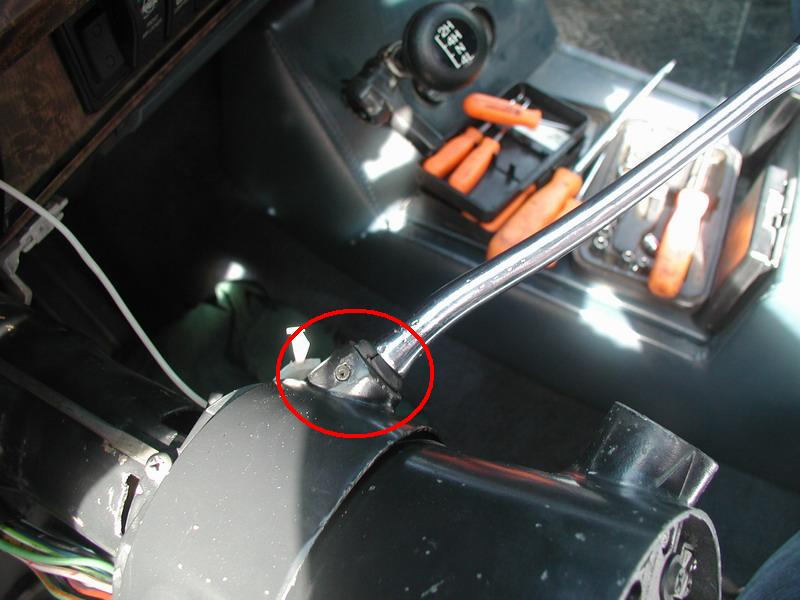
Drive out the roll pin and remove the shift lever and rubber boot.
Unscrew and remove the turn signal lever.
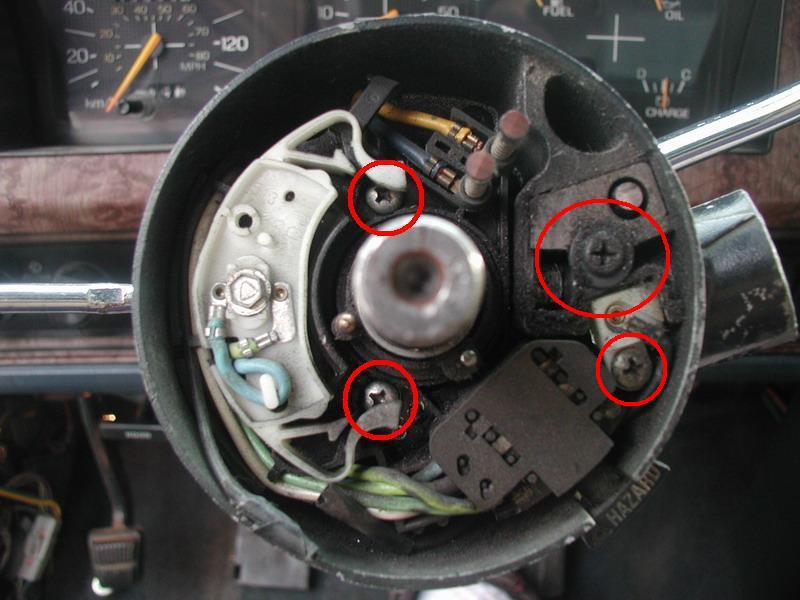
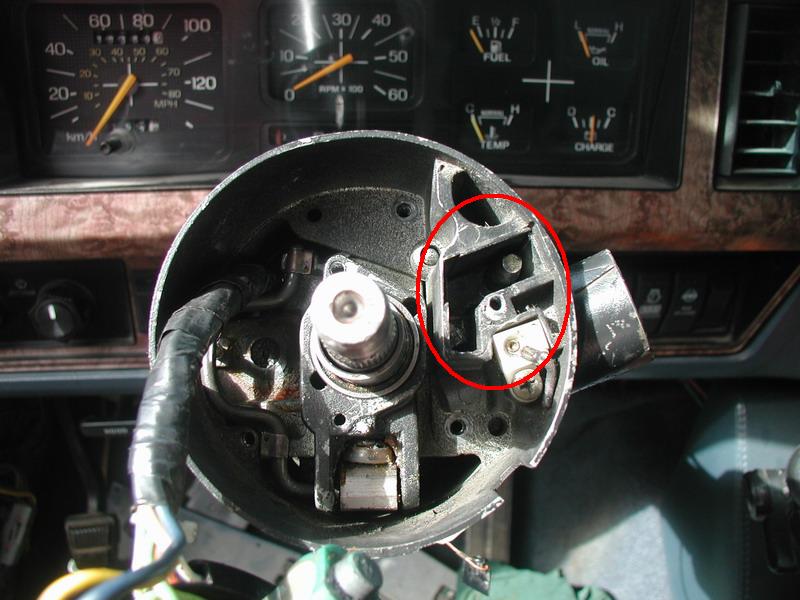
Remove the screw holding the key buzzer terminal and the two screws for the turn signal switch; slide
both parts out. Remove the screw right below the steering wheel lock pin and pull out the retaining block.
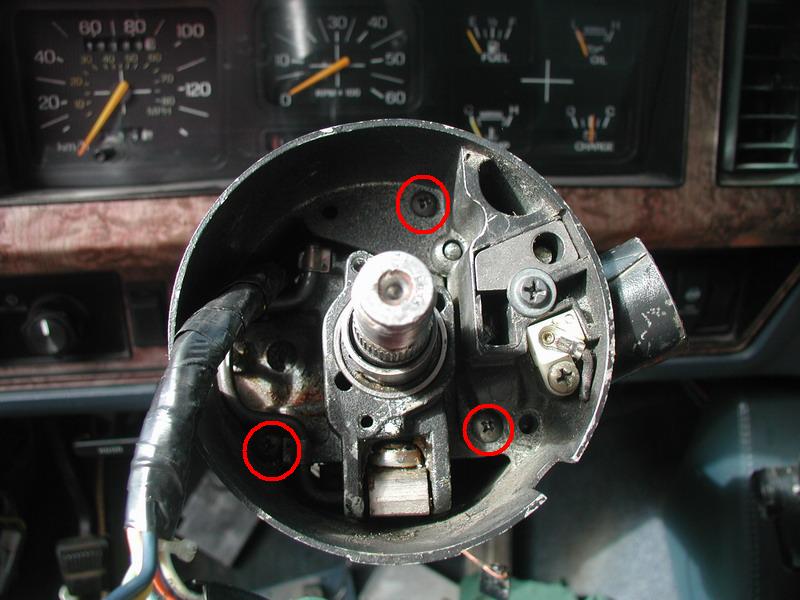
Undo the three screws and slide off the upper cover.
Slide off the collar.
Remove the snap ring.
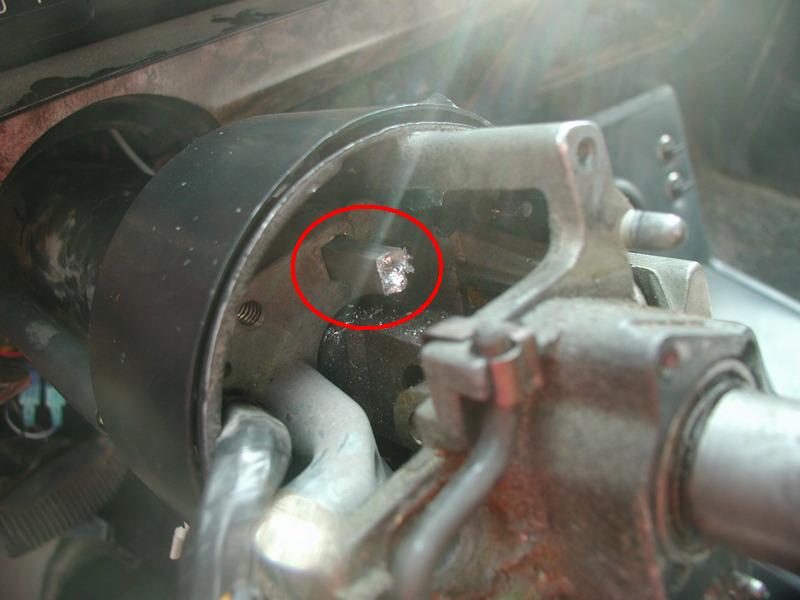
Finally!
The actuator was broken flush with the housing.

I tried to pick at it but that drove it in more.
Not knowing how long it was, I tried to drive it
out the other side, but it bottomed out.

I drilled a small pilot hole in the actuator.
Then used a pick to pry it out.
I figured I could take it out this way.

Not so. Again, not knowing how long the
actuator was, it hits the upper tilt flange.

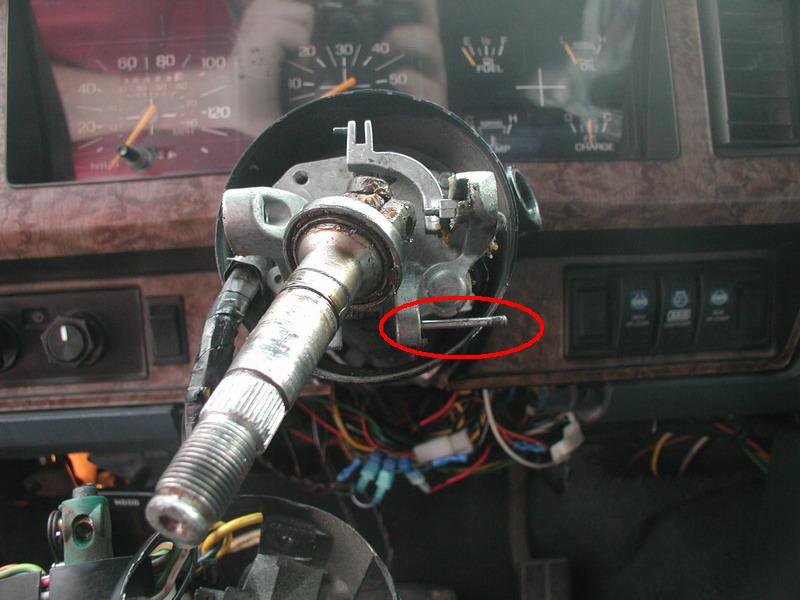
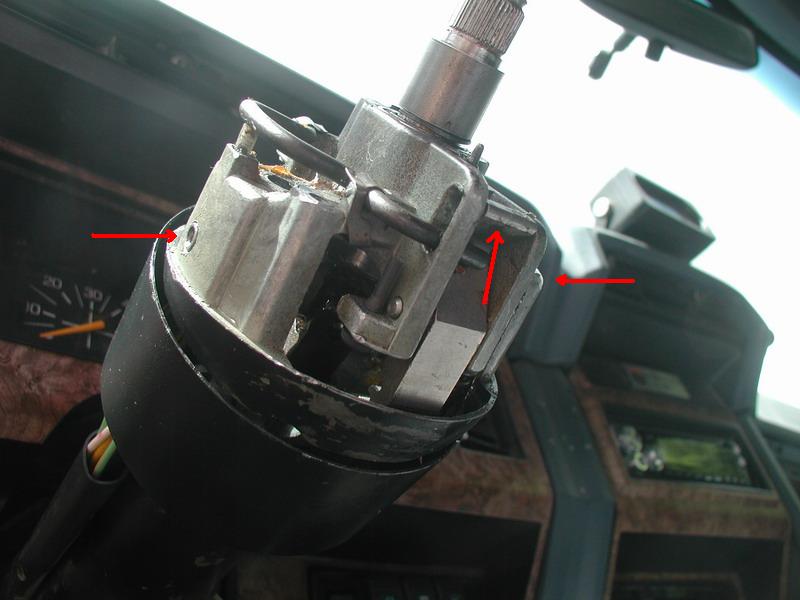
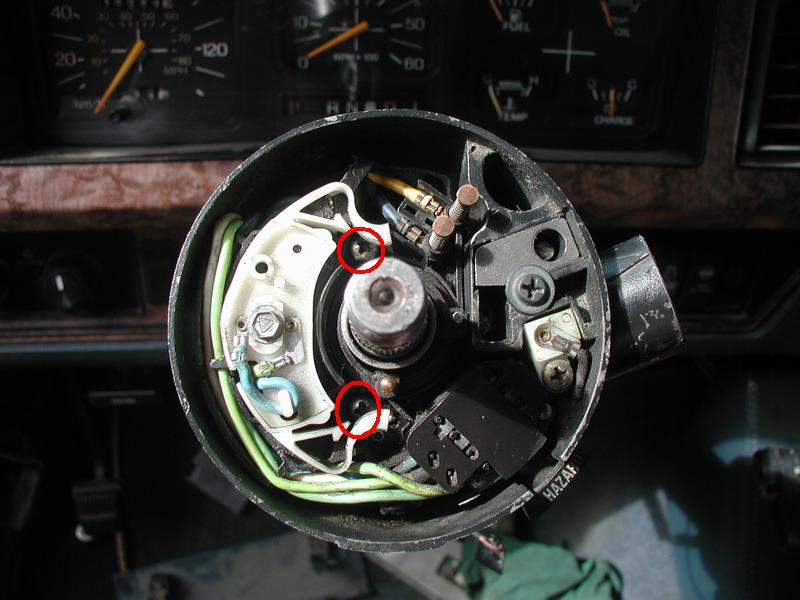
Remove the two pivot pins.
Thread a screw into the pin; when the pin starts to rotate, lightly pull it out.
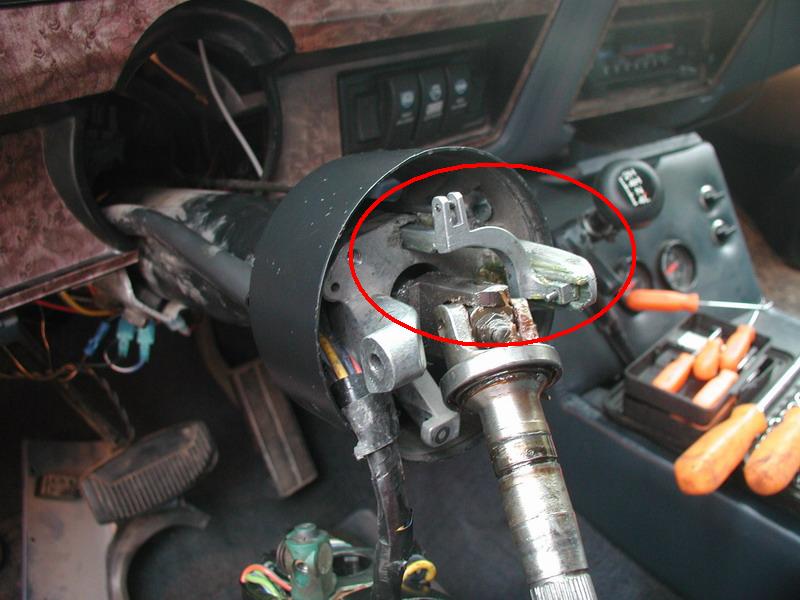
I thought I needed to drive out this lock pin that the tilt jaw (see next picture) locks onto, but
it turns out that you can press upwards on the tilt jaw and pull outwards to clear the pin.
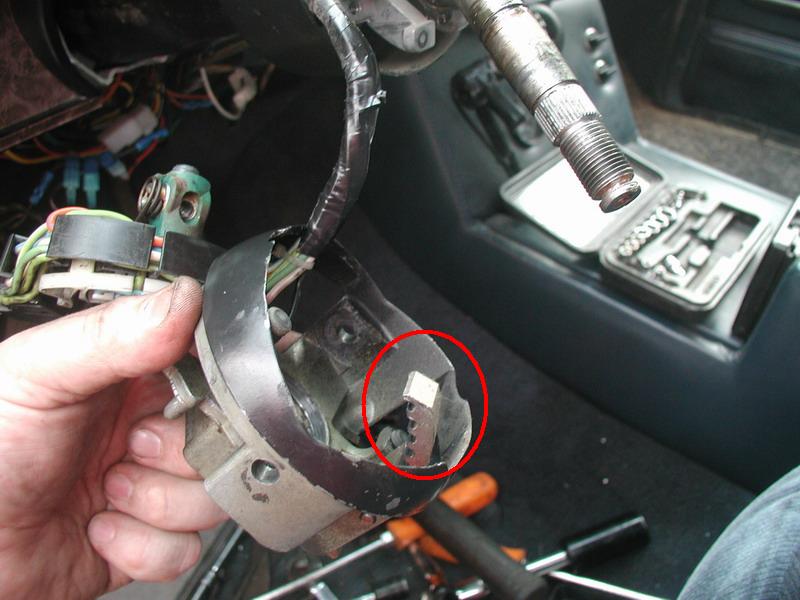
Tilt jaw.
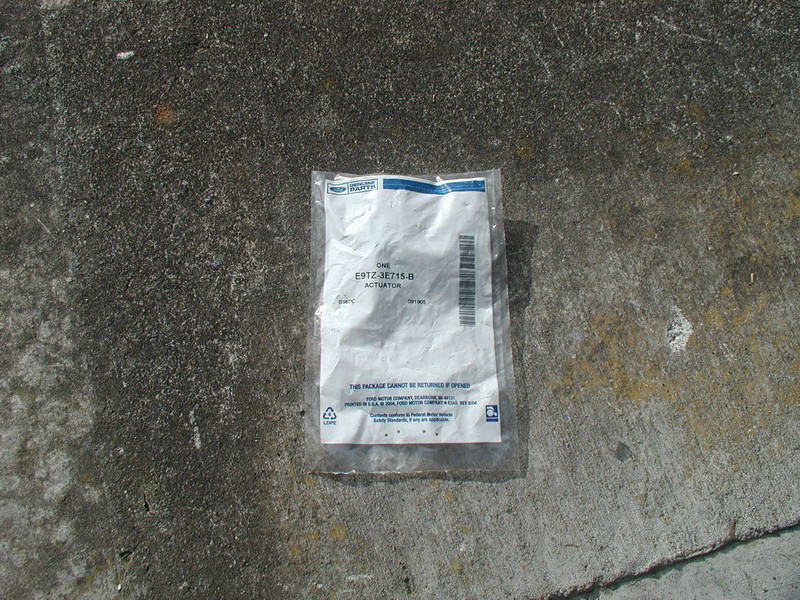
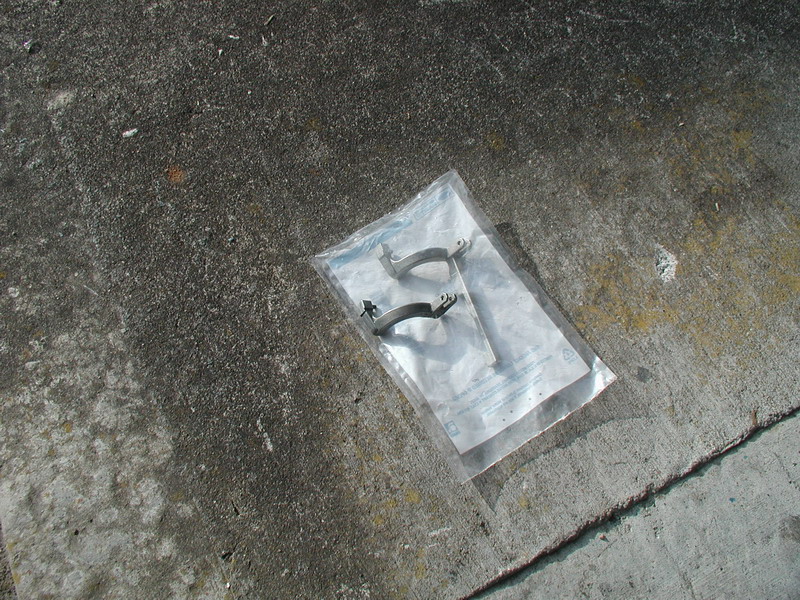
The replacement actuator. Ford #E9TZ-3E715-B.
Help (aka Motormite) also sells these, #83280.
Old vs. new.
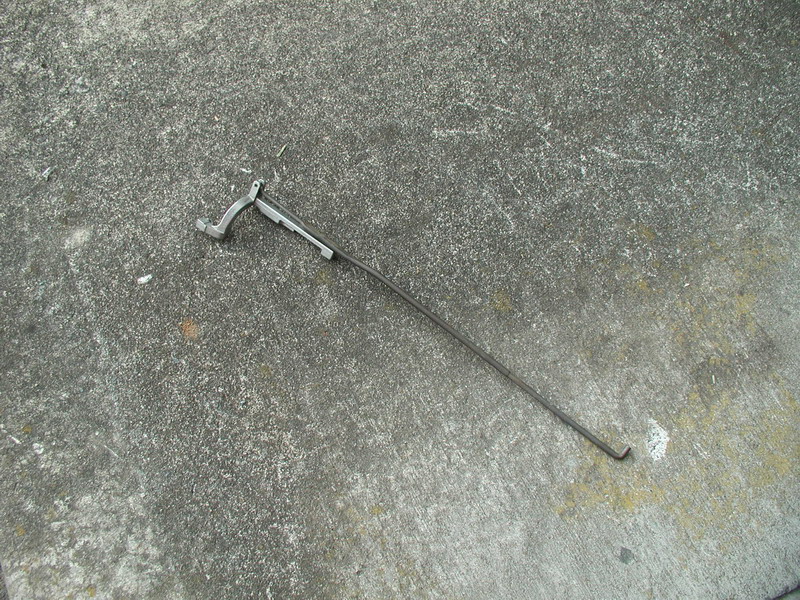
New actuator with the old ignition rod.
Put a light coat of grease on the new actuator and install.
At this point, make sure the column is bolted up to the dash. If it isn't, several parts will be slightly out of alignment
and will not work properly when you have everything back together. Ask me how I know. ;-)
Lower the tilt jaw to clear the lock pin, line
up the tilt flange and tap in the pivot pins.
Carefully put the tilt spring in.
Line up the upper part of the acutuator and slide on the upper cover.

Put the retaining block back in and snug up the screw.
Put on some loctite and thread in the three upper cover screws.
Slide the signal switch on and tighten the two screws.
Re-install the transmission and signal lever's.
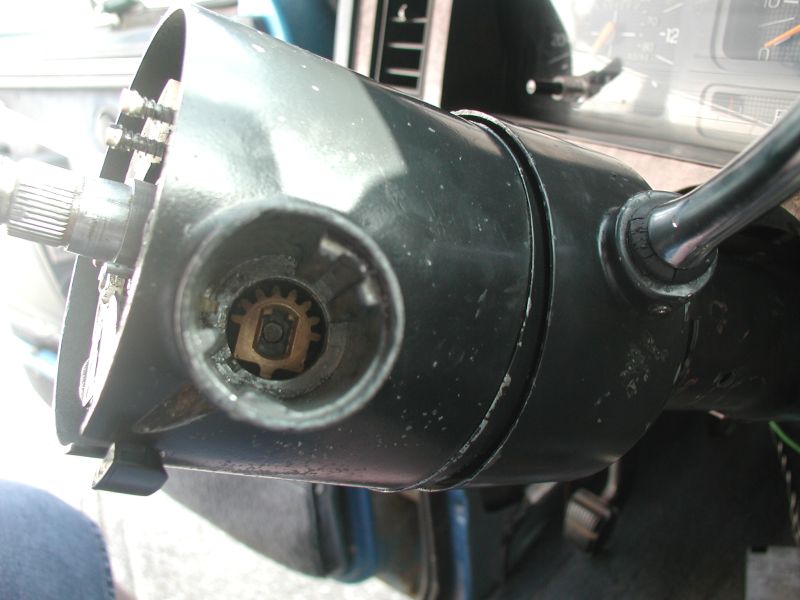
Push the ignition rod to "on" and drop in the drive gear. Use the ignition
cylinder as a reference as to what position the gear needs to be in.

Slide in the bearing; it has a tab on it so it can only go one way.
Drop in the snap ring.

Slide the cylinder in and turn it to "off" to lock it into place.

Attach the rod to the switch and snug up the two nuts.
From here, reconnect the battery, align the igntion switch and cycle the ignition cylinder.

Tighten the two bolts.

Attach the two screws. Cycle the shifter and align the indicator on the dash.
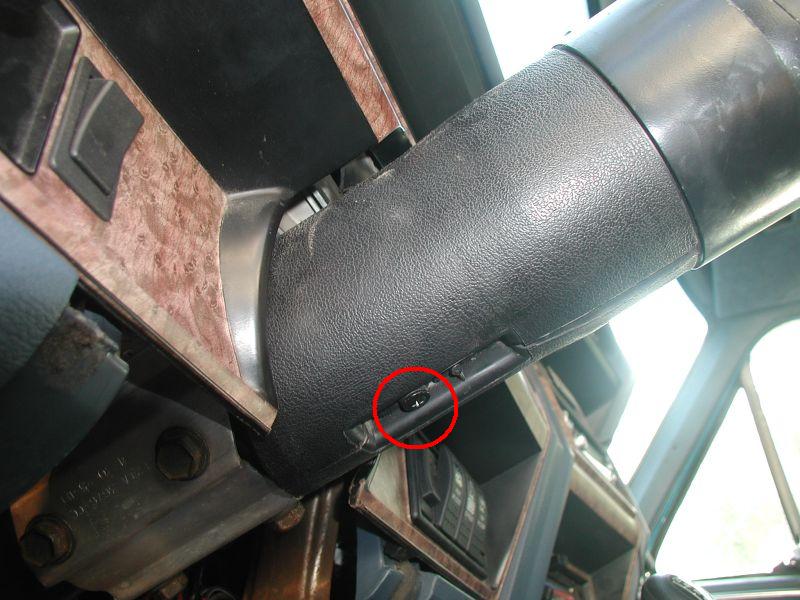
Put the cover back on and snug up the screw.

Place the panel back and install the two screws
Get the steering wheel on, double check that everything is tight, and you're all done!