Lowering
Since buying this car two years ago, my plan has always been to lower it. These cars look much better when lowered, and I was growing tired of the leaking rear struts, and
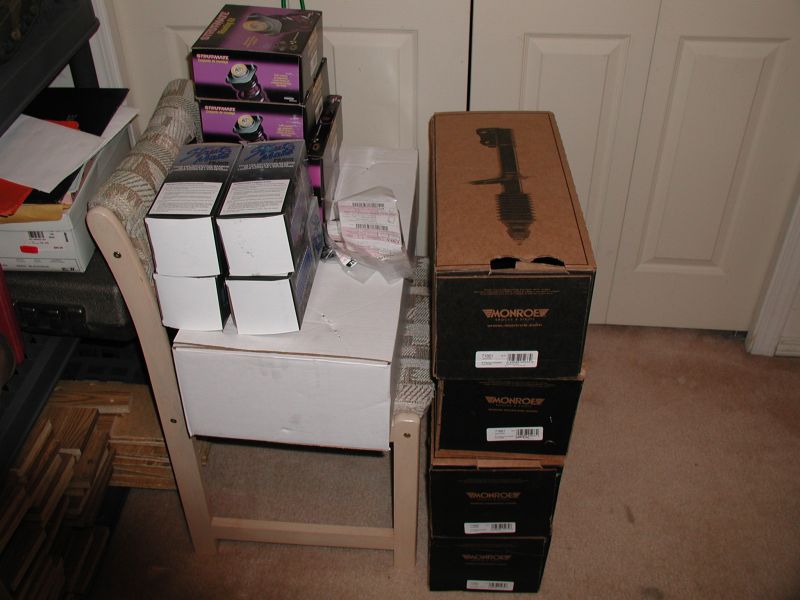
the mushy, saggy suspension. I did a some research and came up with a parts list that suited my needs. Here is the result.....
| Parts
List |
|||||
| PART |
BRAND | PART # |
QTY |
LOCATION |
|
| strut |
Monroe |
Sensa-Trac |
71661 |
2 |
front |
| bearing plate |
Monroe |
Strut-Mate |
902973 |
2 |
front |
| boot kit |
Monroe |
Strut-Mate |
63622 |
2 |
front |
| strut |
Monroe |
Sensa-Trac |
91662 |
2 |
rear |
| bearing plate |
Monroe |
Strut-Mate |
902968 |
1 |
rear, right |
| bearing plate |
Monroe |
Strut-Mate |
902969 |
1 |
rear, left |
| boot kit |
Monroe |
Strut-Mate |
63973 |
2 |
rear |
| "anti-pogo" washers |
GM |
- |
10203412 |
4 |
front & rear |
| coil springs |
SSC |
- |
24-5211 |
1 |
front & rear |
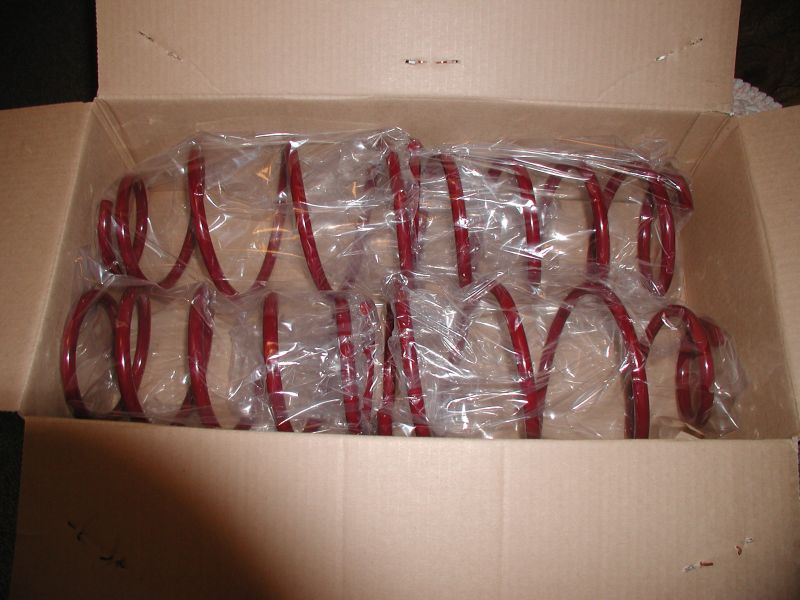
Coil springs. Drop: 1.8" front, 1.6" rear.
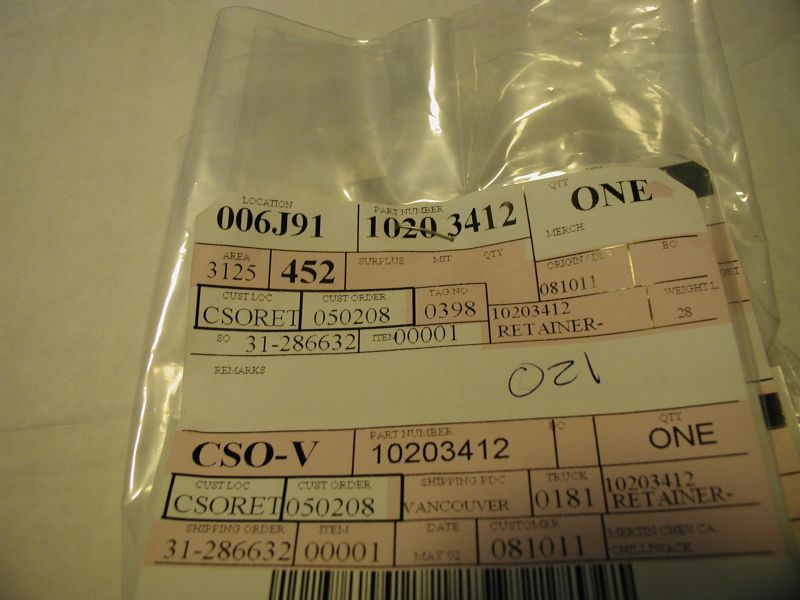
"Anti-pogo" washers.
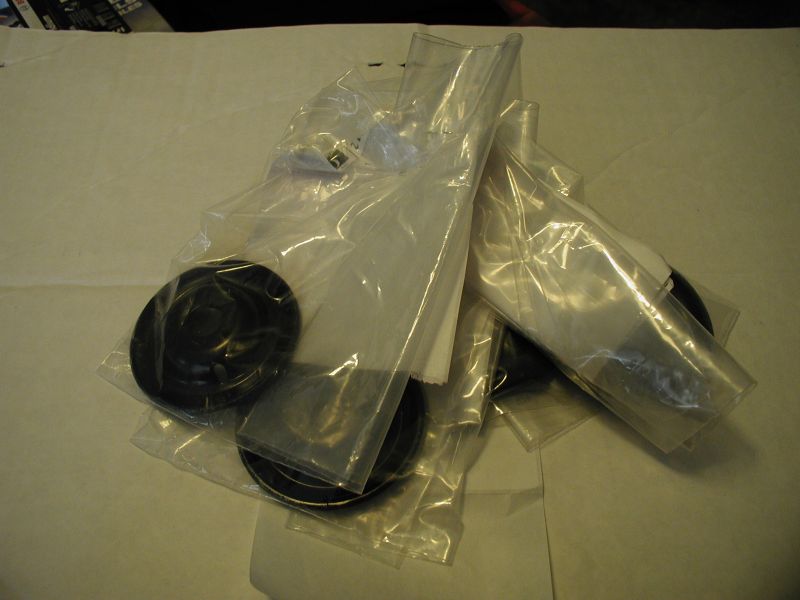
All the parts ready to be installed.
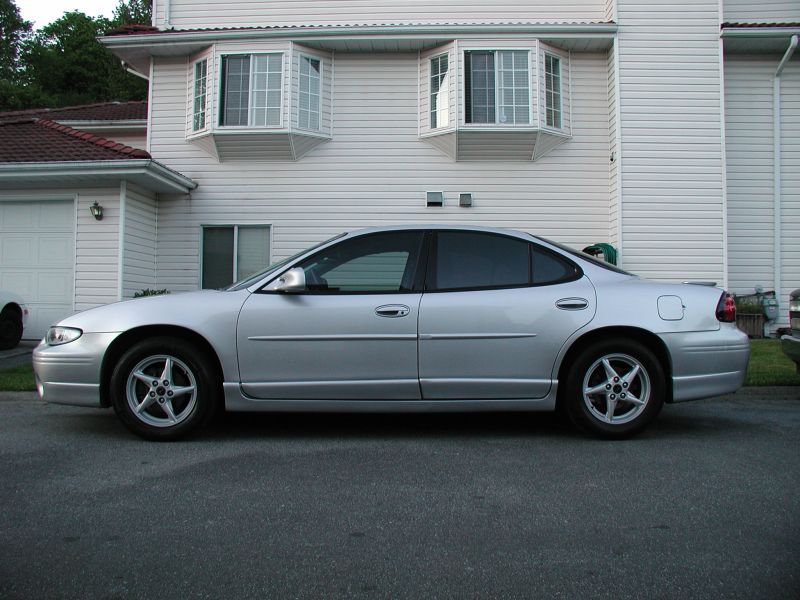
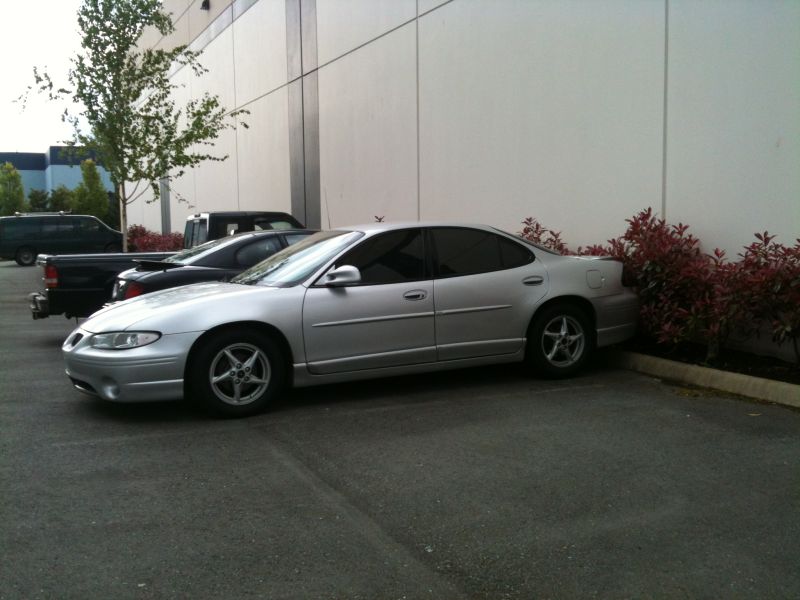
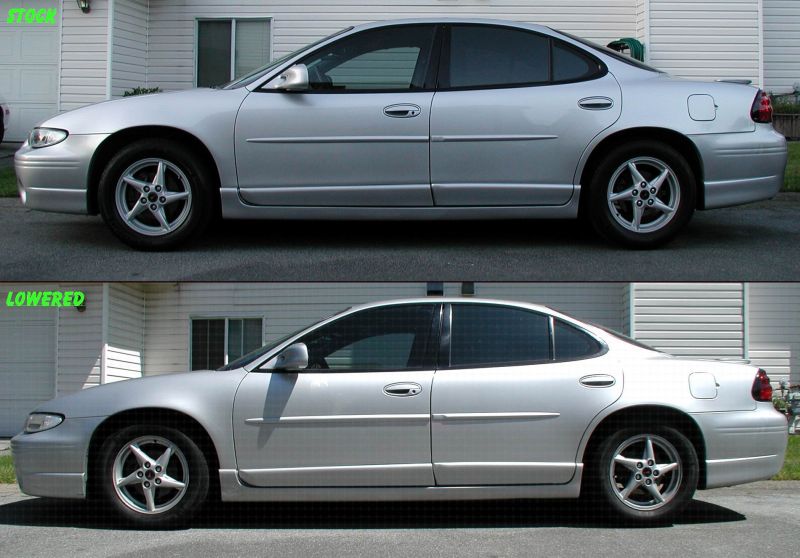
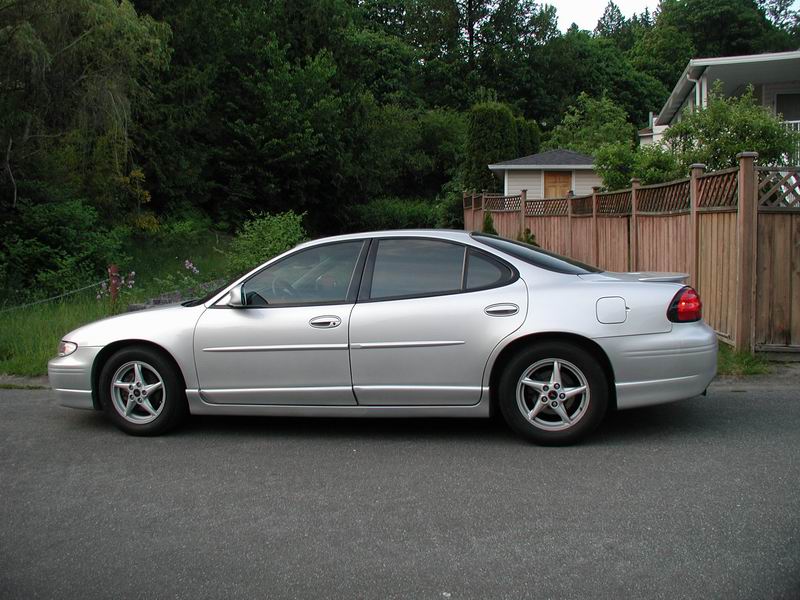
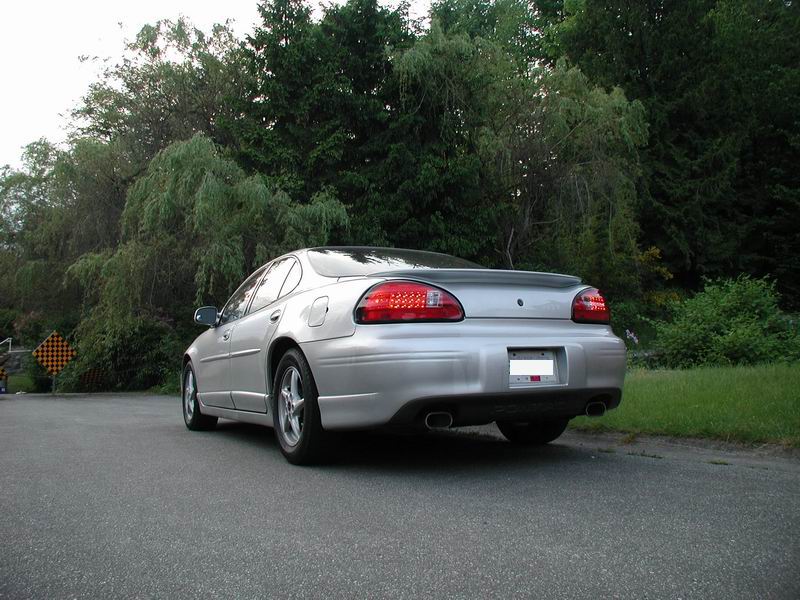
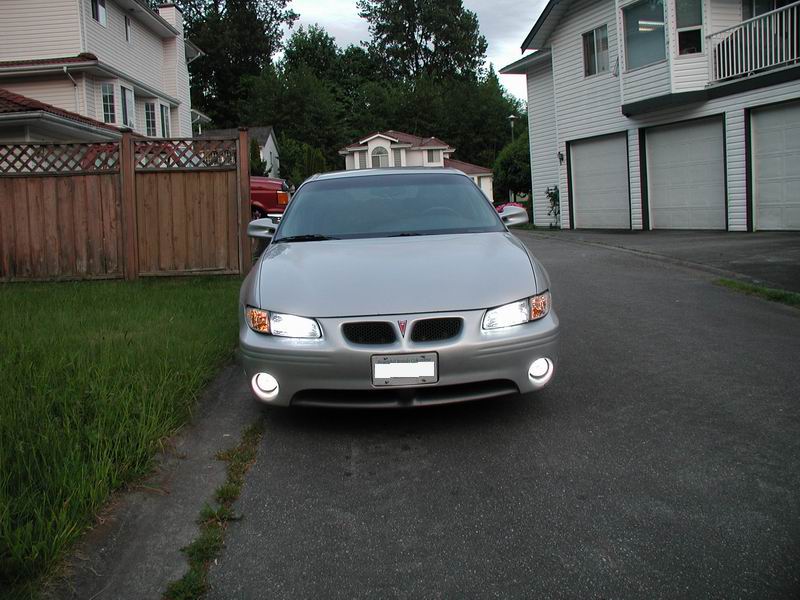
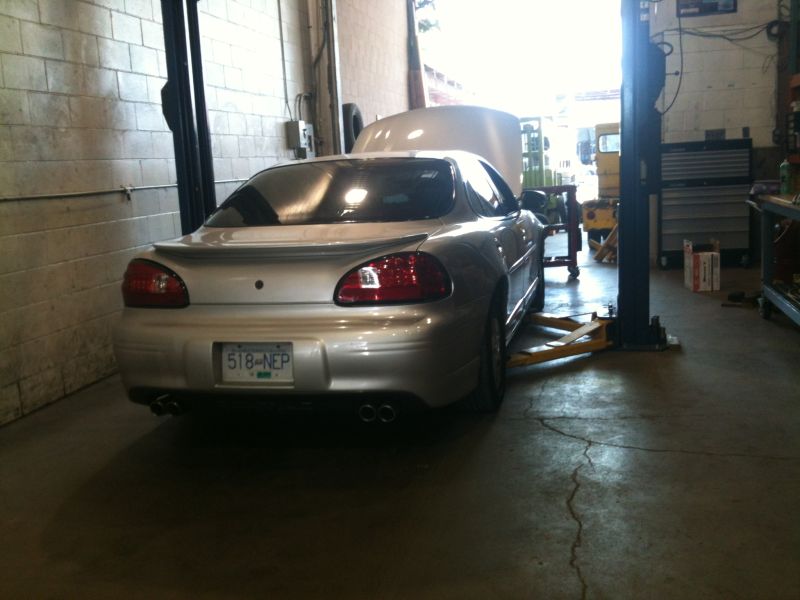
Showing the stock stance with the original struts and coils that have over 240,000 km on them.
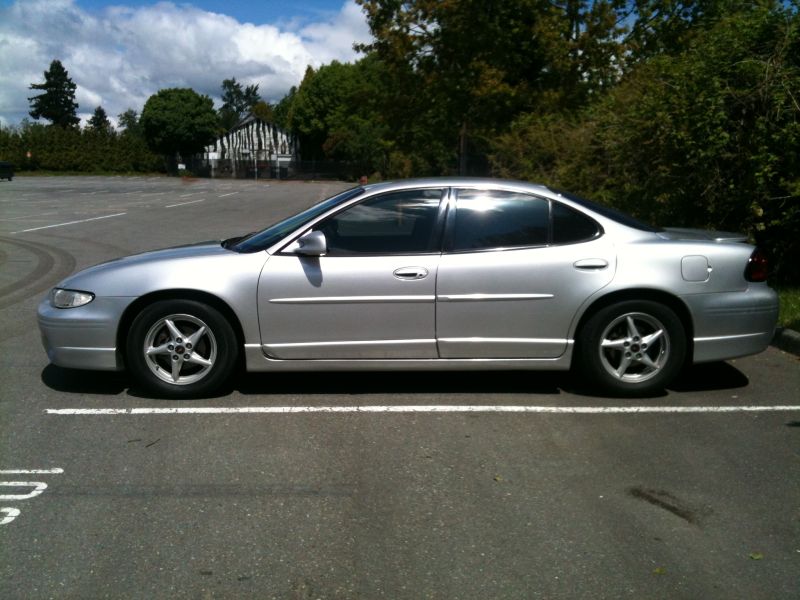

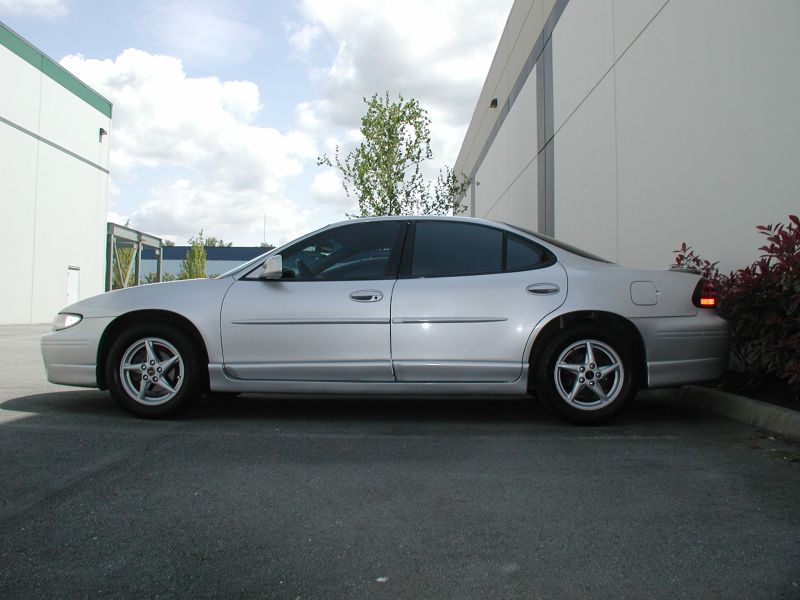
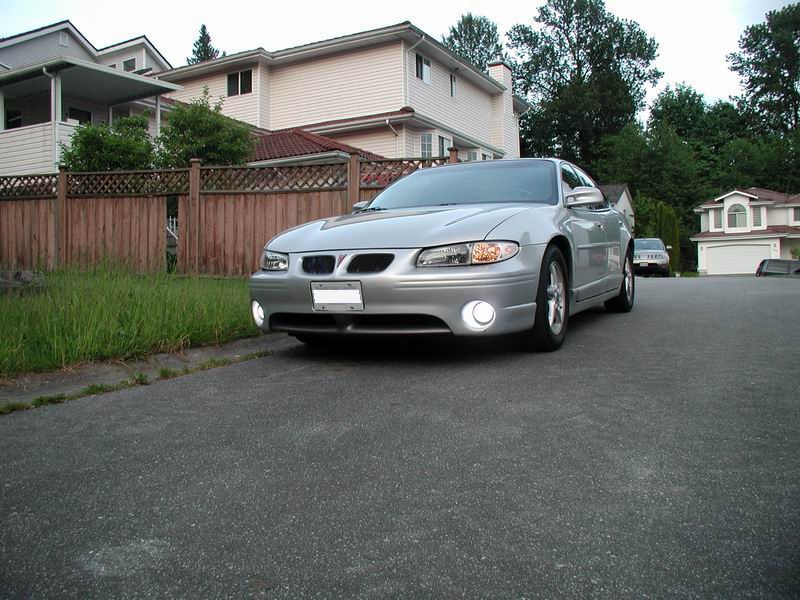
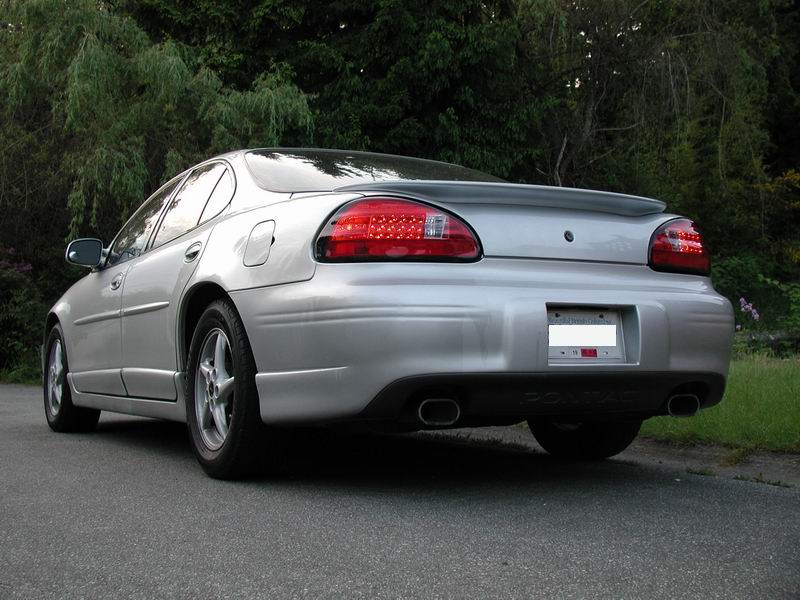
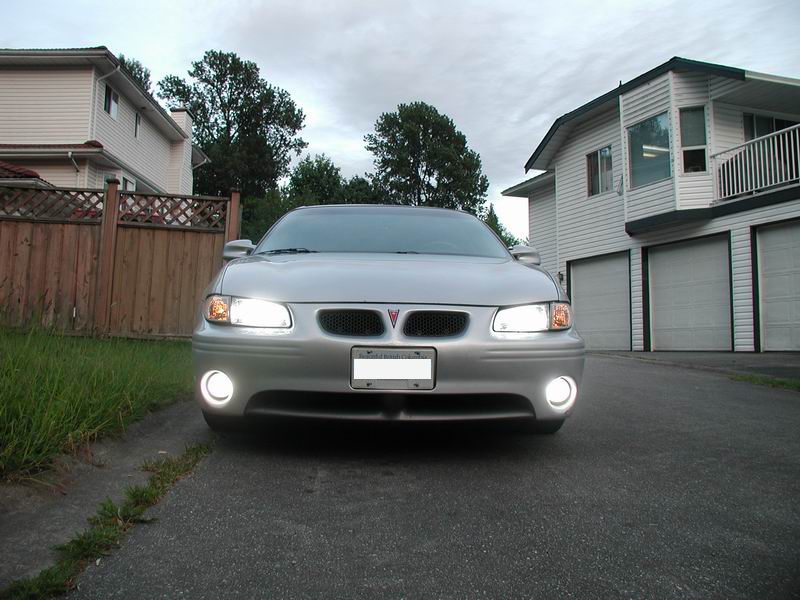
Showing the lowered stance the day after the new parts were installed. Big thanks to NVS for doing the install.
| Lowering
Results |
|||
| LOCATION | AMOUNT LOWERED | ||
| Front: |
Left |
1 3/16" |
1.1875" |
| Front: |
Right |
1 3/16" |
1.1875" |
| Rear: |
Left |
5/8" |
0.625" |
| Rear: |
Right |
5/8" |
0.625" |
numbers show just how sagged out the original coils really were.
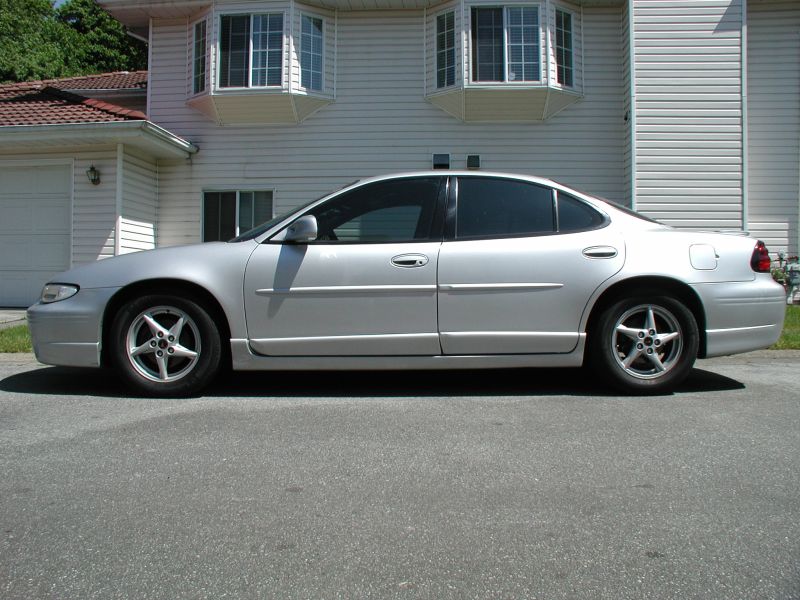
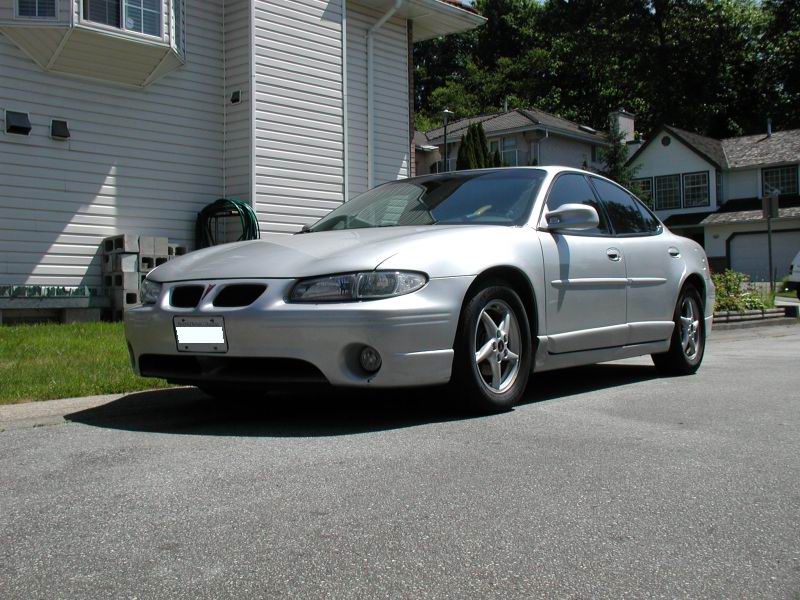
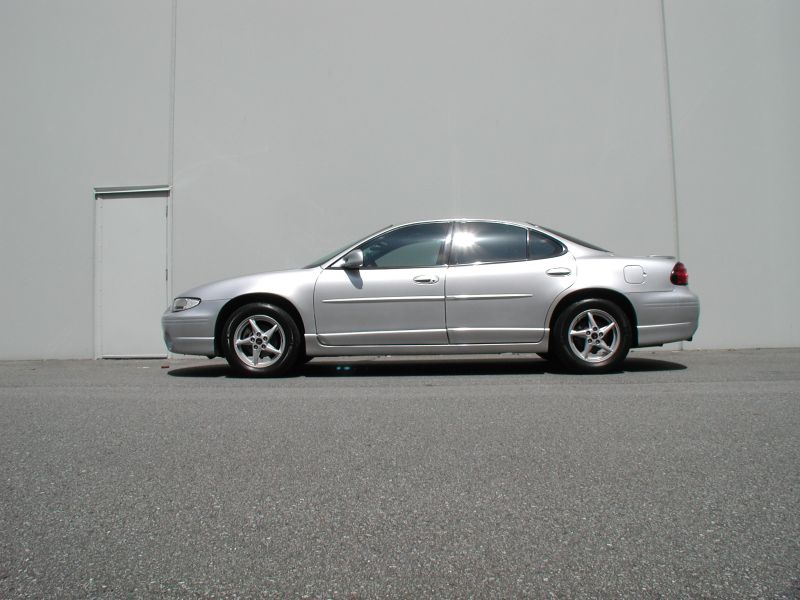
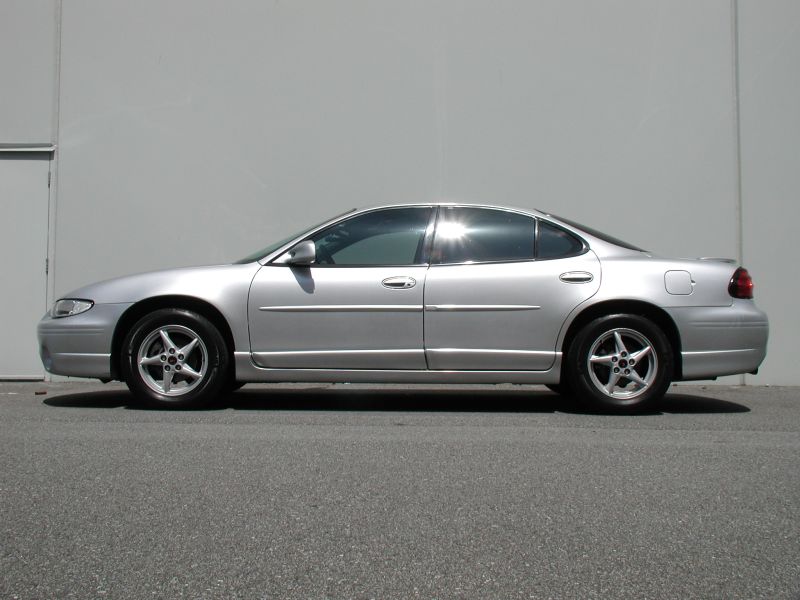
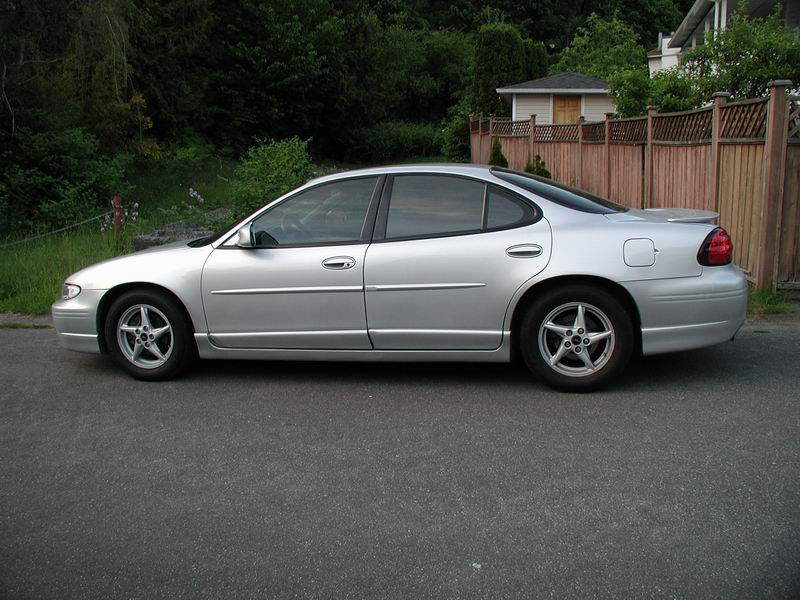
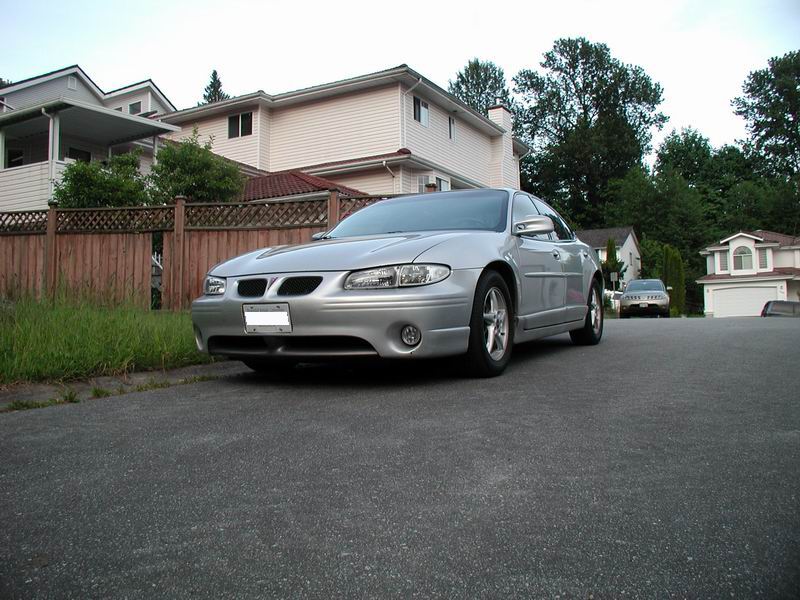
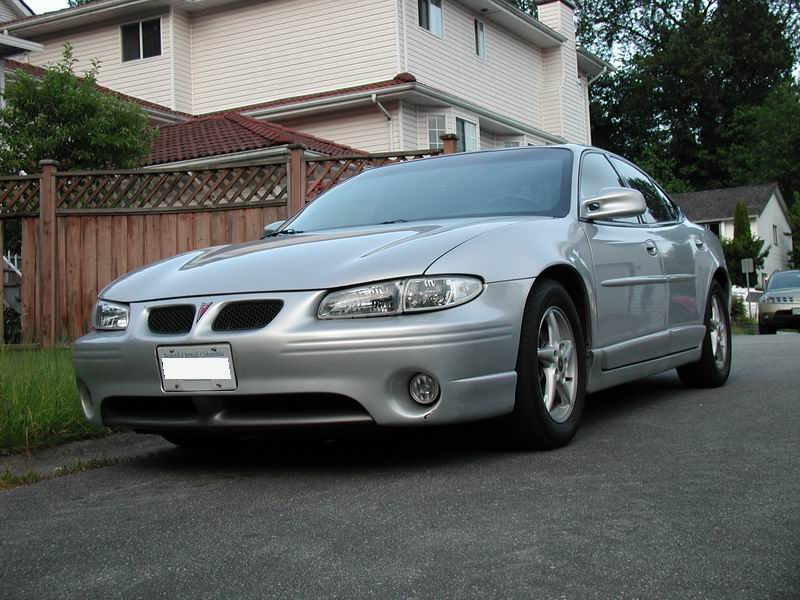
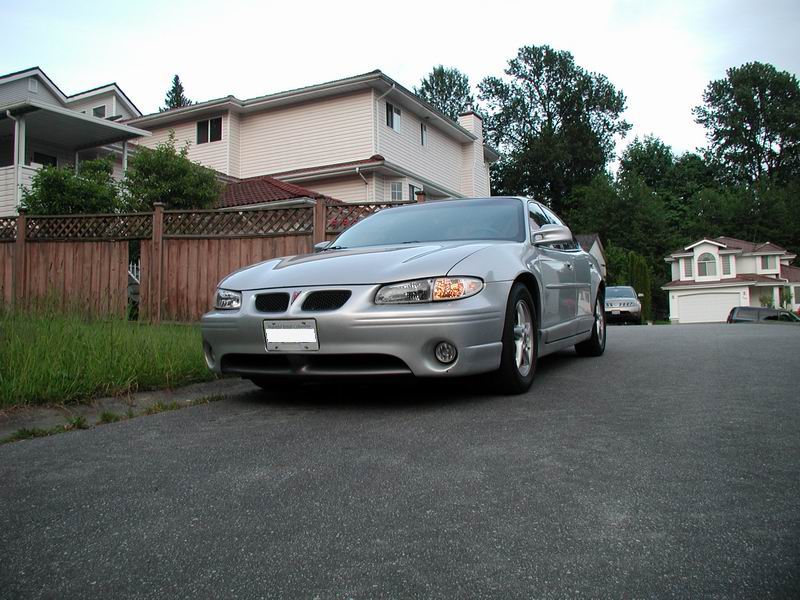
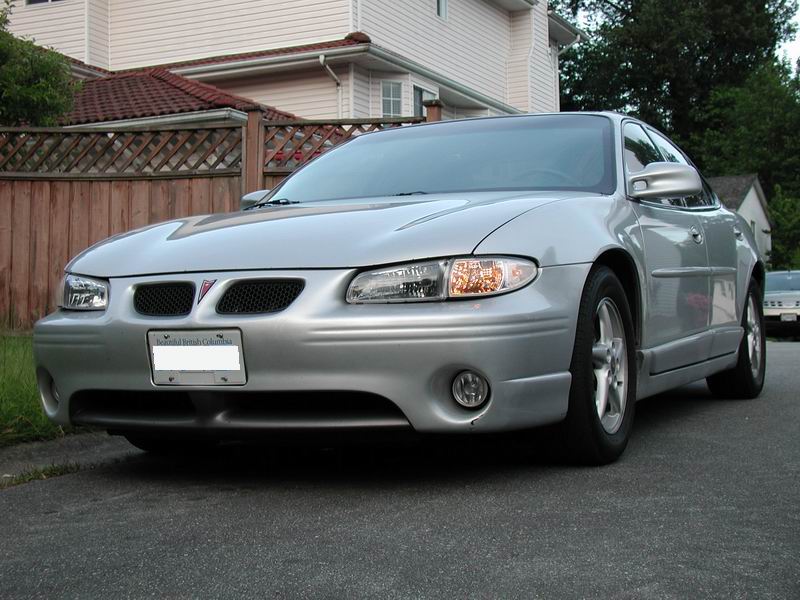
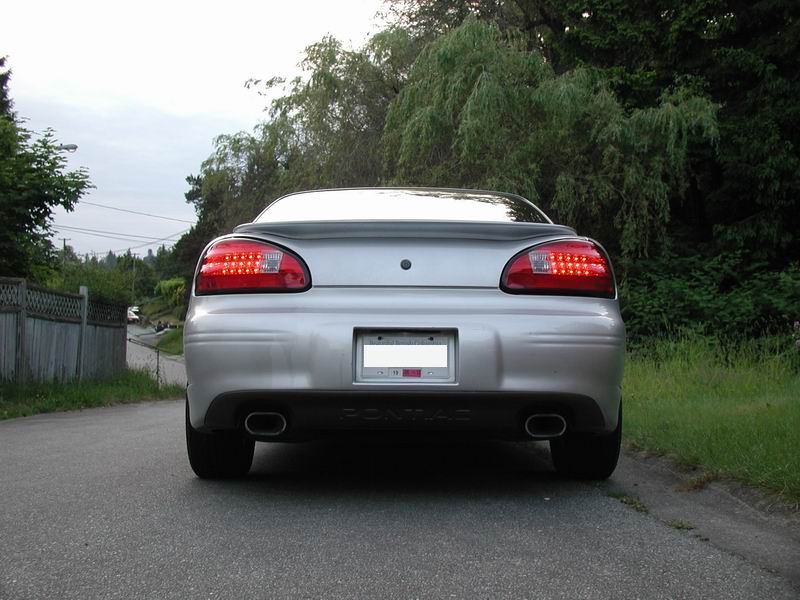
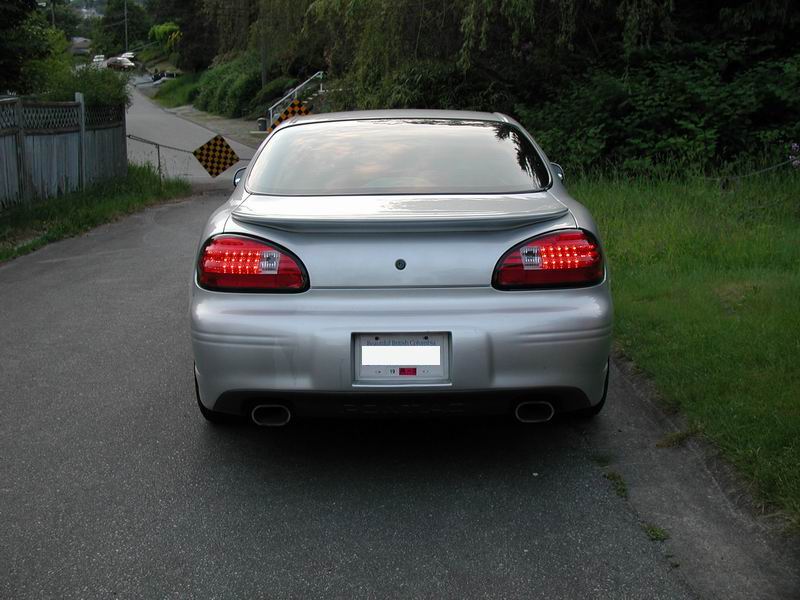
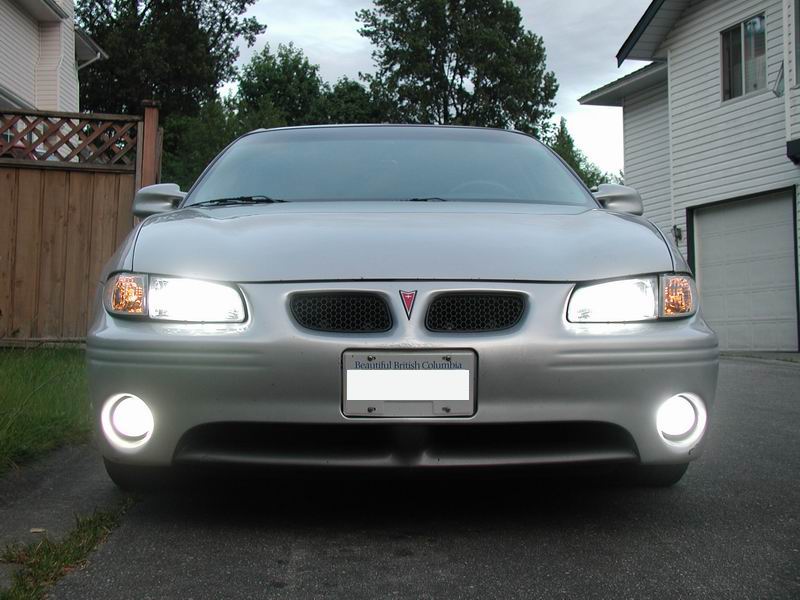
A couple more lowered pics.
Before, after.

Before and after comparisons.
After driving the car for a few days, I must say that I am very happy with the result. The stance is exactly what I wanted,
and the ride is firm, but not to stiff. Cornering is much improved, and just plain old feels better when driving. I have an
alignment scheduled for next week, and I will do a follow up report at a later date, after I put some miles on her.
May 27/2012
Took some more pictures today.....

June 2/2012
After a week of driving, I had a 4 wheel alignment done yesterday. The steering wheel is back where it should be, and she tracks nice and straight (pulled a bit to
the left after being lowered). The shop also re-packed my left inner CV boot, as it had come unclamped and lost 2/3 of the grease; this was noticed upon
insatlling the new suspension, and not a result of the new suspension. The harsh slow speed vibration I had is now gone, but I do still have a slight slow speed
vibration, and a slight hi speed vibration, which I will try and solve with some engine and transmission mount spacers.
June 4/2012
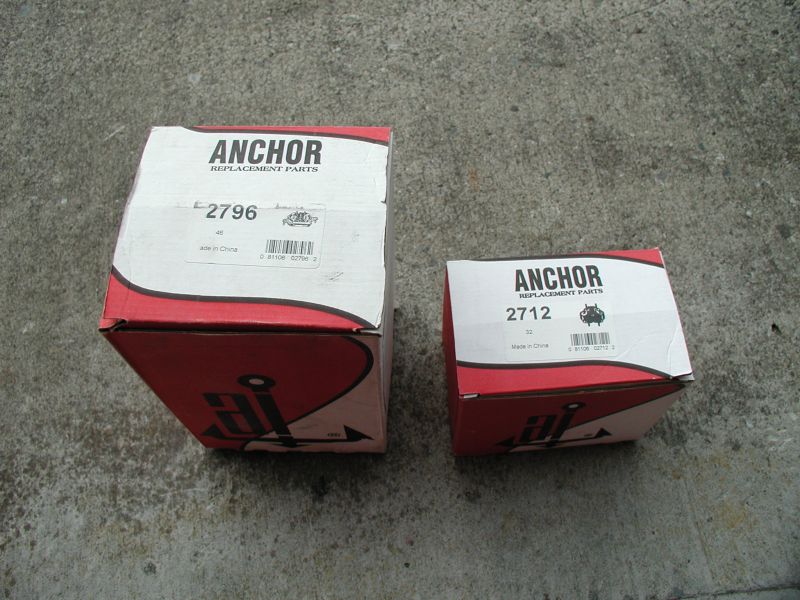
I bought a motor mount and transmission mount so I could make up some spacers.....
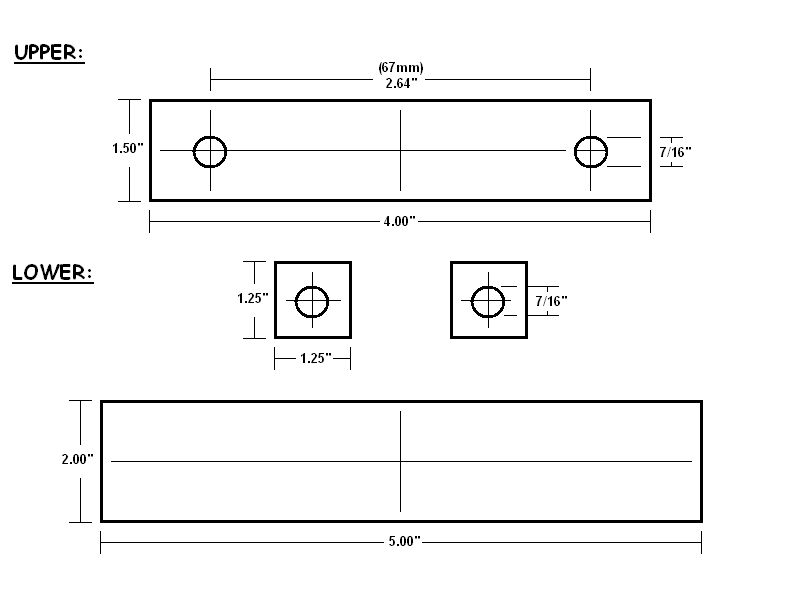
Schematic: Engine mount spacers.

Schematic: transmission mount spacers.
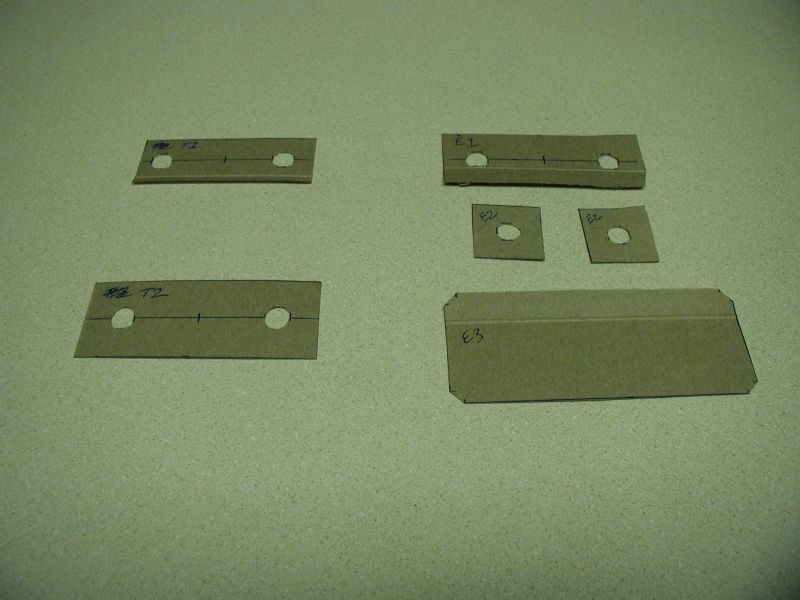
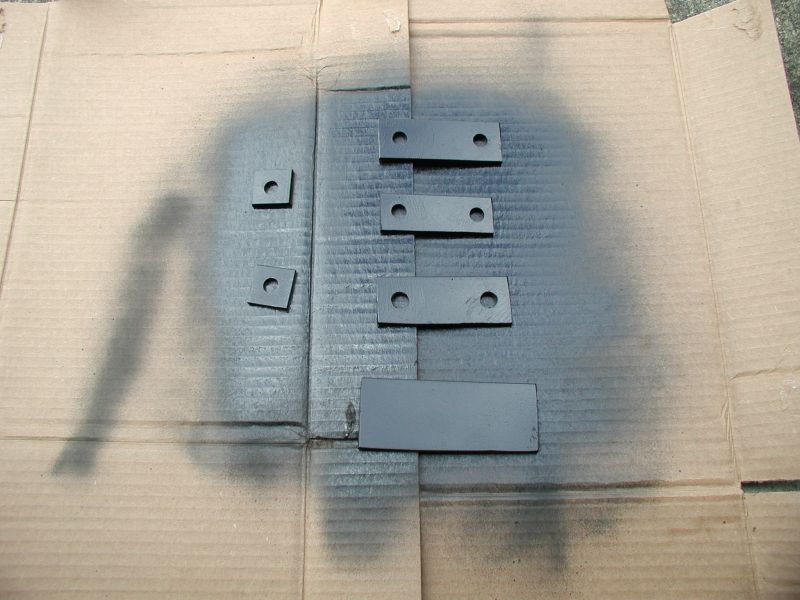
Cardboard templates.
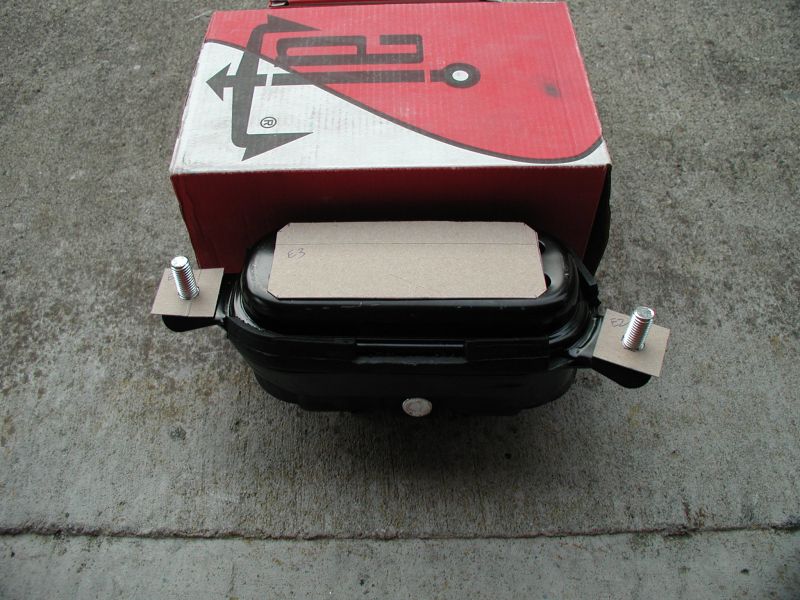
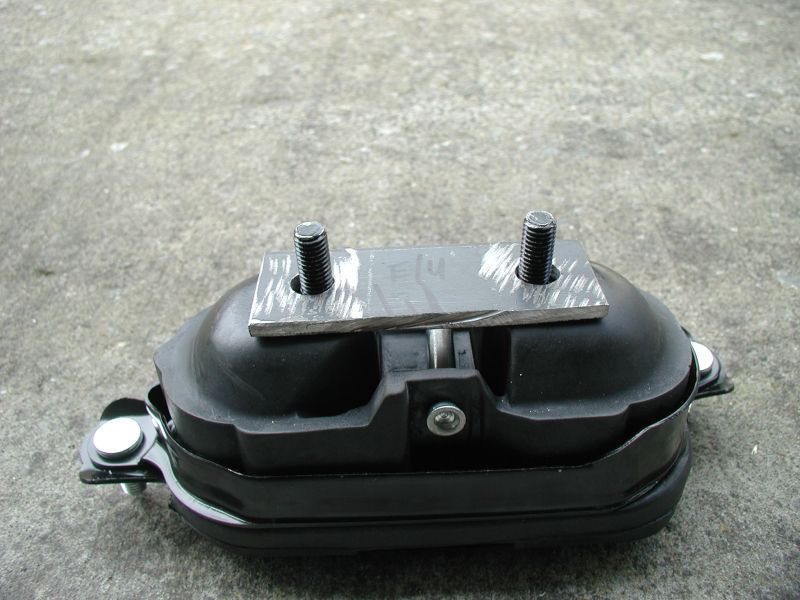
Engine and transmission mounts.
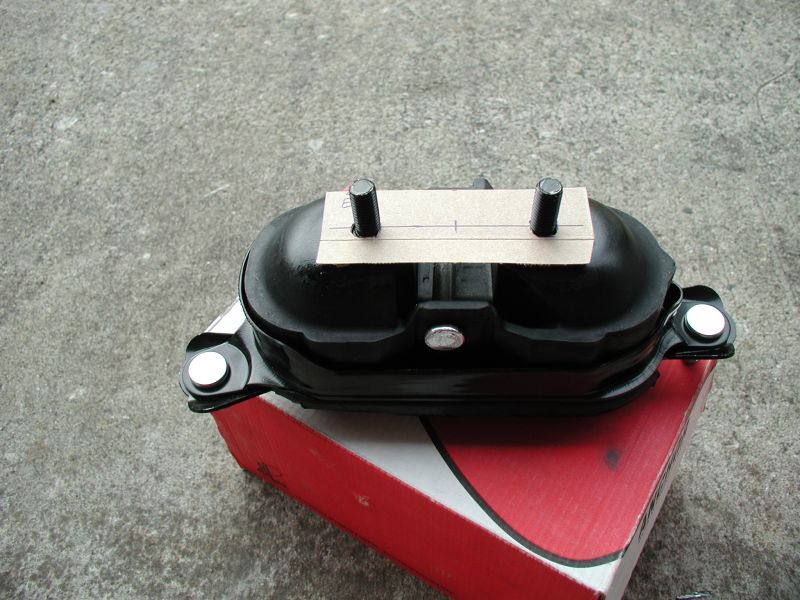
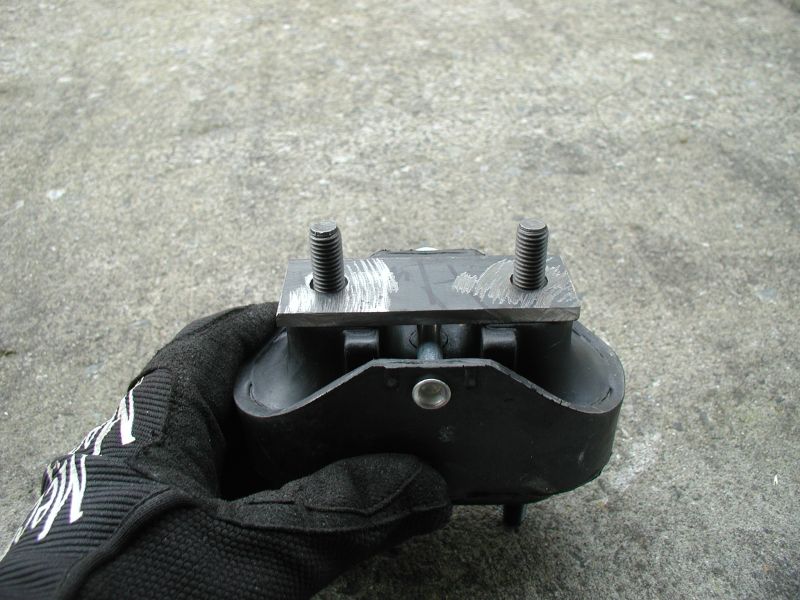
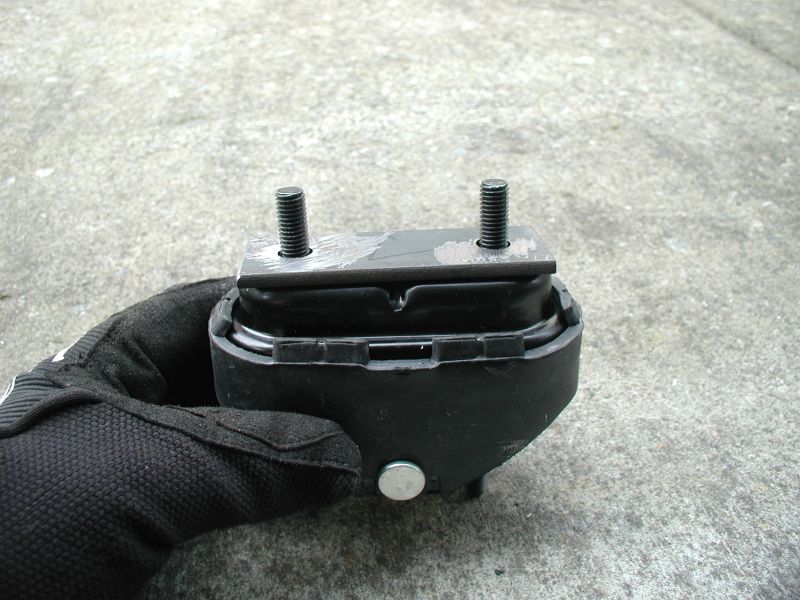
Engine mount test fit.

Transmission mount test fit.
June 11/2012
Picked up a piece of steel last week and did some cutting after work today.....
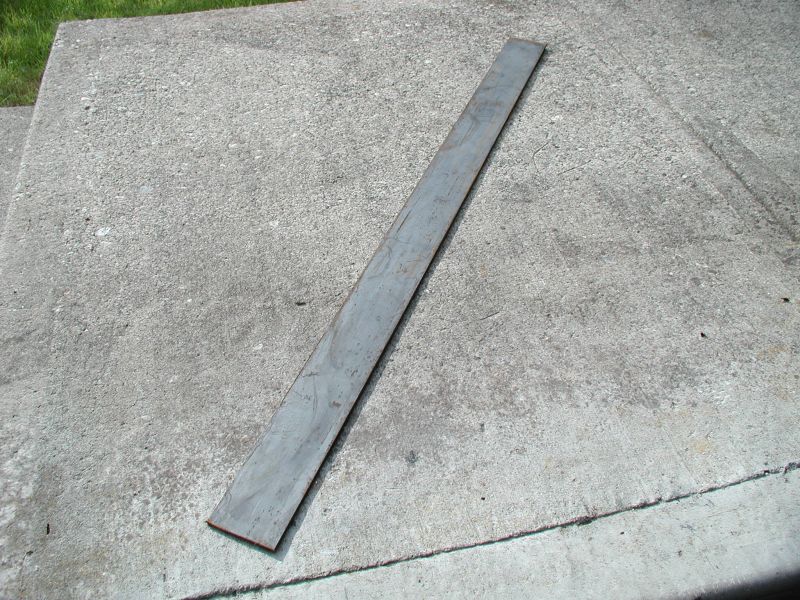
3/16" thick, 43" long, 3" wide.
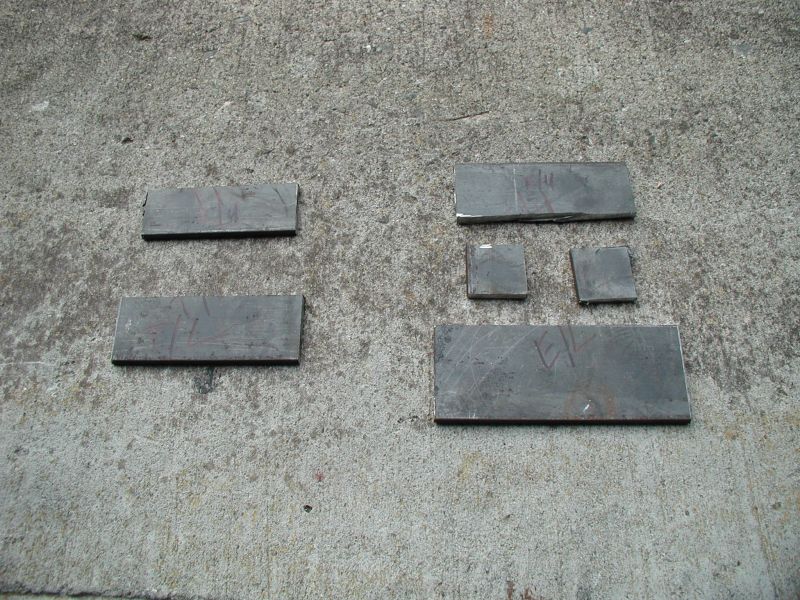
Cut to shape.
June 17/2012
Had a few hours to spare before heading out for Fathers Day, and managed to finish off the spacers.....
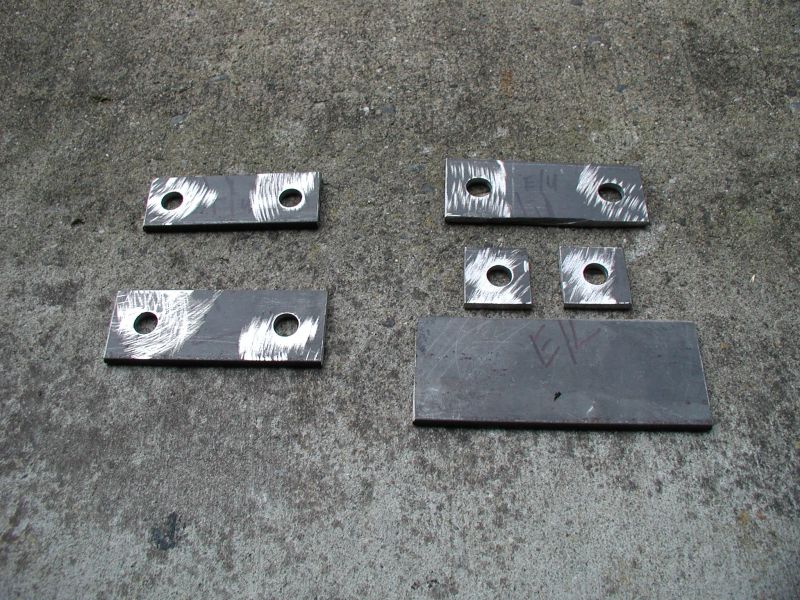
Holes drilled.
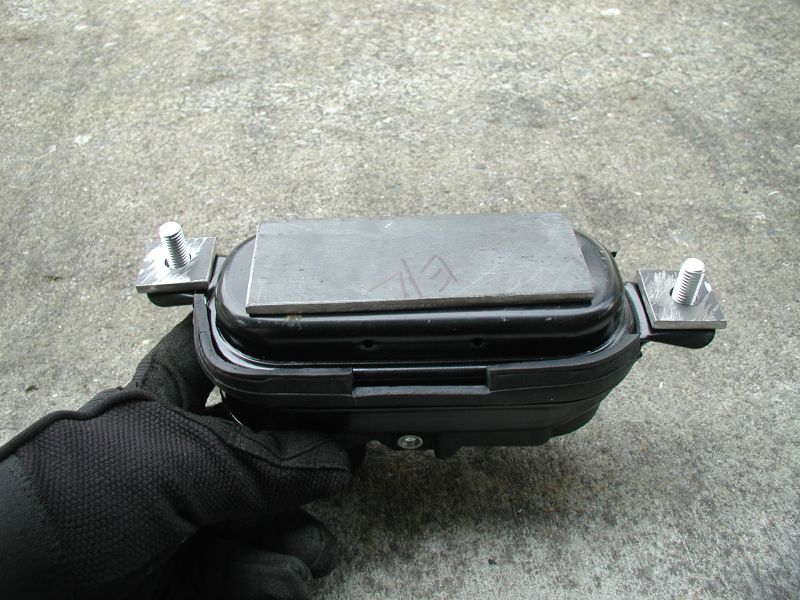
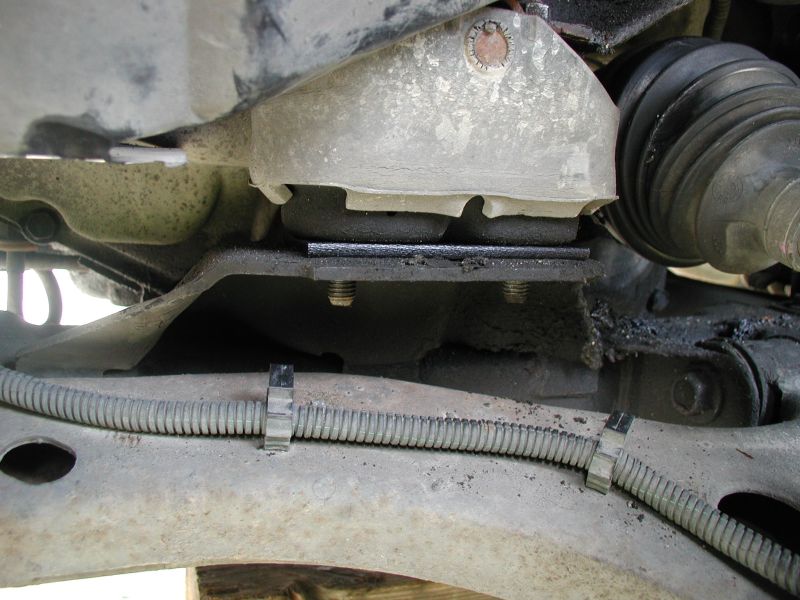
Engine mount final test fit.
Transmission mount final test fit.
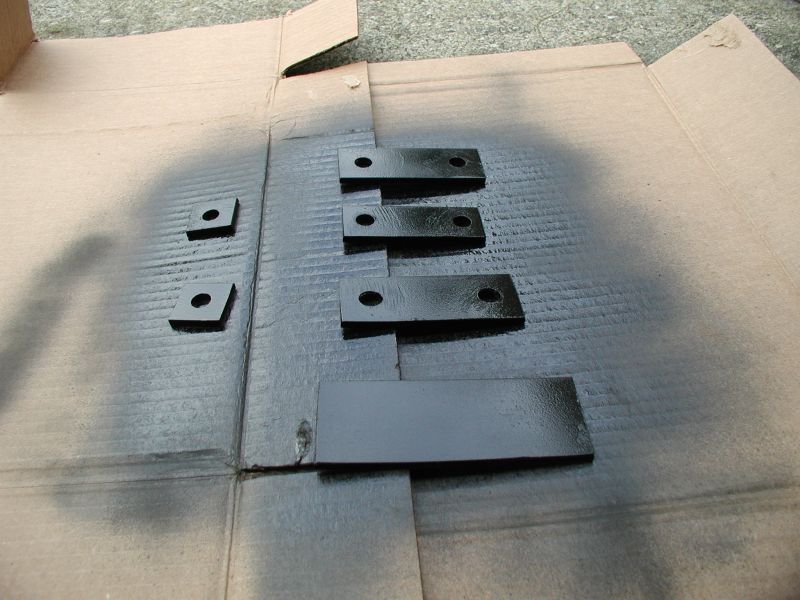
Painted and ready to be installed.
June 24/2012
The weather was nice this morning, so I installed the spacers.....
Drivers side, transmission mount: remove the two fasteners.
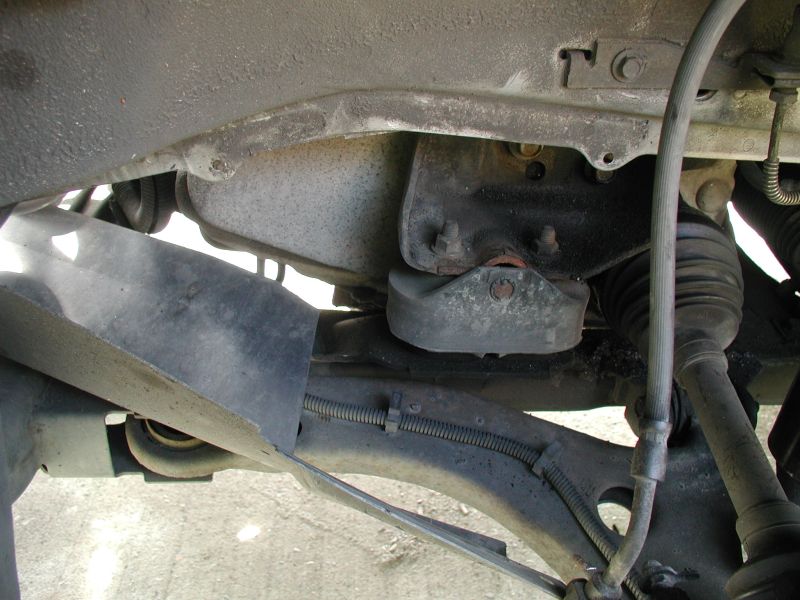
Pull down the plastic liner to expose the mount.
Remove the top two nuts.
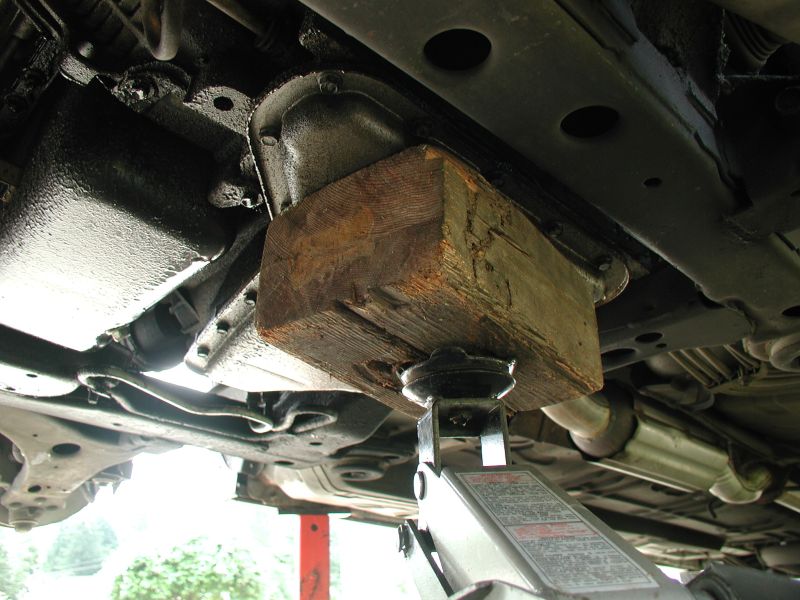
Jack up on the transmission.
Insert upper transmission spacer.
Lower transmission down and re-install the two nuts.
Remove the two lower nuts.
Rasise transmission again and insert lower mount.
Transmission side done.
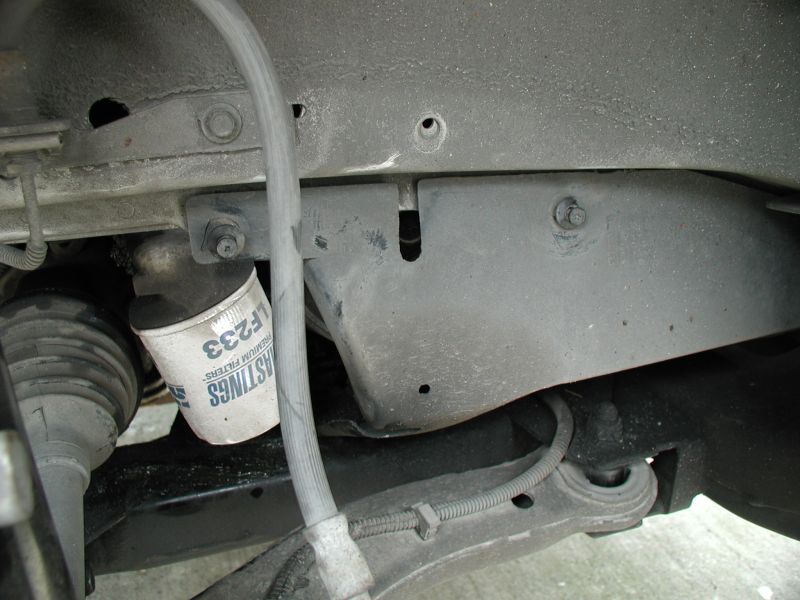
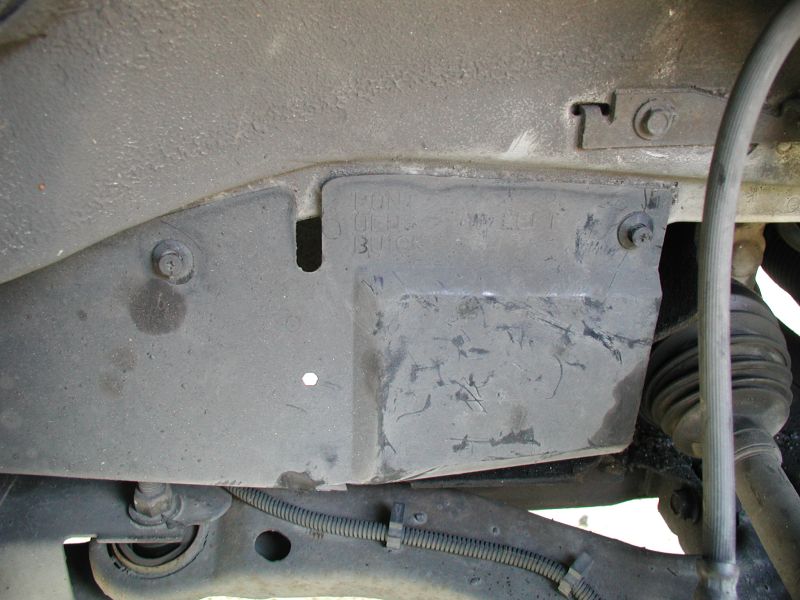
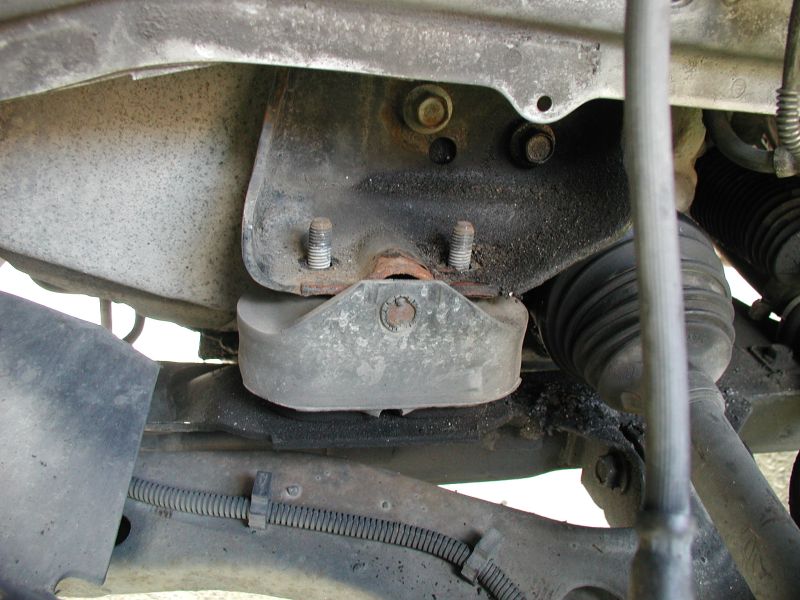
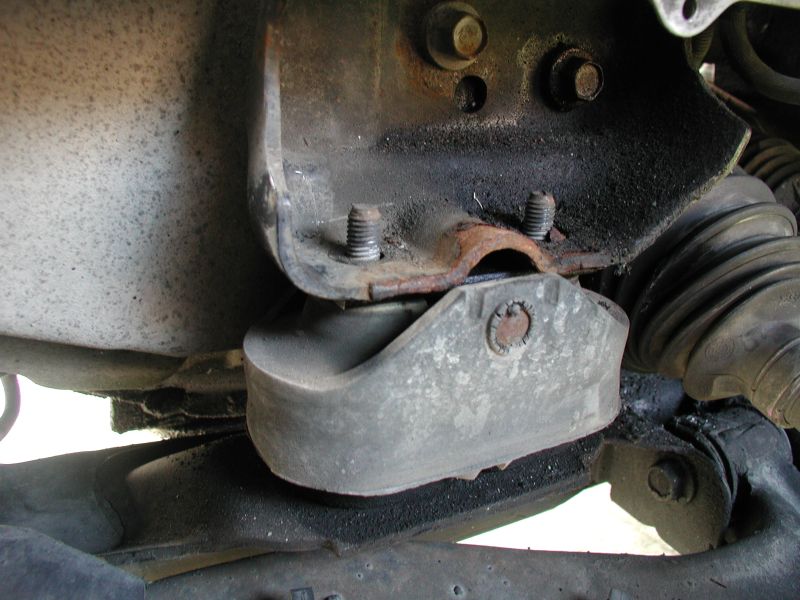
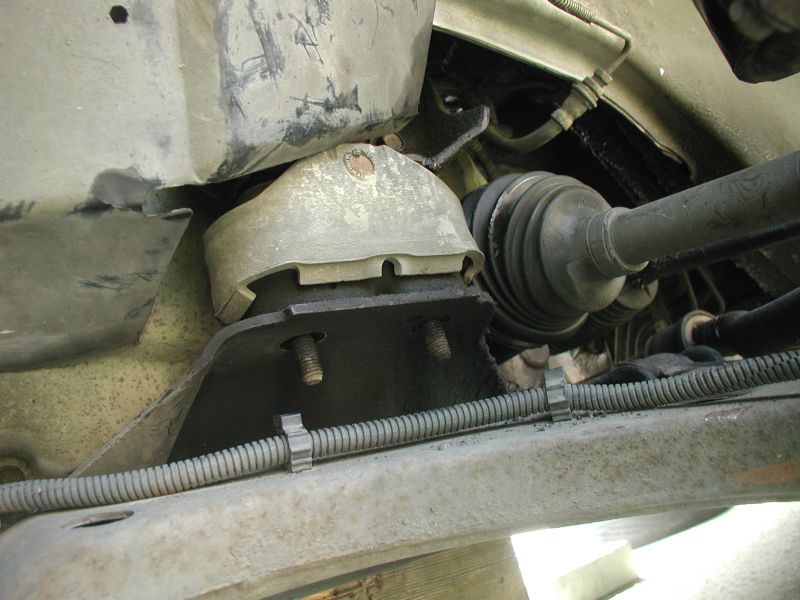
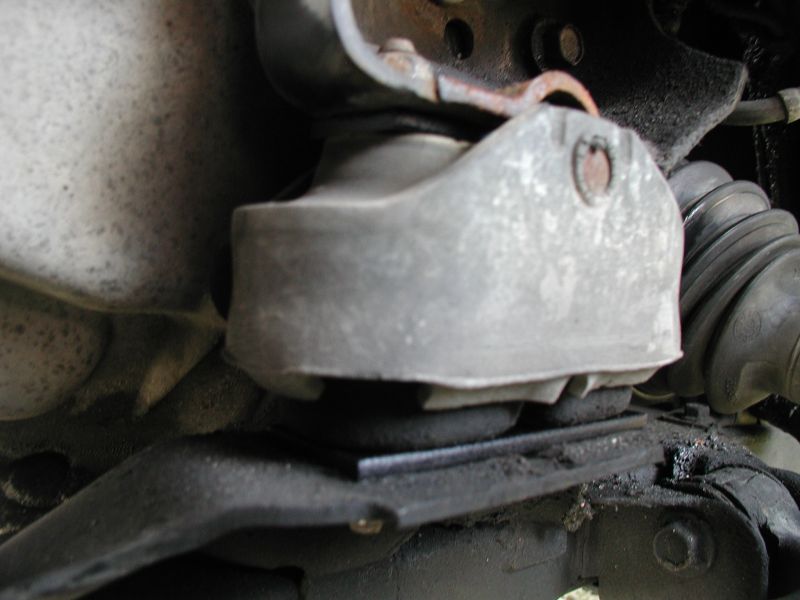
Passenger side, engine mount: remove the two fasteners.
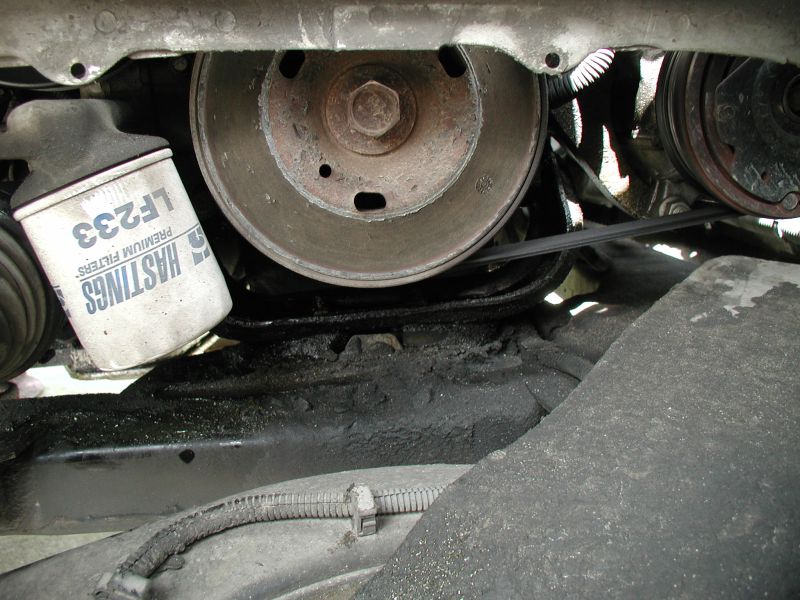
Pull down the plastic liner to expose the mount.
I removed all four nuts so I could pull the mount out; I had a CV boot come
unclamped and it made a mess, so I cleaned it up as best I could.
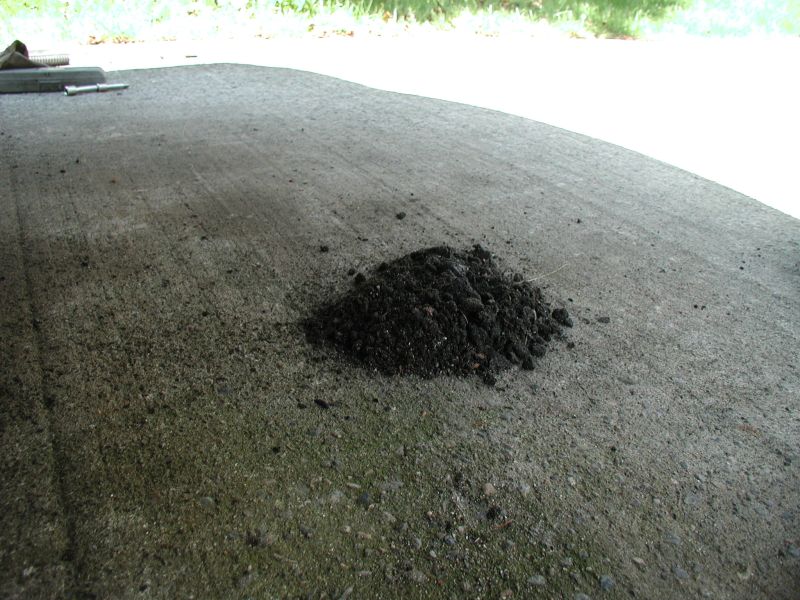
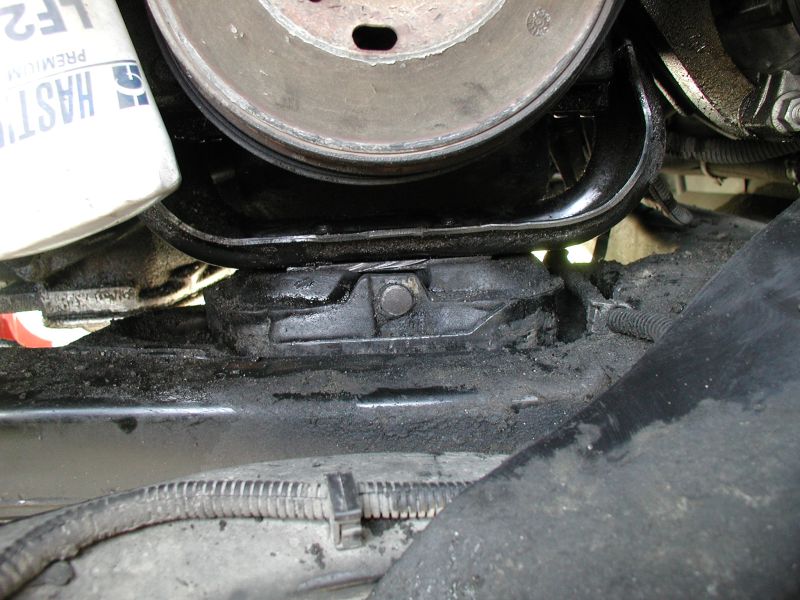
The pile of grease and dirt that was surrounding the engine mount and stuck to the frame rail.
I went for a quick test drive, and the low-speed vibration is gone. I will have to wait until I go to work tomorrow to see if the hi-speed vibration is gone too.
August 10/2013
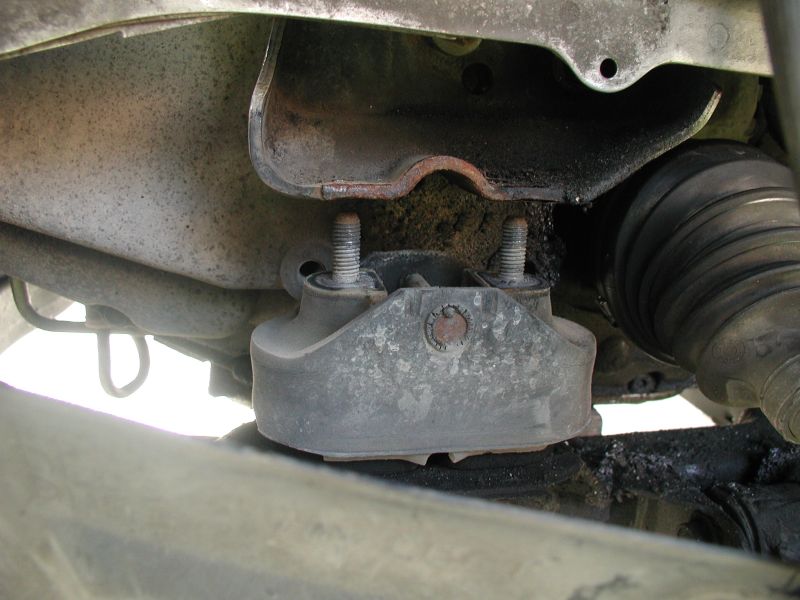
The other day I noticed the hood moving way more than it should. Upon opening the hood, I easily found the problem.....
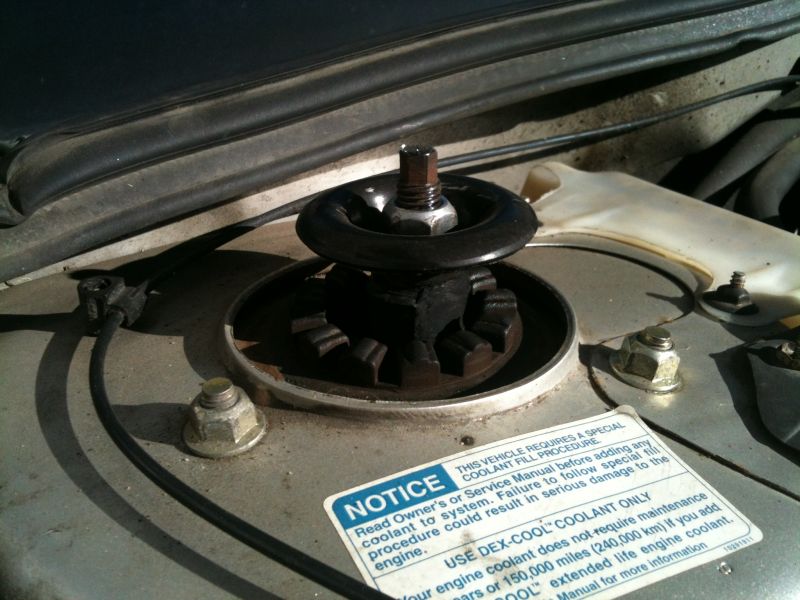
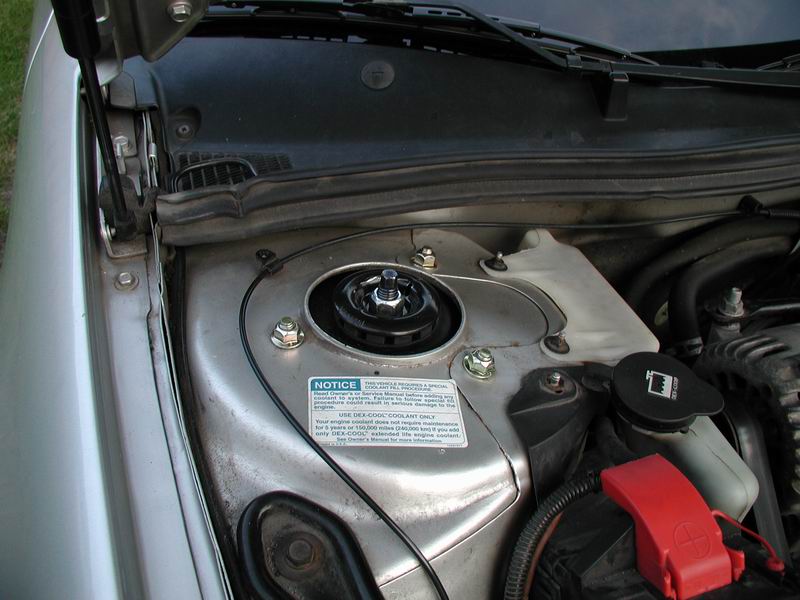
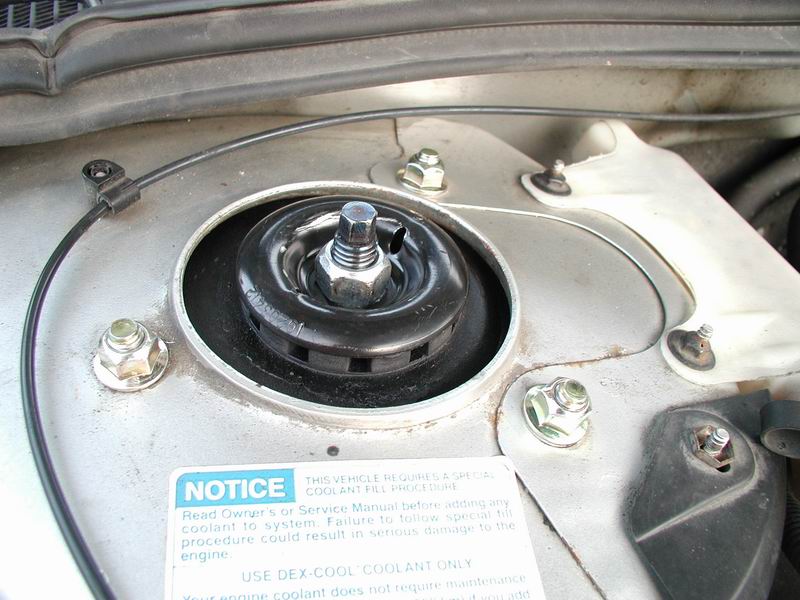
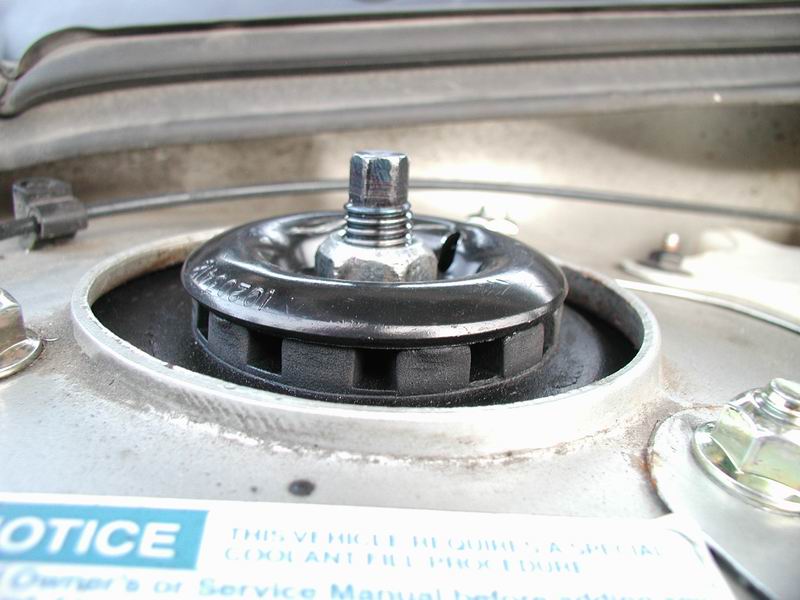
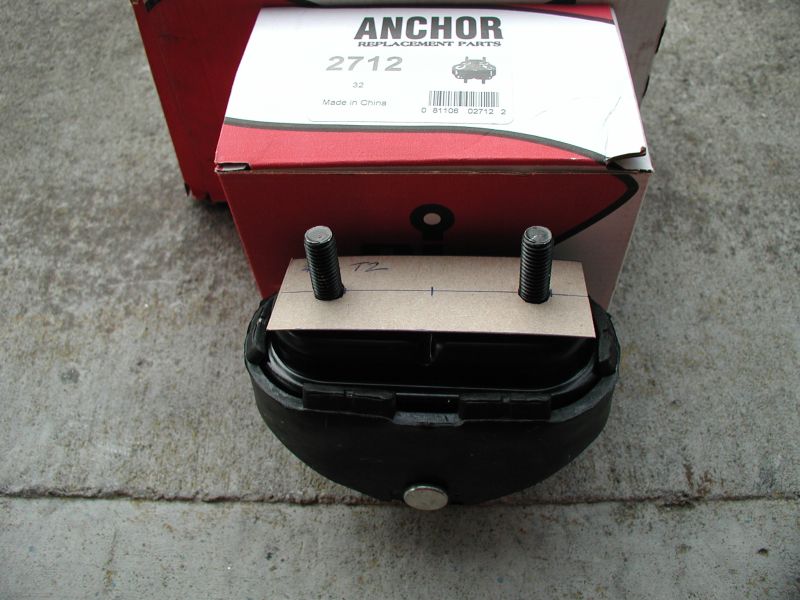
Bearing plate failure!
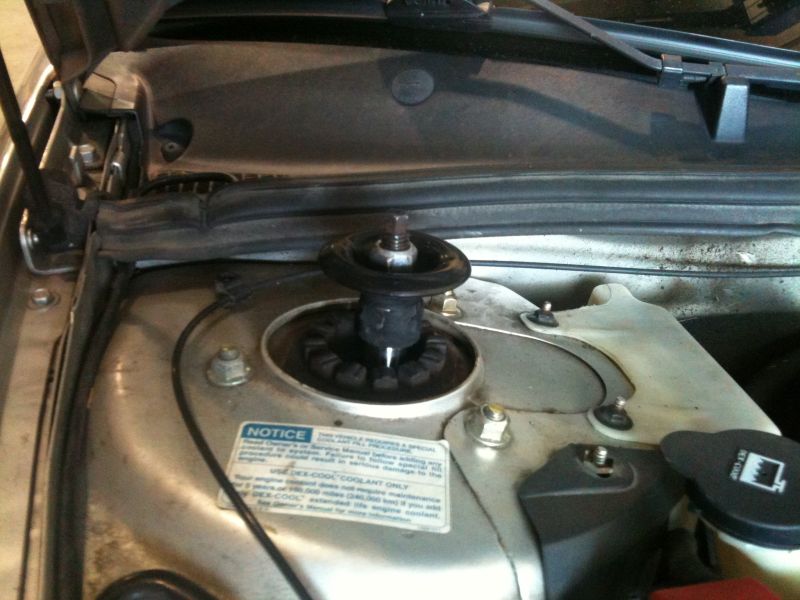
Sitting even higher just before being removed.
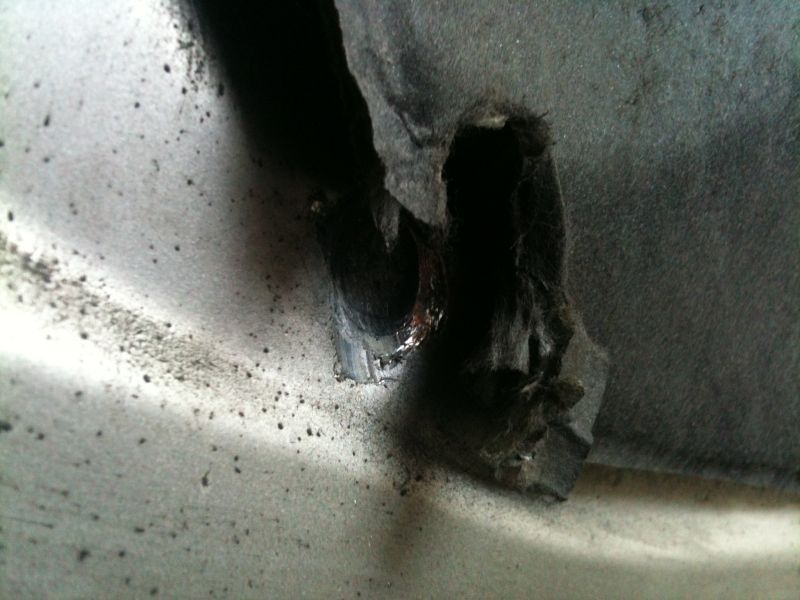
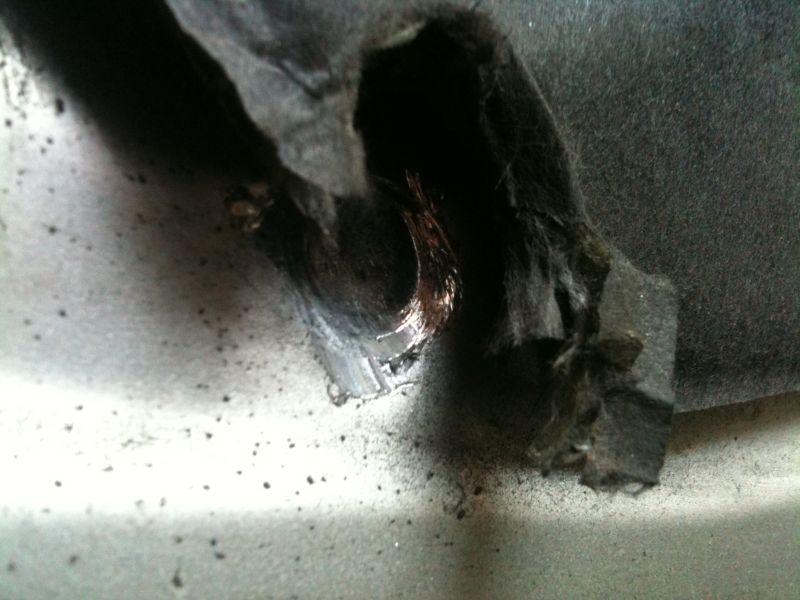
The mark left on the hood.
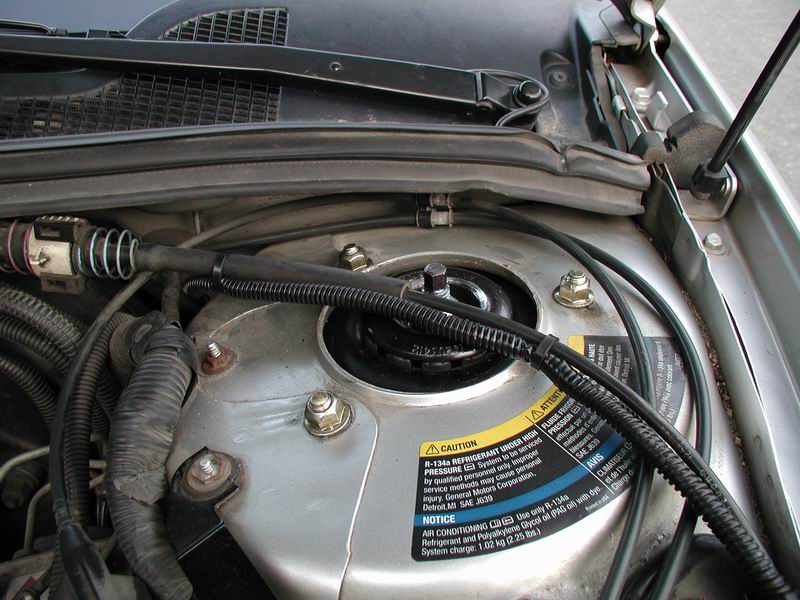
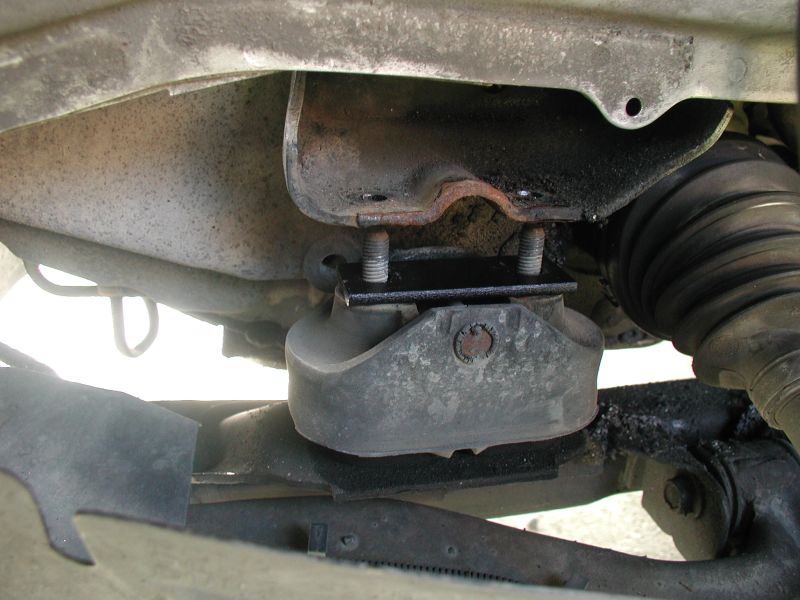
Ready to go.
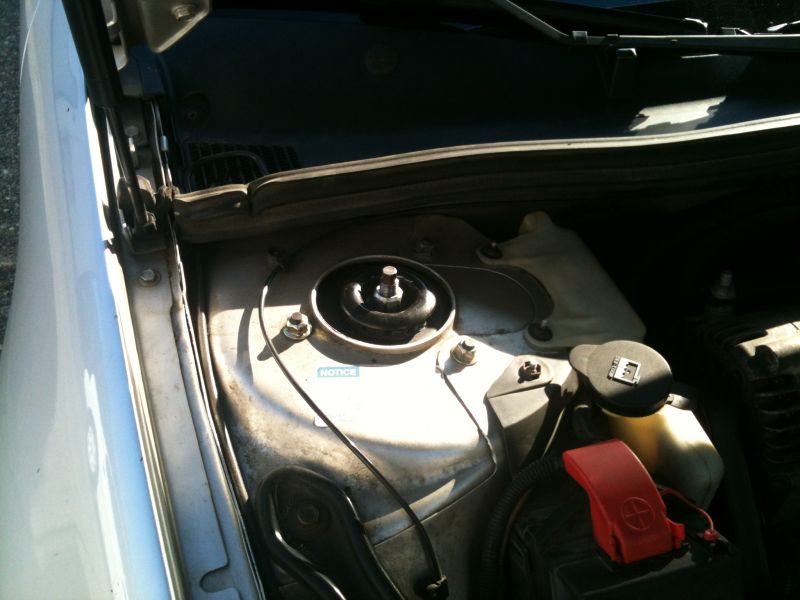
All fixed.
Took some more pictures today.....


June 2/2012
After a week of driving, I had a 4 wheel alignment done yesterday. The steering wheel is back where it should be, and she tracks nice and straight (pulled a bit to
the left after being lowered). The shop also re-packed my left inner CV boot, as it had come unclamped and lost 2/3 of the grease; this was noticed upon
insatlling the new suspension, and not a result of the new suspension. The harsh slow speed vibration I had is now gone, but I do still have a slight slow speed
vibration, and a slight hi speed vibration, which I will try and solve with some engine and transmission mount spacers.
June 4/2012
I bought a motor mount and transmission mount so I could make up some spacers.....
Schematic: Engine mount spacers.
Schematic: transmission mount spacers.

Cardboard templates.

Engine and transmission mounts.


Engine mount test fit.


Transmission mount test fit.
June 11/2012
Picked up a piece of steel last week and did some cutting after work today.....

3/16" thick, 43" long, 3" wide.

Cut to shape.
| Update (02/21/2017) The spacers should be 3/8" thick. I need to double mine up. |
June 17/2012
Had a few hours to spare before heading out for Fathers Day, and managed to finish off the spacers.....

Holes drilled.


Engine mount final test fit.


Transmission mount final test fit.


Painted and ready to be installed.
June 24/2012
The weather was nice this morning, so I installed the spacers.....

Drivers side, transmission mount: remove the two fasteners.

Pull down the plastic liner to expose the mount.

Remove the top two nuts.

Jack up on the transmission.


Insert upper transmission spacer.

Lower transmission down and re-install the two nuts.

Remove the two lower nuts.

Rasise transmission again and insert lower mount.

Transmission side done.

Passenger side, engine mount: remove the two fasteners.

Pull down the plastic liner to expose the mount.

I removed all four nuts so I could pull the mount out; I had a CV boot come
unclamped and it made a mess, so I cleaned it up as best I could.

The pile of grease and dirt that was surrounding the engine mount and stuck to the frame rail.
I went for a quick test drive, and the low-speed vibration is gone. I will have to wait until I go to work tomorrow to see if the hi-speed vibration is gone too.
Useful Links:
GrandPrix Forums: Want to lower your car? Look in here!!
GrandPrix Forums: Lower Spring Vibration Motor Mount Spacers
ClubGP: Step By Step Strut Removal Pictures
ClubGP: Before and after pics, SSC Gen 2 springs
ClubGP: Lowering springs ''pogo'' reduction
OQCGP: Lower Vibes
ZZP: Suspension, Brakes, Handling
August 10/2013
The other day I noticed the hood moving way more than it should. Upon opening the hood, I easily found the problem.....

Bearing plate failure!

Sitting even higher just before being removed.


The mark left on the hood.

Ready to go.

All fixed.
If you have any comments, suggestions, or see any errors, please let me know..... cbradley@telus.net
Last updated on August 10/2013
All contents on this site are property of Chris Bradley. No content on this site may be reproduced without the express permission of Chris Bradley.