Mirror Signals
The goal here is to install the following into my
side view mirrors:
- front facing amber indicator
- rear facing red arrow
- down facing puddle light
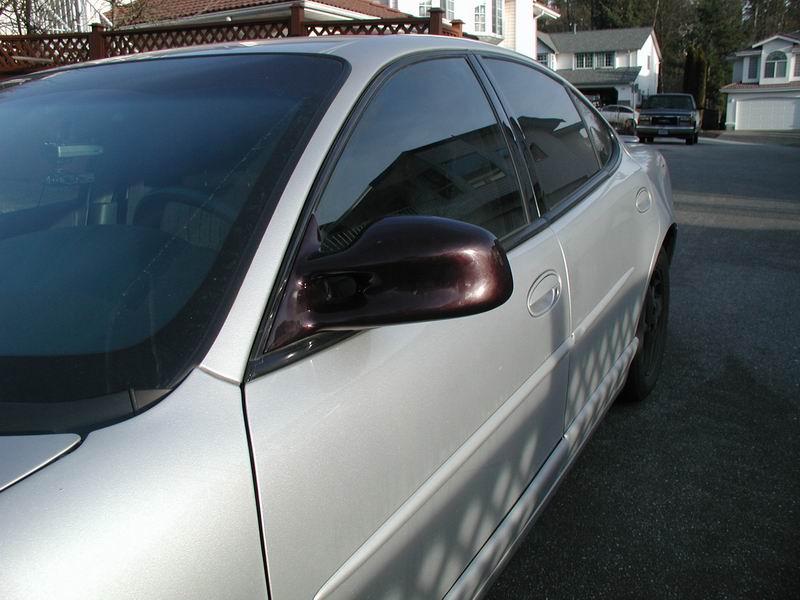
I've come accustomed to driving with 2" convex mirrors on the lower/outer corners of my mirrors, but these will interfere with the red arrows going behind the glass. On a
previous build, I used 2" convex mirrors that were angled, and attached them to the inner/lower corner of the mirror. They worked out fine, so I will be using them again.
February 2, 2014
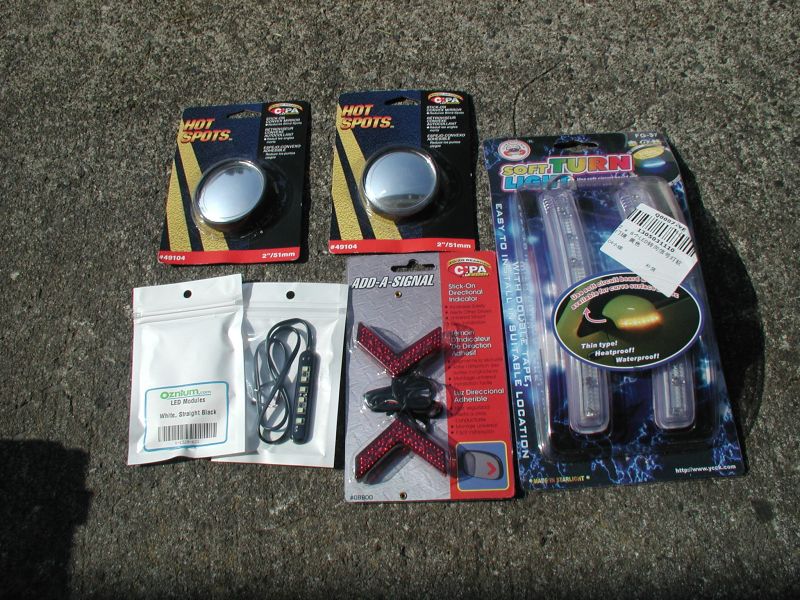
The parts.
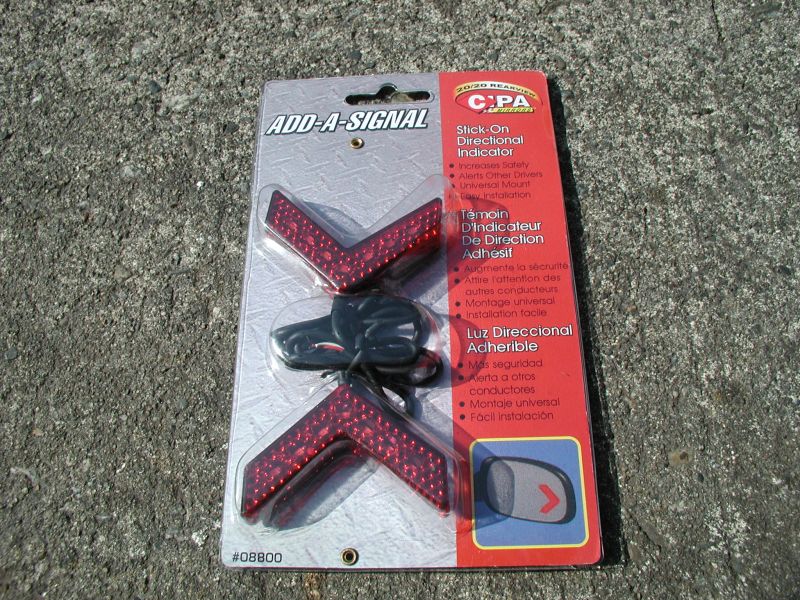
Cipa #08800 Add-A-Signal.

eBay Soft Turn Light LED signal.
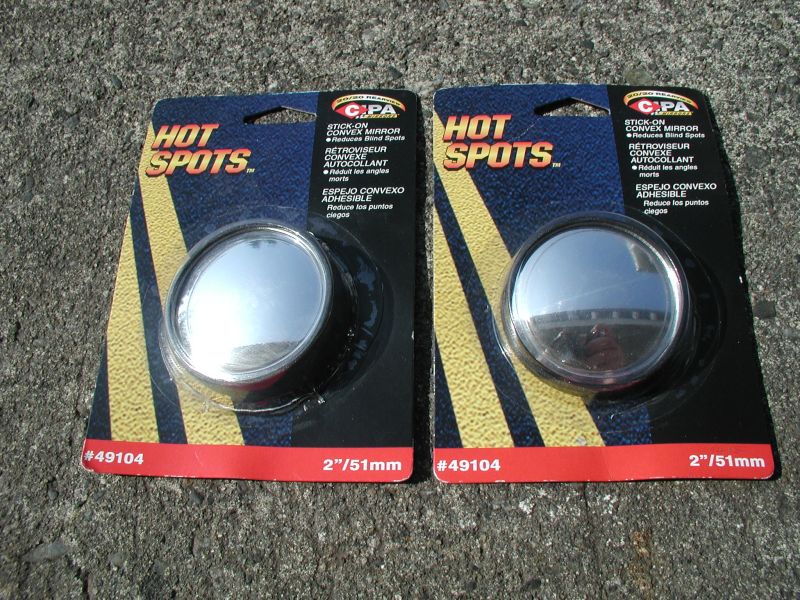
Cipa #49104 Hot Spot convex mirror.
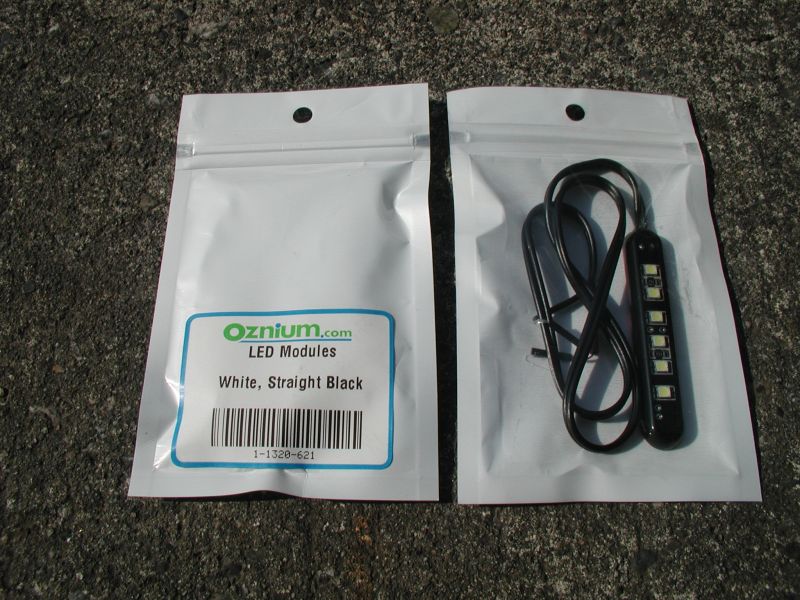
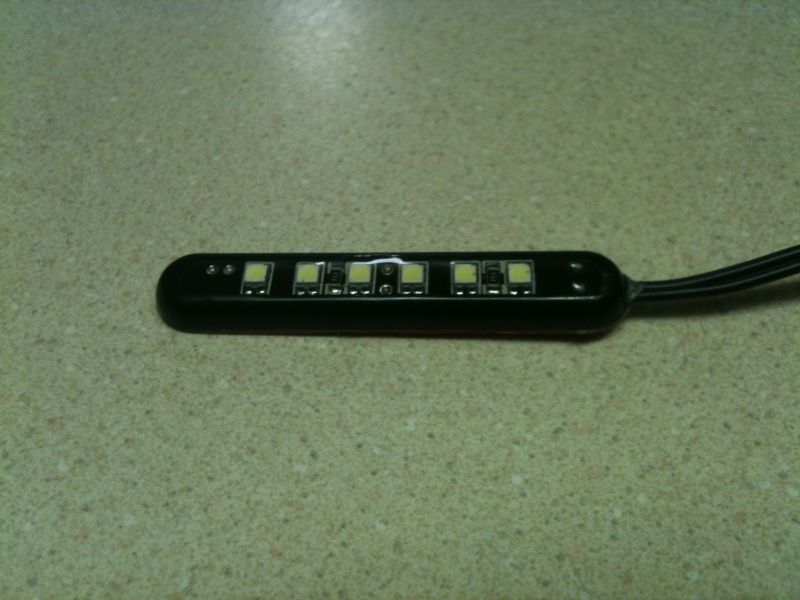
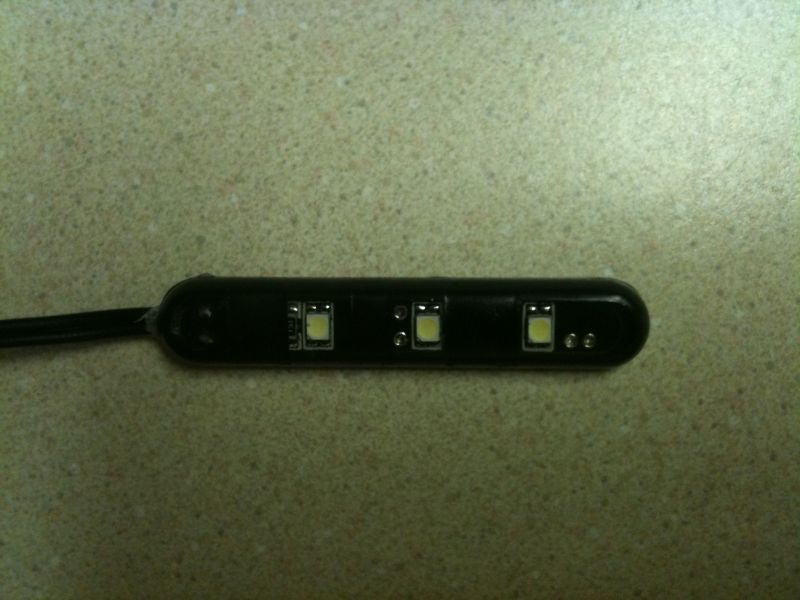
Oznium 6 LED module.
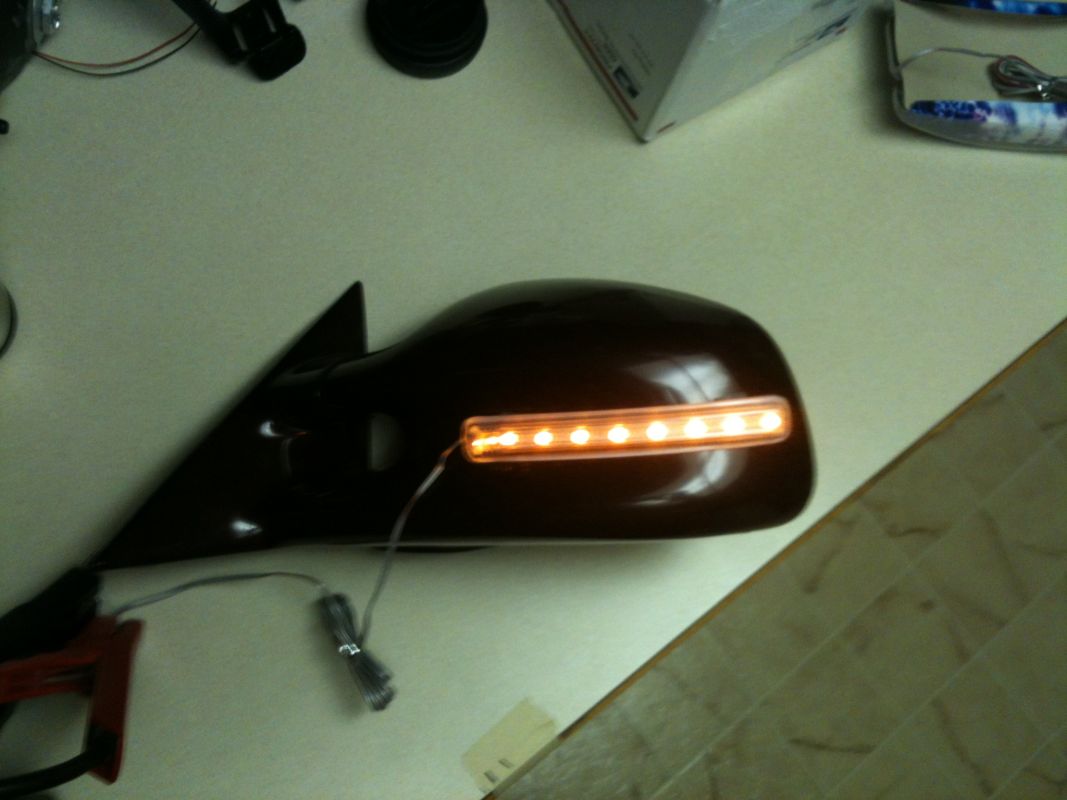

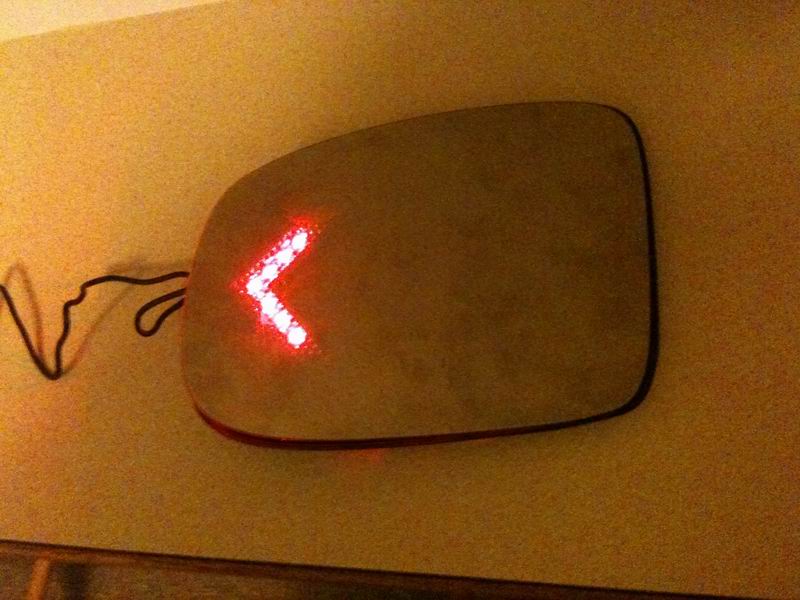
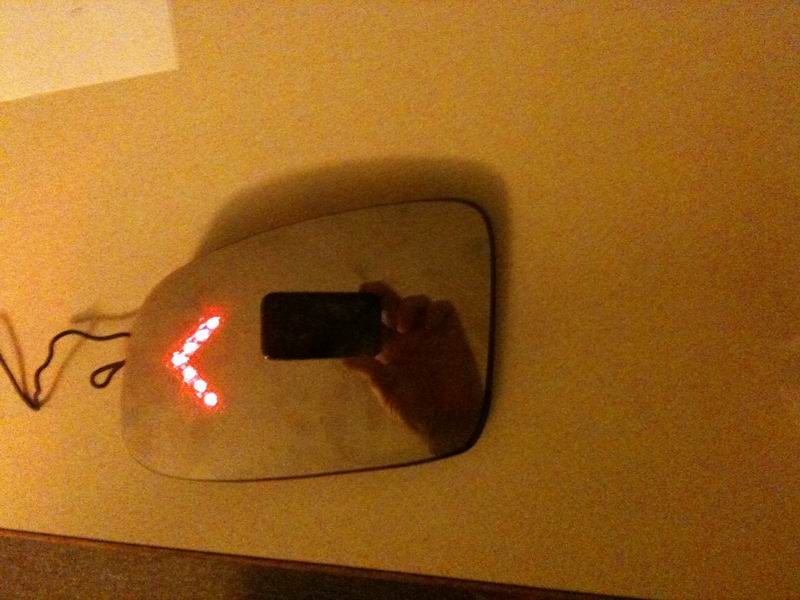
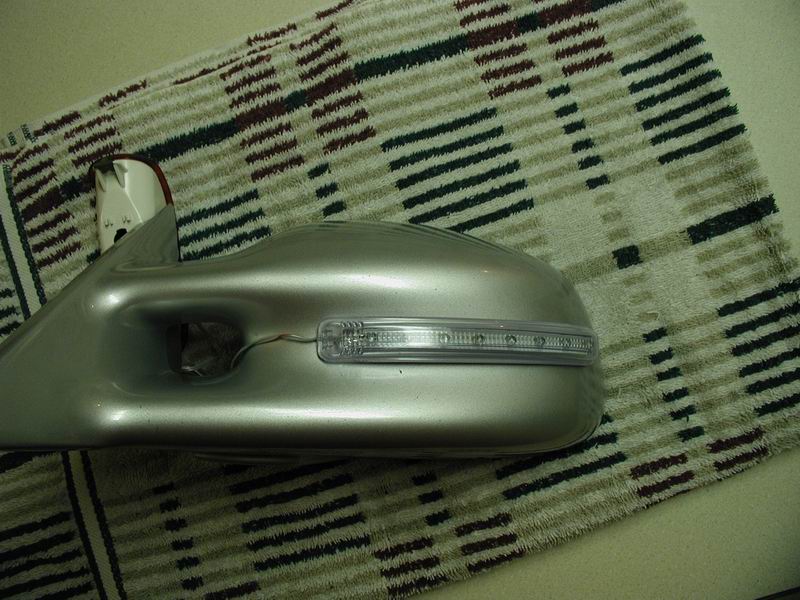
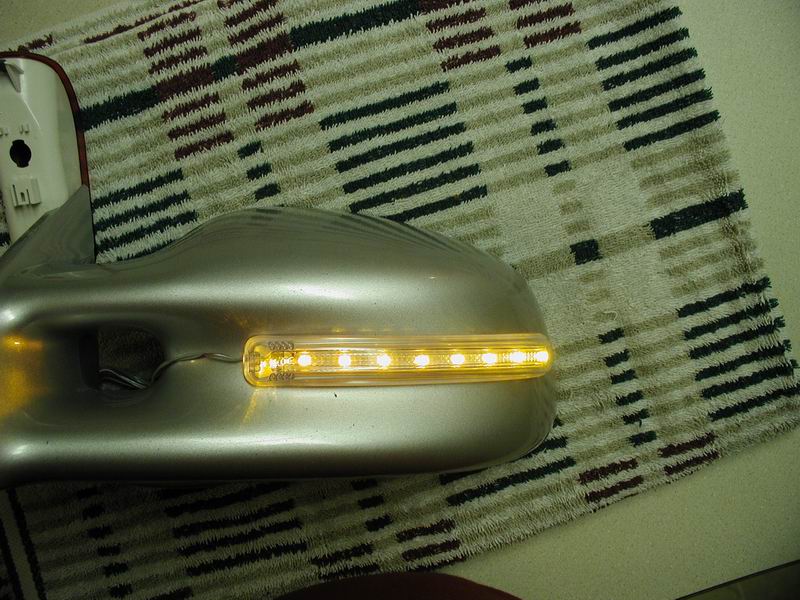
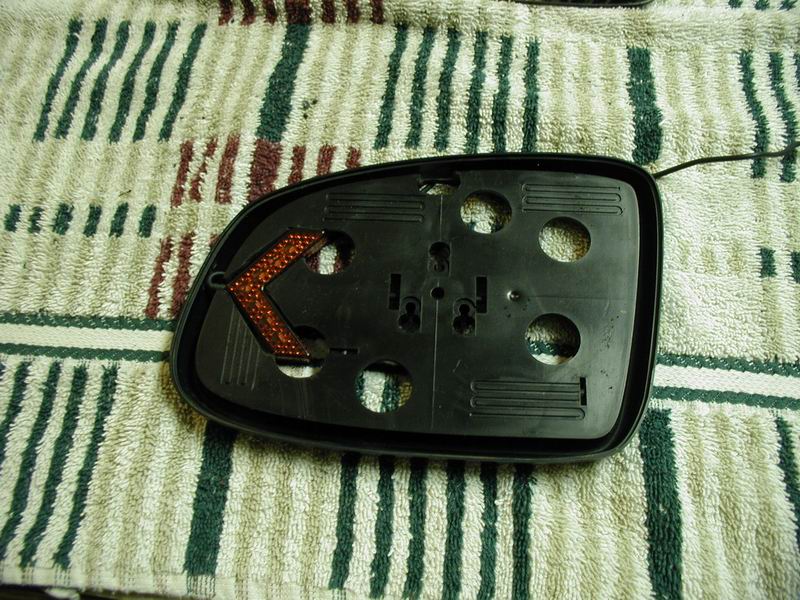
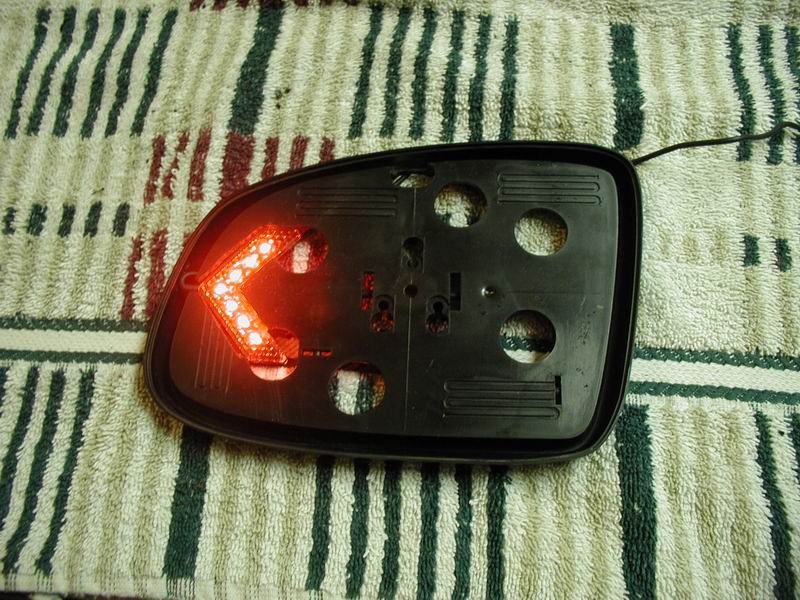
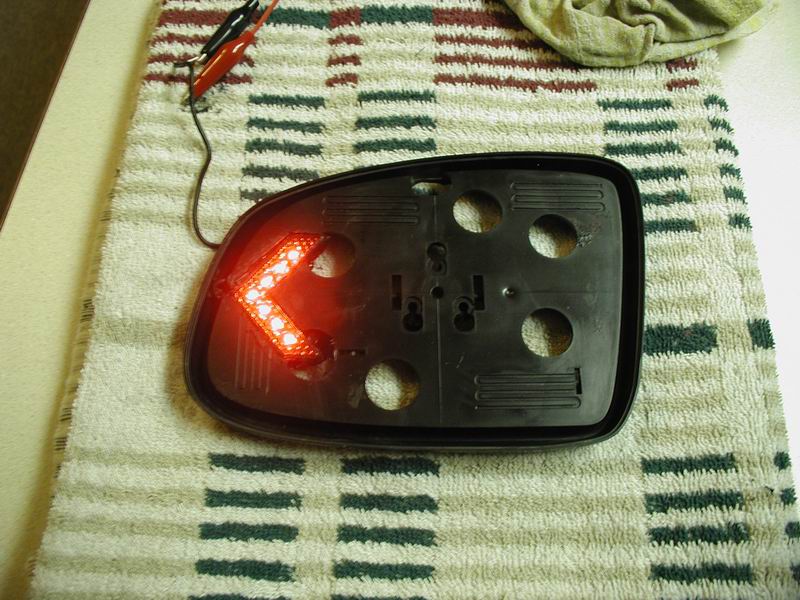
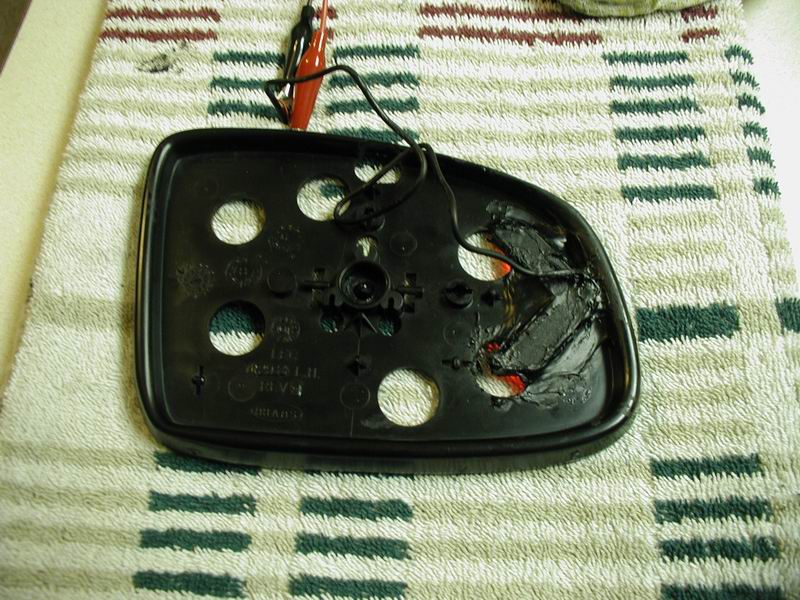
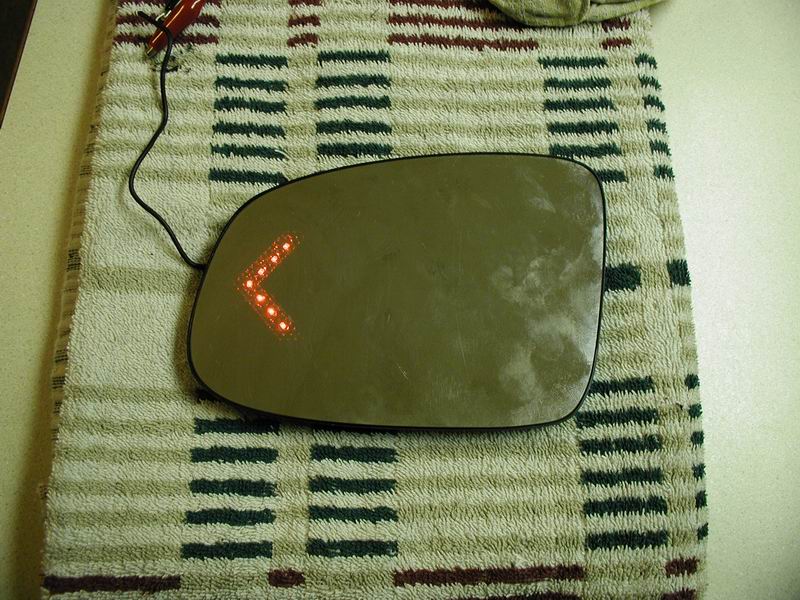
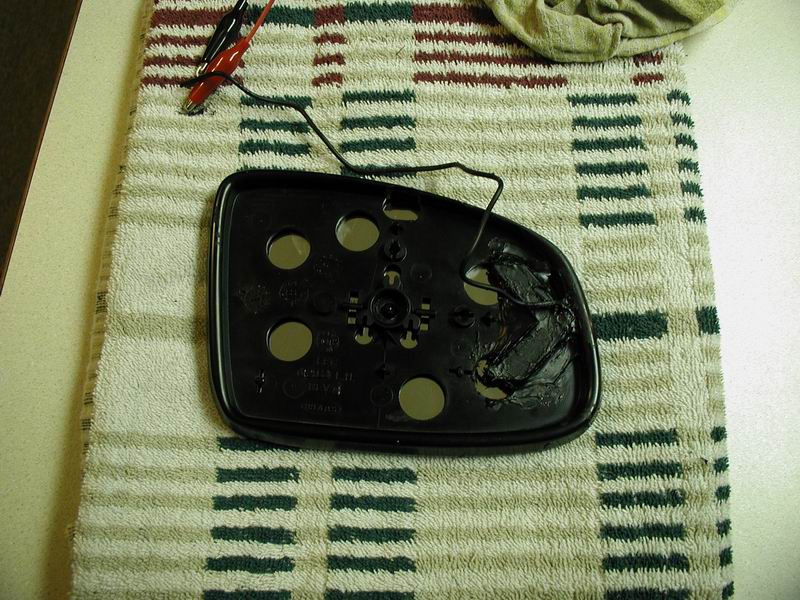
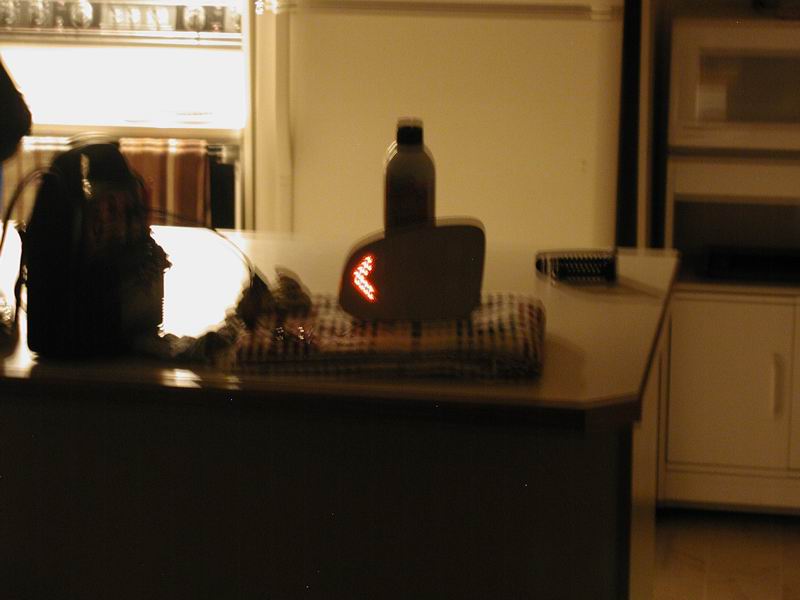
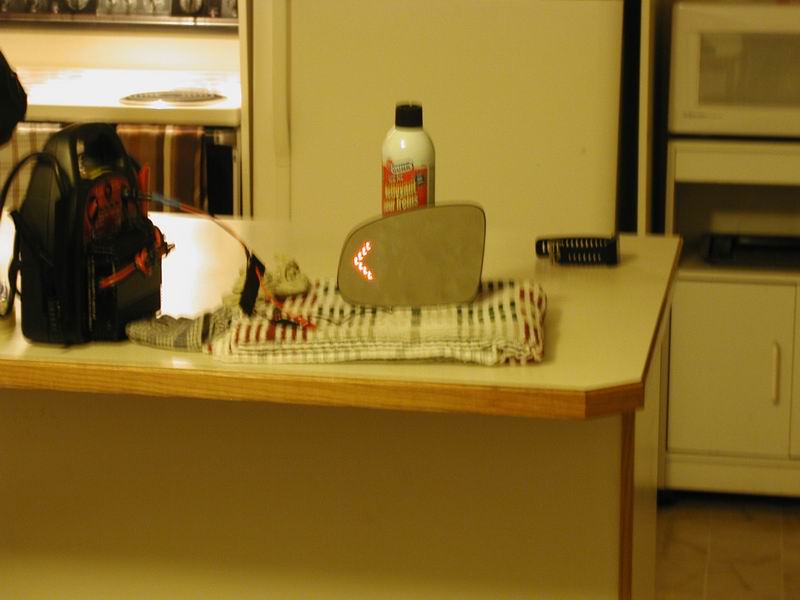
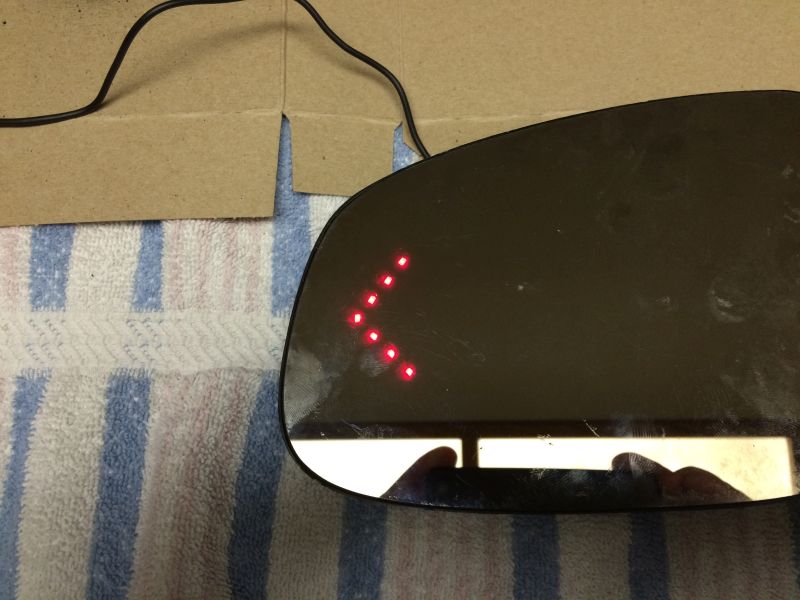
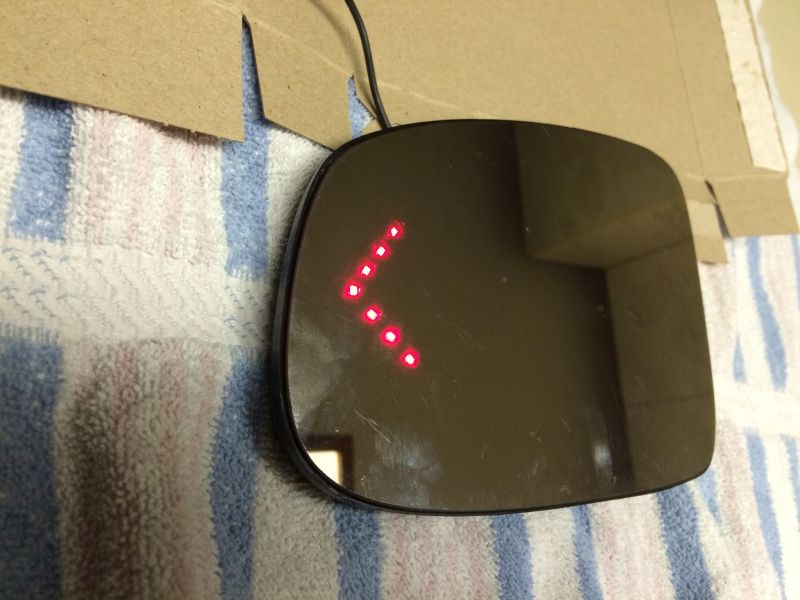
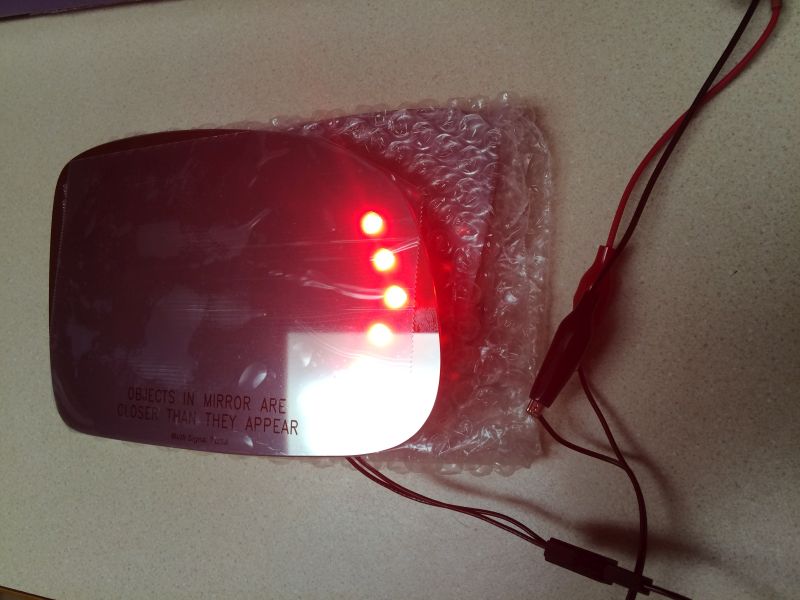
Testing the turn light on a spare mirror.
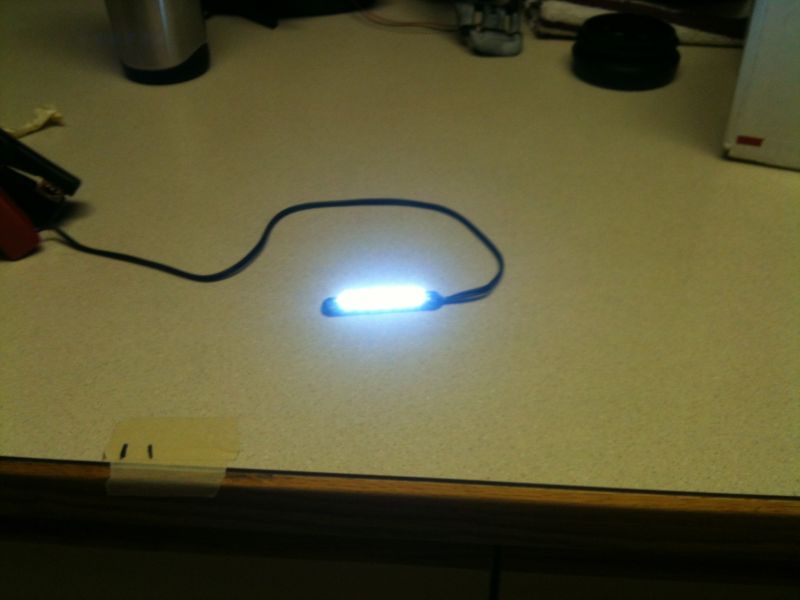
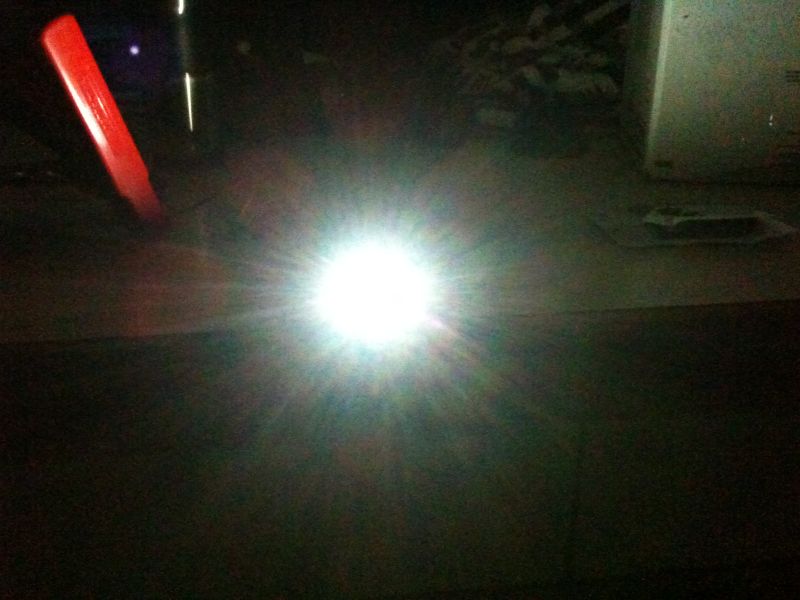
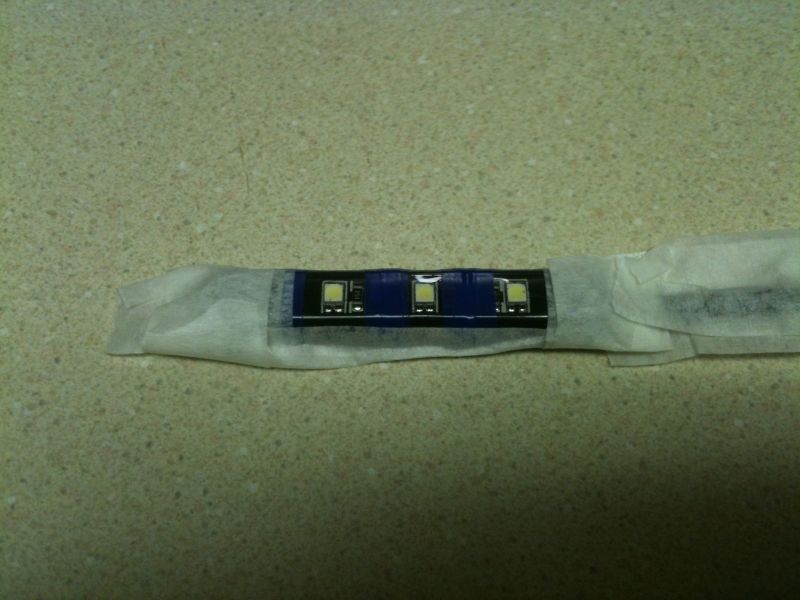
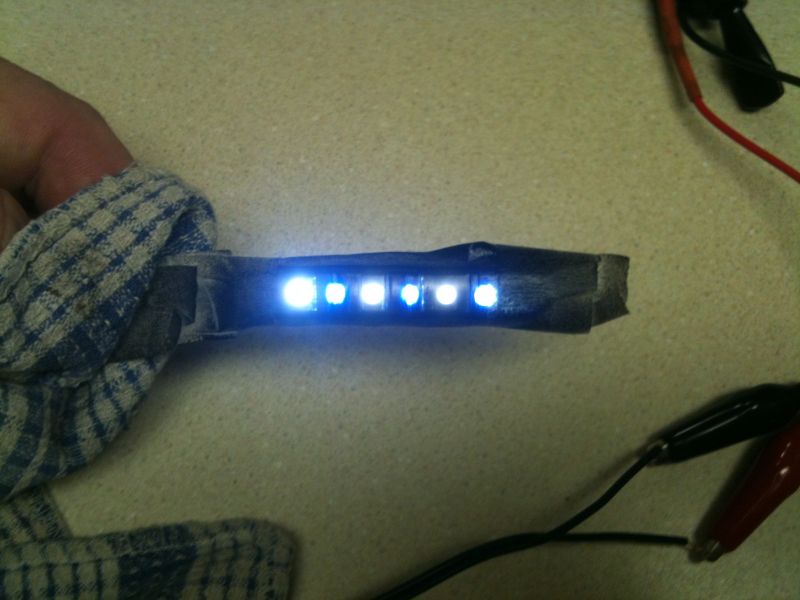
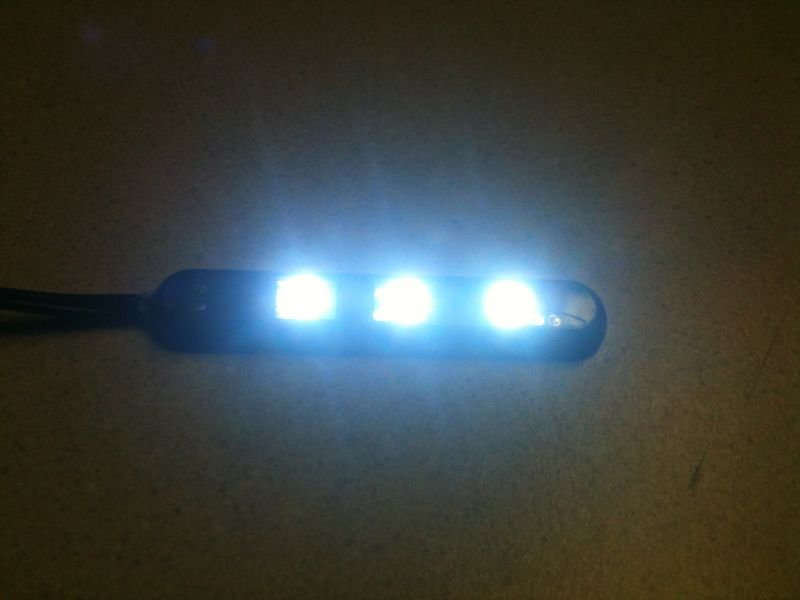
Testing the 6 LED module.
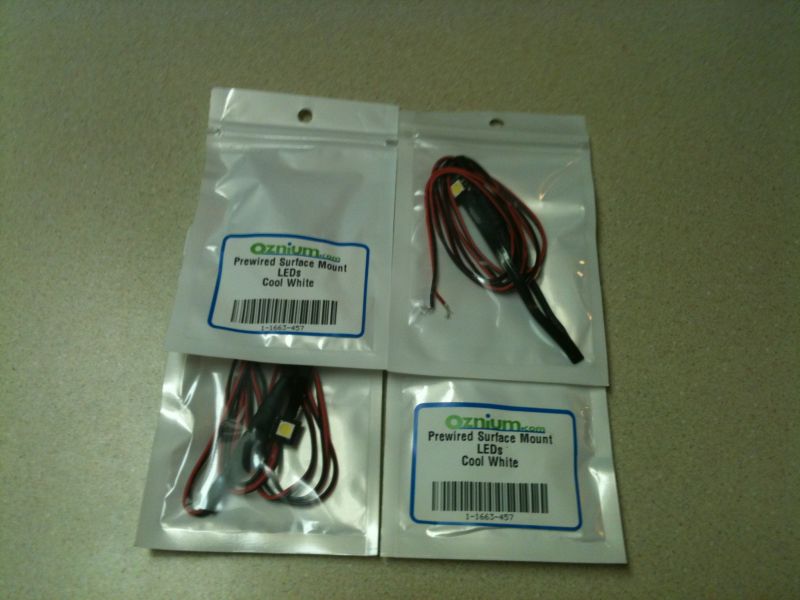
I'm thinking that the LED modules will be to bright, so
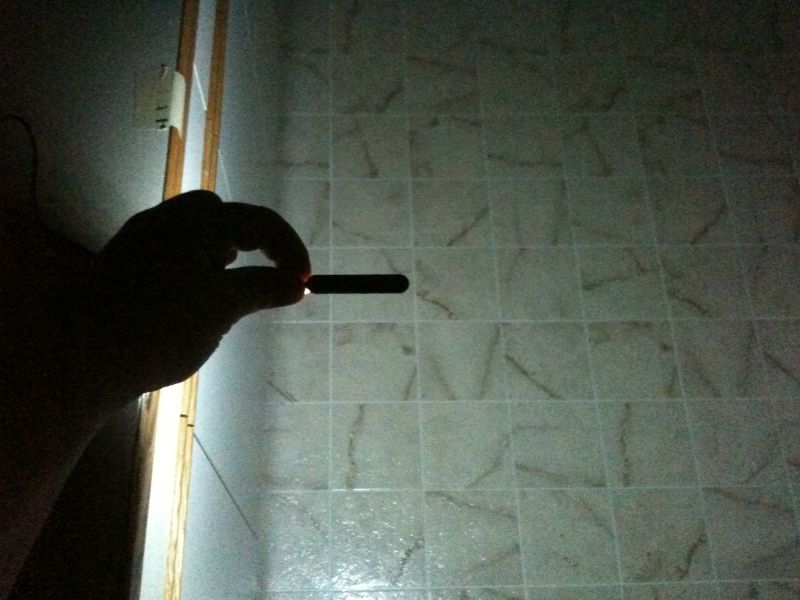
I got some Oznium single pre-wired surface mount LED's.
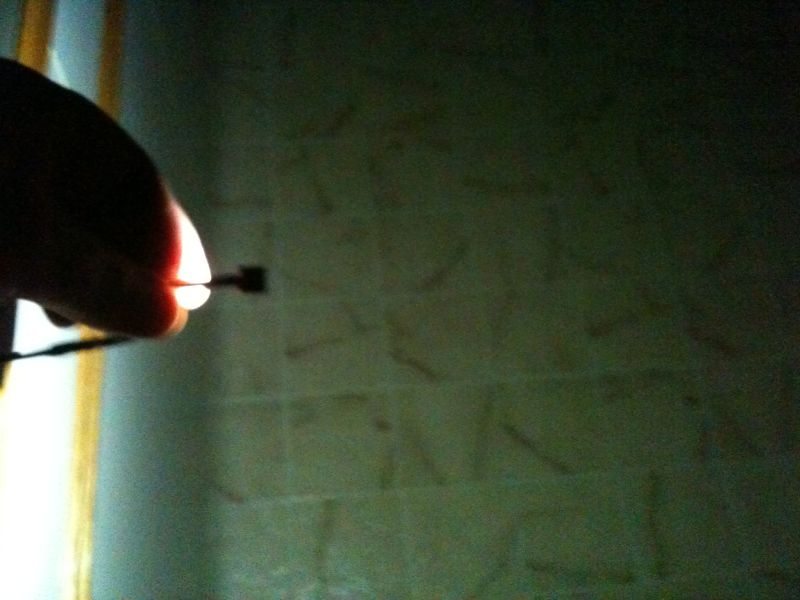
Testing the single surface mount LED.
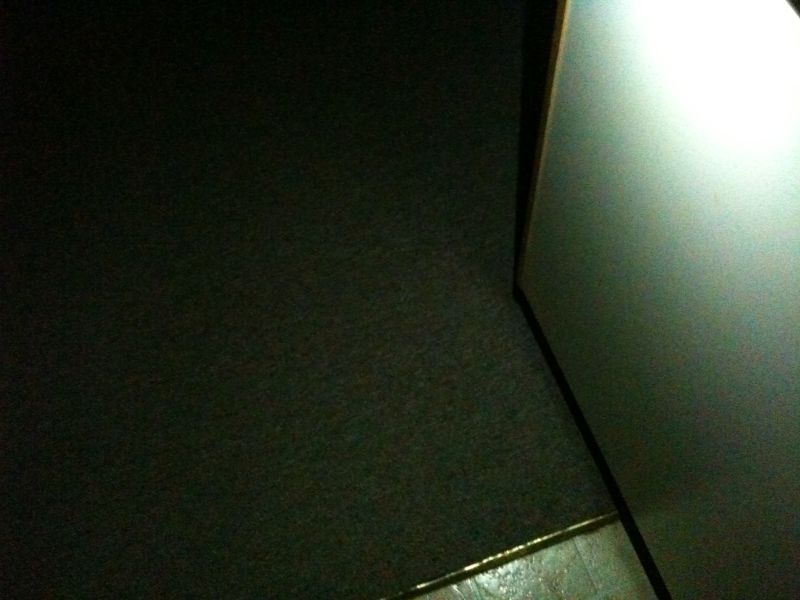
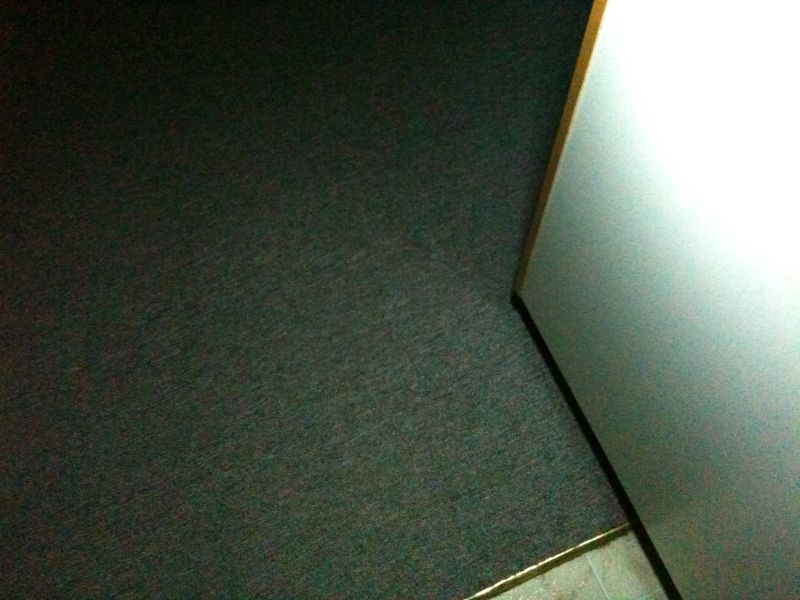
Another test of the LED's in the dark; single LED on left, 6 LED module on the right.
February 8, 2014
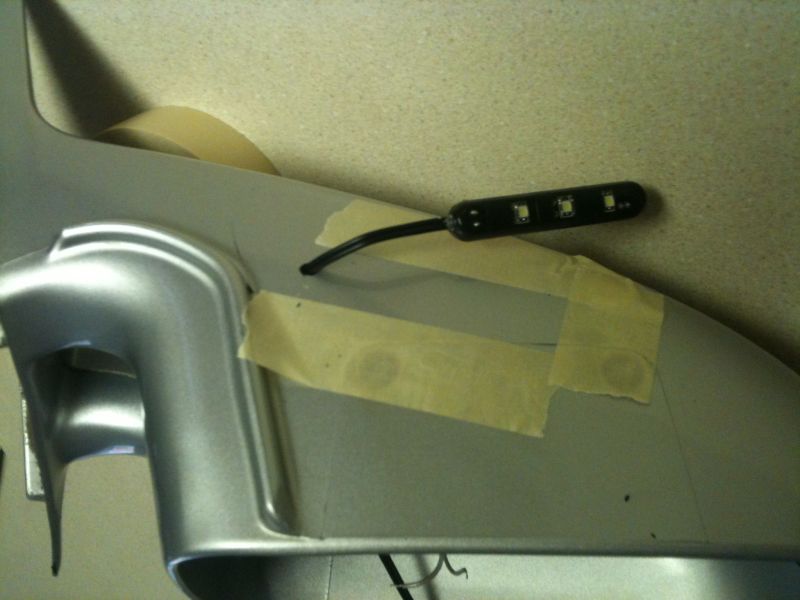
Testing location of rear signals.
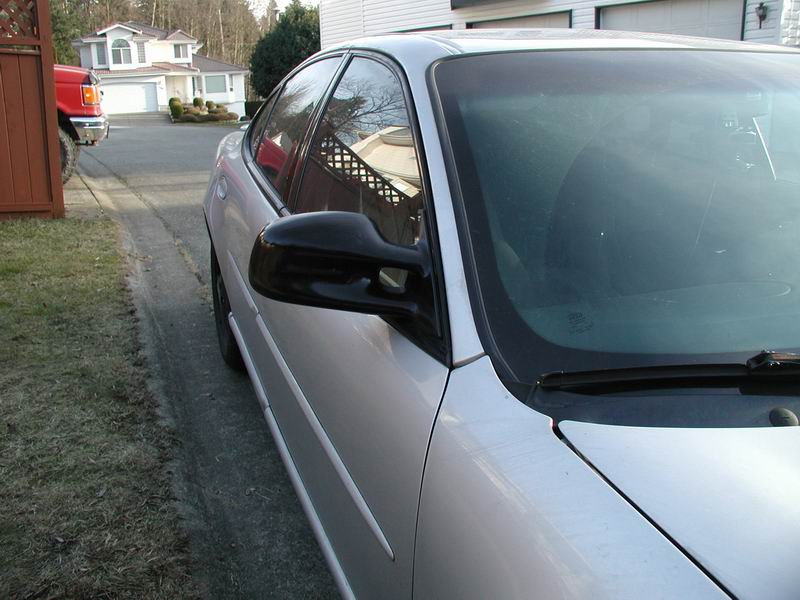
Spare mirrors installed on the car.
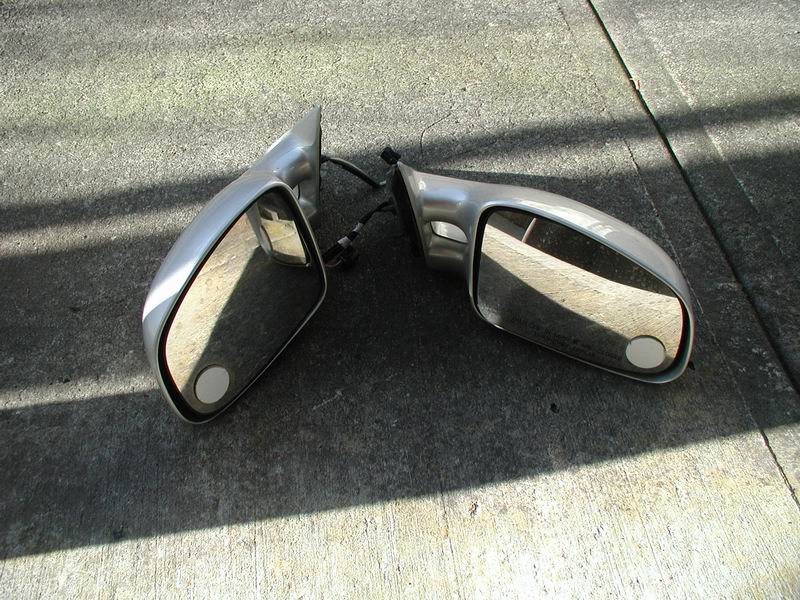
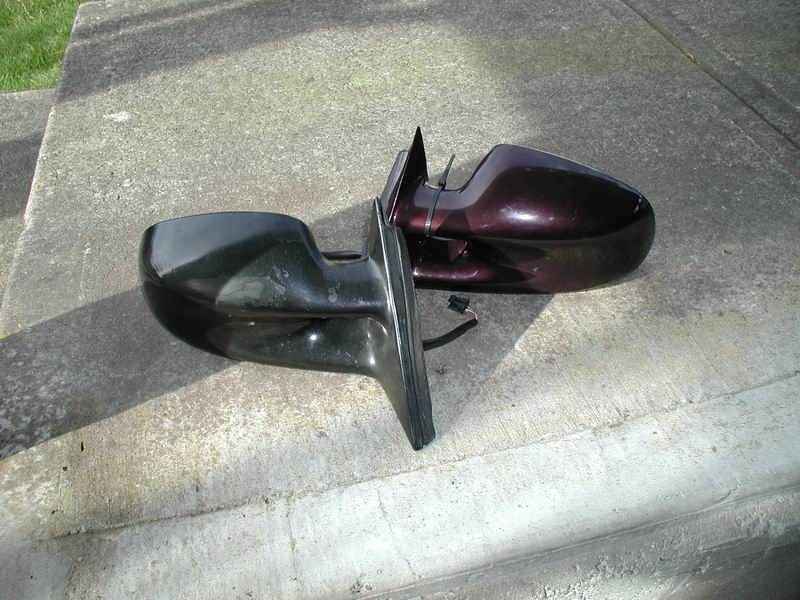
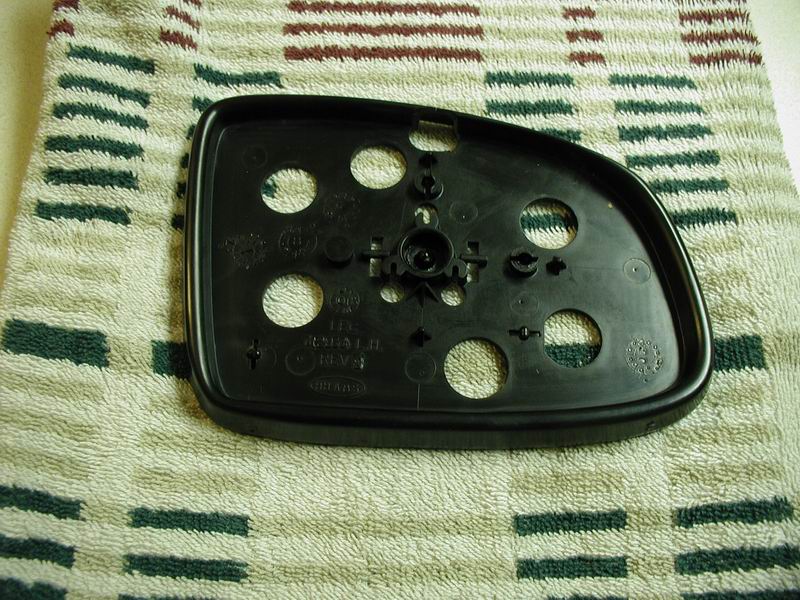
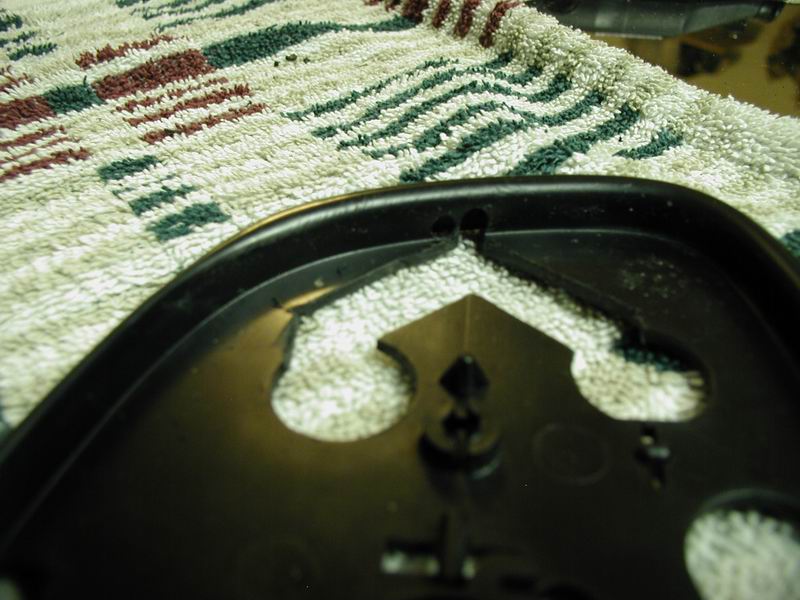
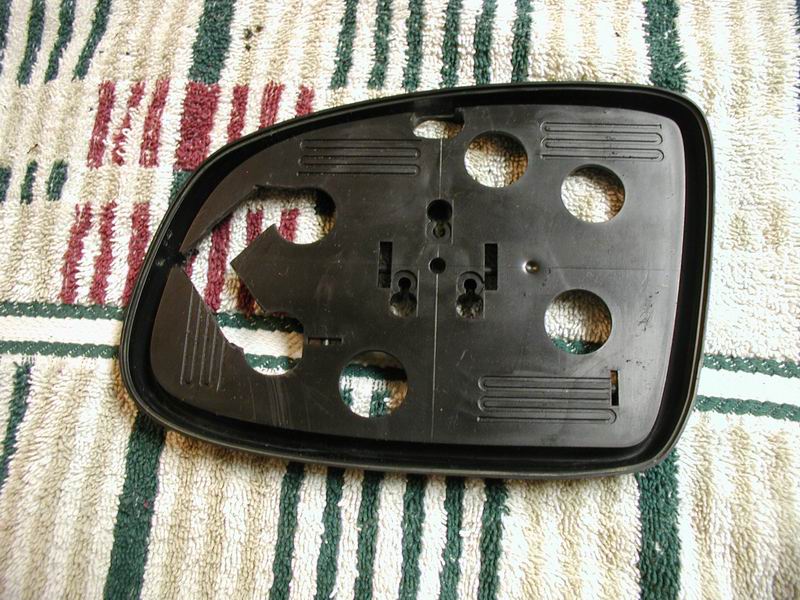
Mirrors ready for surgery.
February 9, 2014
Started the left mirror front signal.....
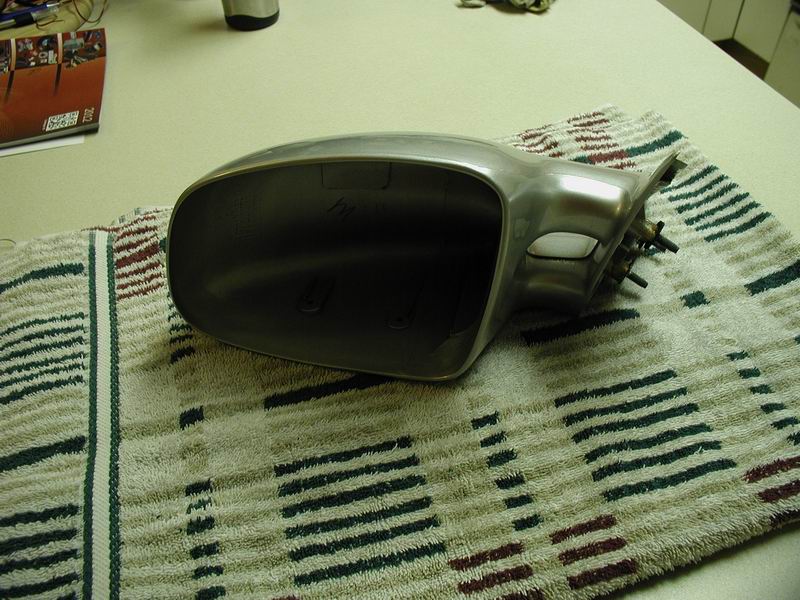

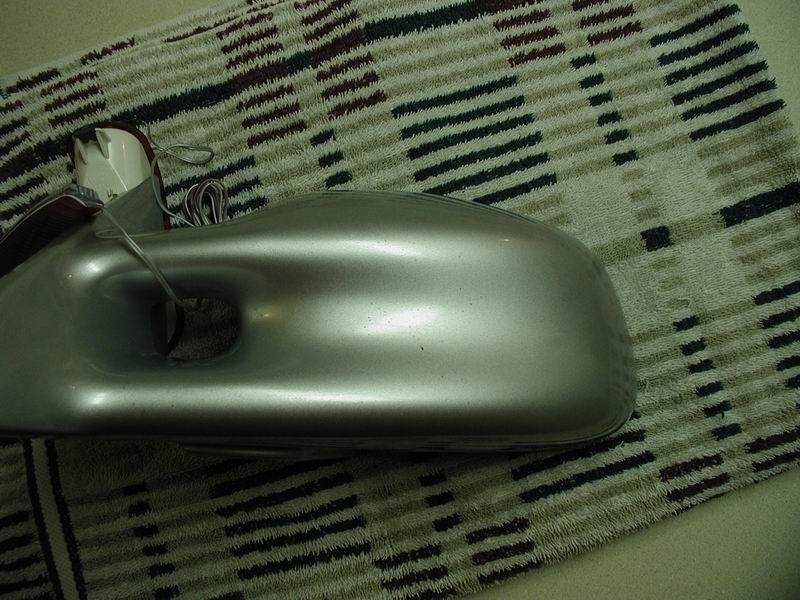
Starting with the left mirror; all cleaned up.
Eyeing up the center line and placement of the light.
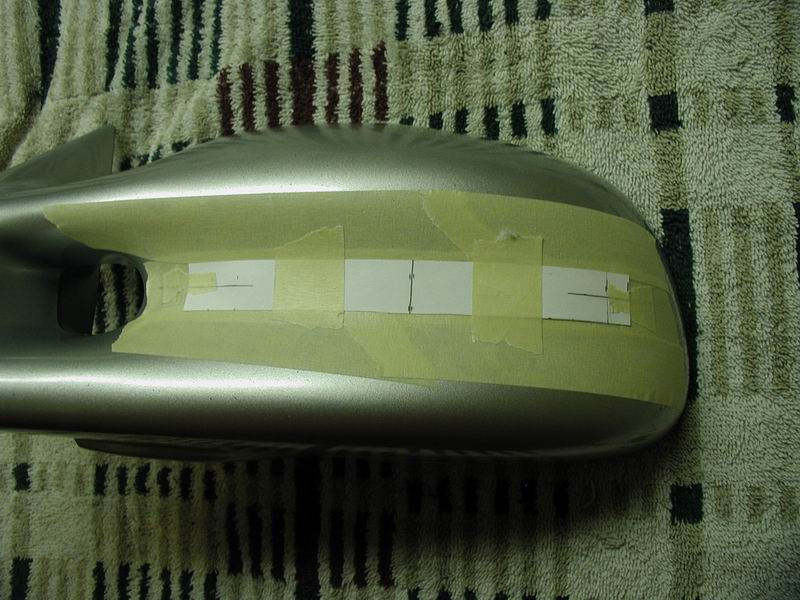
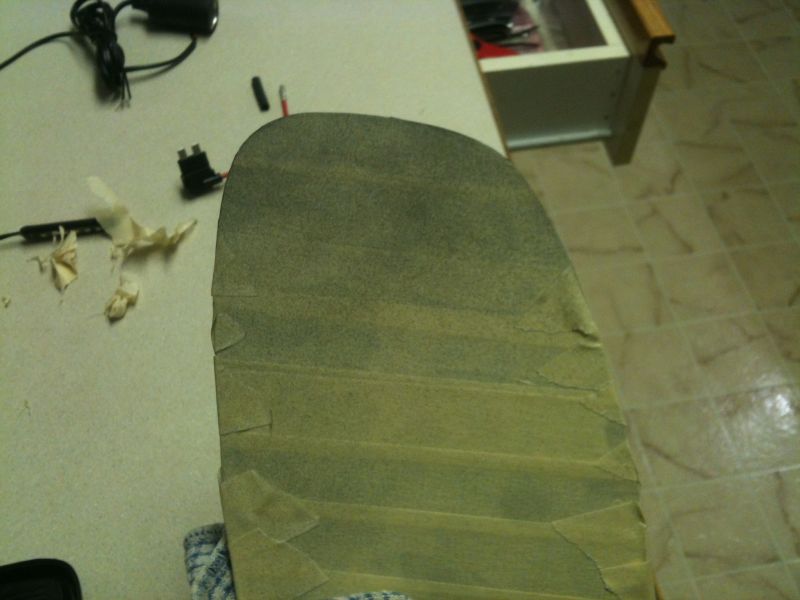
Template taped in place.
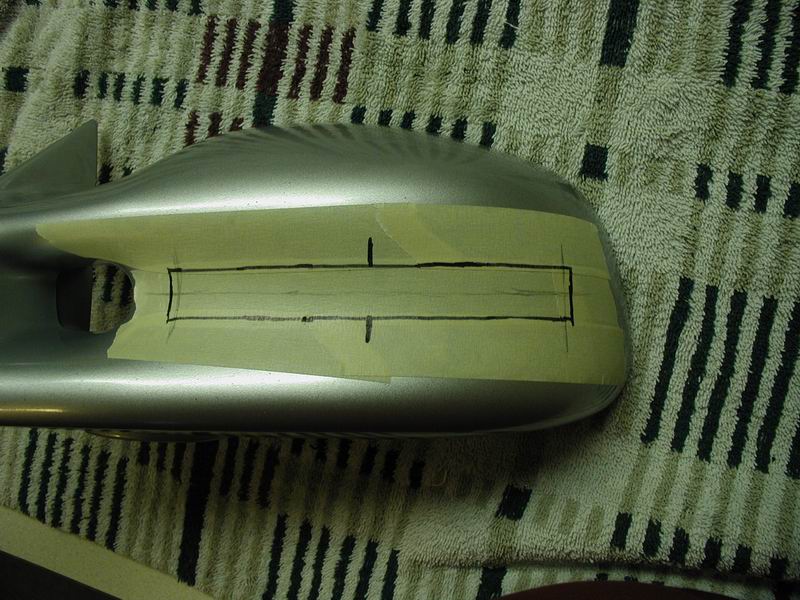
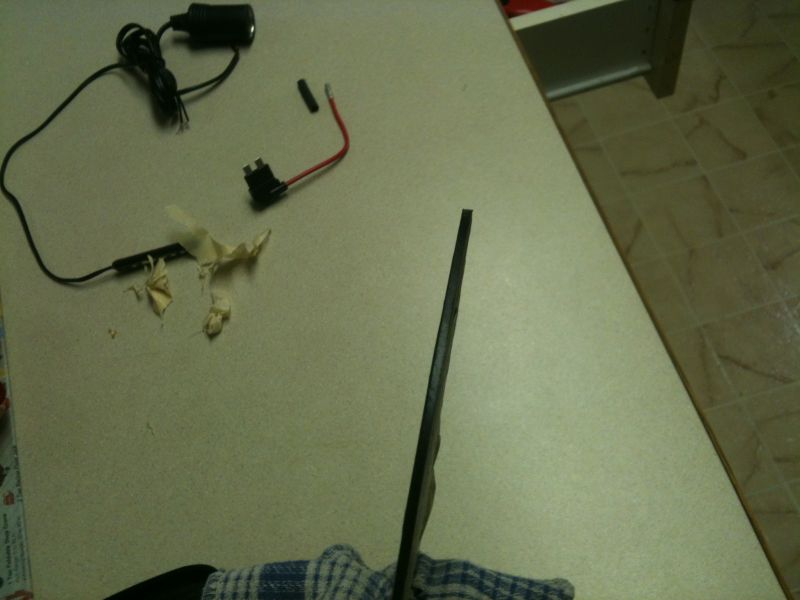
Outside line drawn out.
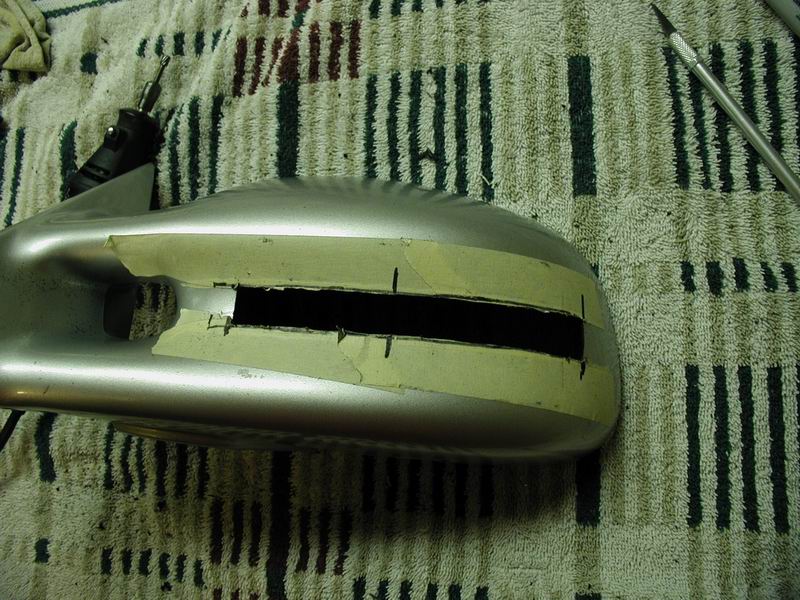
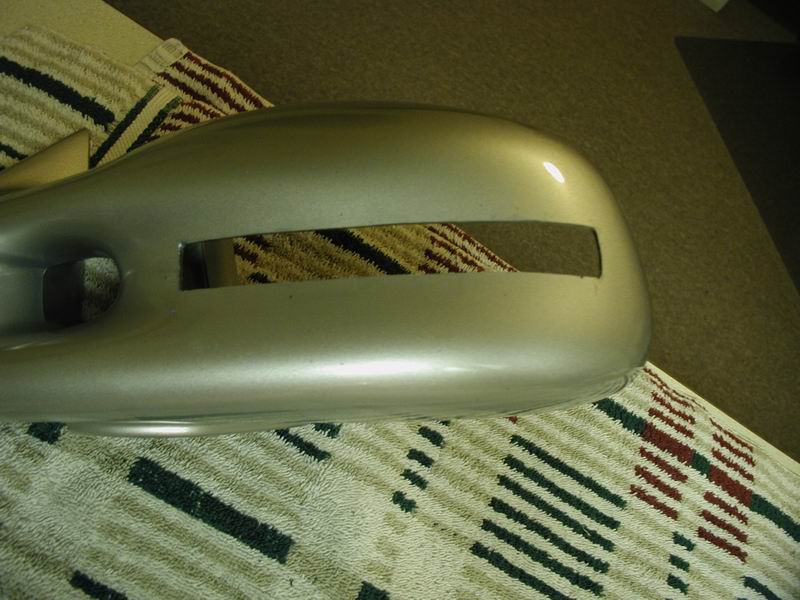
Cut complete.
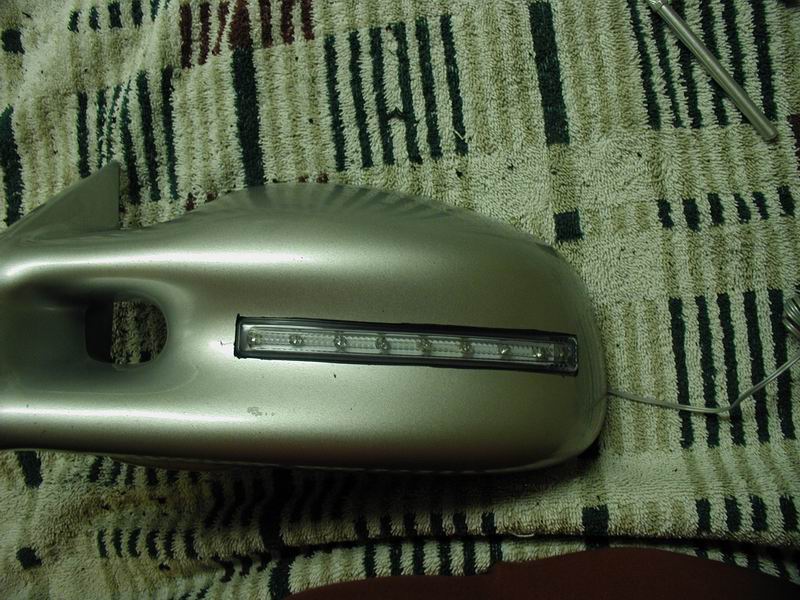
A quick test fit.
One last test fit after cleaning up the cuts.
I put two coats of silver paint to the cuts.
I used Sure Seal to bond the light to the mirror and applied it in 2" segments as the light didn't quite
like the curve. Make sure you get a thick coat on or you will have some light bleeding through.

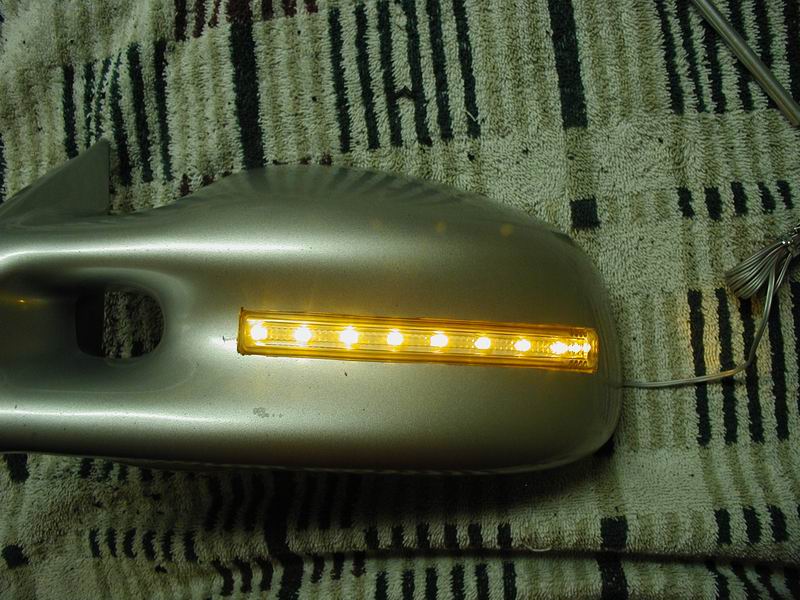
All done and ready to dry overnight.
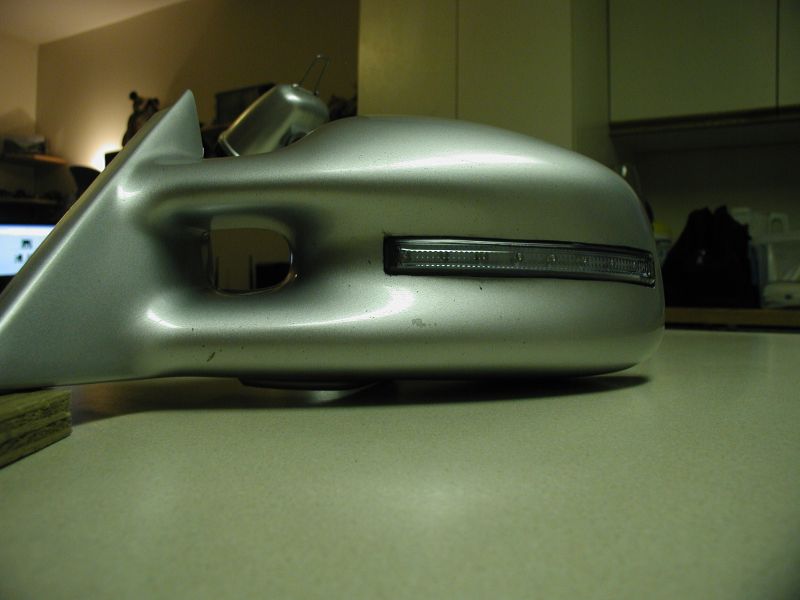

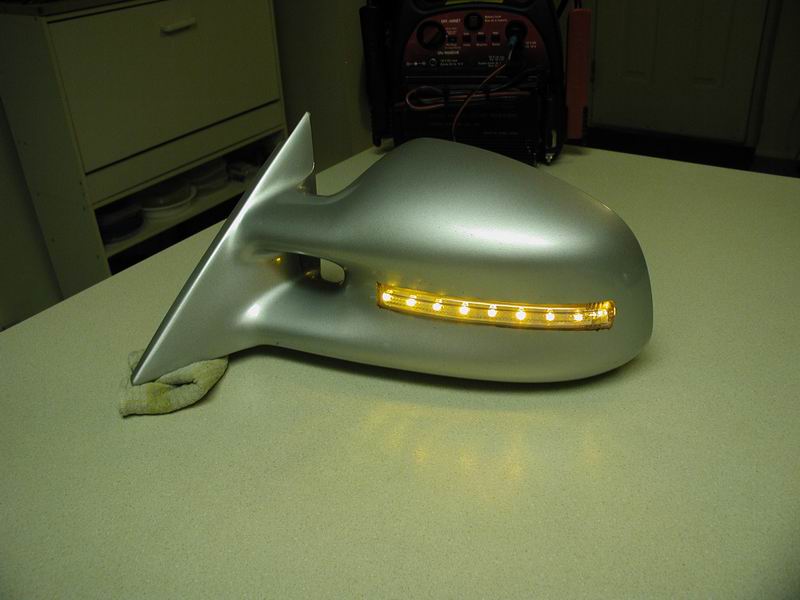
Final test and all done. I might try and find some silver silicone to clean up the edges around the LED.
February 10, 2014
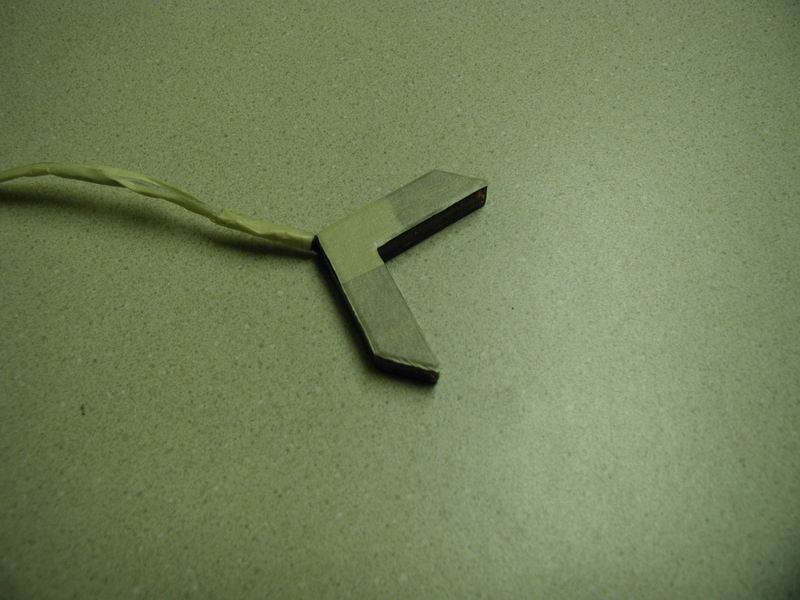
Started the left mirror rear signal.....
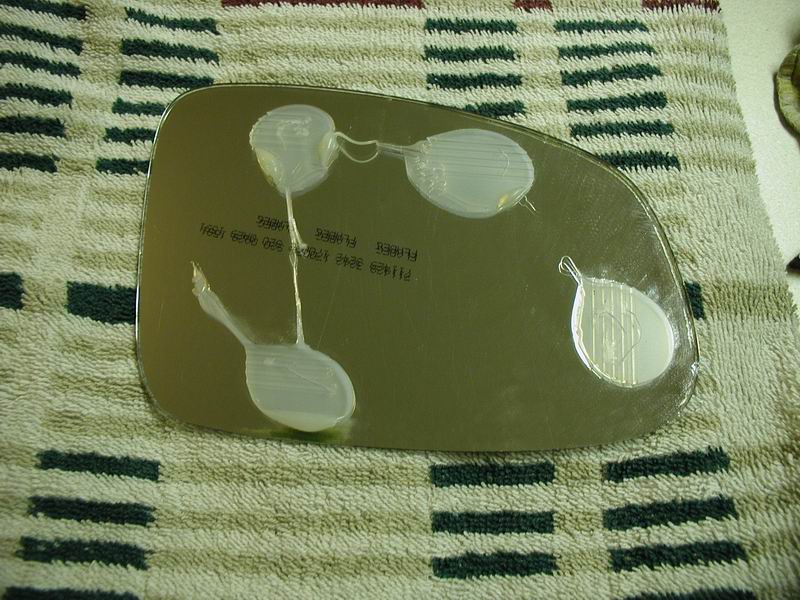
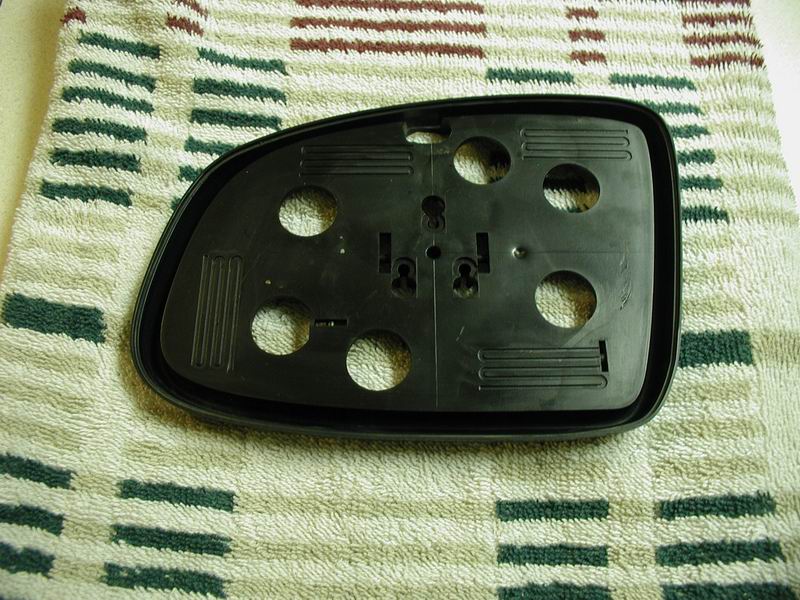
Glass removed.
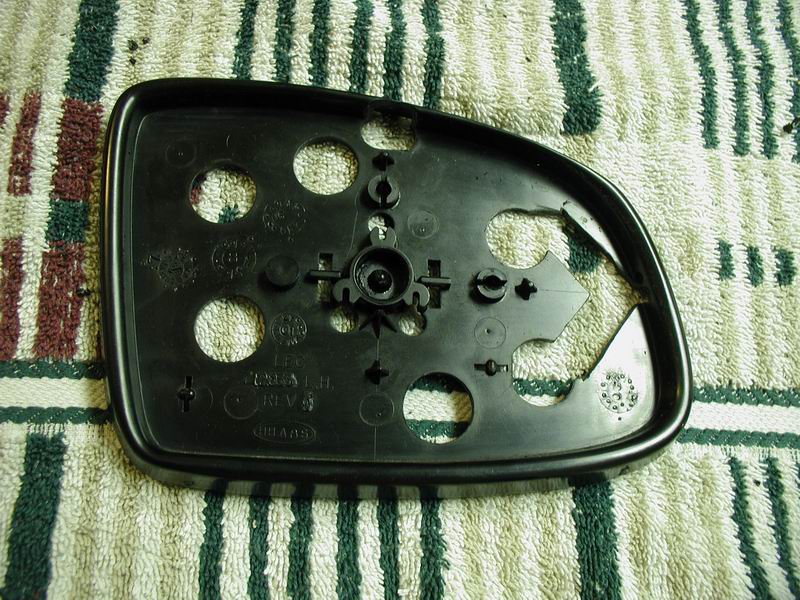
Cuts made and test fit of signal.
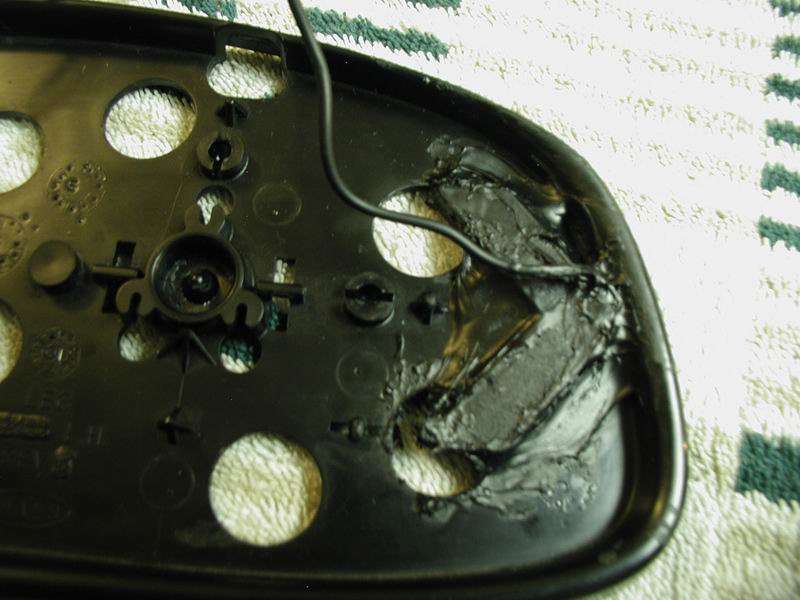
I drilled a large hole for the end of the signal and wire to slide into, and a smaller hole next to it to route the wire back through.
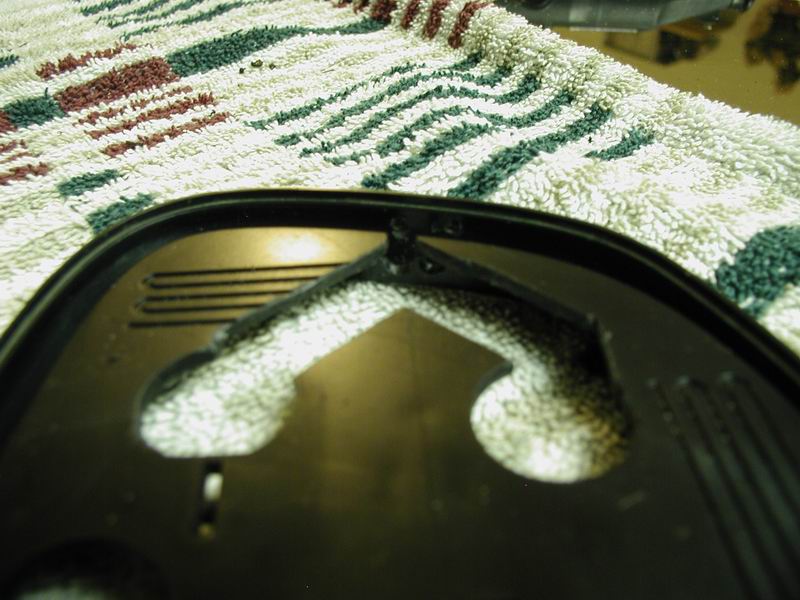
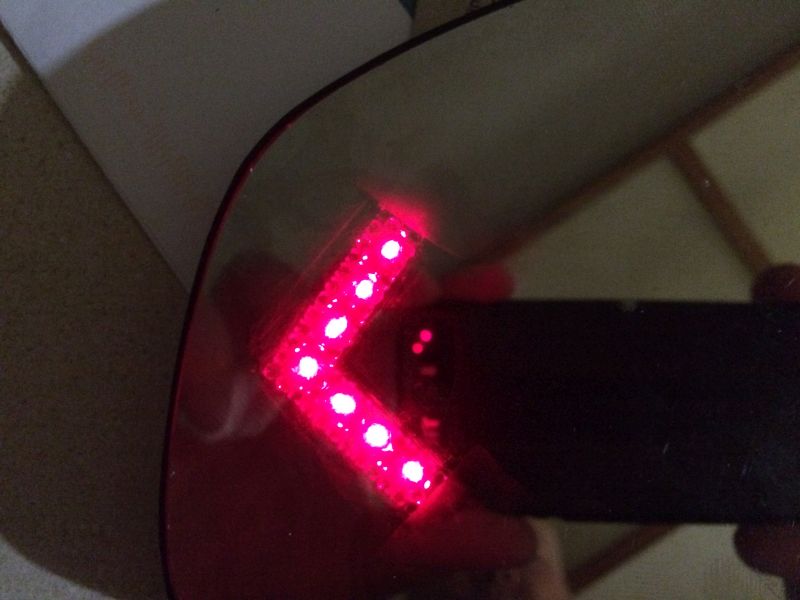
One last test.
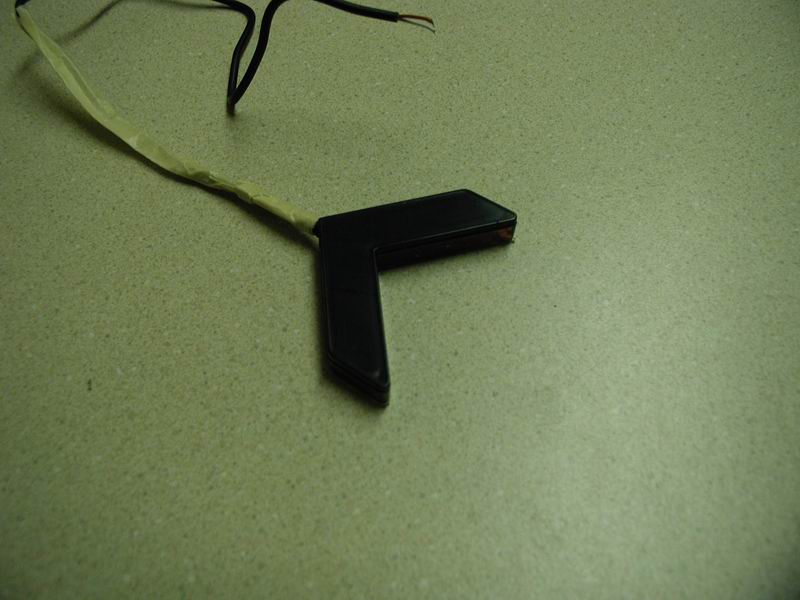
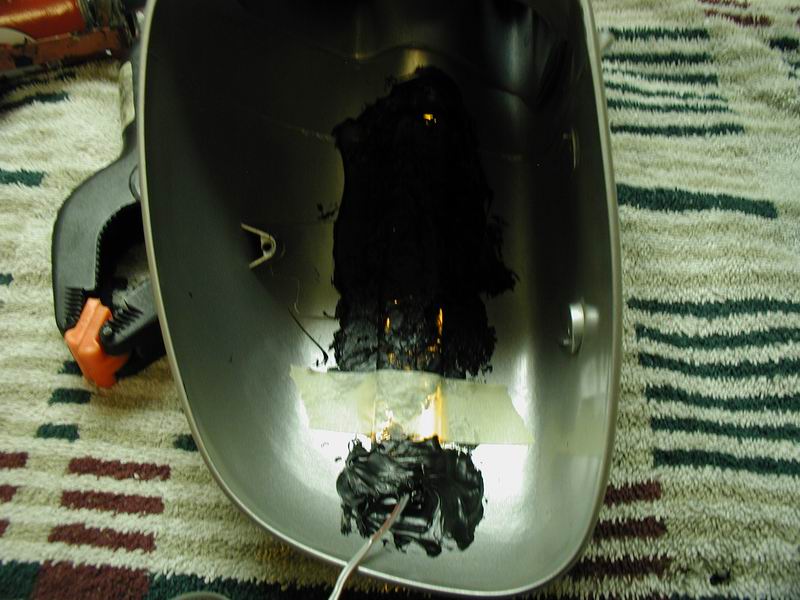
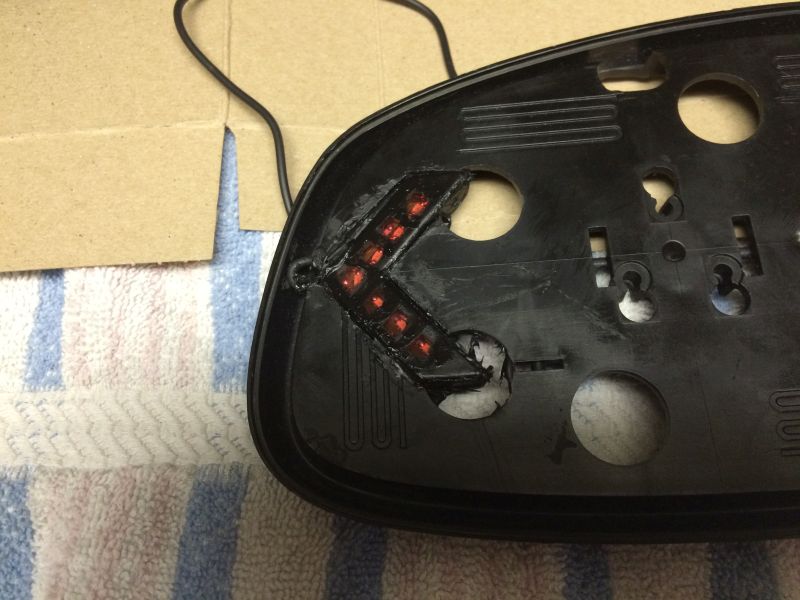
Tape the front of the signal to protect it, then paint the rest to keep light from bleeding out behind the glass.
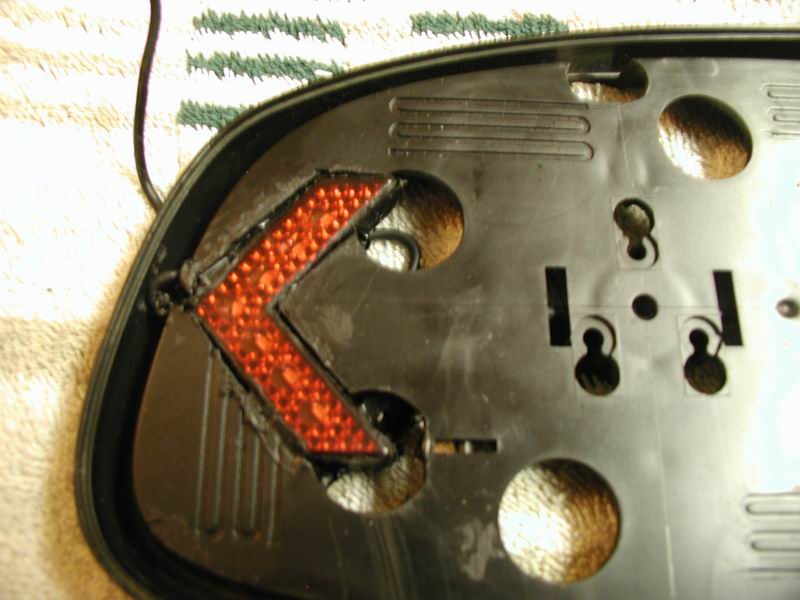
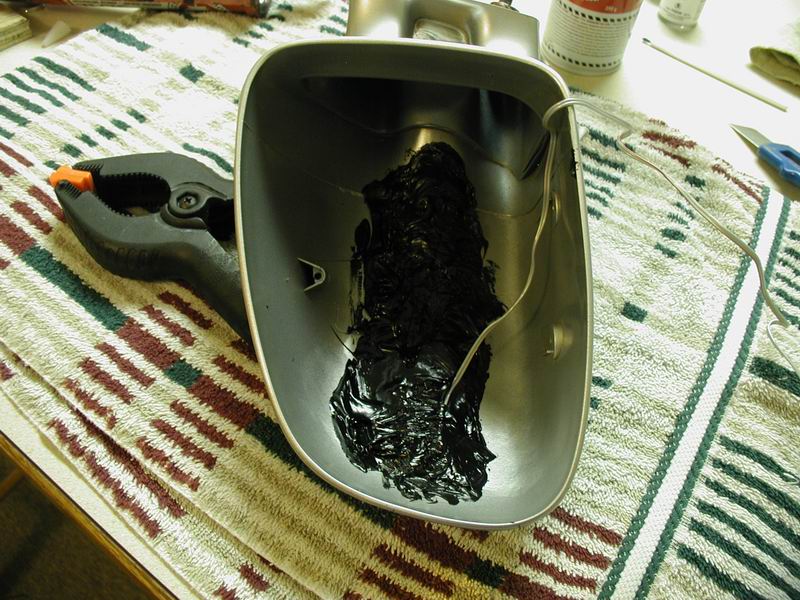
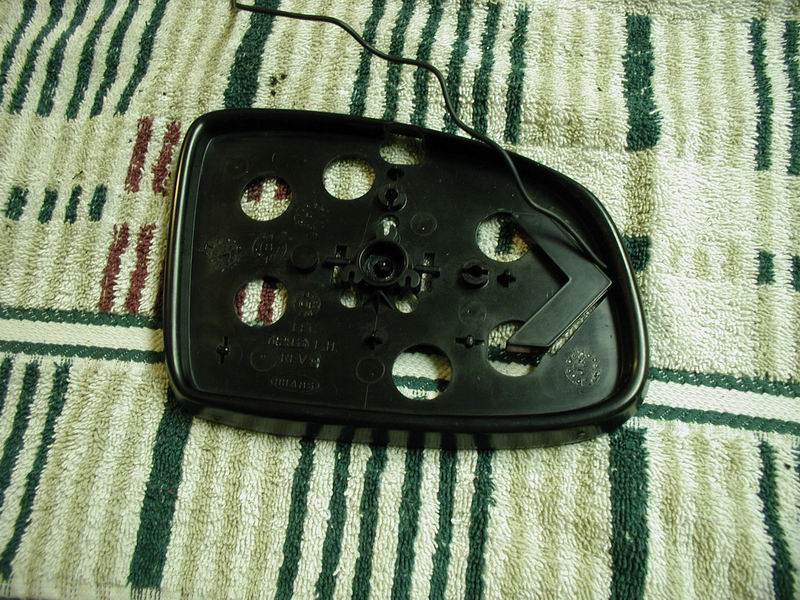
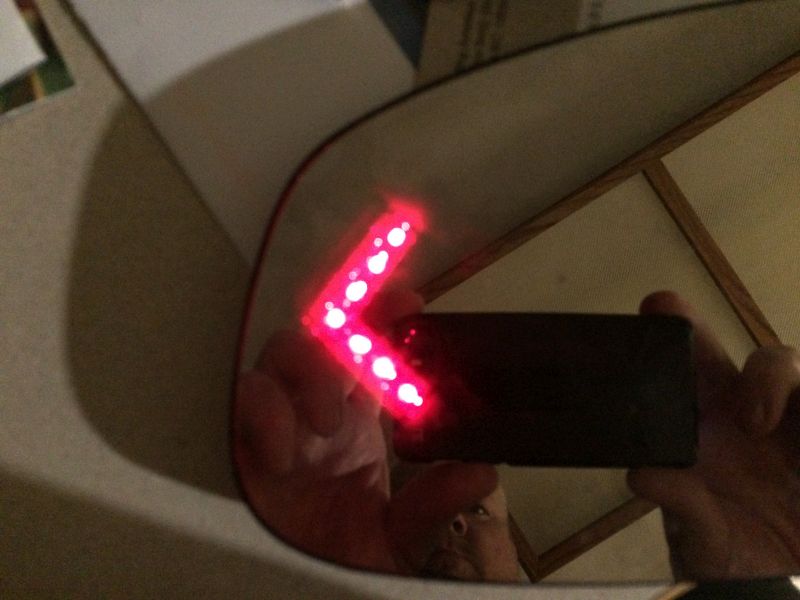
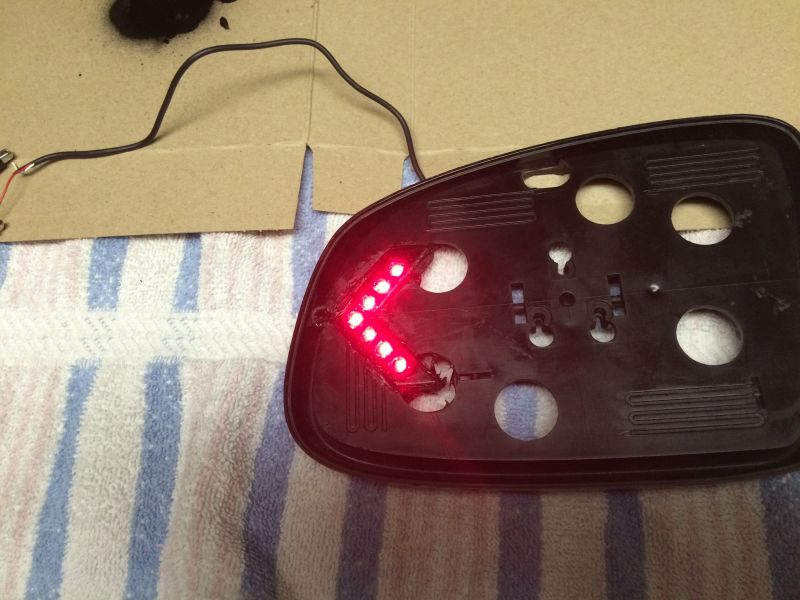
Signal glued in place (I used Sure Seal again) and tested for bleeding.
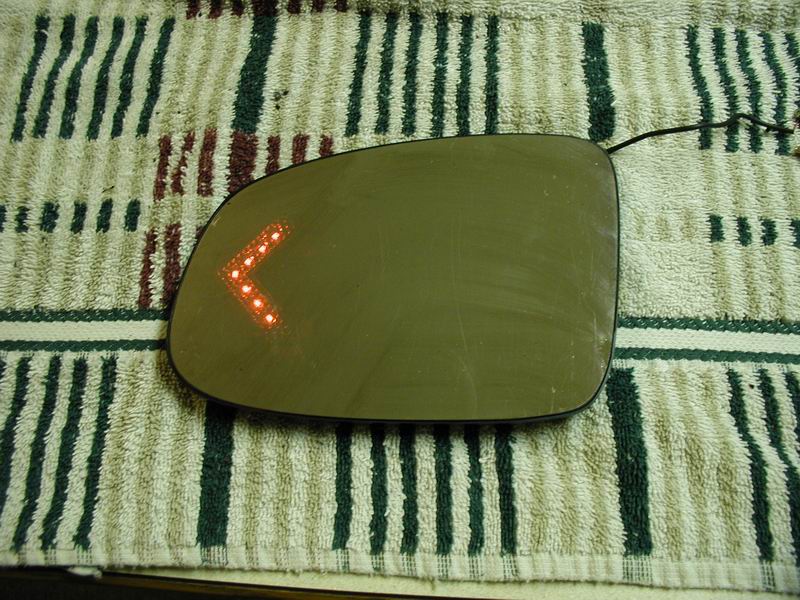
Final test with different light levels; the glass is ready for install.
June 10, 2014
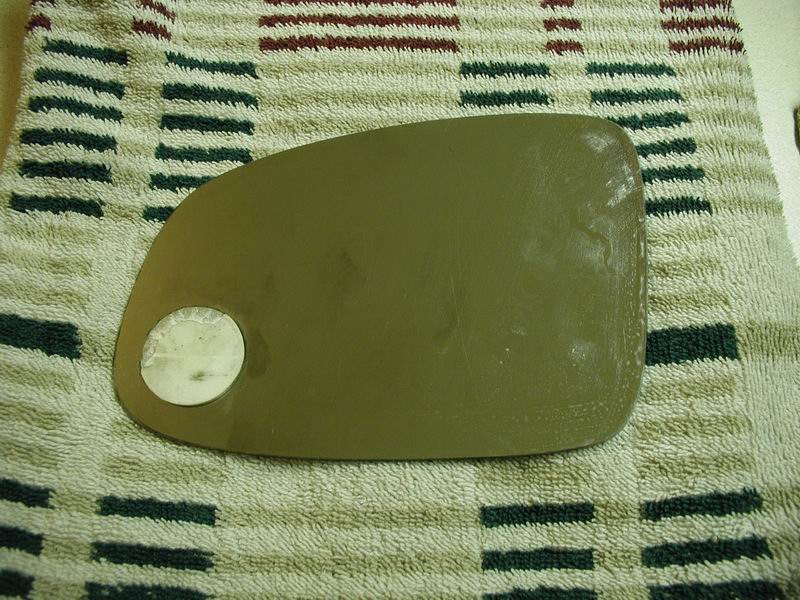
Back side.
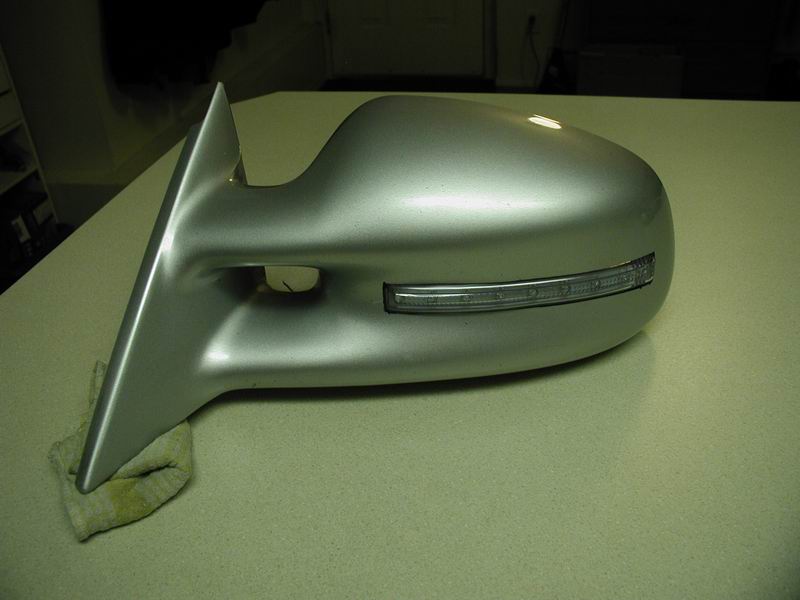
Front side.
There was some red light bleeding out the side of the mirror, so I masked it and put some black paint on the edge.
June 14, 2014
The puddle light was too bright, so I masked off half of the LED's and sprayed some black paint.
One coat isn't near enough.
Four coats later.
Before and after.
Before and after.
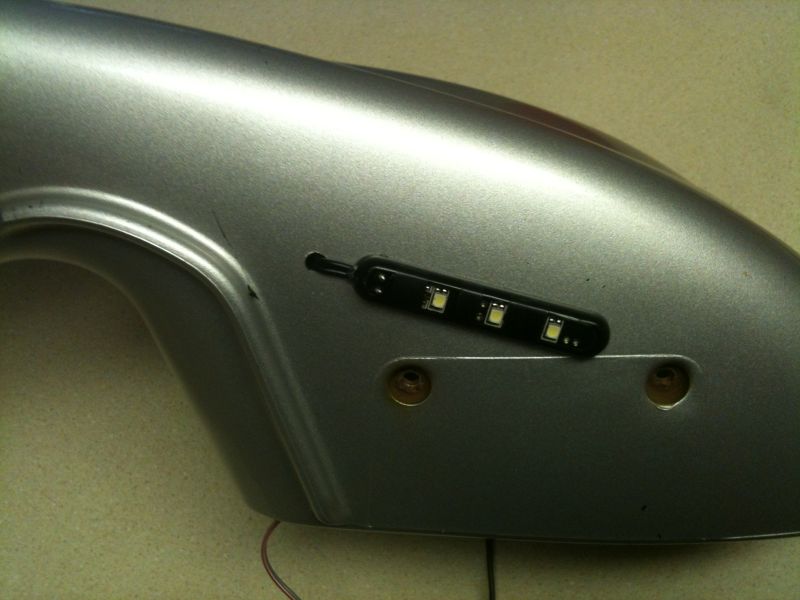
Marked for placement.
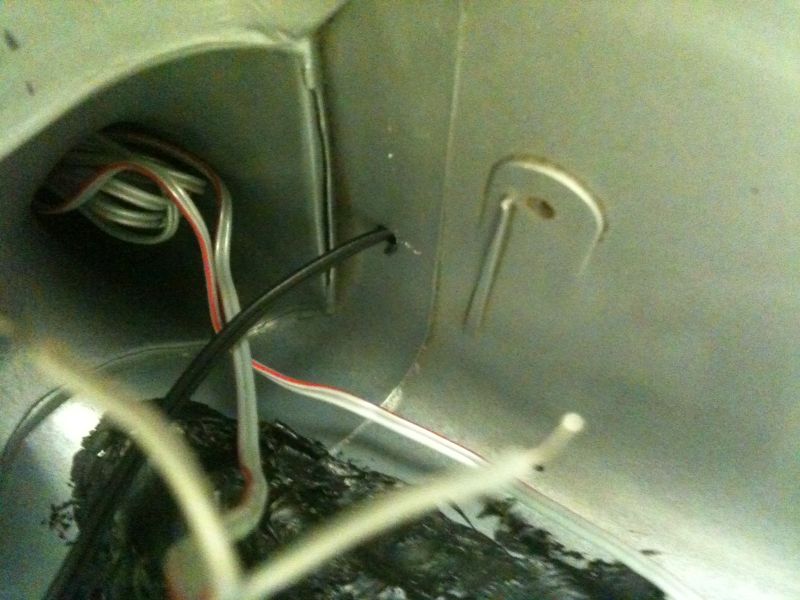
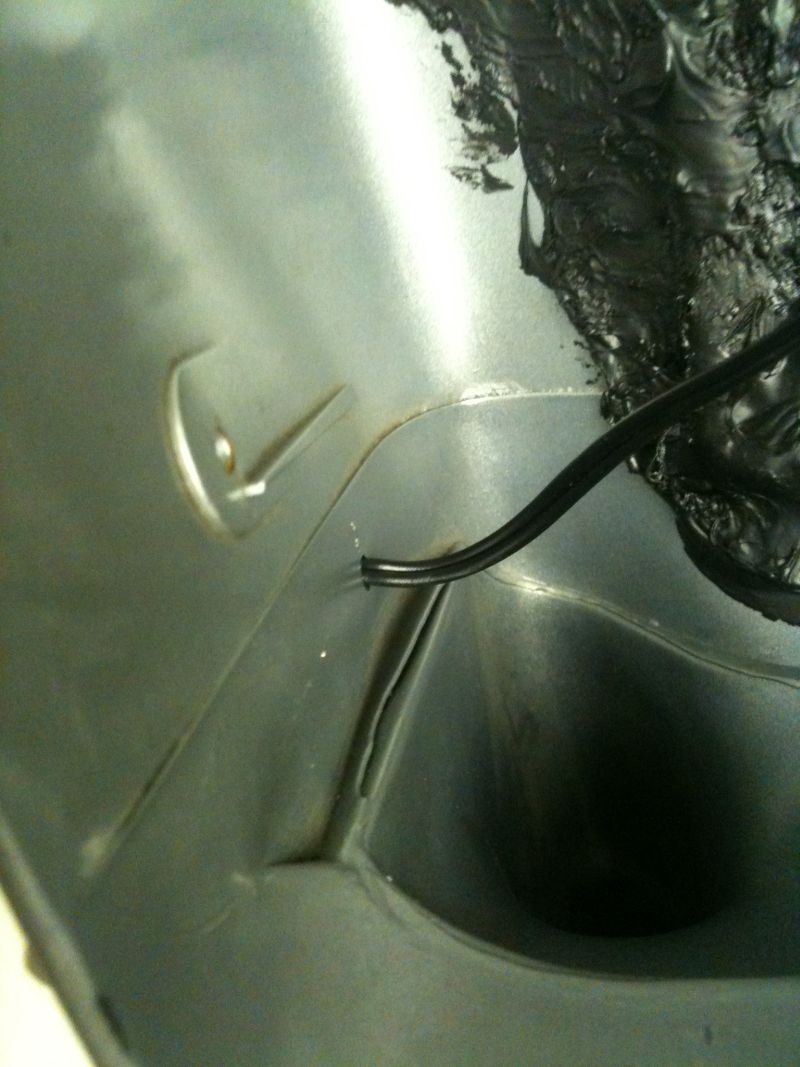
The wire inside the mirror.
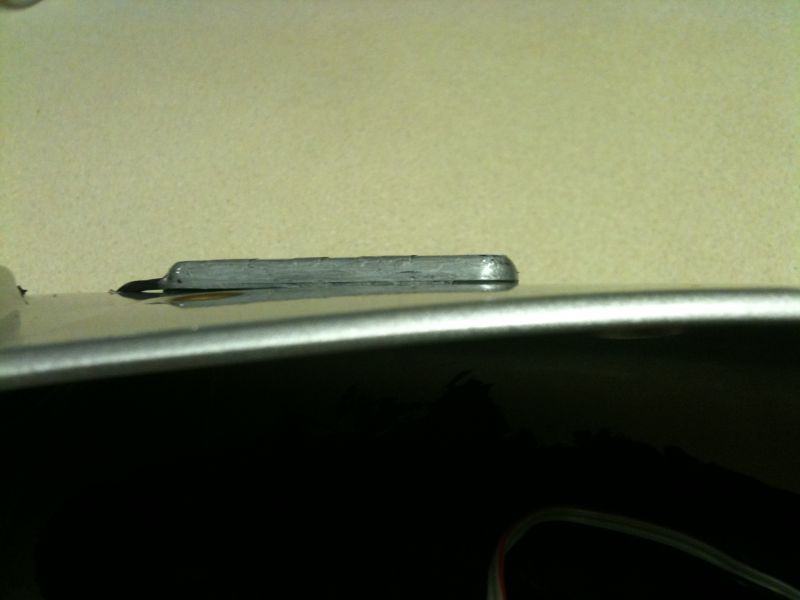
Done.
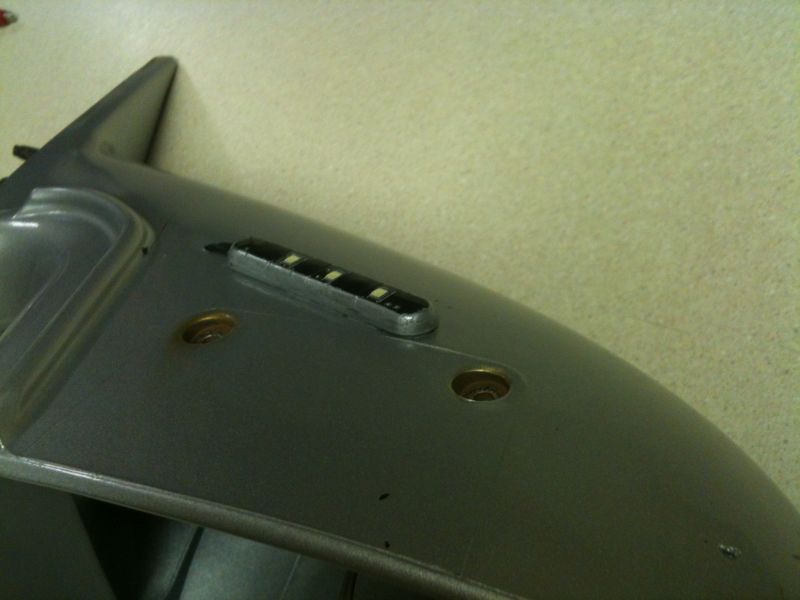
I decided to put some silver paint on the sides of the LED module to help it blend in.
February 21/2016
This project got put on the back burner and forgotten. Trying to get back on track, I have decided to add heating elements to the mirrors.
One thing that bothered me was the amount of excess light the Cipa signals produced being behind the mirror.
Each LED has a smooth circled area that it shines through. I painted
all areas other than those circles to block the excess light.
It isn't pretty, but it did the job.
No more excess light.
Before and after.
March 14/2016
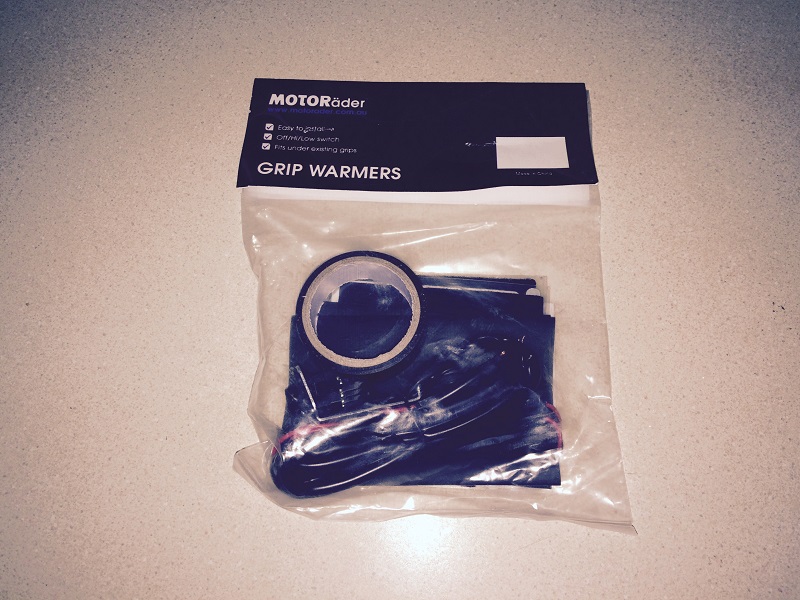
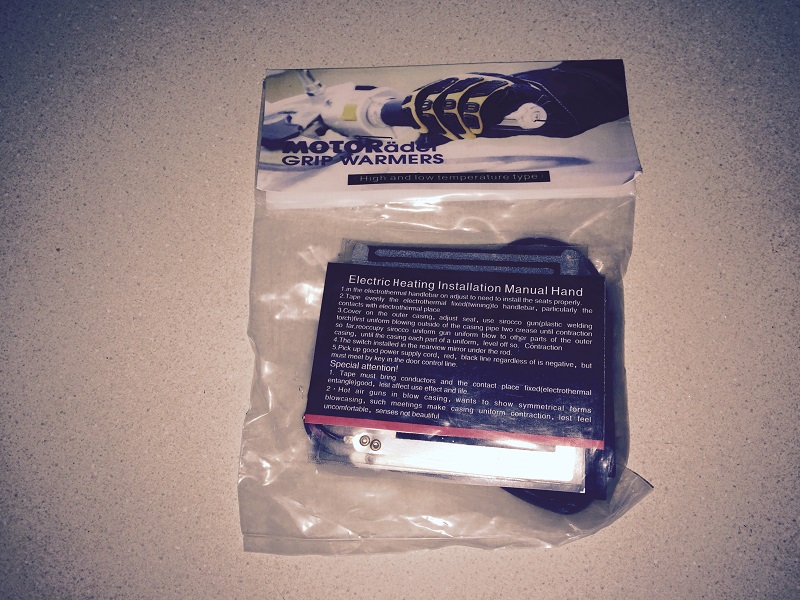
Motorcycle heated grips to be used for inexpensive mirror heaters.
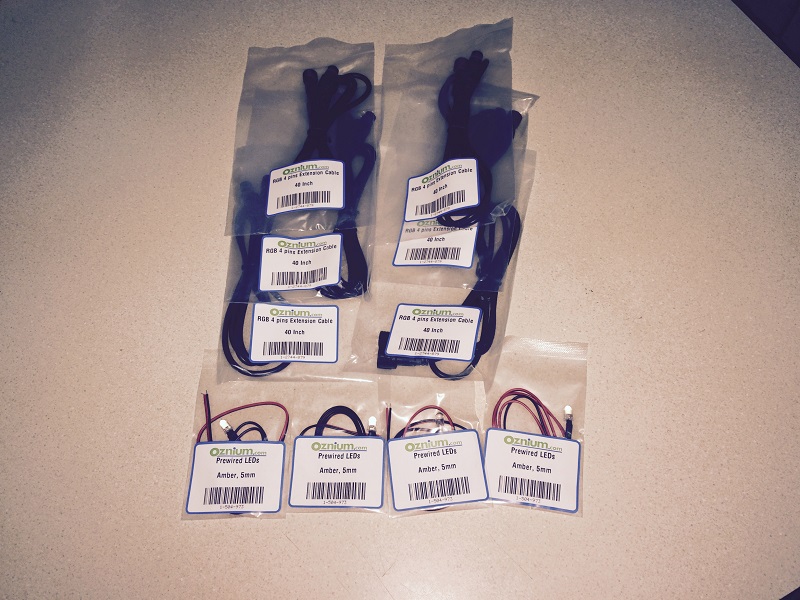
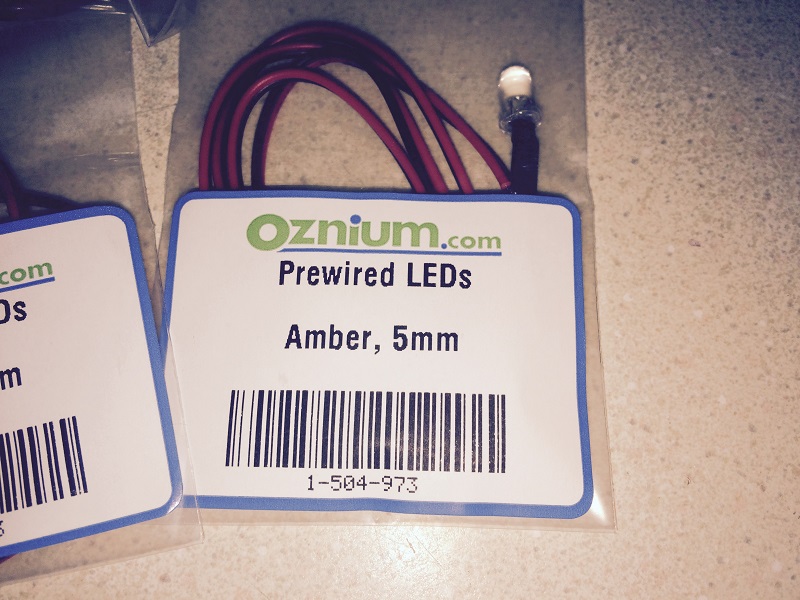
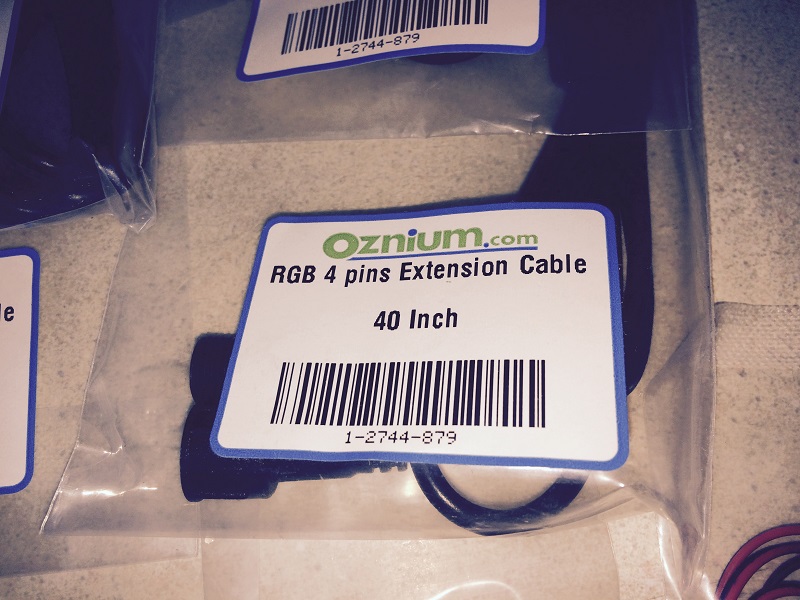
Amber LED's for "power on" indicators, and some RGB cables with plugs.
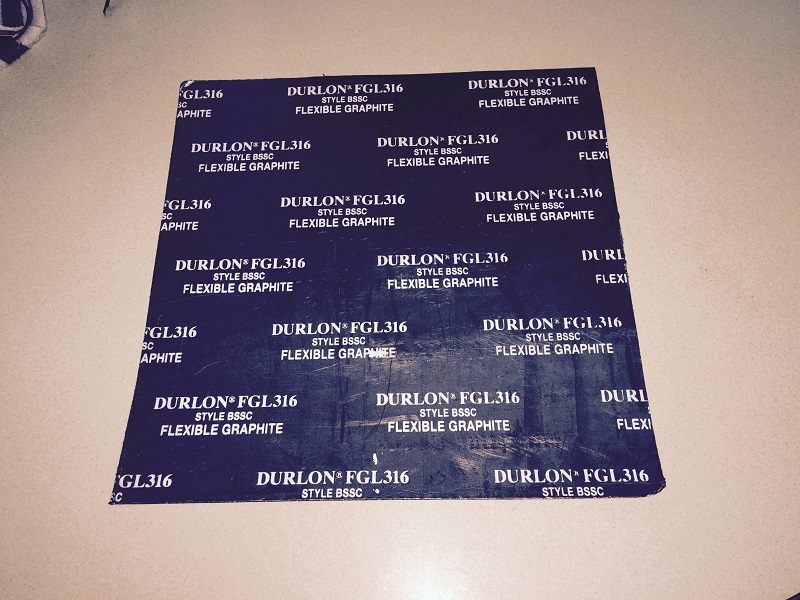

12"x12" sheet of graphite. I got this on a whim. Hoping it will help disperse the heat to defrost the whole mirror.
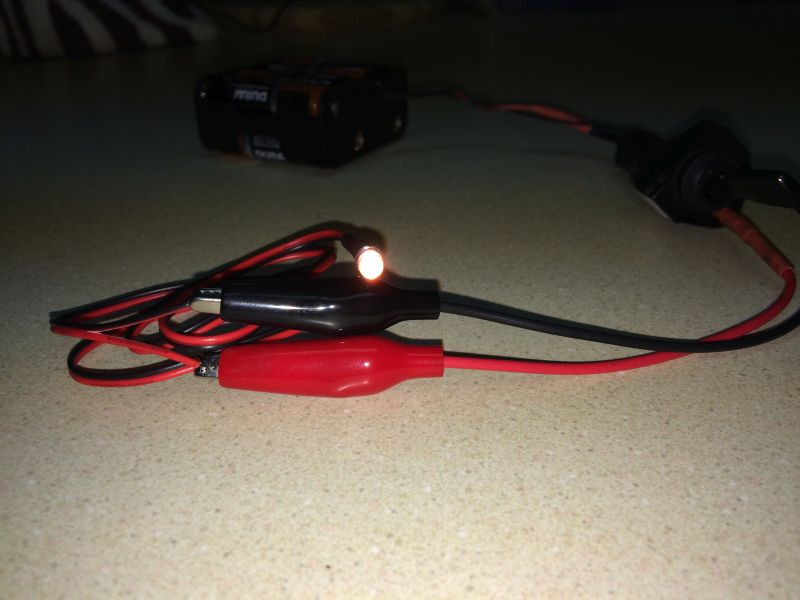
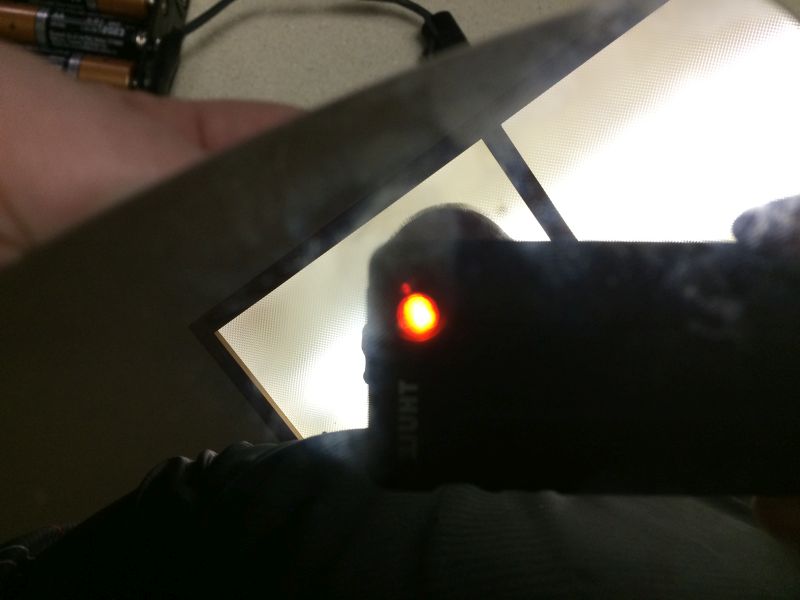
Testing the amber LED. Thinking of mounting them behind the mirror, top inner corner.
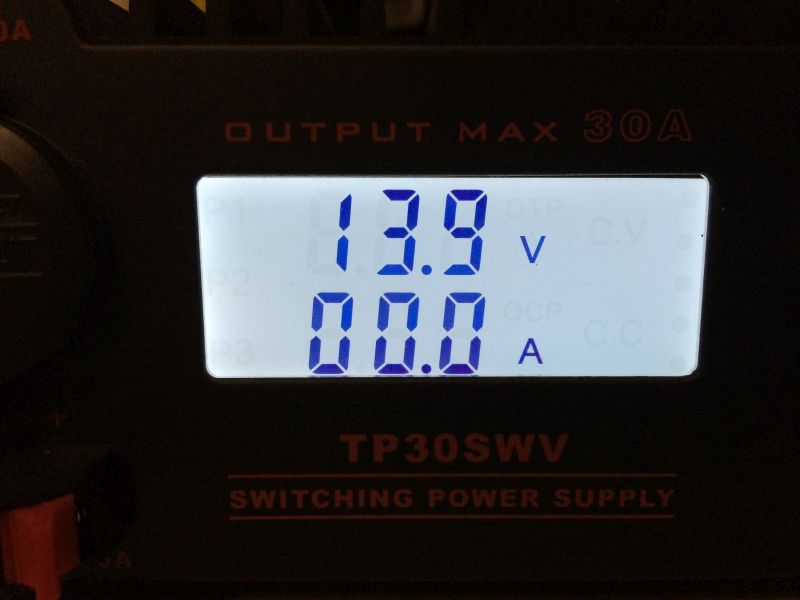
Tested the draw of the heaters; heaters off.
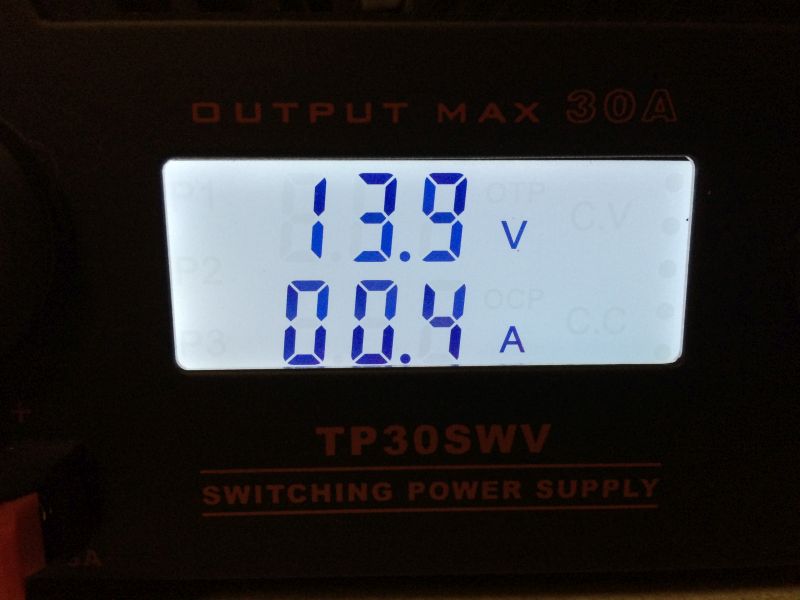
Low heat
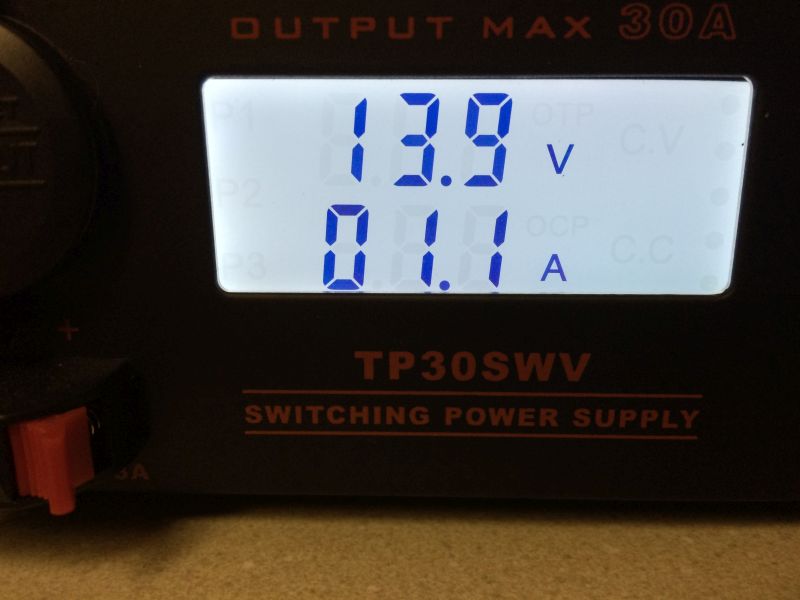
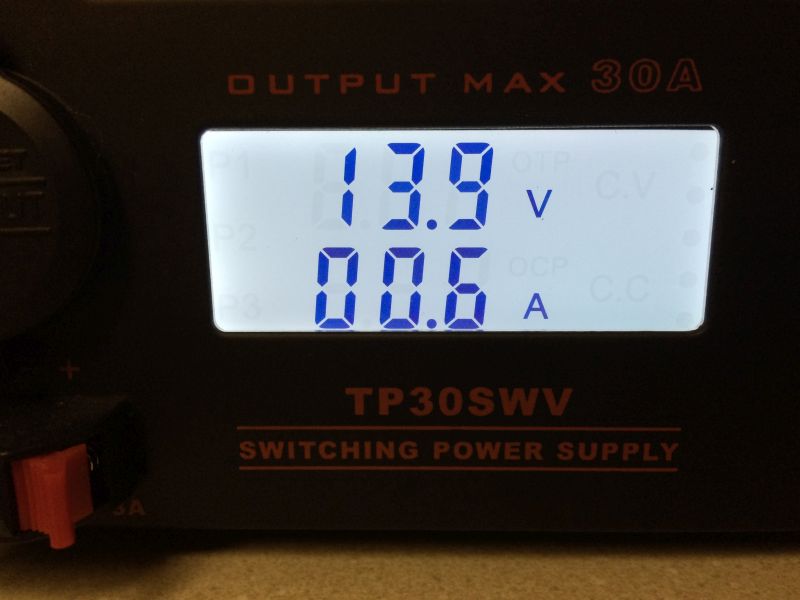
Oh high heat, they initially drew 1.2a, but quickly dropped to 1.1a. From there, they dropped 100ma every 15-20 seconds, and stayed at 6ma.
April 13/2018
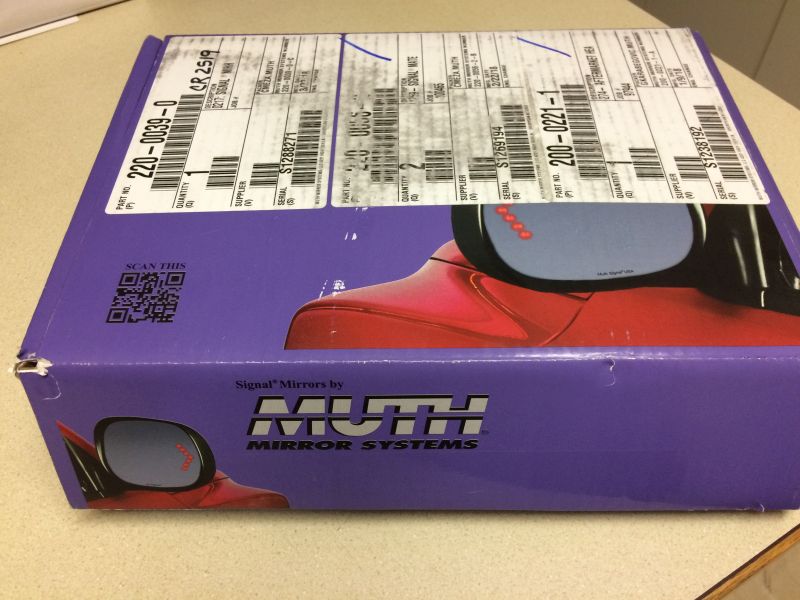
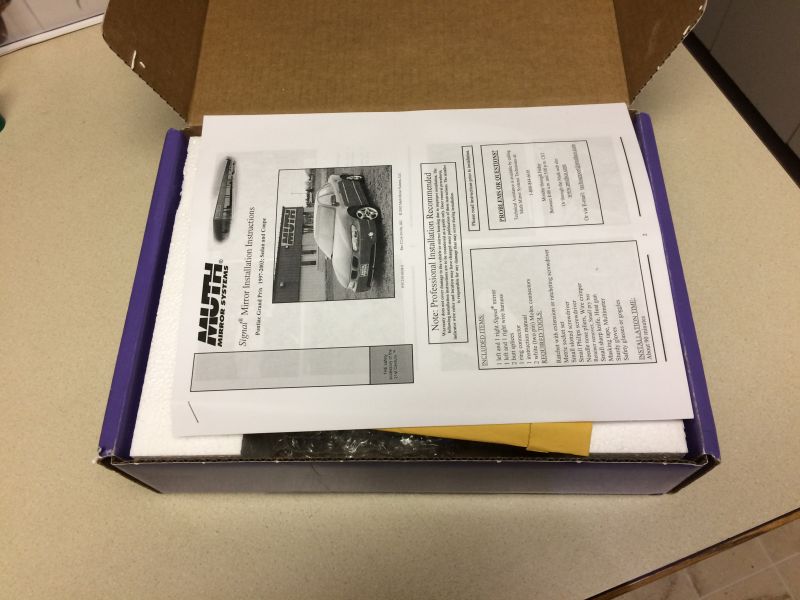
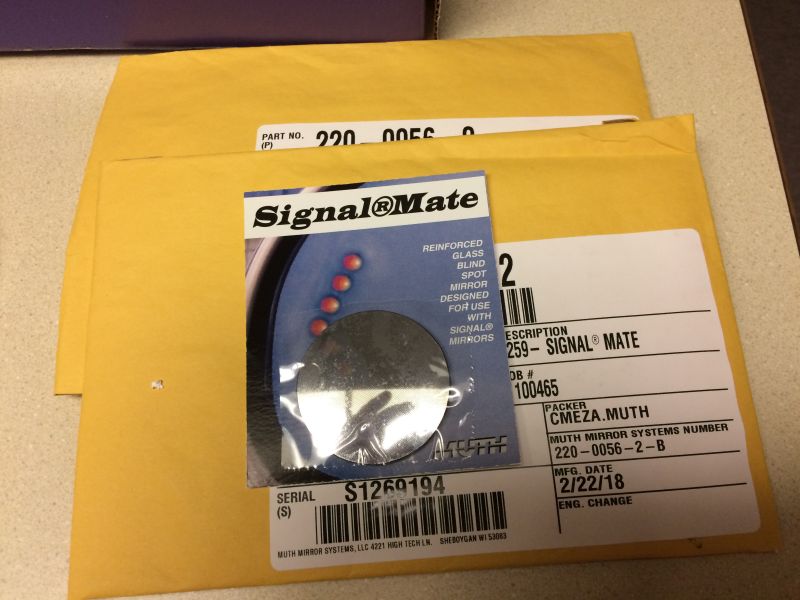
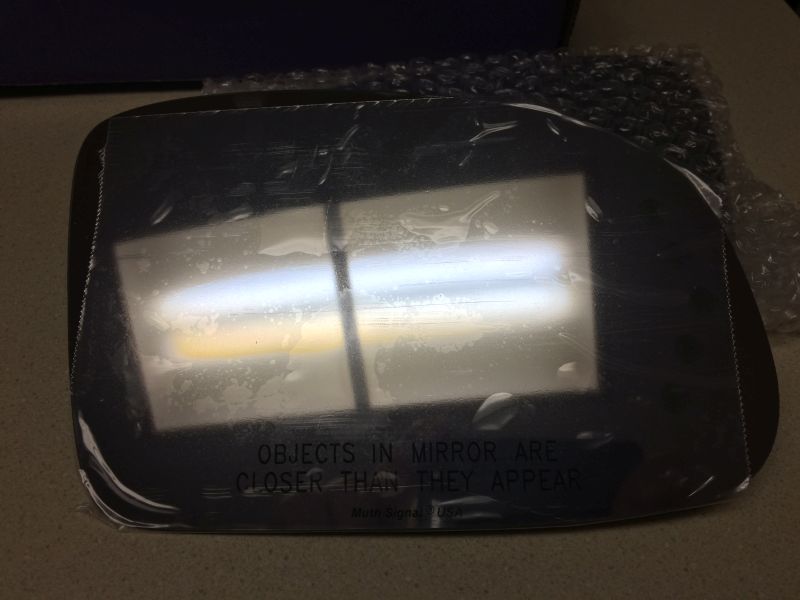
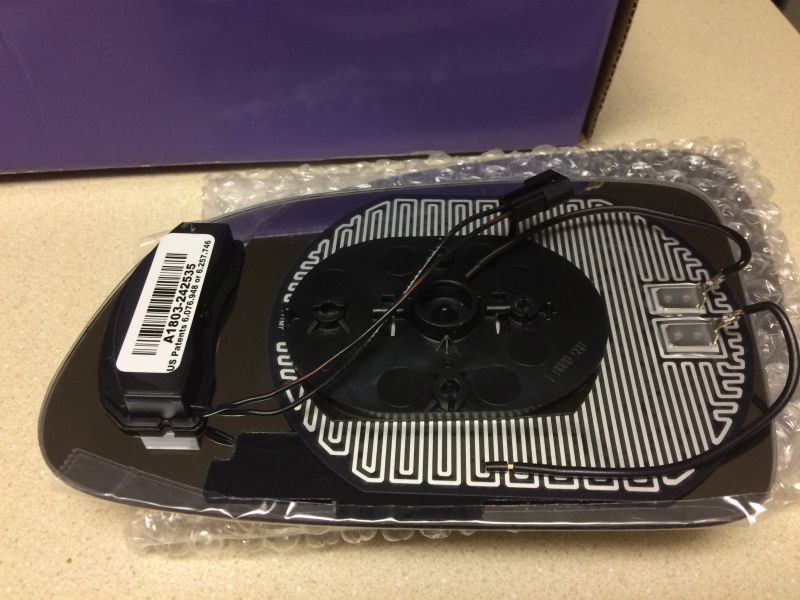
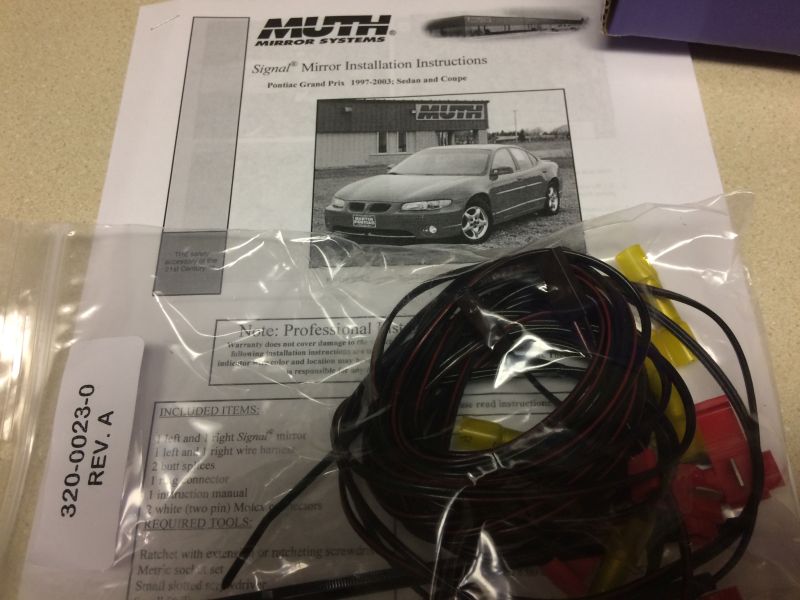
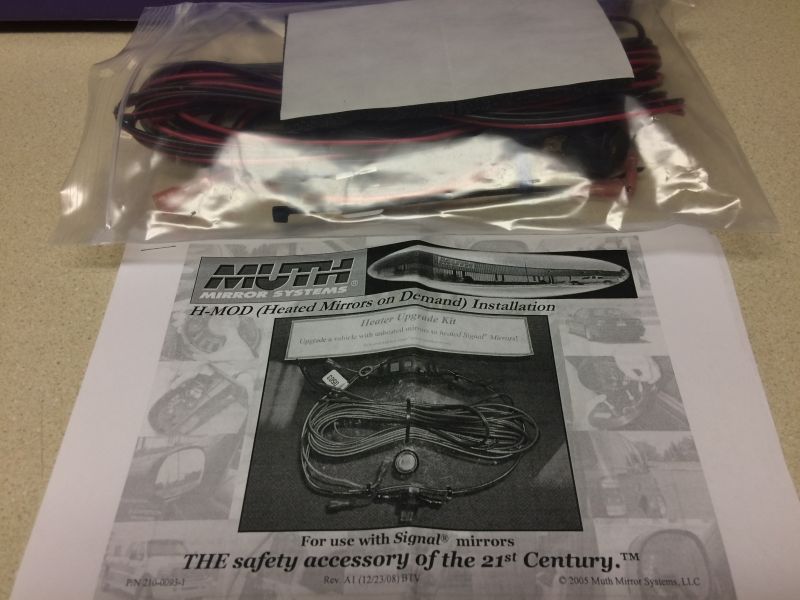
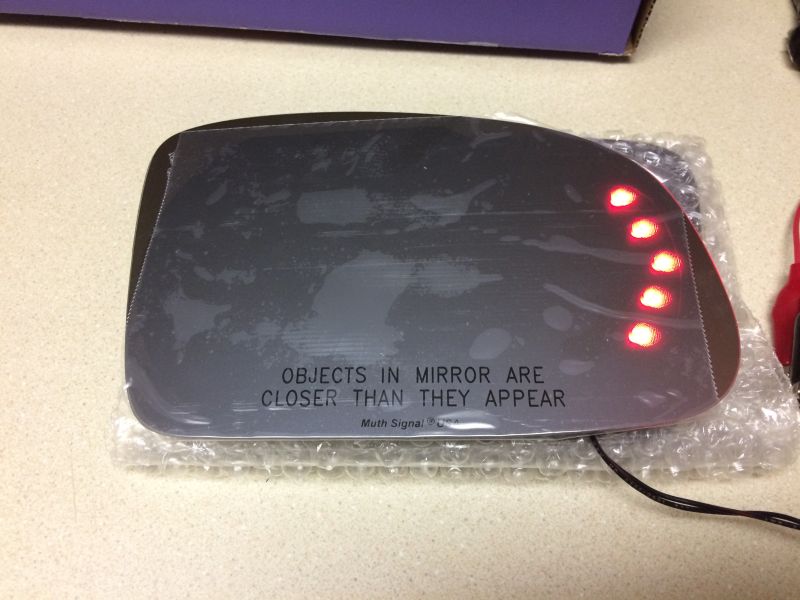
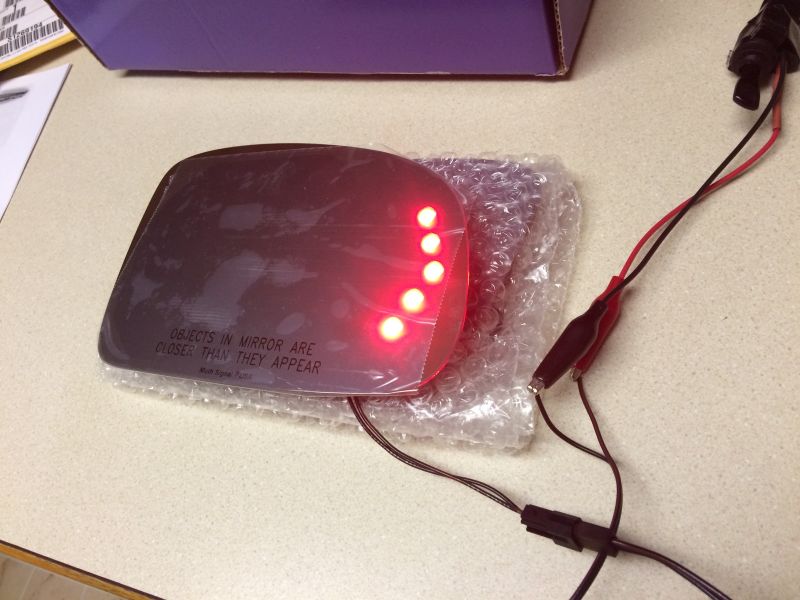
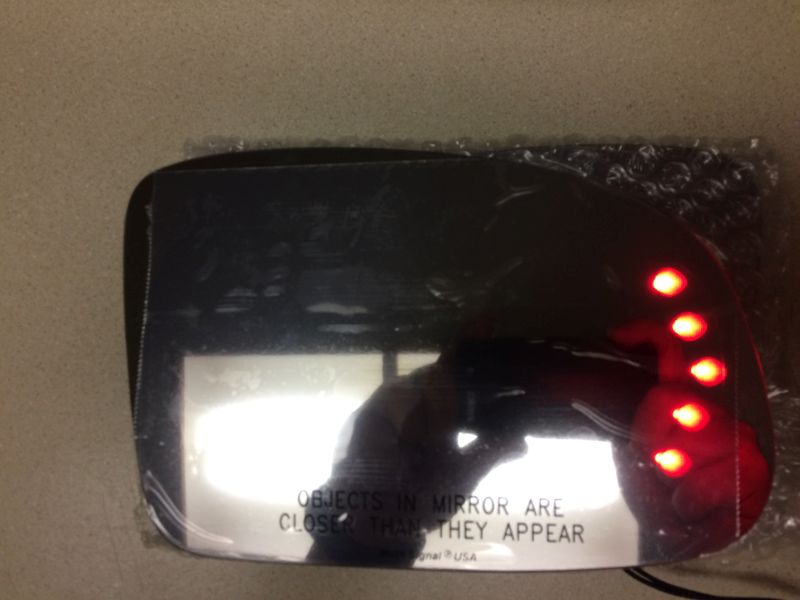
Muth signal mirrors, H-mod harness and Signal Mate's.
- front facing amber indicator
- rear facing red arrow
- down facing puddle light
I've come accustomed to driving with 2" convex mirrors on the lower/outer corners of my mirrors, but these will interfere with the red arrows going behind the glass. On a
previous build, I used 2" convex mirrors that were angled, and attached them to the inner/lower corner of the mirror. They worked out fine, so I will be using them again.
February 2, 2014

The parts.

Cipa #08800 Add-A-Signal.

eBay Soft Turn Light LED signal.

Cipa #49104 Hot Spot convex mirror.

Oznium 6 LED module.


Testing the turn light on a spare mirror.


Testing the 6 LED module.

I'm thinking that the LED modules will be to bright, so
I got some Oznium single pre-wired surface mount LED's.


Testing the single surface mount LED.


Another test of the LED's in the dark; single LED on left, 6 LED module on the right.
February 8, 2014


Testing location of rear signals.


Spare mirrors installed on the car.

Mirrors ready for surgery.
February 9, 2014
Started the left mirror front signal.....


Starting with the left mirror; all cleaned up.


Eyeing up the center line and placement of the light.

Template taped in place.

Outside line drawn out.

Cut complete.


A quick test fit.


One last test fit after cleaning up the cuts.

I put two coats of silver paint to the cuts.

I used Sure Seal to bond the light to the mirror and applied it in 2" segments as the light didn't quite
like the curve. Make sure you get a thick coat on or you will have some light bleeding through.


All done and ready to dry overnight.


Final test and all done. I might try and find some silver silicone to clean up the edges around the LED.
February 10, 2014
Started the left mirror rear signal.....


Glass removed.

Cuts made and test fit of signal.


I drilled a large hole for the end of the signal and wire to slide into, and a smaller hole next to it to route the wire back through.


One last test.


Tape the front of the signal to protect it, then paint the rest to keep light from bleeding out behind the glass.


Signal glued in place (I used Sure Seal again) and tested for bleeding.


Final test with different light levels; the glass is ready for install.
June 10, 2014
Back side.
Front side.


There was some red light bleeding out the side of the mirror, so I masked it and put some black paint on the edge.
June 14, 2014


The puddle light was too bright, so I masked off half of the LED's and sprayed some black paint.

One coat isn't near enough.


Four coats later.
Before and after.
Before and after.

Marked for placement.


The wire inside the mirror.

Done.


I decided to put some silver paint on the sides of the LED module to help it blend in.
February 21/2016
This project got put on the back burner and forgotten. Trying to get back on track, I have decided to add heating elements to the mirrors.


One thing that bothered me was the amount of excess light the Cipa signals produced being behind the mirror.

Each LED has a smooth circled area that it shines through. I painted
all areas other than those circles to block the excess light.

It isn't pretty, but it did the job.


No more excess light.
Before and after.
March 14/2016


Motorcycle heated grips to be used for inexpensive mirror heaters.


Amber LED's for "power on" indicators, and some RGB cables with plugs.


12"x12" sheet of graphite. I got this on a whim. Hoping it will help disperse the heat to defrost the whole mirror.


Testing the amber LED. Thinking of mounting them behind the mirror, top inner corner.

Tested the draw of the heaters; heaters off.

Low heat


Oh high heat, they initially drew 1.2a, but quickly dropped to 1.1a. From there, they dropped 100ma every 15-20 seconds, and stayed at 6ma.
April 13/2018
Muth signal mirrors, H-mod harness and Signal Mate's.


If you have any comments, suggestions, or see any errors, please let me know..... cbradley@telus.net
Last updated on April 13/2018
All contents on this site are
property of Chris Bradley. No content on this site may be reproduced
without the express permission of Chris Bradley.