DRL
August 5/2019
https://www.mazdas247.com/forum/index.php?threads/drl-foglight-bypass.123672453/
https://www.mazdaforum.com/forum/mazda-tribute-22/help-how-disable-daytime-running-lights-3179/
ground wire
FSM-Fig_23_Headlights_Circuit_W-Auto_Lights_Off.pdf
FSM-Fig_23_Headlights_Circuit_W-Auto_Lights_Off-EDIT.pdf
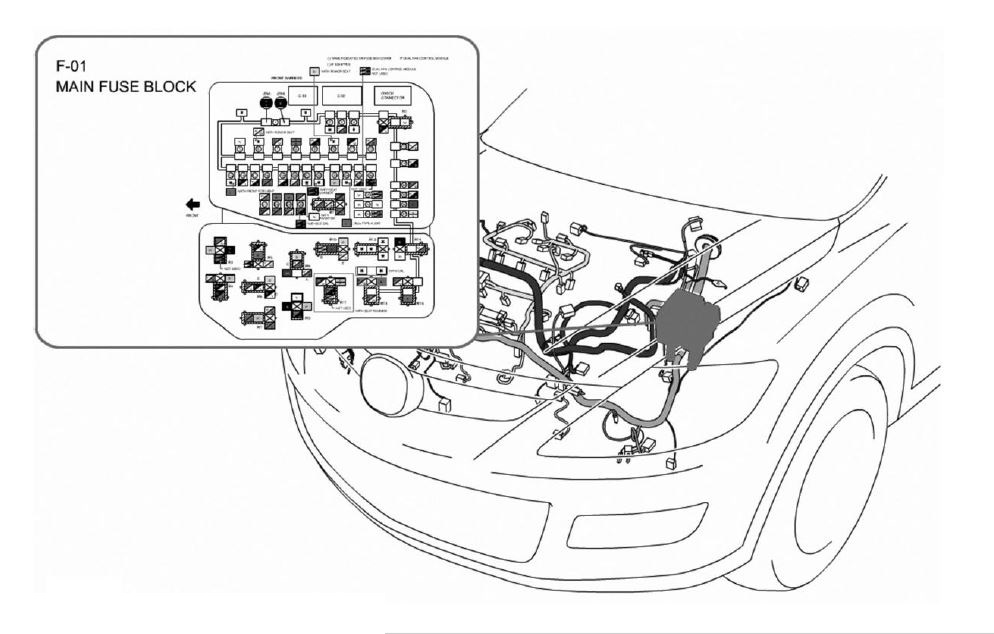
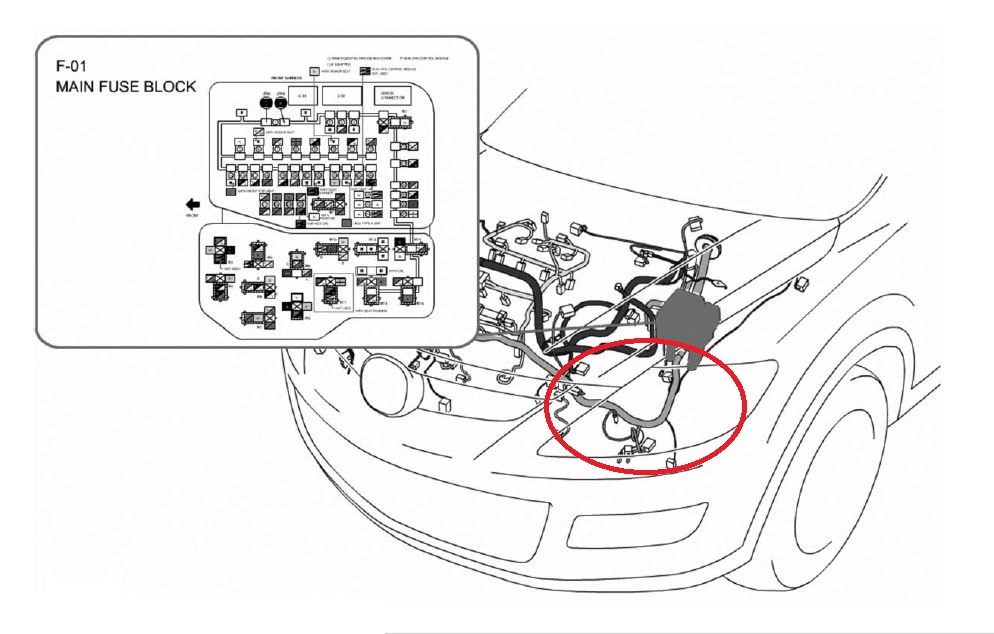
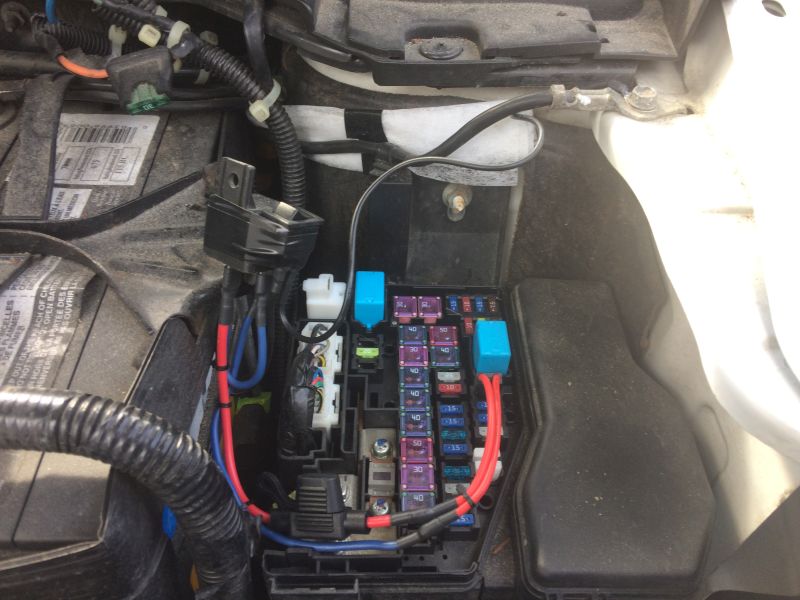
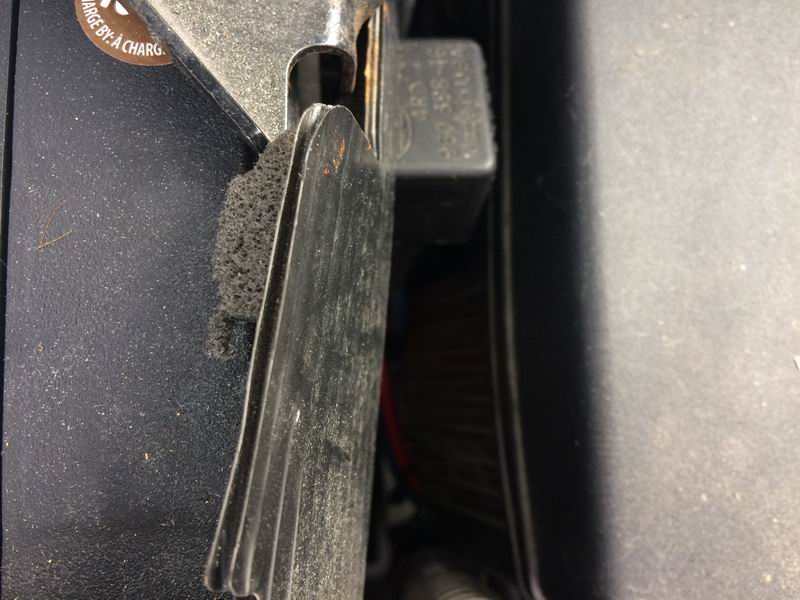
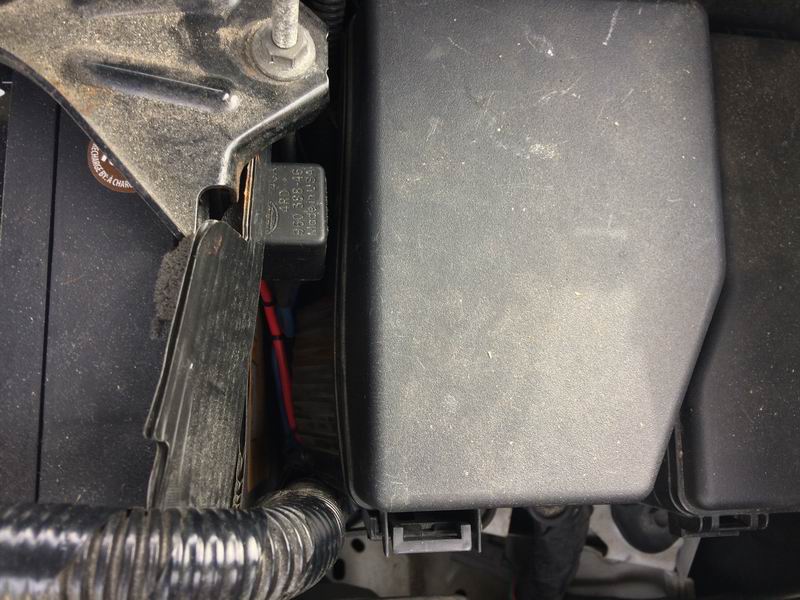
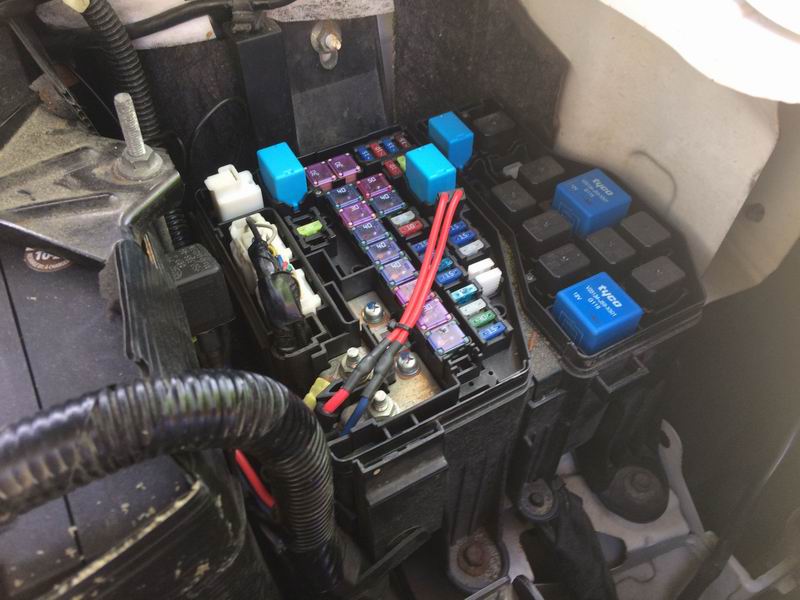
Harness location where the red, red/yel wires from auto light-off control module join with the red/blk, red/blk wires of the high beams.
February 29/2020

Temporary DRL delete. This method is the same as pulling the hi-beam fuse, so you do lose operation of the hi-beams.
The switch makes it so you can easily switch the hi-beam circuit back on, having the normal DRL and hi-beams.

A bunch of parts.
| PART |
QTY |
SPECS |
SUPPLIER |
BRAND |
PART # |
| connector | 6 |
14-16GA /
|
had in
house |
Pico | 1851BP |
| connector | 1 |
14-16ga /
1/4" eye |
had in house | Pico | 1806BP |
| fuse holder | 1 |
16ga / 20a |
Princess Auto |
Power Fist | 8553380 |
| fuse holder | 1 |
12ga / 30a |
Princess Auto | Power Fist | 8553348 |
| relay | 1 |
12v / 40a
/
spst / 5 pin / with bracket |
had in house | Hella |
007793041 |
| shrink tube | 7 pieces |
3/16" | had in house | - |
- |
| shrink tube | 6 pieces |
1/4" | had in house | - |
- |
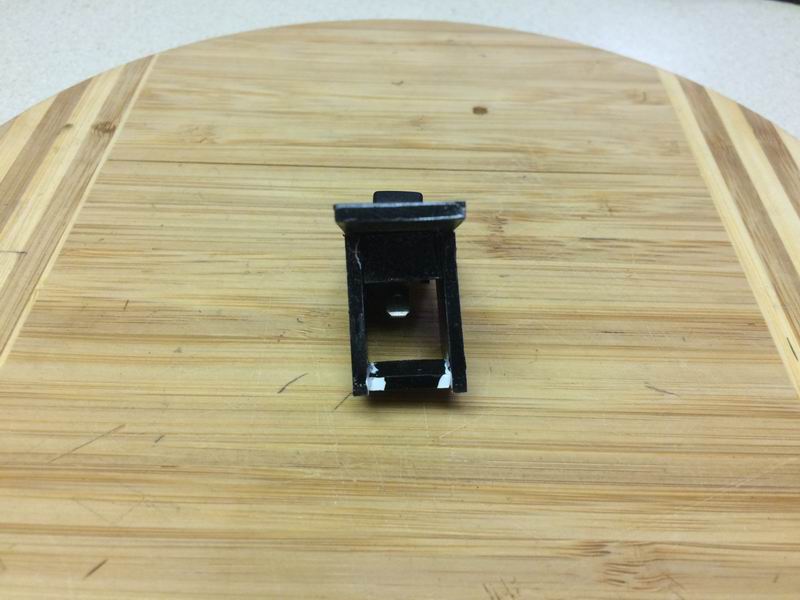
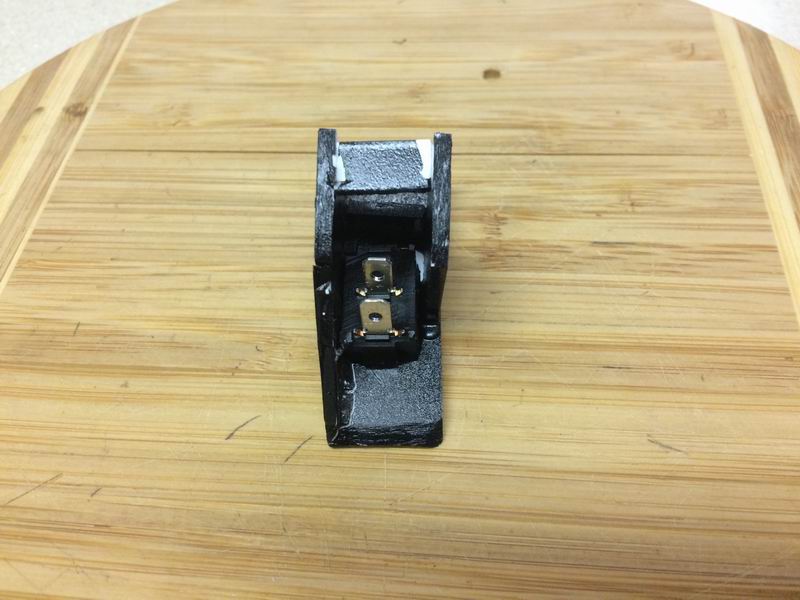
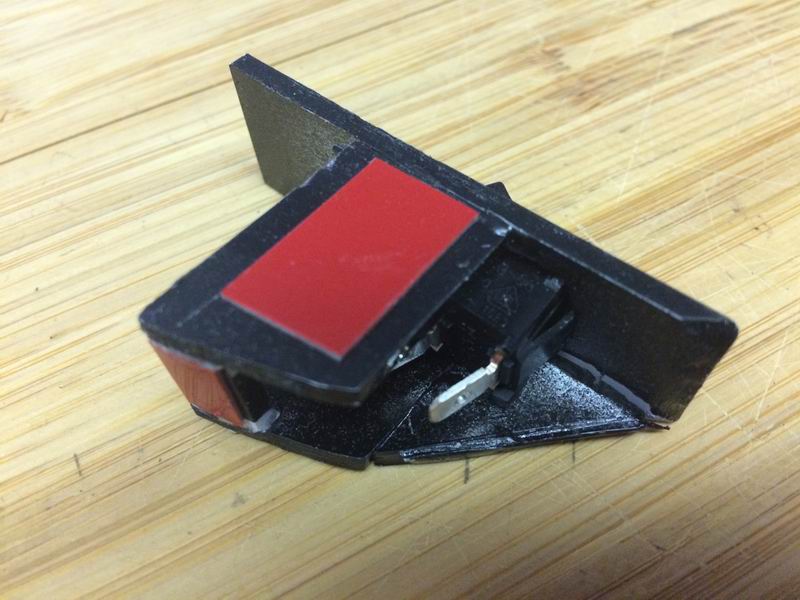
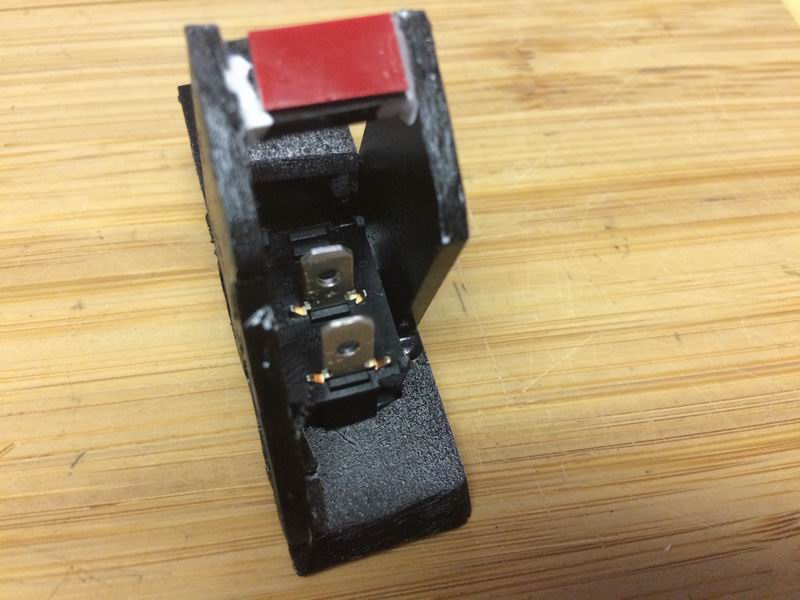
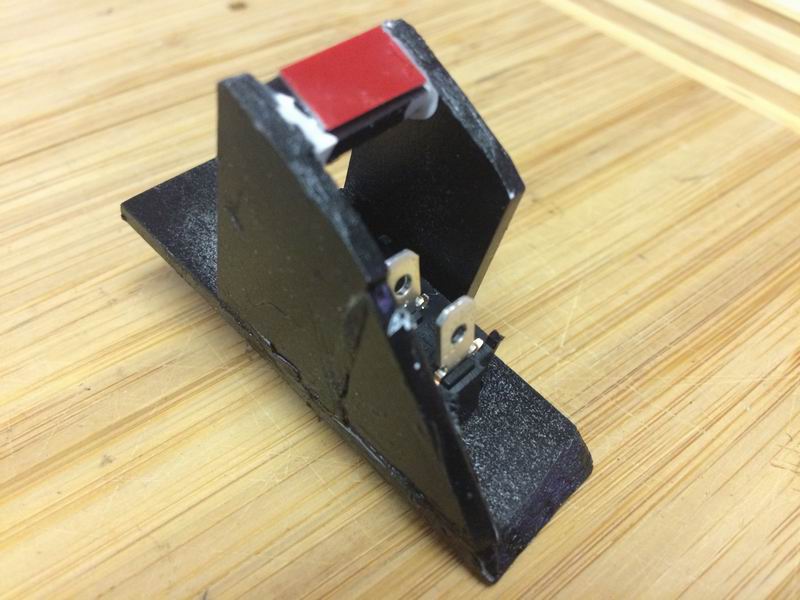
| switch | 1 |
rocker /
spdt / on/on |
had in house | Wiring Products.com | MRS-SPDT-ONON |
| wire |
black /
16ga |
had in house | - |
- |
|
| wire |
red / 16ga | had in house | - |
- |
|
| wire |
blue / 16ga | had in house | - |
- |
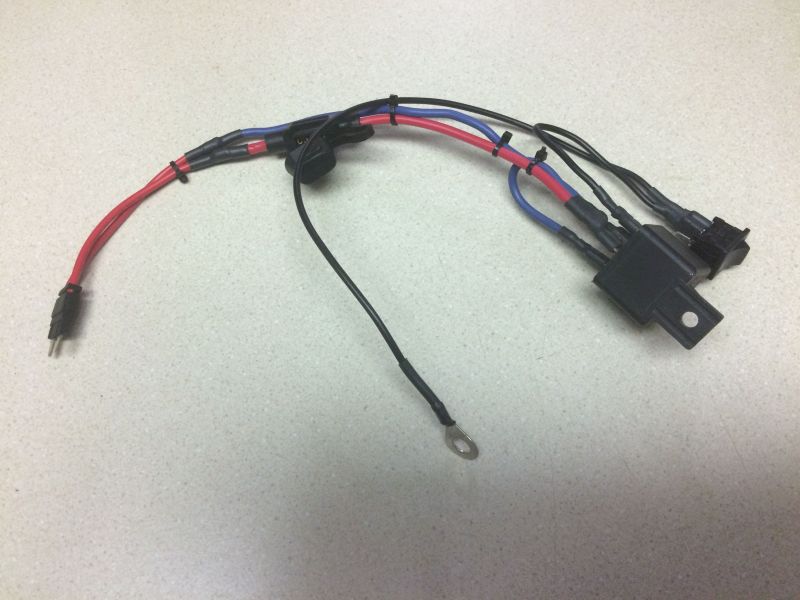
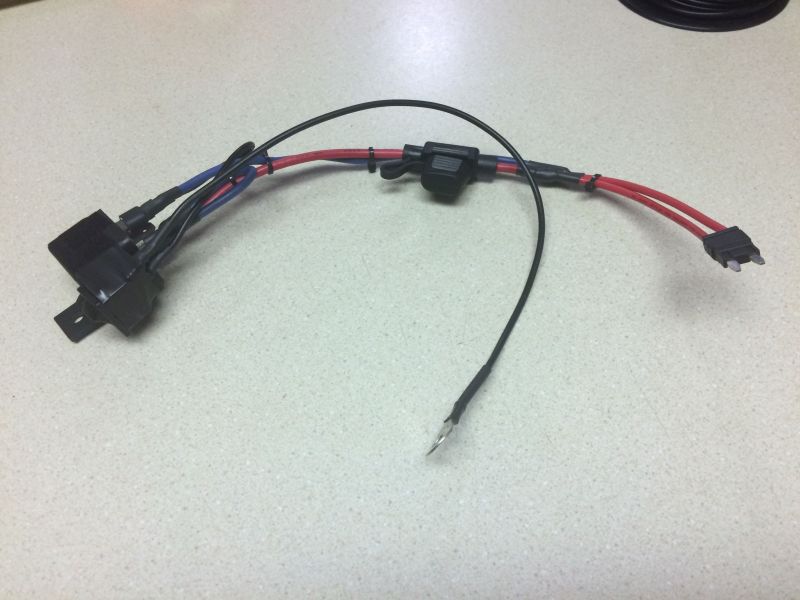
All assembled. This whole thing is a test run, so the switch is taped to the relay for this stage.
Everything set in place and tested.
All done; this set-up is only temporary.
April 17/2020
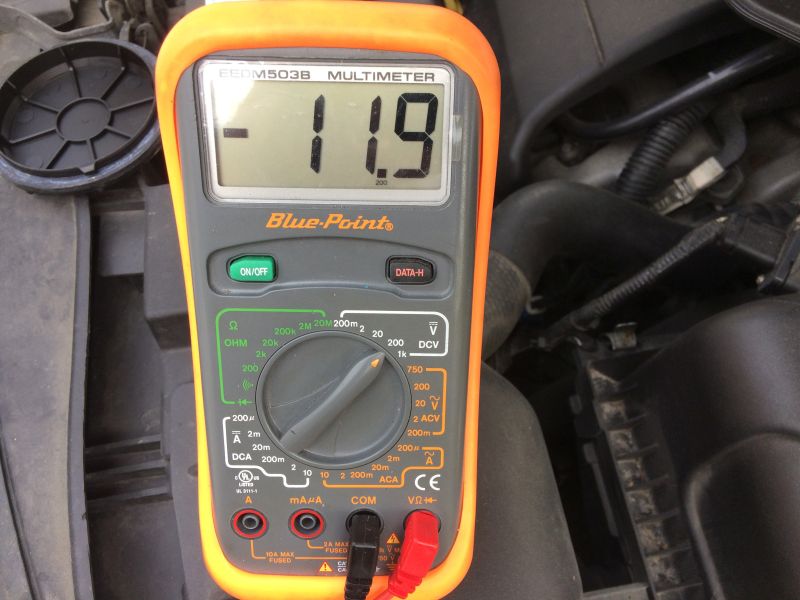
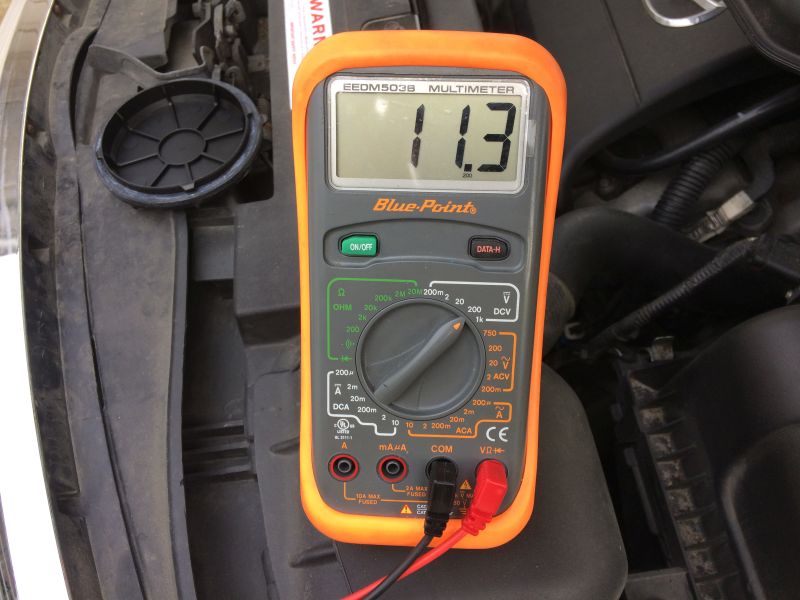
Did some testing on the DRL circuit, and it appears to switch polarity when changing from DRL on to off (headlights on).
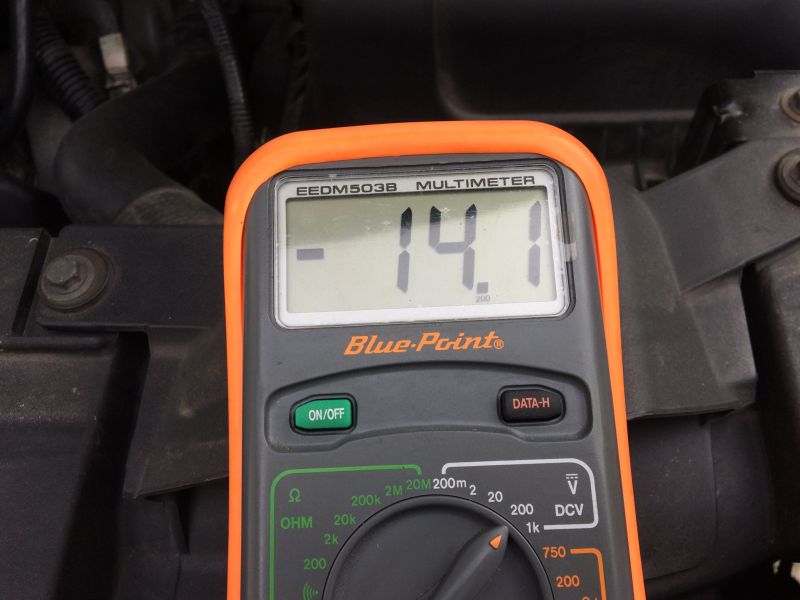
Engine running, DRL on.

Engine running, DRL off, hi-beams on.
Engine off, DRL on.
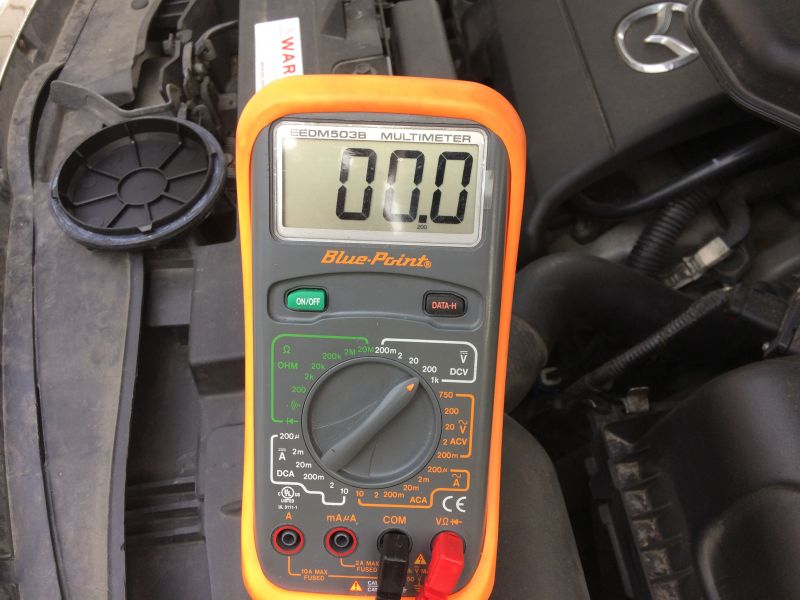
Engine off, DRL off, low-beams on.
Engine off, DRL off, hi-beams on.
April 23/2020


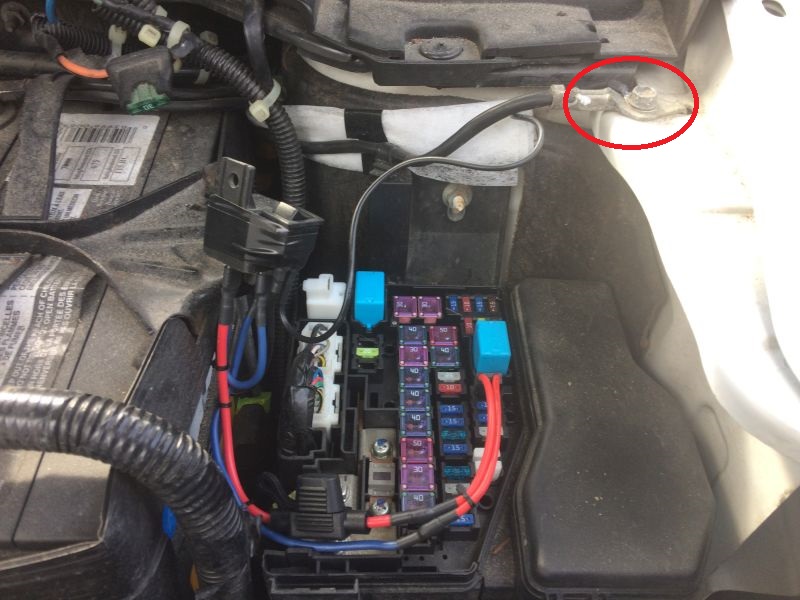
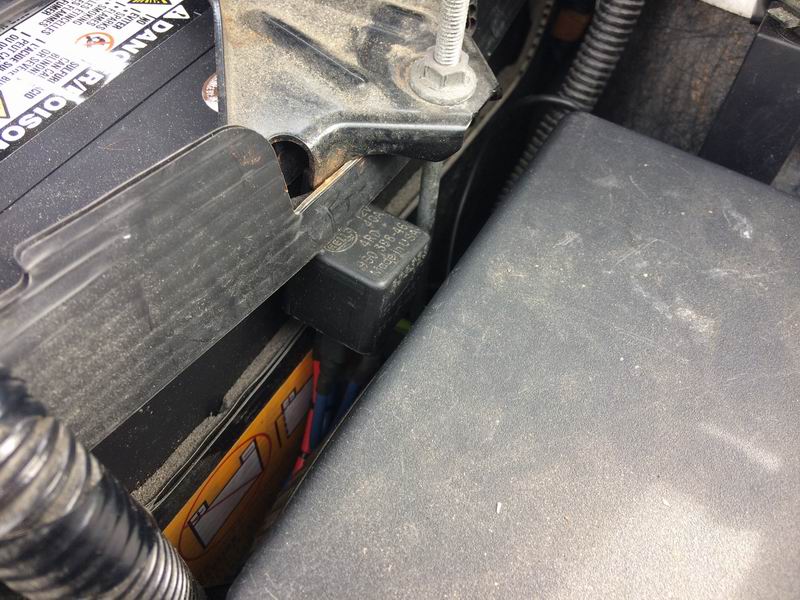
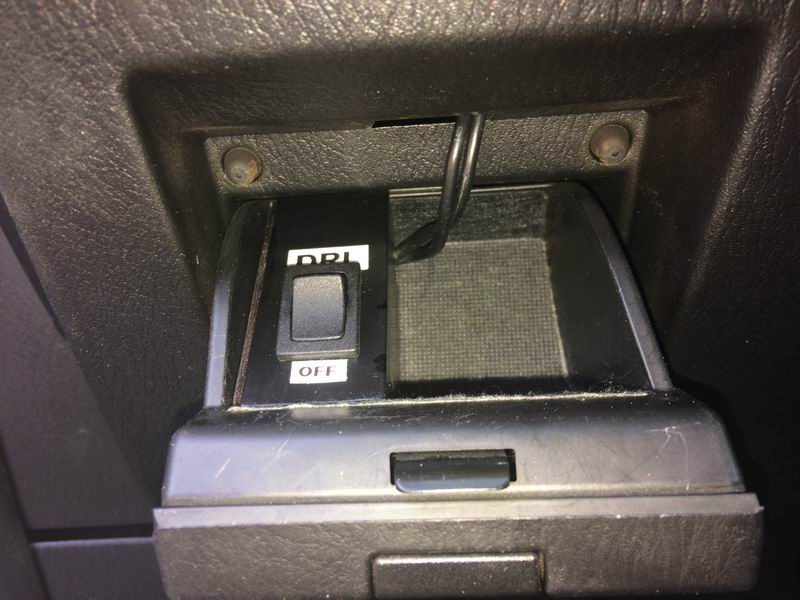
With the battery removed, yoo can see and and get at the rubber grommet to run the wire through the firewall.
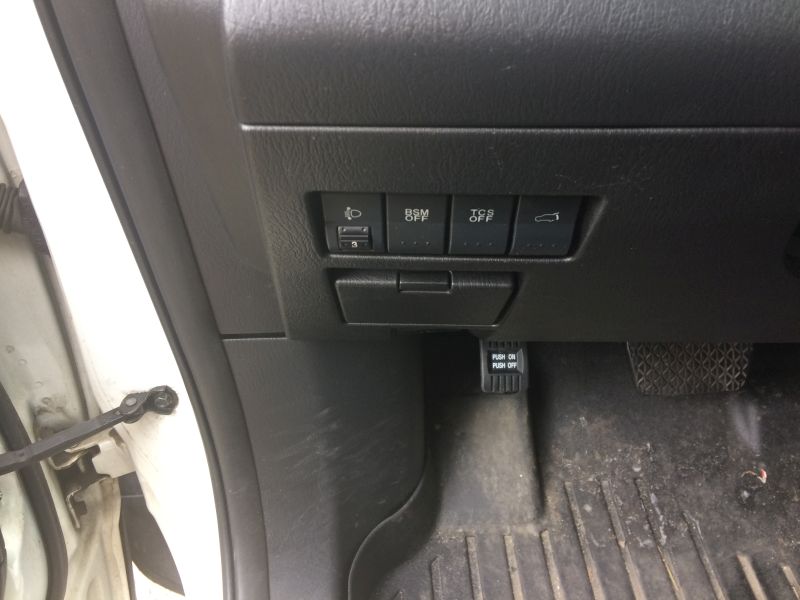
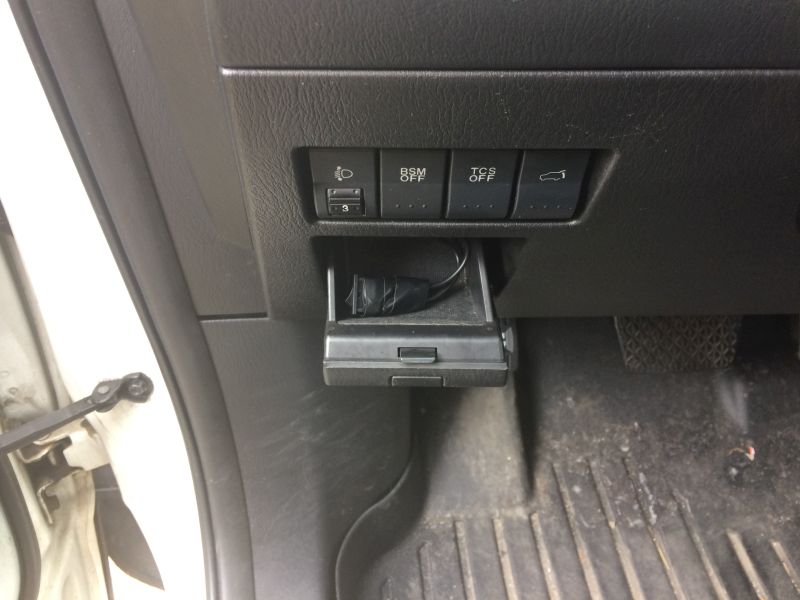
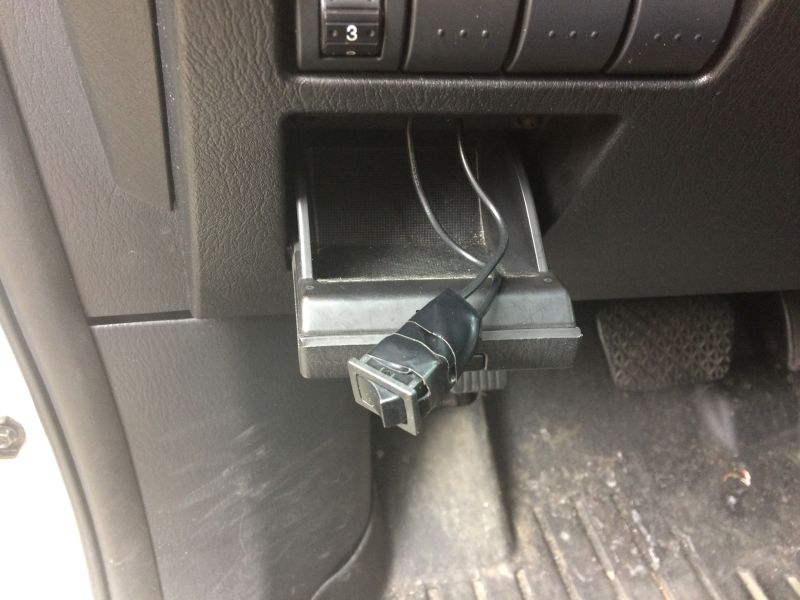
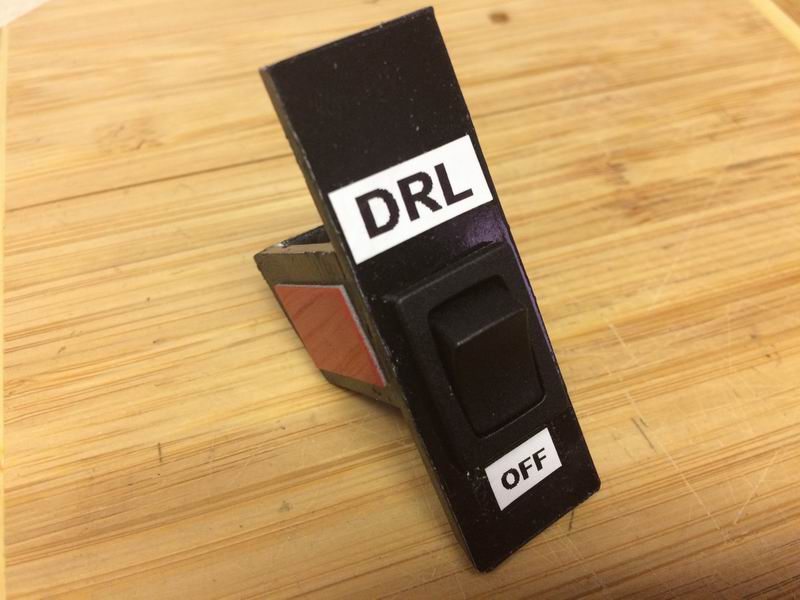
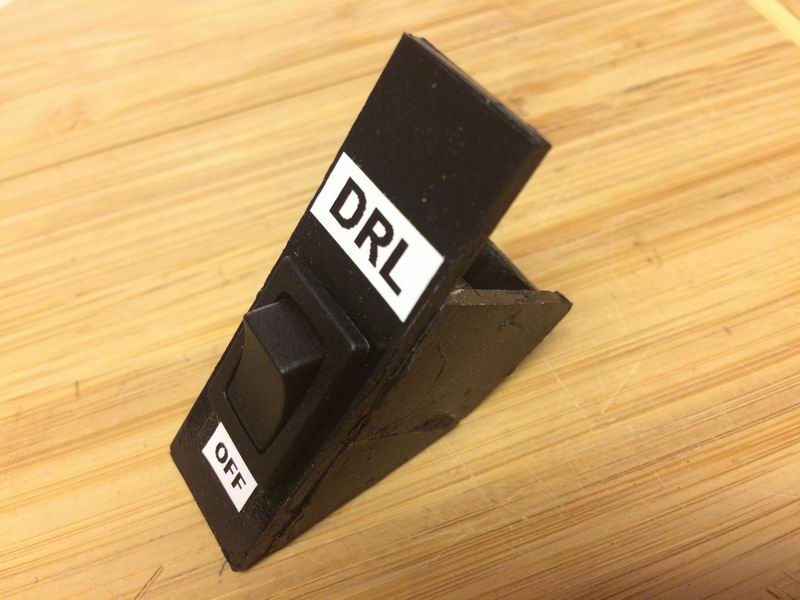
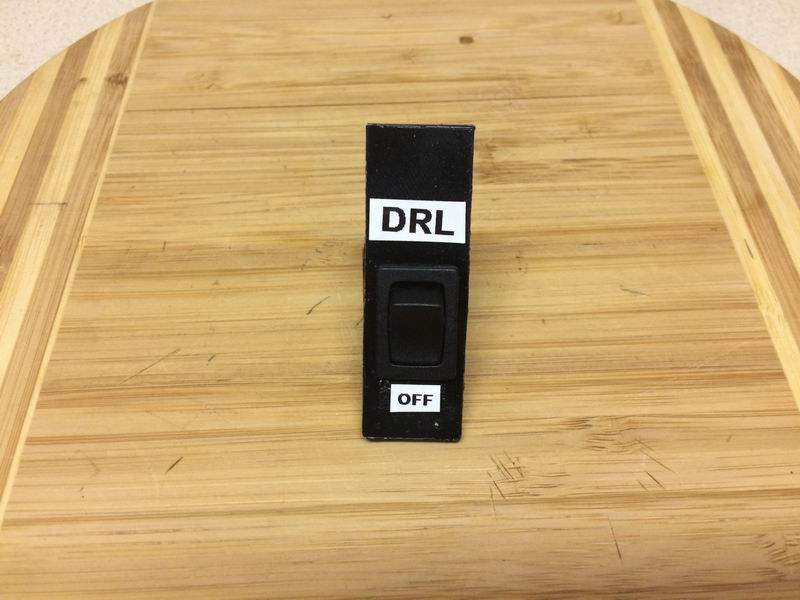
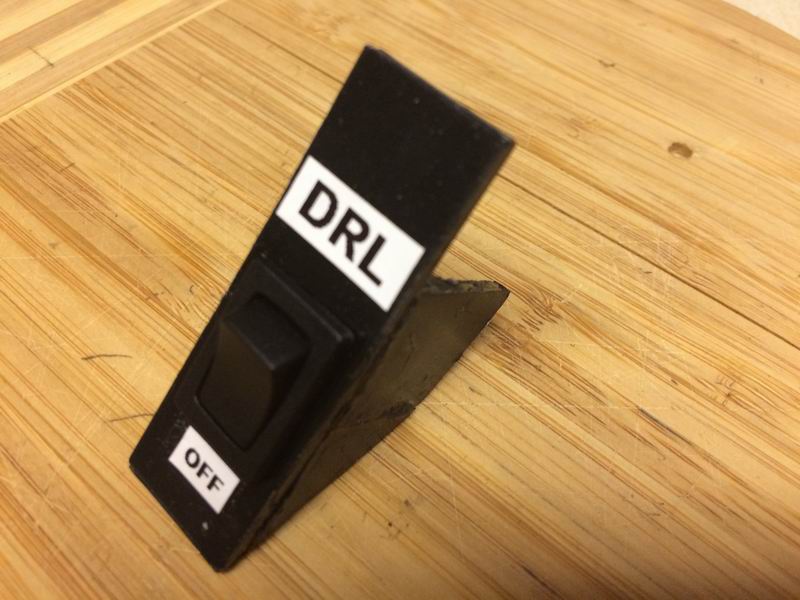
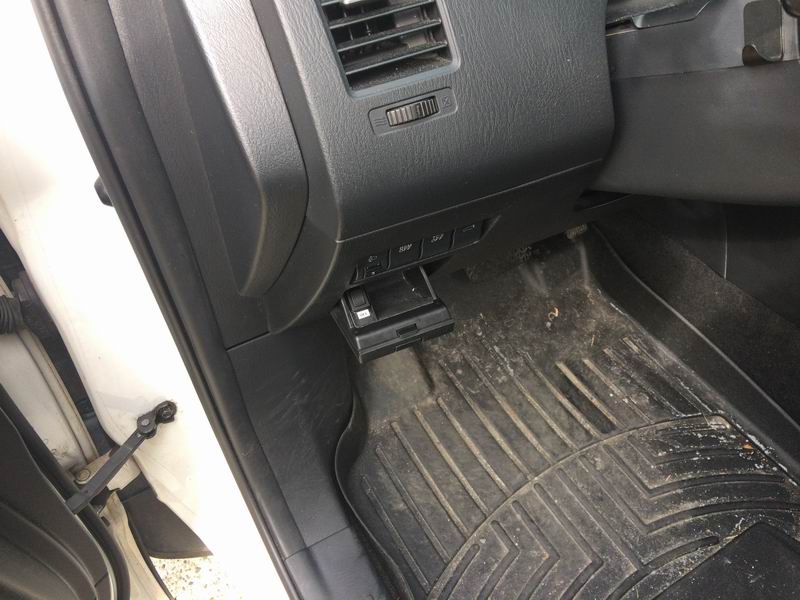
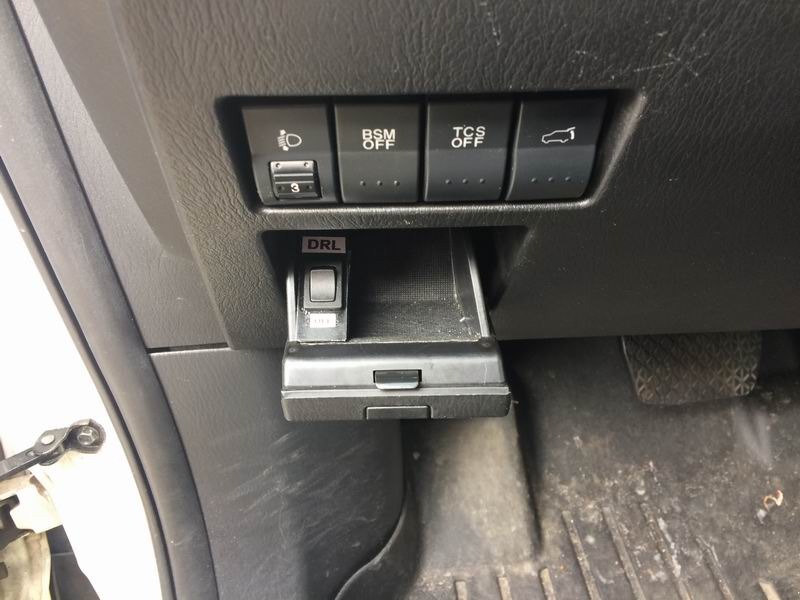
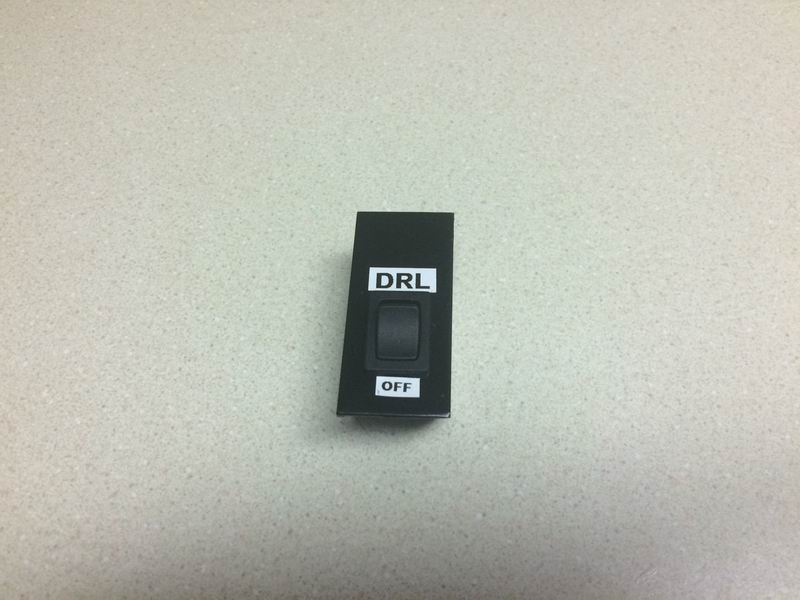
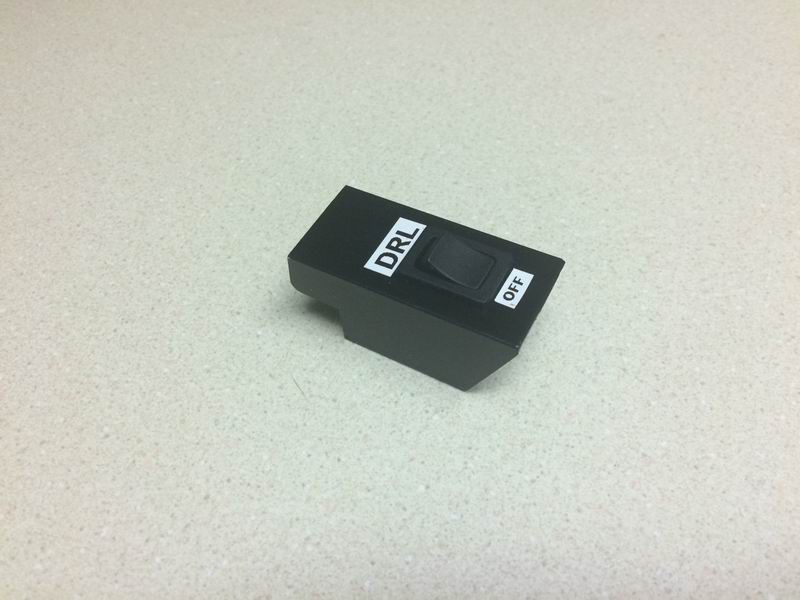
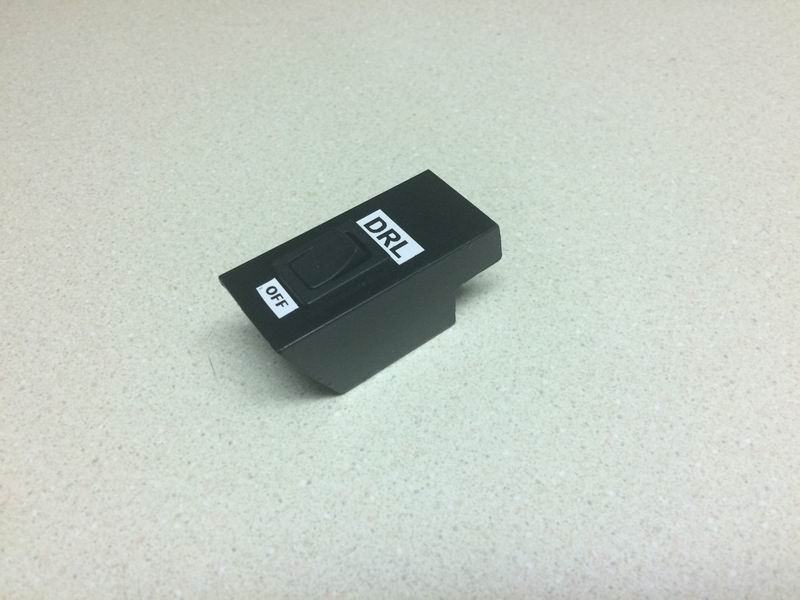
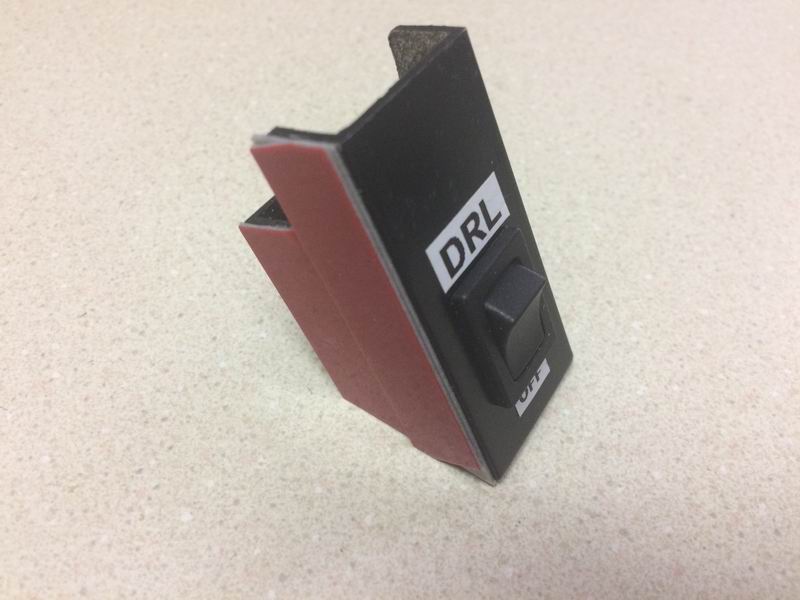
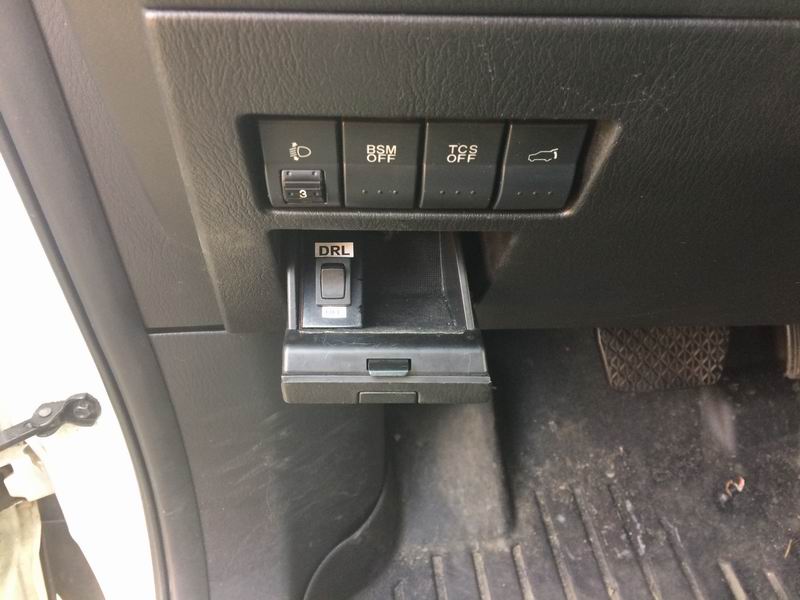
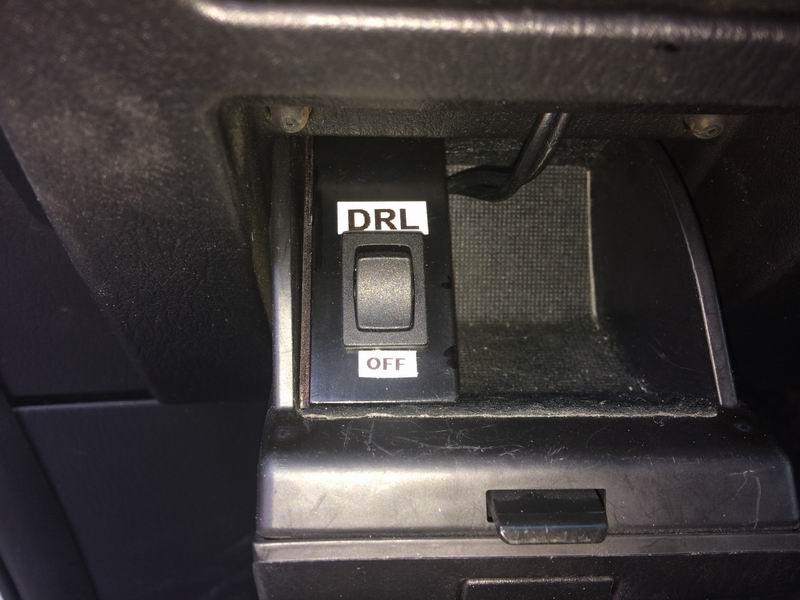
"DRL Switch" in the cubby; I will work on a proper mount for it.
To summarize what this does....
.
| DRL Switch | ||
| POSITION |
RESULT |
SIDE
EFFECT |
| On |
DRL's work
as normal |
- |
| Off |
DRL's do not
illuminate ** |
Hi-Beams do
not work |
April 24/2020
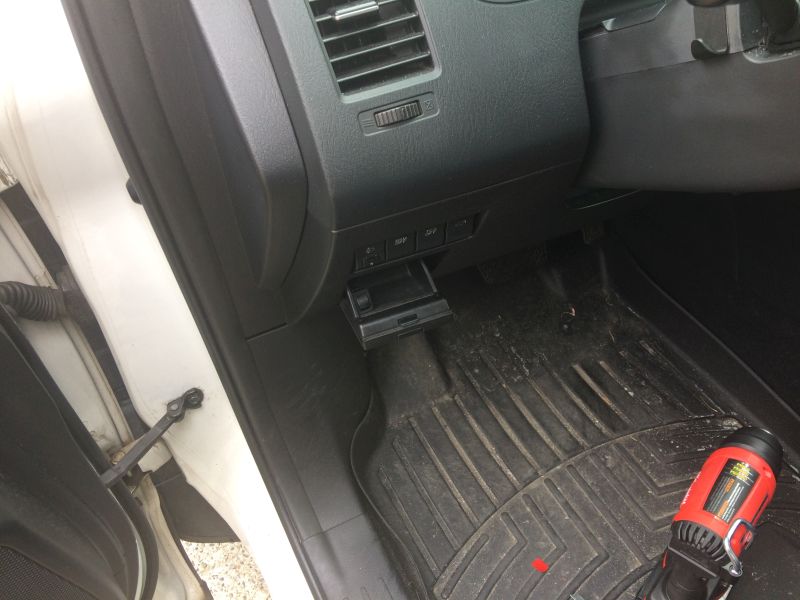
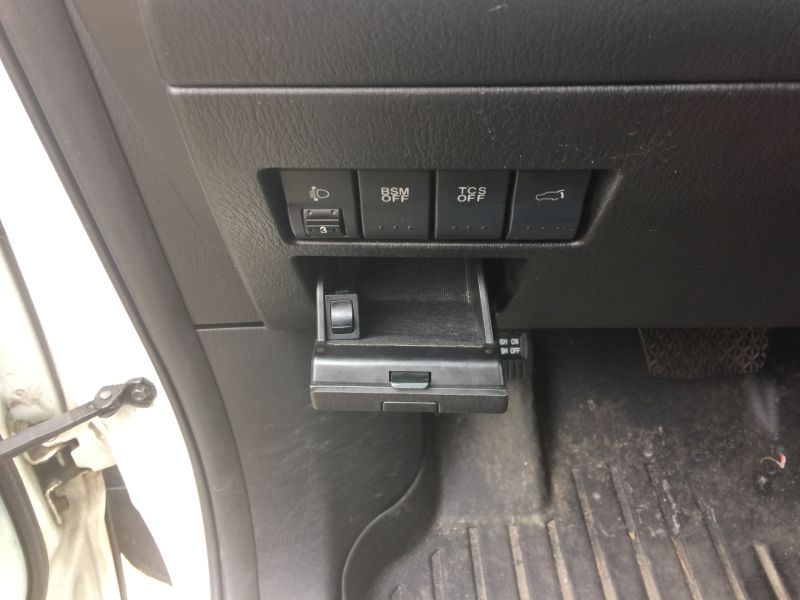
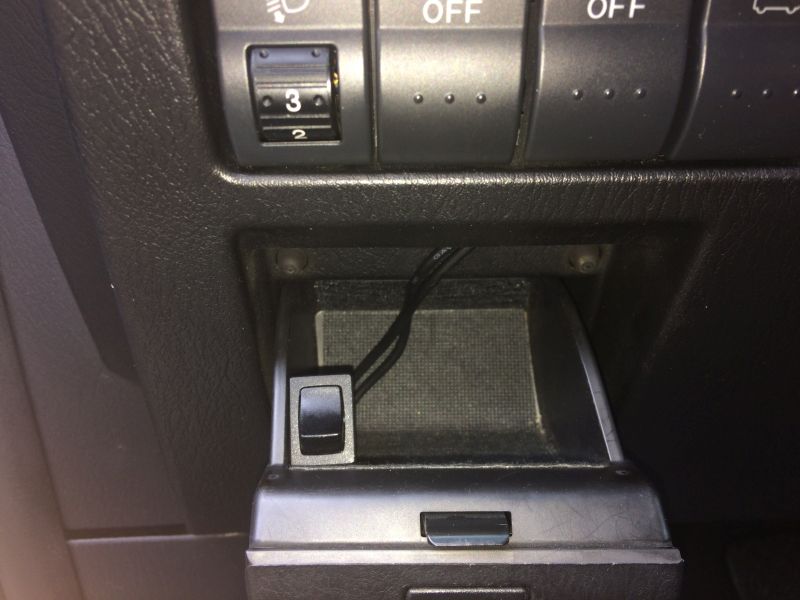
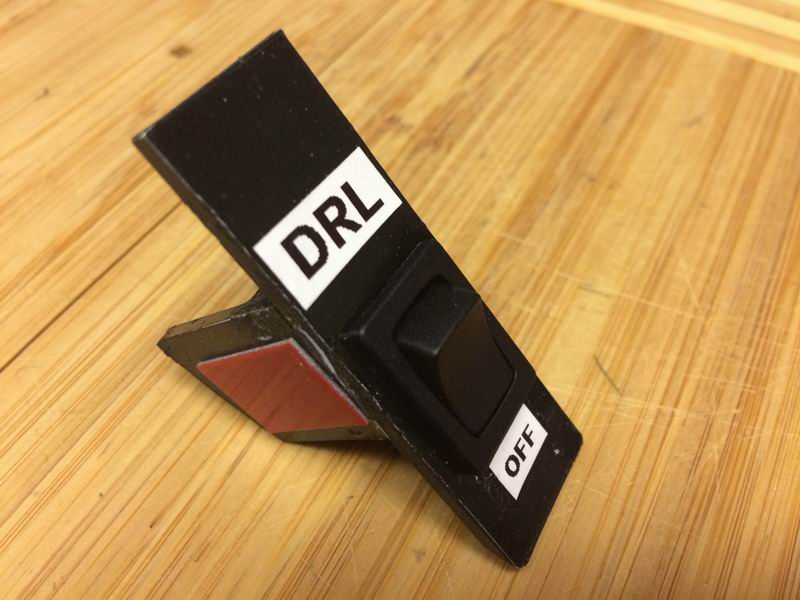
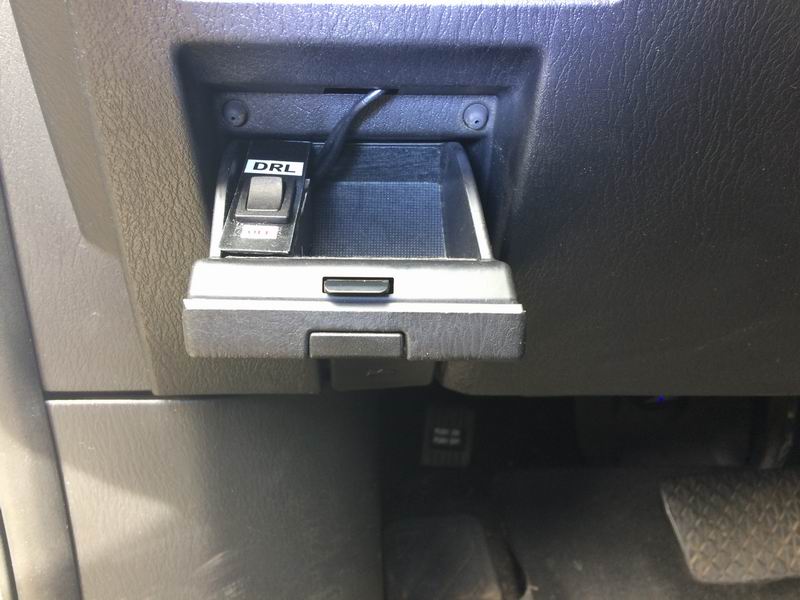
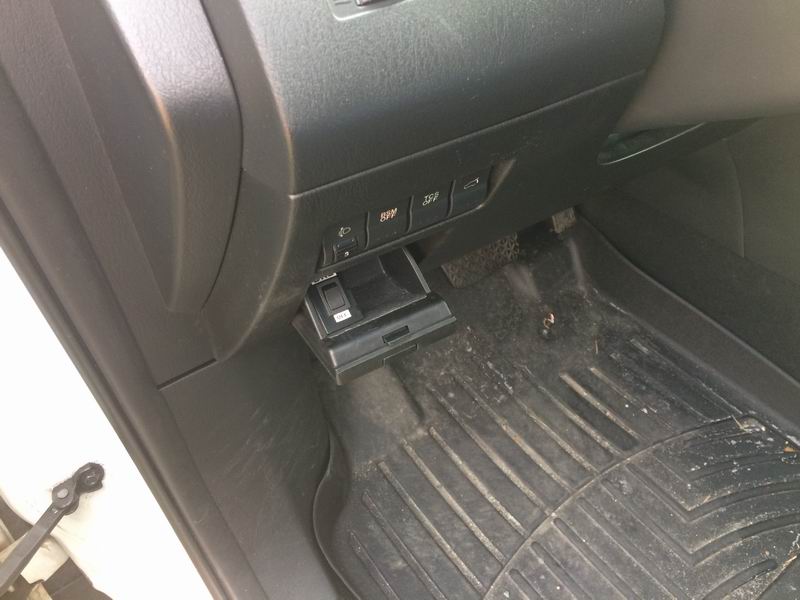
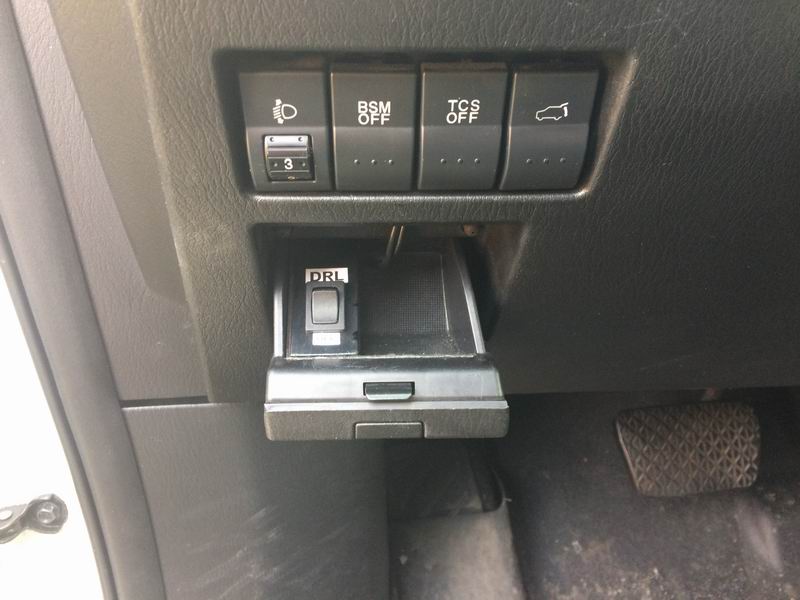
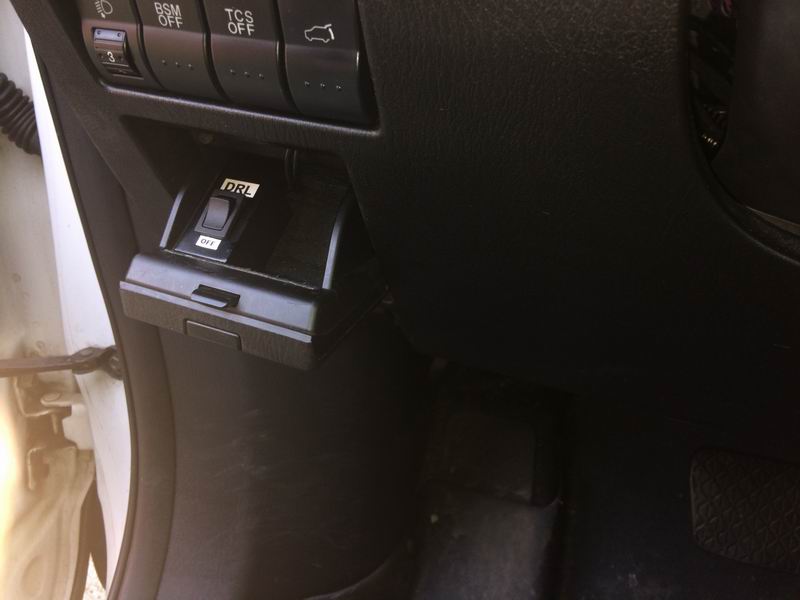
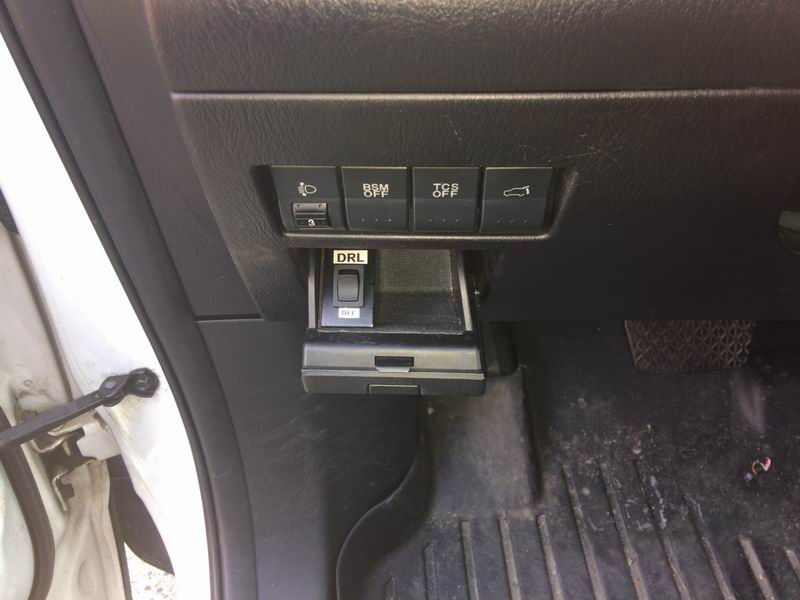
Minimal clearance in the cubby is limiting where I can have the switch, so I used some doublesided tape and stuck it in the left lower corner.
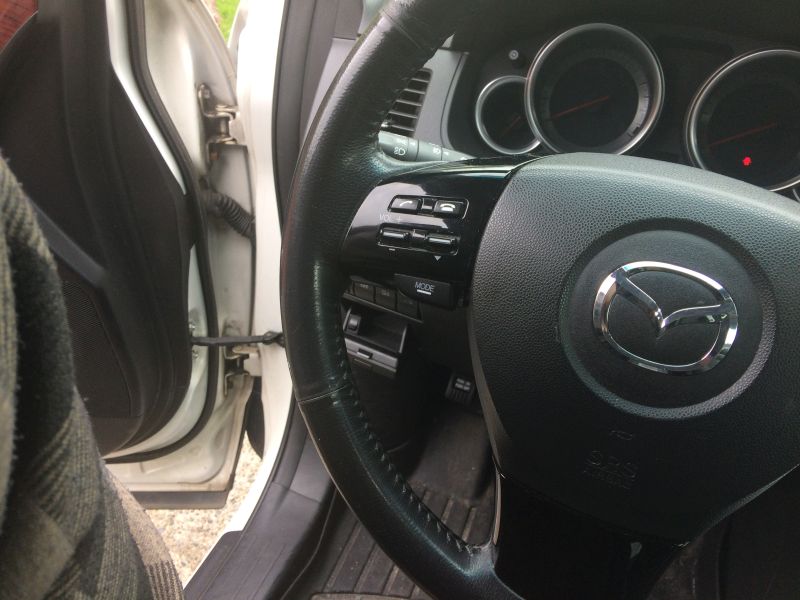
View from the drivers seat.
May 4/2020
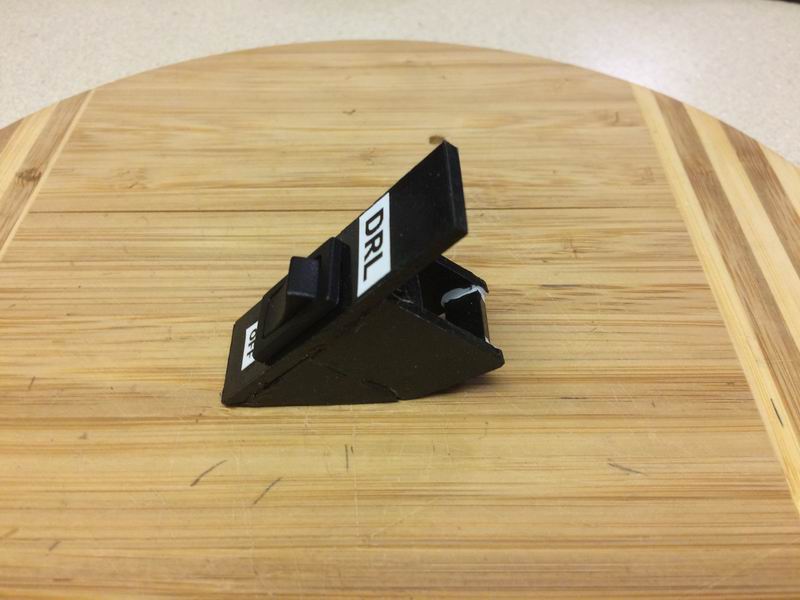
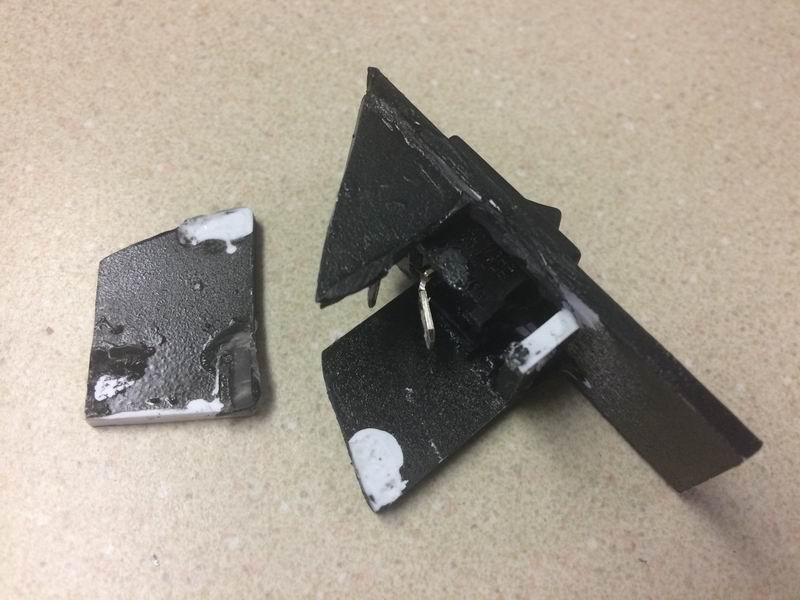
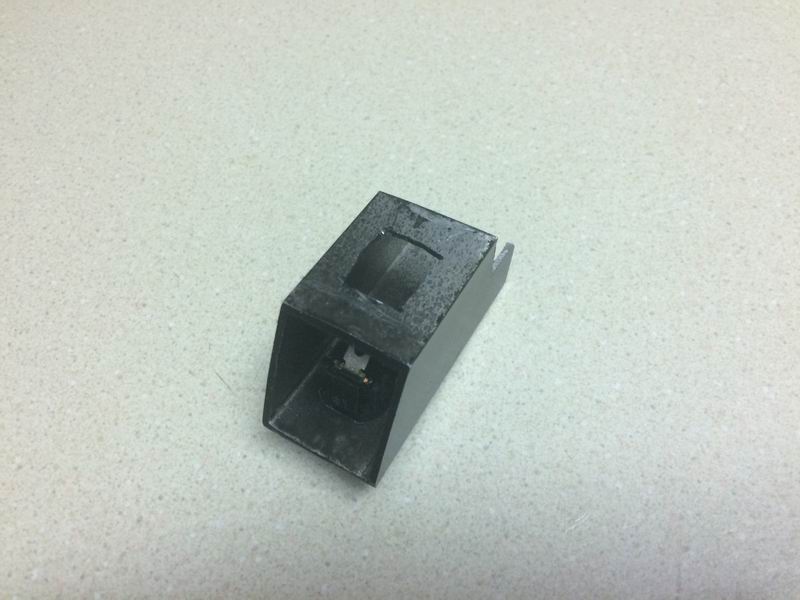
I made this plastic switch holder for the cubby, but the adhesive wouldn't hold and it ended up falling to pieces as I installed it.....


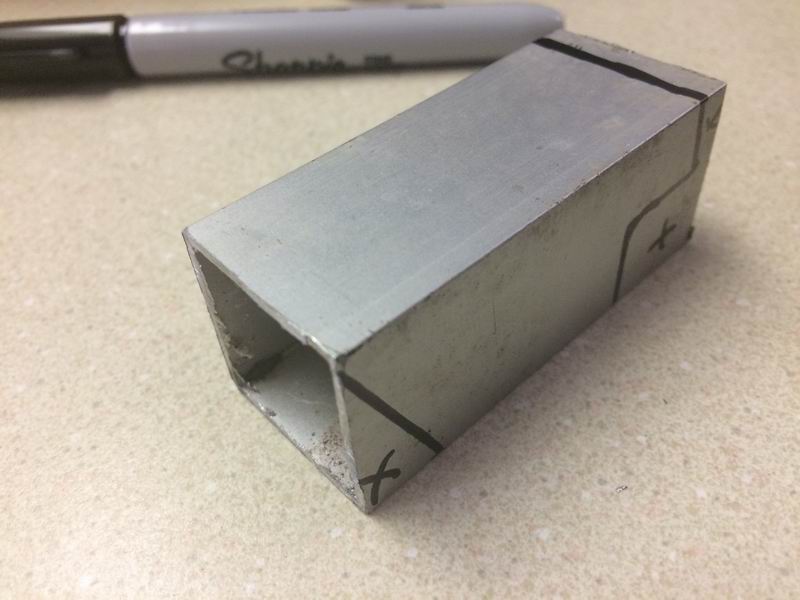
Back to what I know; 1" square aluminum will do the trick.....


All done.
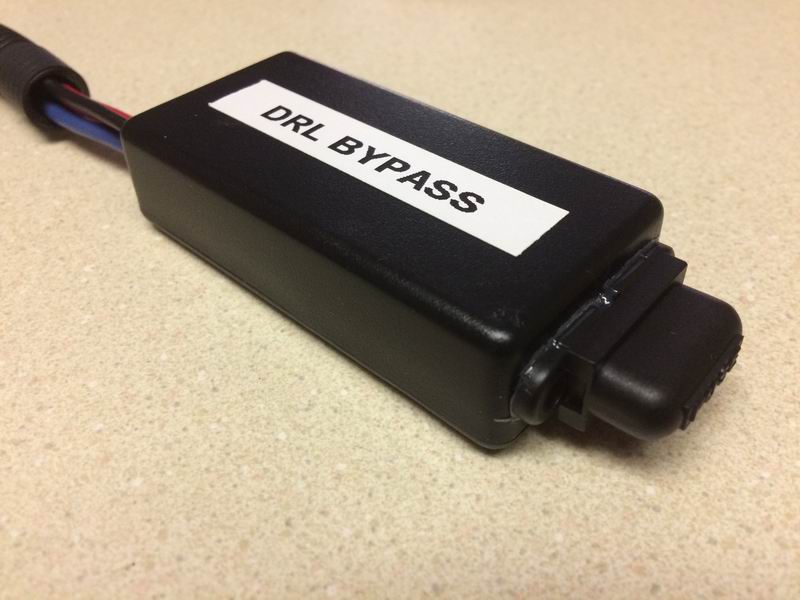
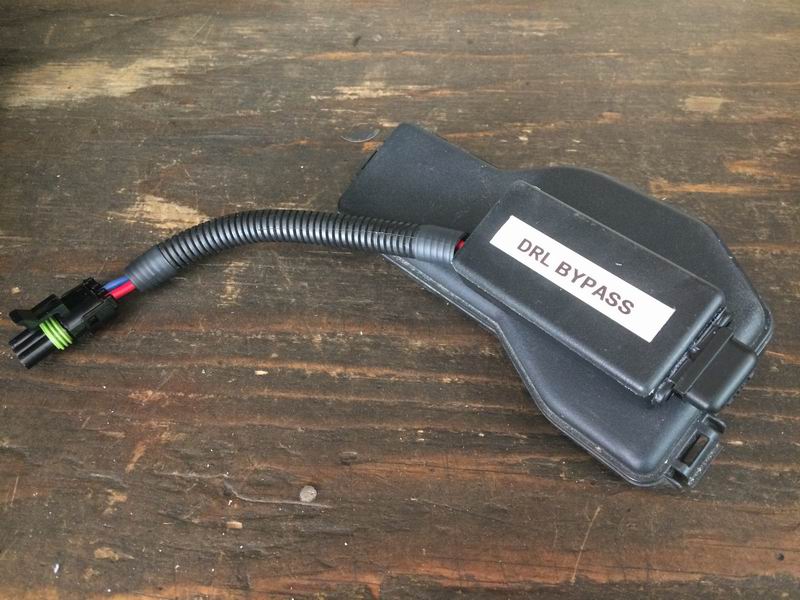
New "control box". This will replace the relay and fuse holder used in the above test run.....
| PART |
QTY |
SPECS |
SUPPLIER |
BRAND |
PART # |
| connector | 6 |
14-16GA /
|
had in
house |
Pico | 1851BP |
| connector | 1 |
14-16ga /
1/4" eye |
had in house | Pico | 1806BP |
| fuse holder | 1 |
16ga / 20a |
Princess Auto |
Power Fist | 8553380 |
| fuse holder | 1 |
|
Lordco |
Pico |
9900-11 |
| relay | 1 |
had in house | Piaa |
LR-18 |
|
| connector |
1 |
14-16ga
/ 3
pin |
Lordco |
Pico |
2161-14 |
| enclosure |
1 |
ABS,
80x40x20mm |
RP Electronics |
Hammond
Mfg |
1551KBK |
| shrink tube | 7 pieces |
3/16" | had in house | - |
- |
| shrink tube | 6 pieces |
1/4" | had in house | - |
- |
| switch | 1 |
rocker /
spdt / on/on |
had in house | Wiring Products.com | MRS-SPDT-ONON |
| wire |
black /
16ga |
had in house | - |
- |
|
| wire |
red / 16ga | had in house | - |
- |
|
| wire |
blue / 16ga | had in house | - |
- |
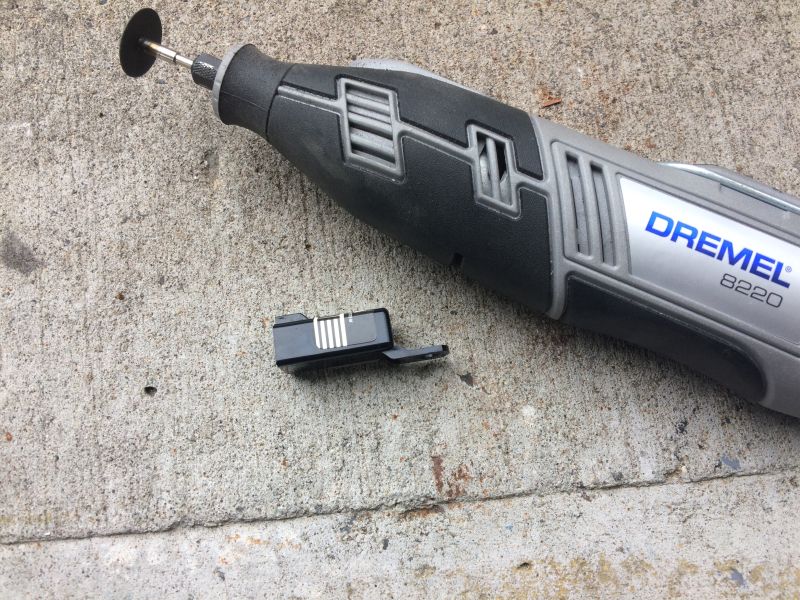
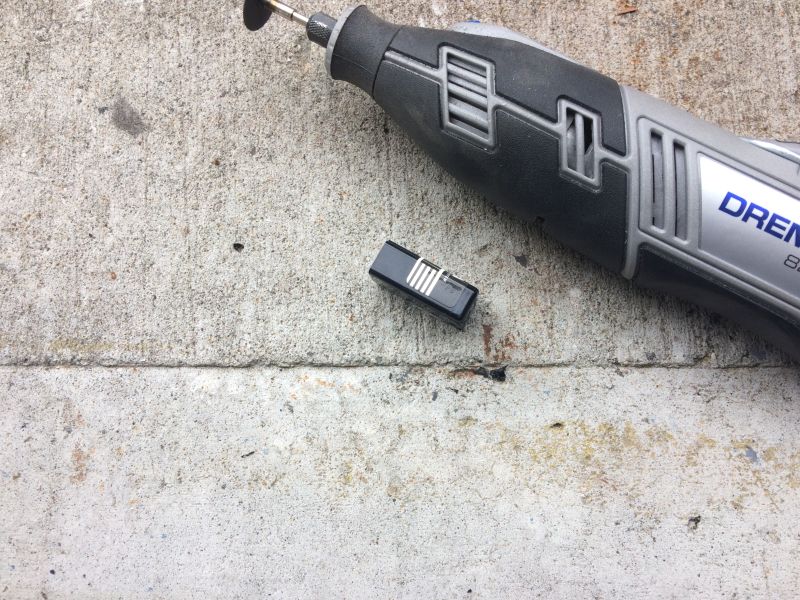
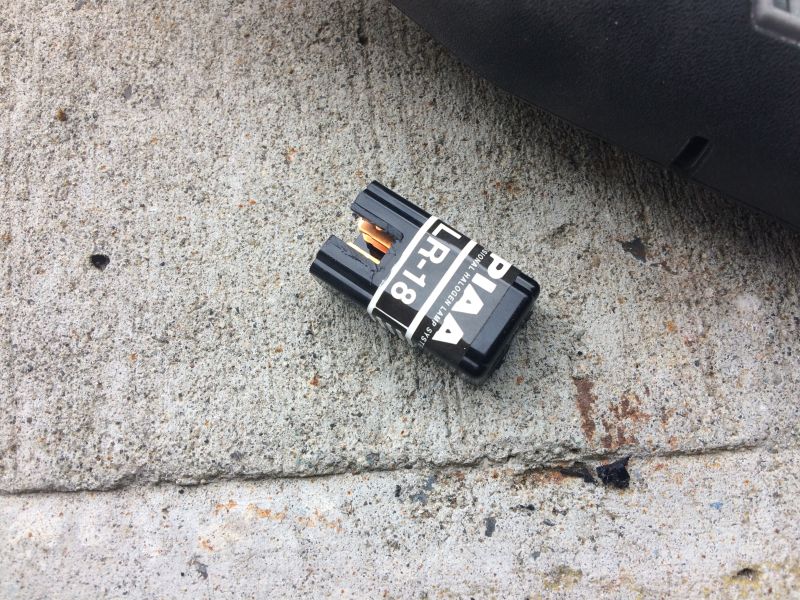
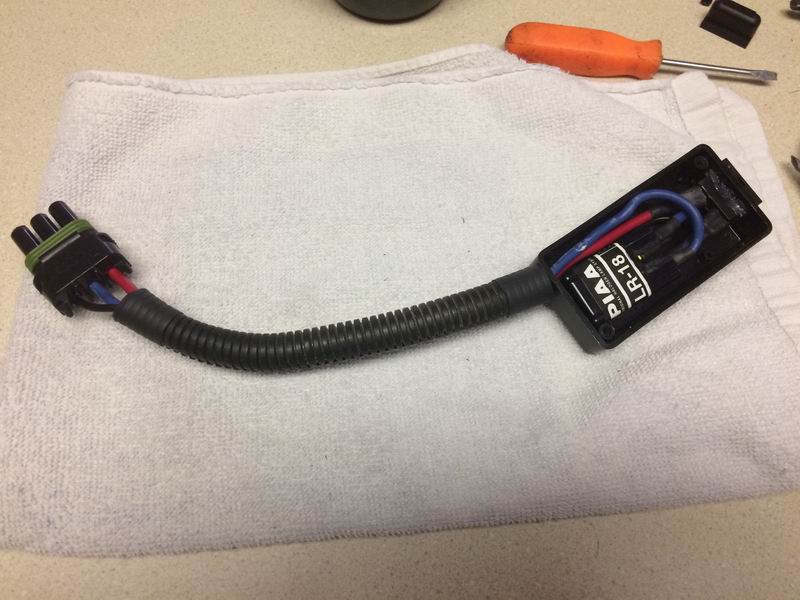
To get the Piaa relay as small as possible, I cut off the mounting tab and wiring connector lock tab.
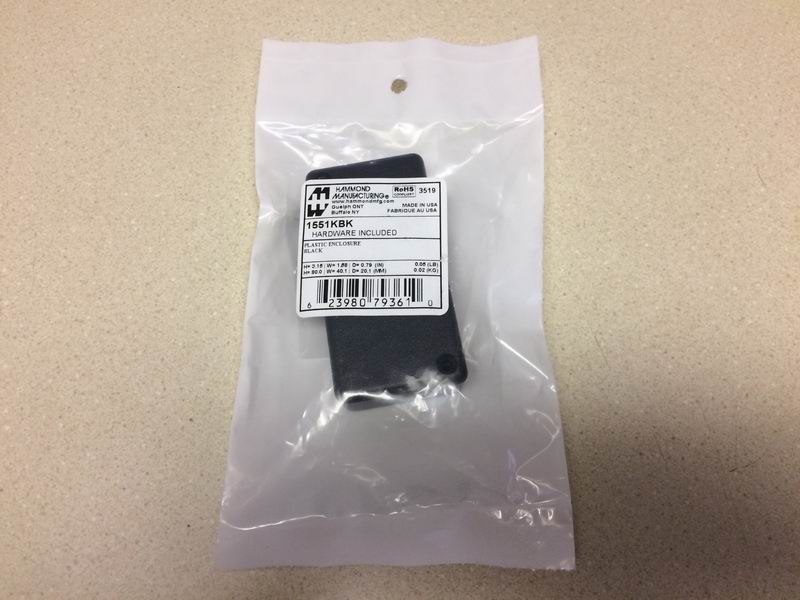

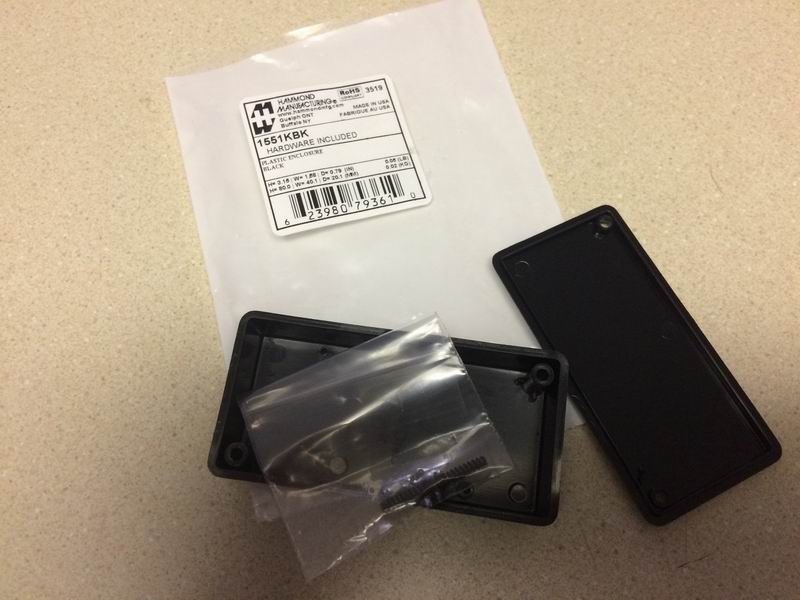
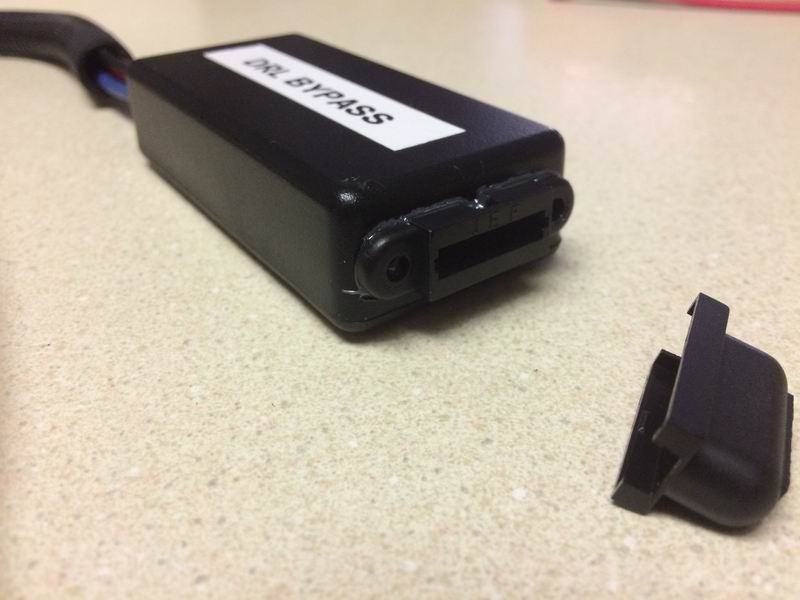
ABS enclosure.
Apparently I didn't get an image of the Pico fuse holder or the building process. So, moving forward, I cut a hole in the enclosure and epoxied it in place, then made up the wiring pieces.

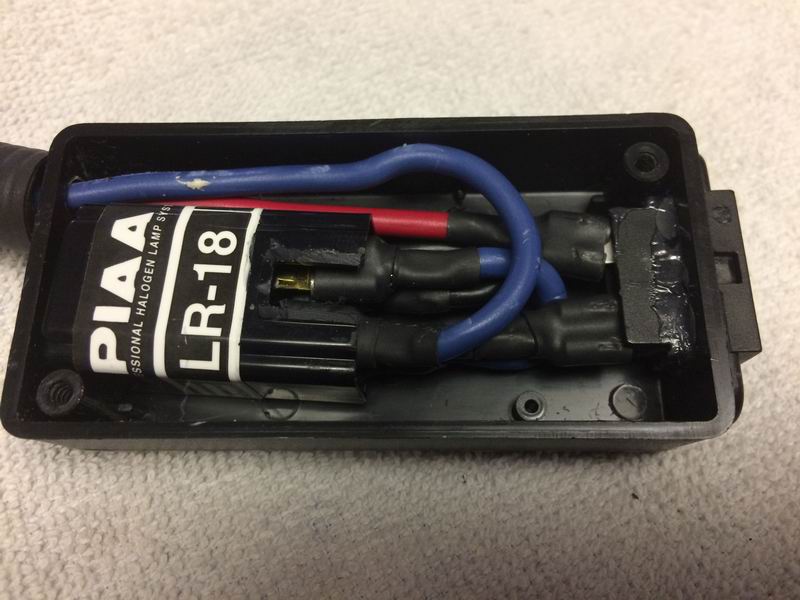
Cram it all in there.
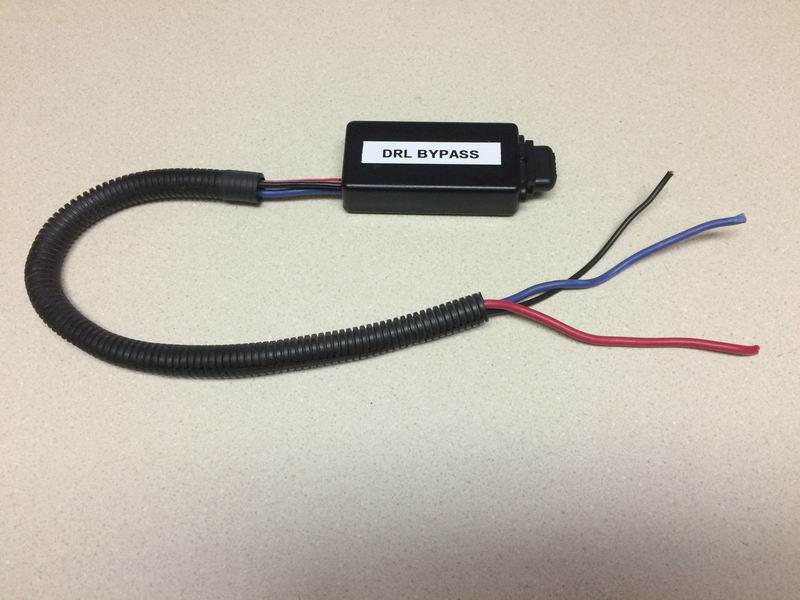

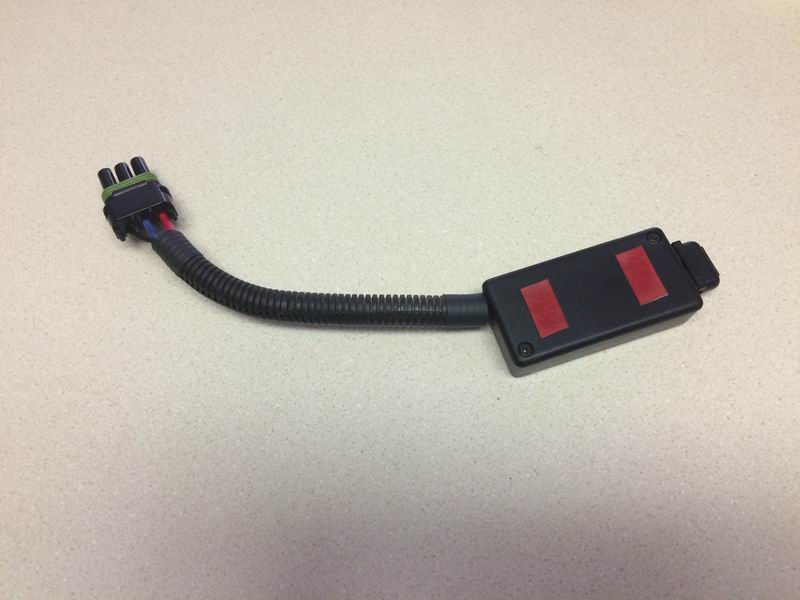
All done the control box.
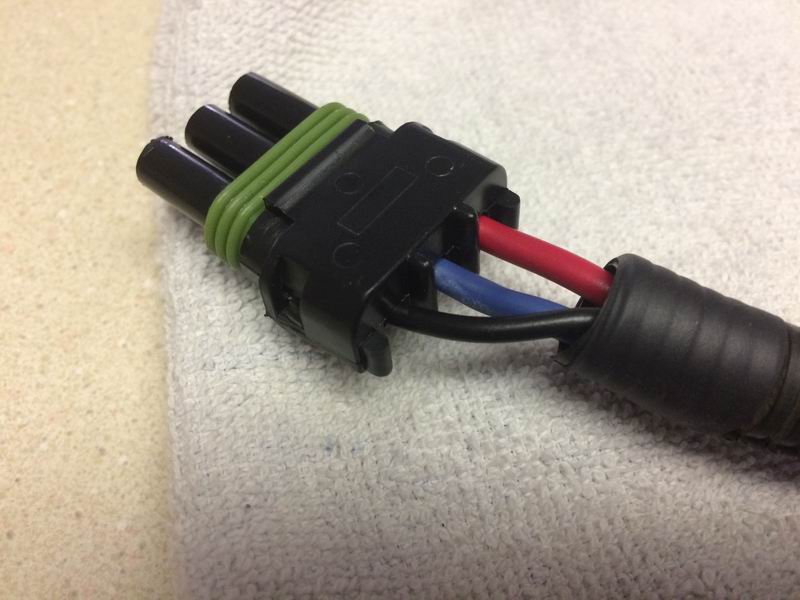


Wires trimmed to length and connector on.
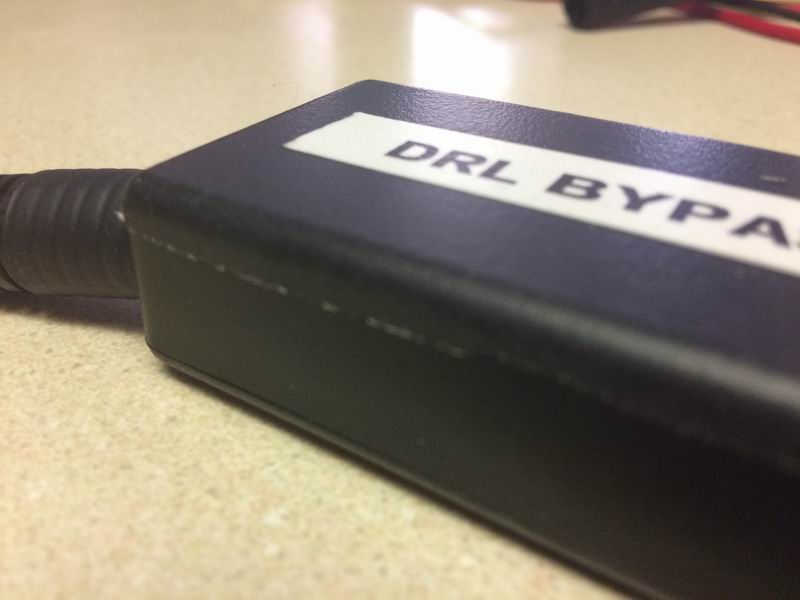
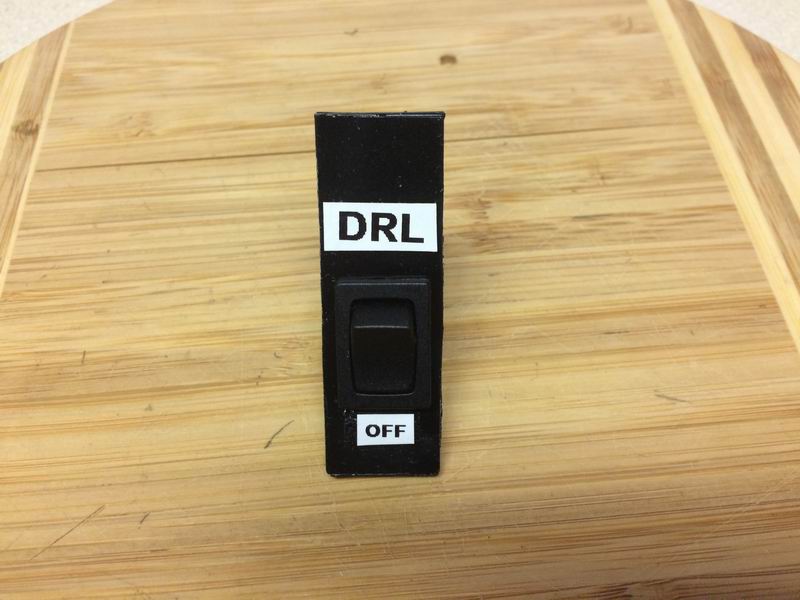
Tried something new; stuck on a label from the label maker, then sprayed some clear Plasti Dip over it to protect it and keep it from peeling off.

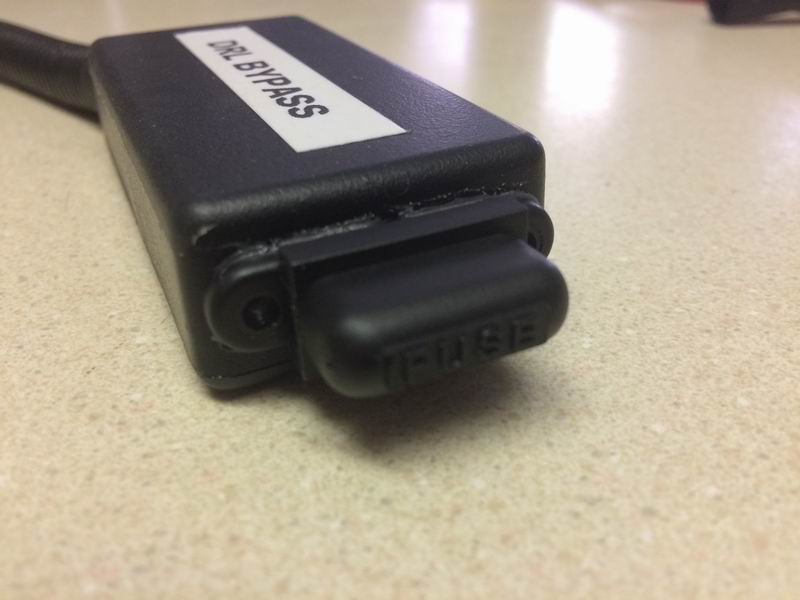
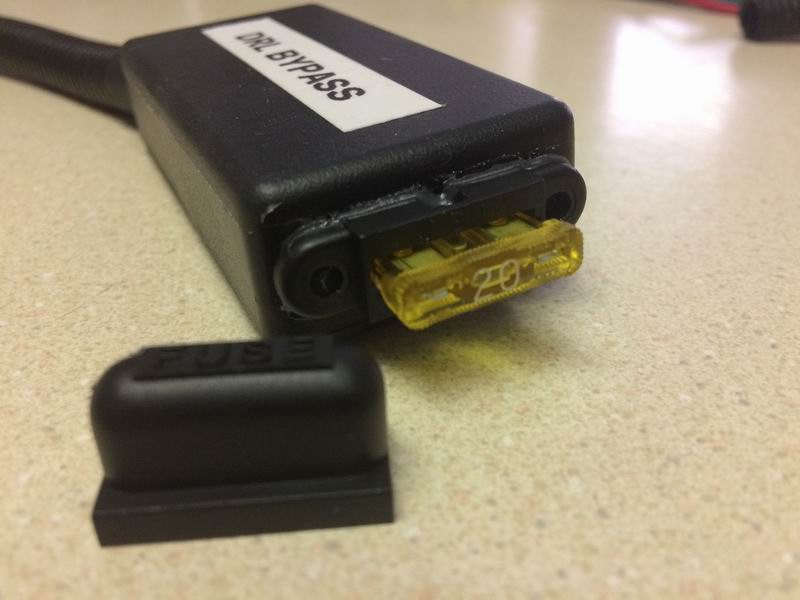
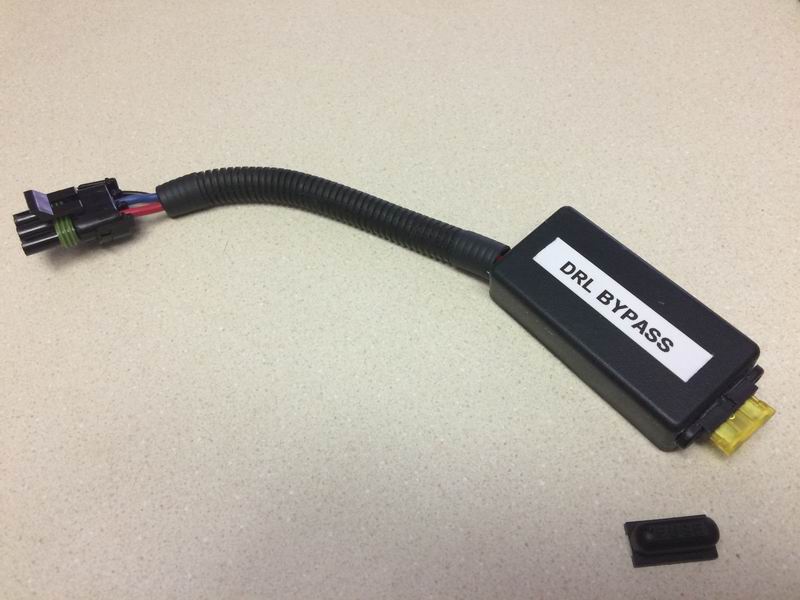
20a fuse in and ready to go in the car.
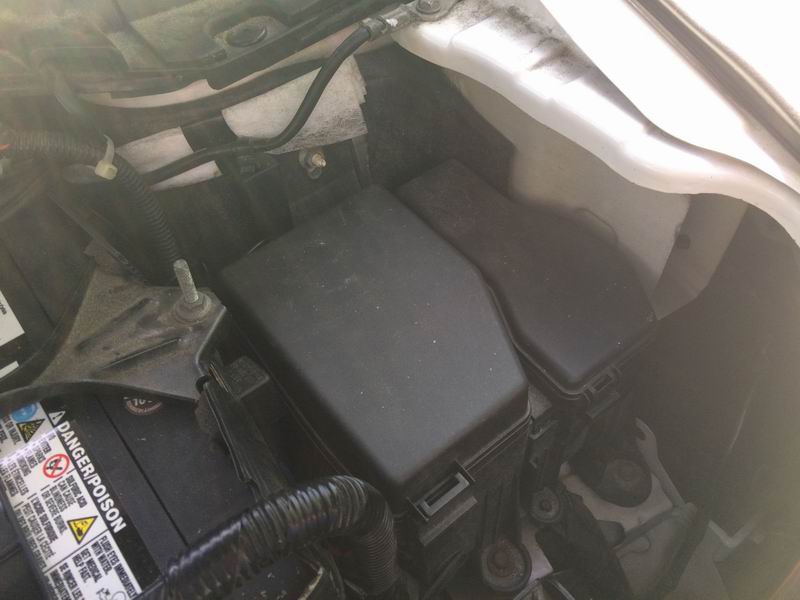
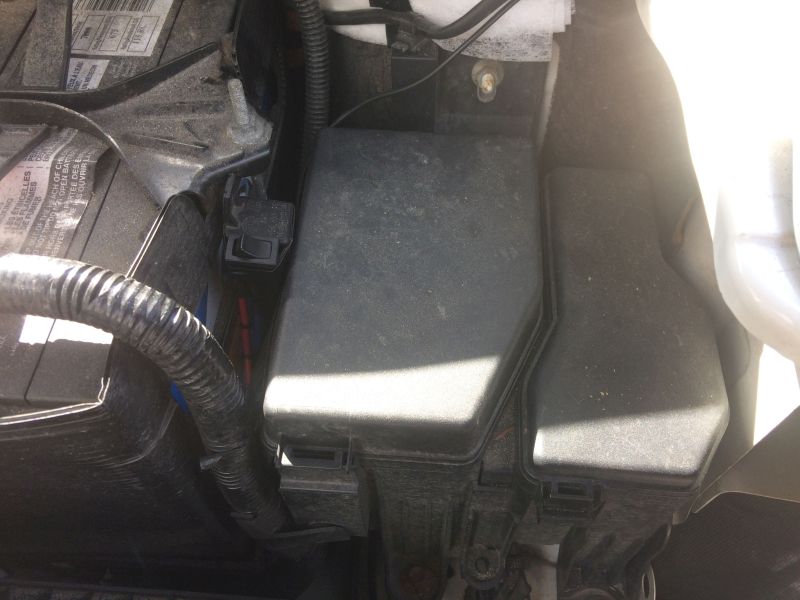
Remove the fuse box and relay box covers.
 |
 |
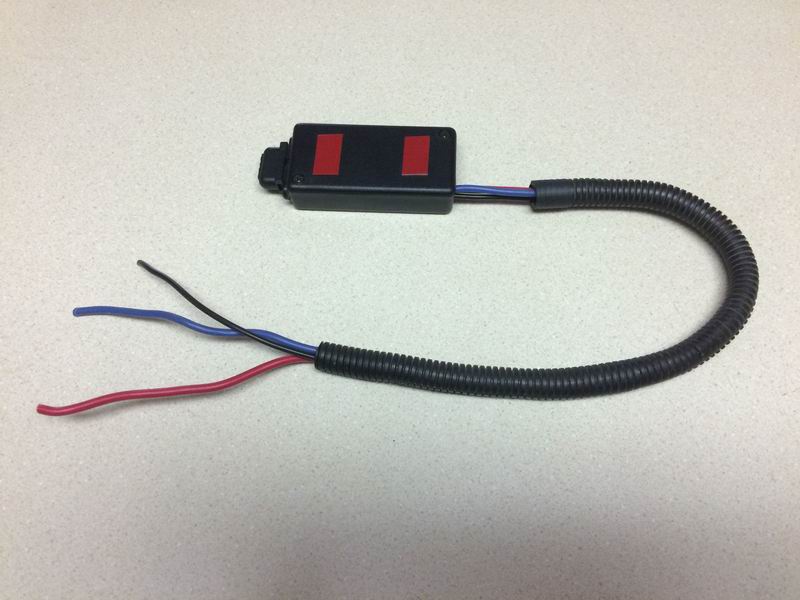
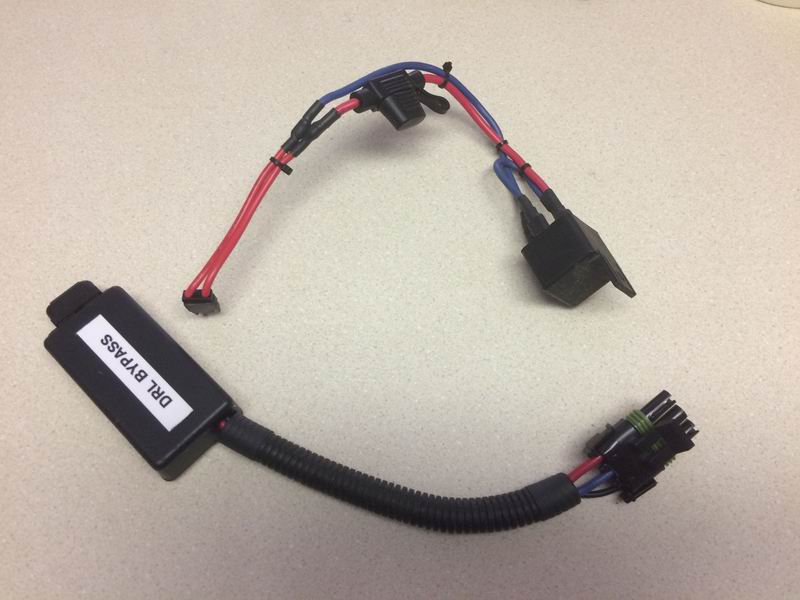
| Old vs new; new looks so much better. | New
harness. |
Control box stuck to the relay box cover.
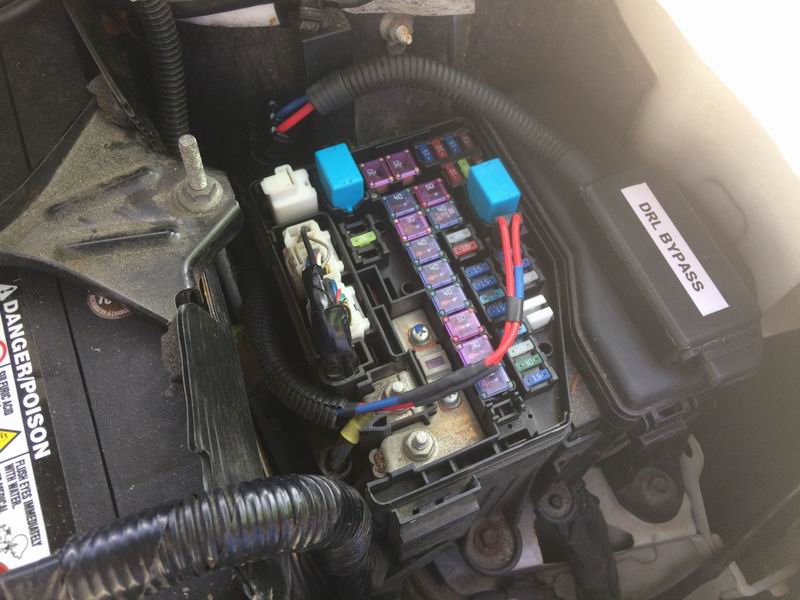
Hooked back up to the fuse box.
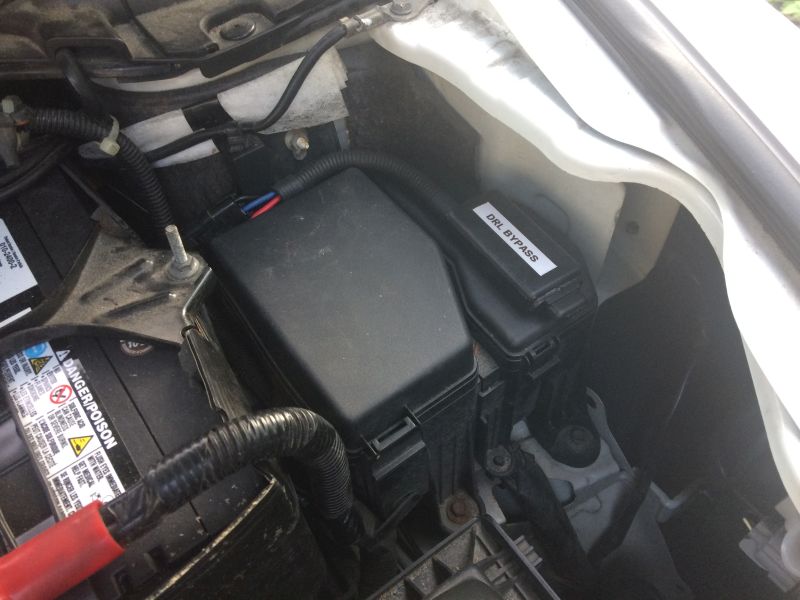


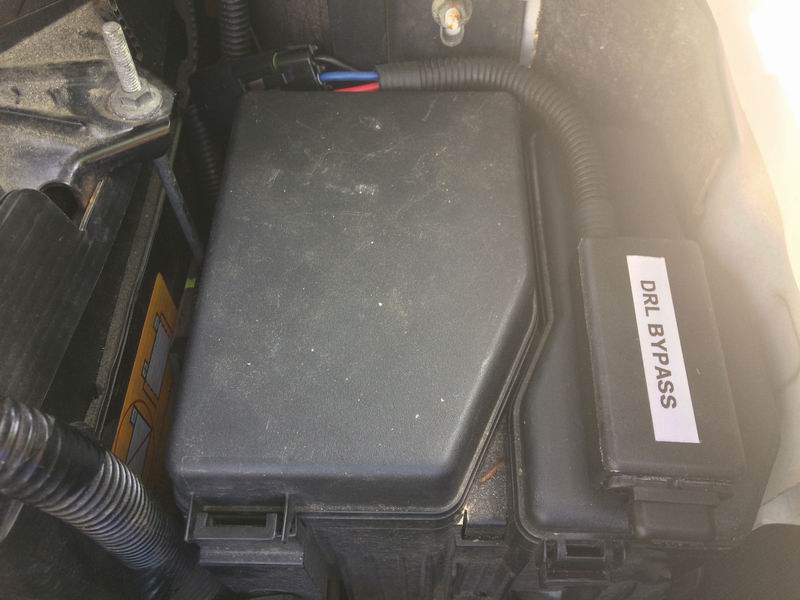
All done.
If you have any comments, suggestions, or see any errors, please let me know..... cbradley@telus.net
Last updated on May 27/2020
All contents on this site
are
property of Chris Bradley. No content on this site may be reproduced
without the express permission of Chris Bradley.