DRL Bypass
April 23/2020
Here is one way to disable the DRL's on a 2009 Mazda CX-9 GT.
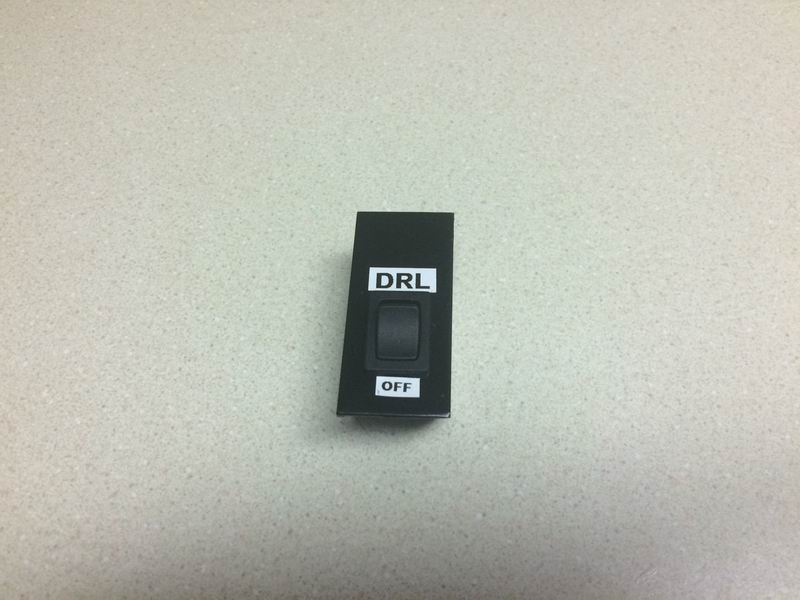
This method should be considered as "temporary" as it also disables the hi-beams. To keep this inconvenience to a minimum, I put the switch in the
vehicle so the DRL's can easily be turned back on if the hi-beams are needed.

This method is the same as pulling the hi-beam fuse, so you do lose operation of the hi-beams. The switch makes it so you can easily switch the
hi-beam circuit back on, having normal operation of the DRL's and hi-beams.
| PARTS USED |
|||||
| PART |
QTY |
SPECS |
SUPPLIER |
BRAND |
PART
# |
| connector | 6 |
14-16GA /
|
had in
house |
Pico | 1851BP |
| connector | 1 |
14-16ga /
1/4" eye |
had in house | Pico | 1806BP |
| fuse holder | 1 |
16ga / 20a |
Princess Auto |
Power Fist | 8553380 |
| fuse holder | 1 |
- |
Lordco |
Pico |
9900-11 |
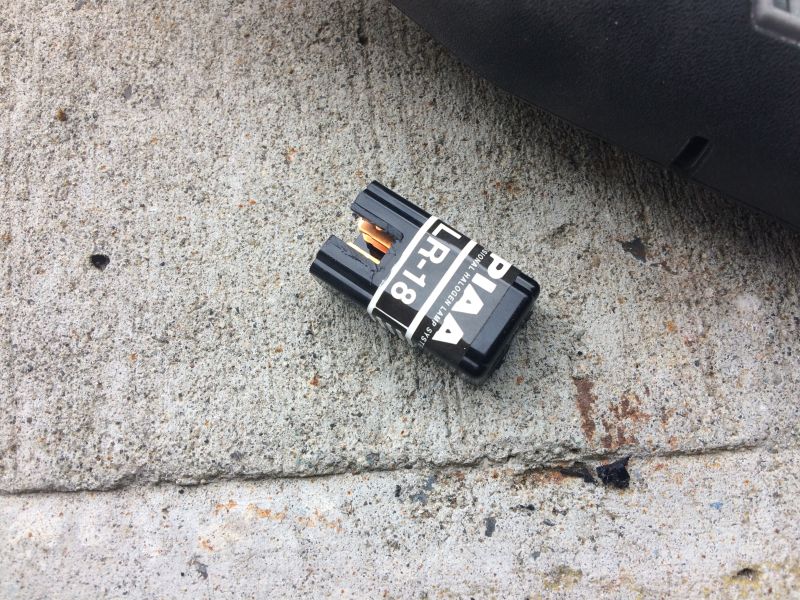
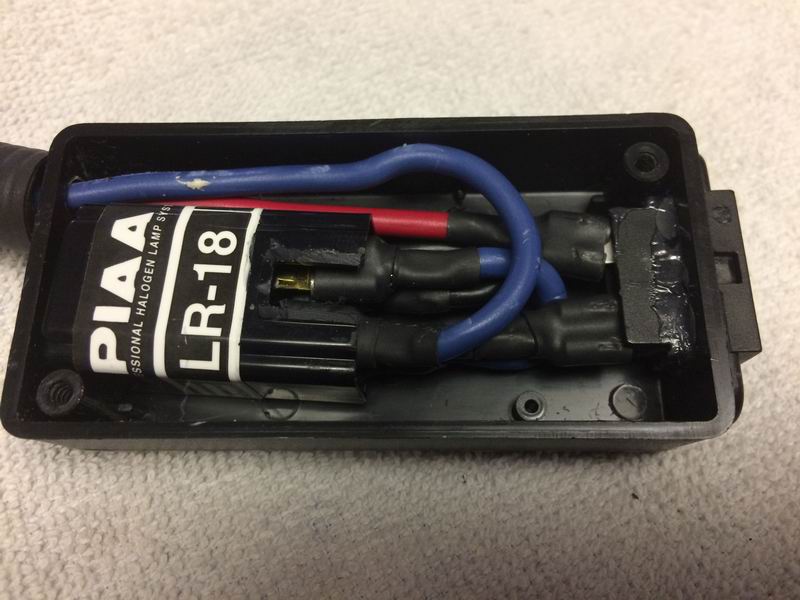
| relay | 1 |
- |
had in house | Piaa |
LR-18 |
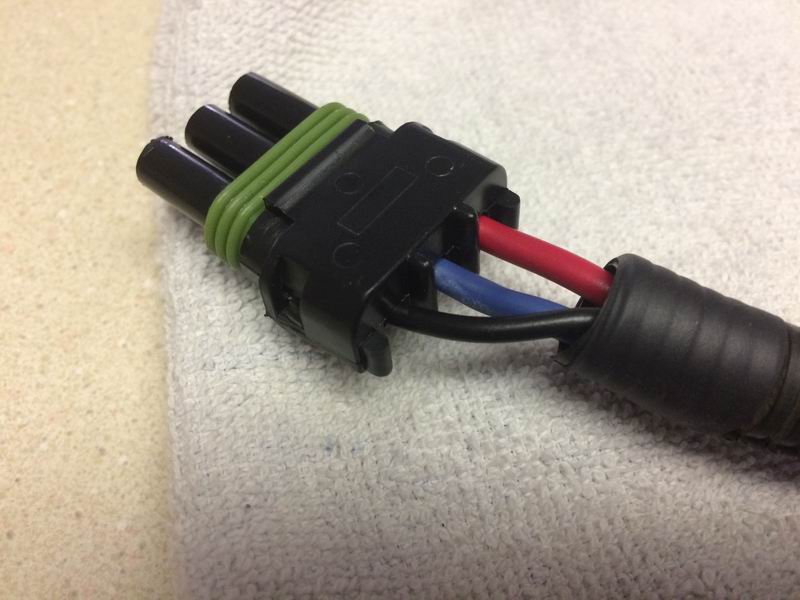
| connector |
1 |
14-16ga
/ 3
pin |
Lordco |
Pico |
2161-14 |
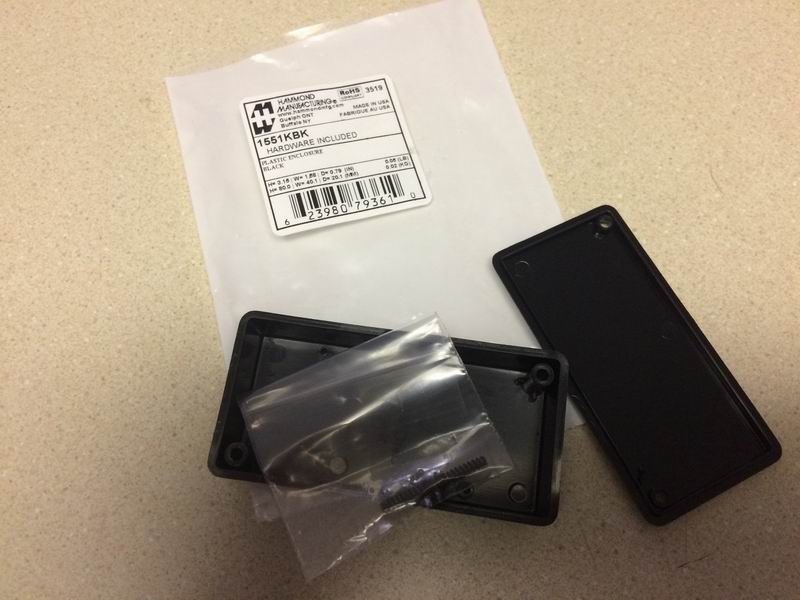
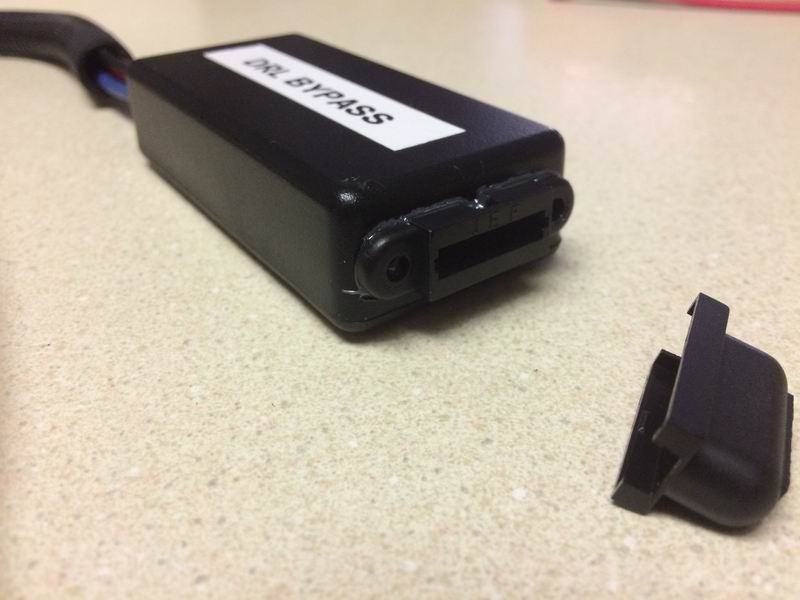
| enclosure |
1 |
ABS,
80x40x20mm |
RP Electronics |
Hammond
Mfg |
1551KBK |
| shrink tube | 7 pieces |
3/16" | had in house | - |
- |
| shrink tube | 6 pieces |
1/4" | had in house | - |
- |
| switch | 1 |
rocker /
spdt / on/on |
had in house | Wiring Products.com | MRS-SPDT-ONON |
| wire |
black /
16ga |
had in house | - |
- |
|
| wire |
red / 16ga | had in house | - |
- |
|
| wire |
blue / 16ga | had in house | - |
- |
|
 |
 |
 |
|
 |
 |
|
 |
 |
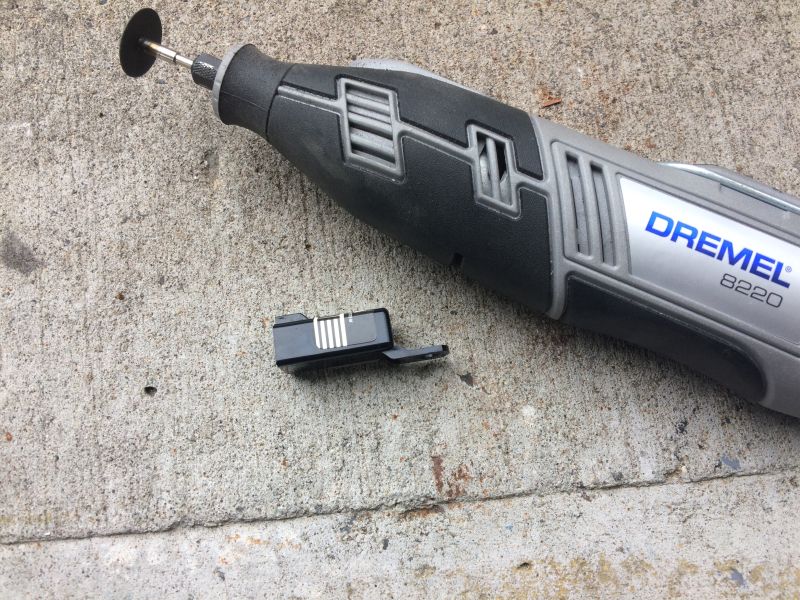
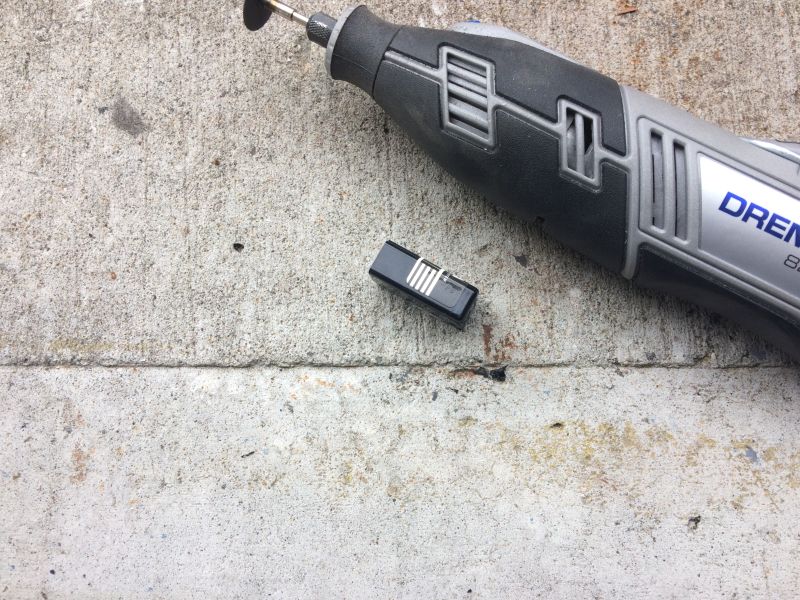
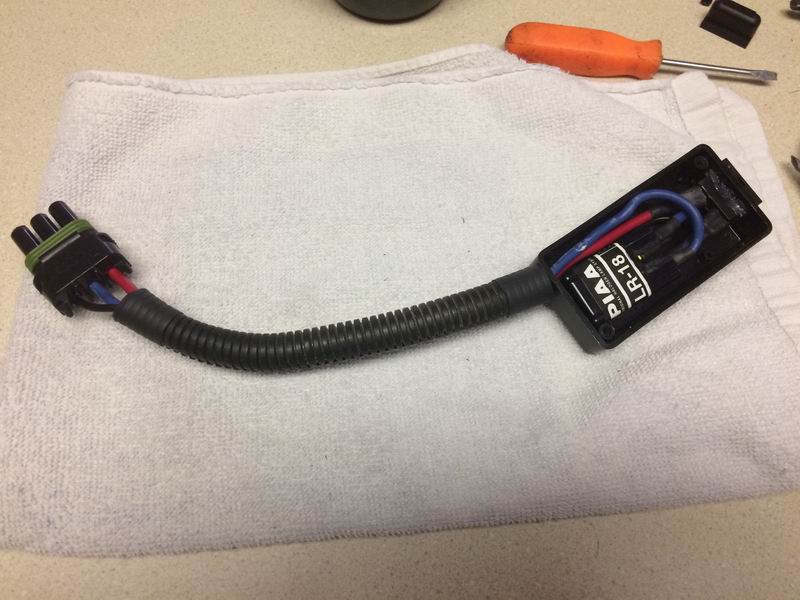
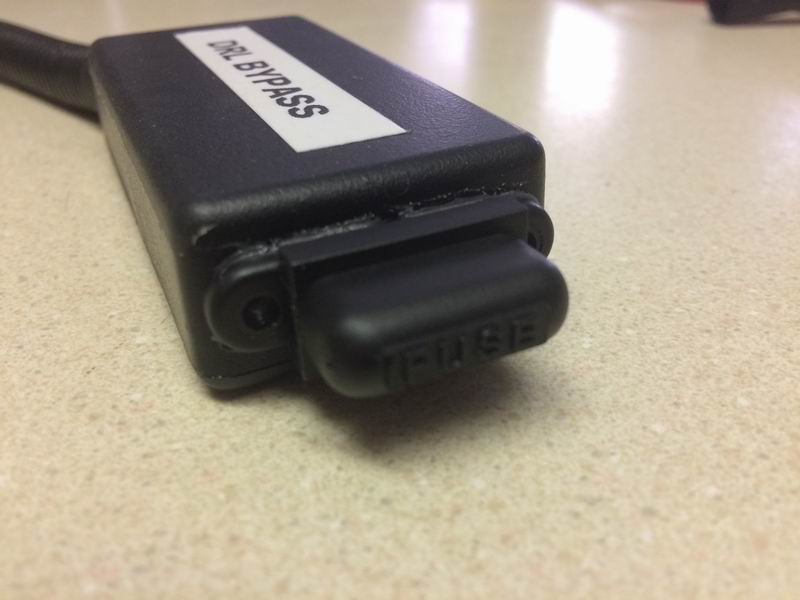
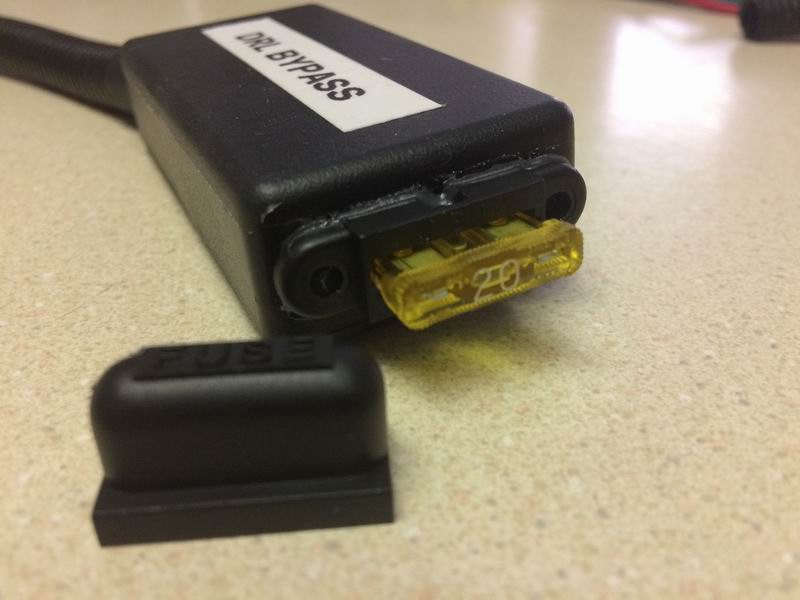
I didn't get an image of the Pico fuse holder or the building process. Moving forward, I cut a hole in the enclosure for the fuse holder and epoxied it in place, then made up the wiring pieces.
 |
 |
 |
 |
 |
 |
 |
 |
 |
 |
 |
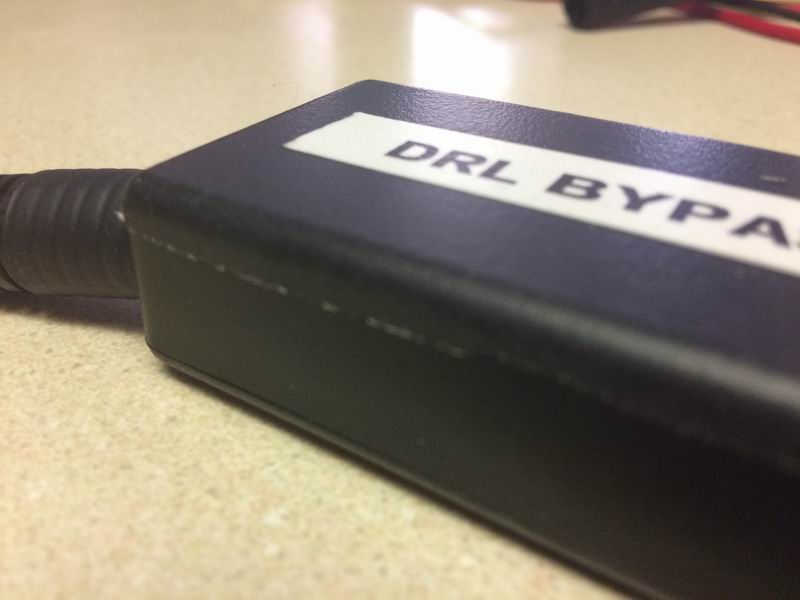
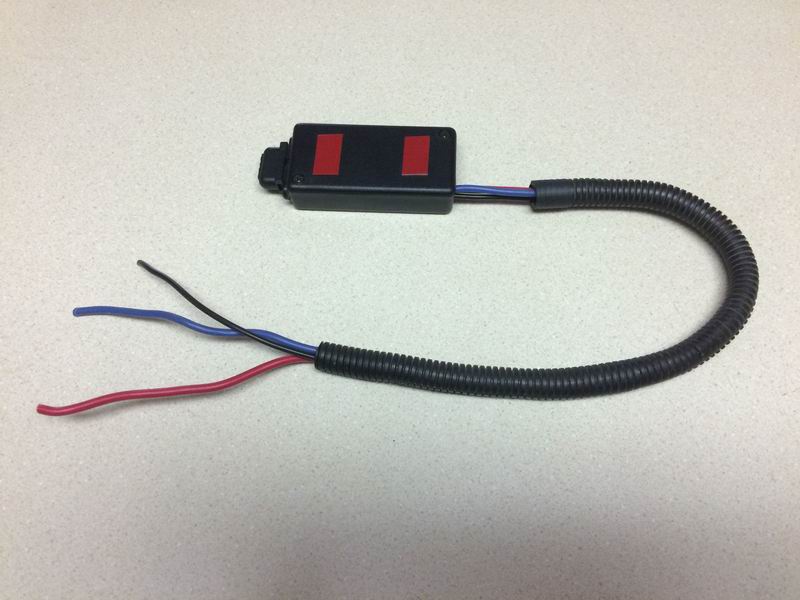
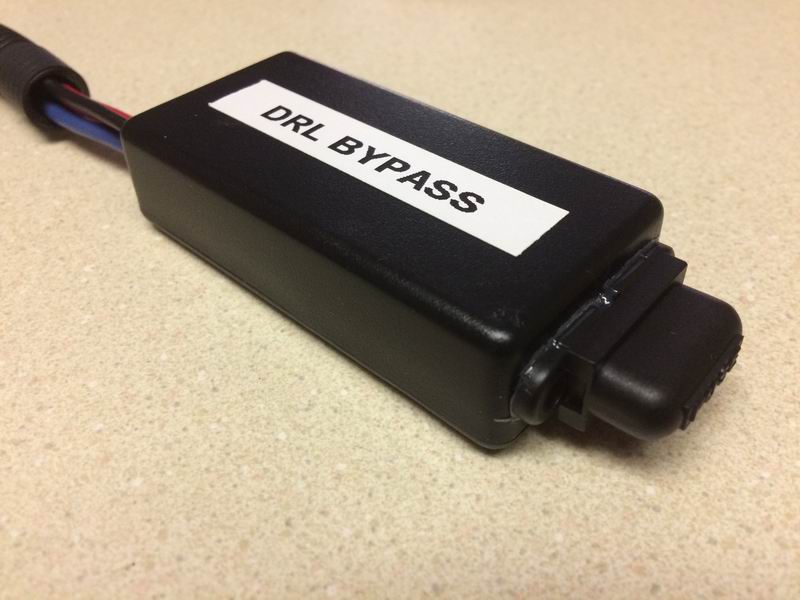
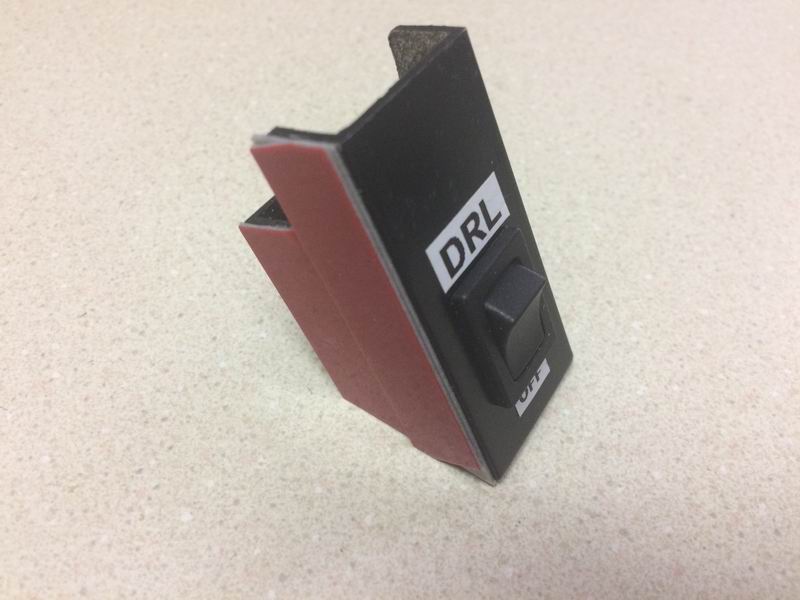
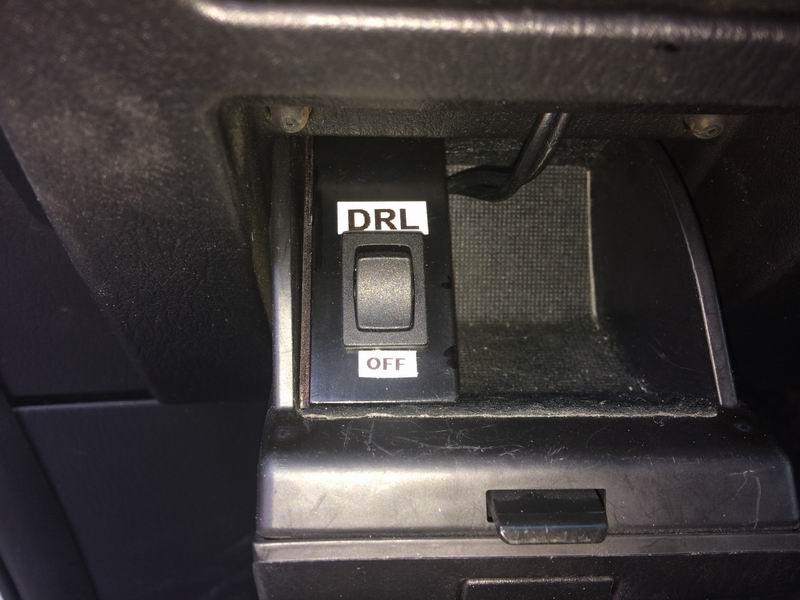
Tried something new; stuck on a label from the label maker, then sprayed
some clear Plasti Dip over it to protect it and keep it from peeling off.
 |
 |
 |
 |
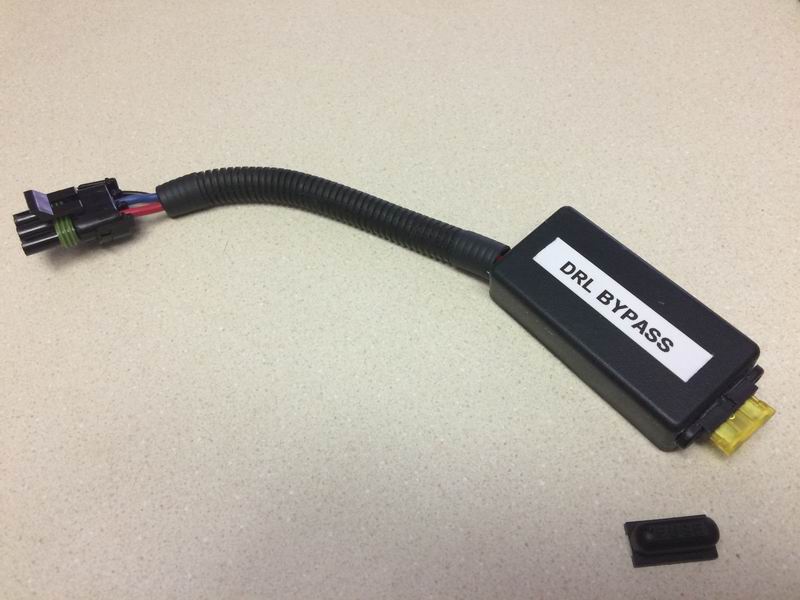 |

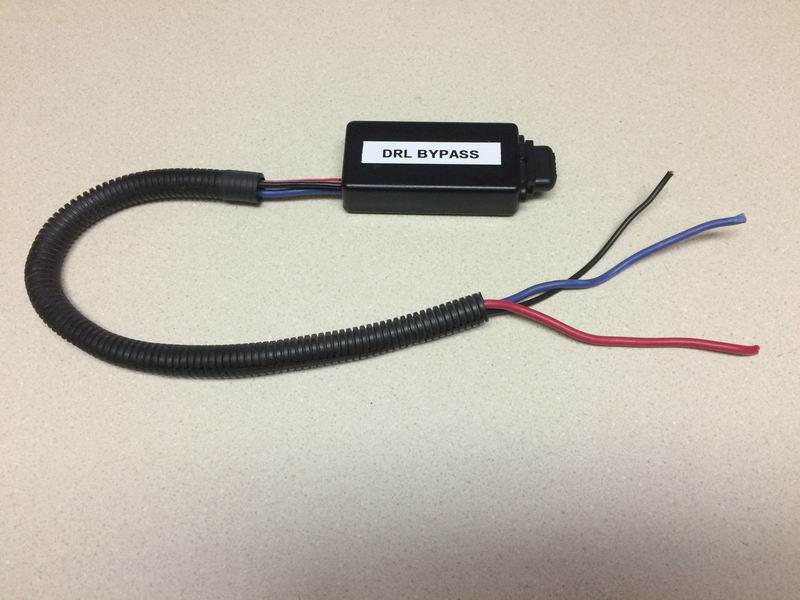
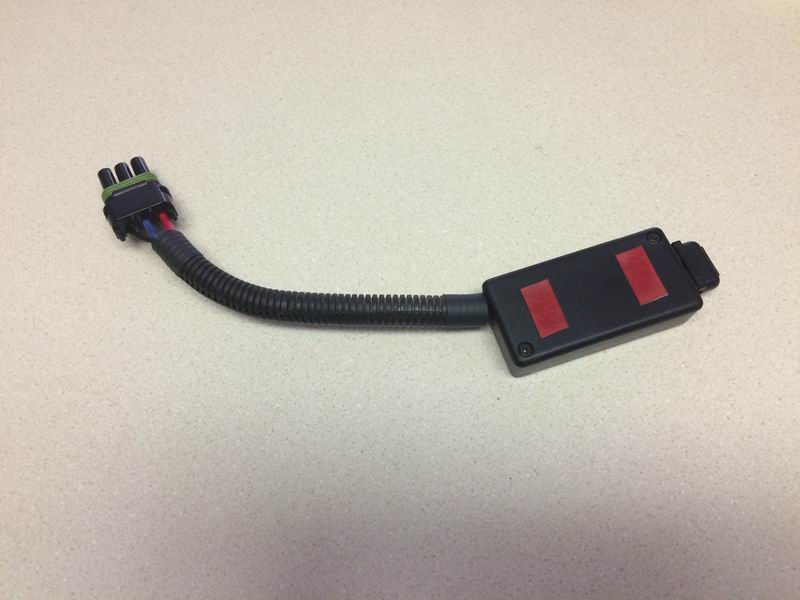
New harness done, except for the ground wire which is in the vehicle.
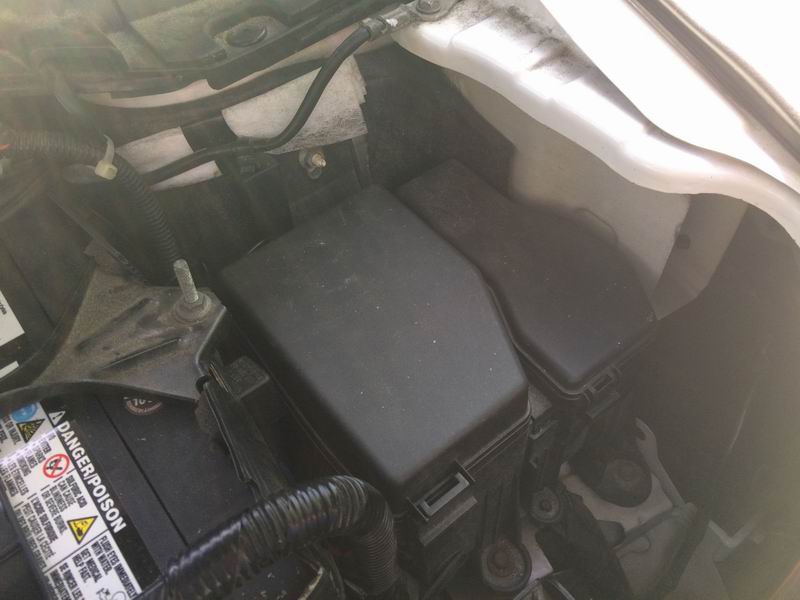
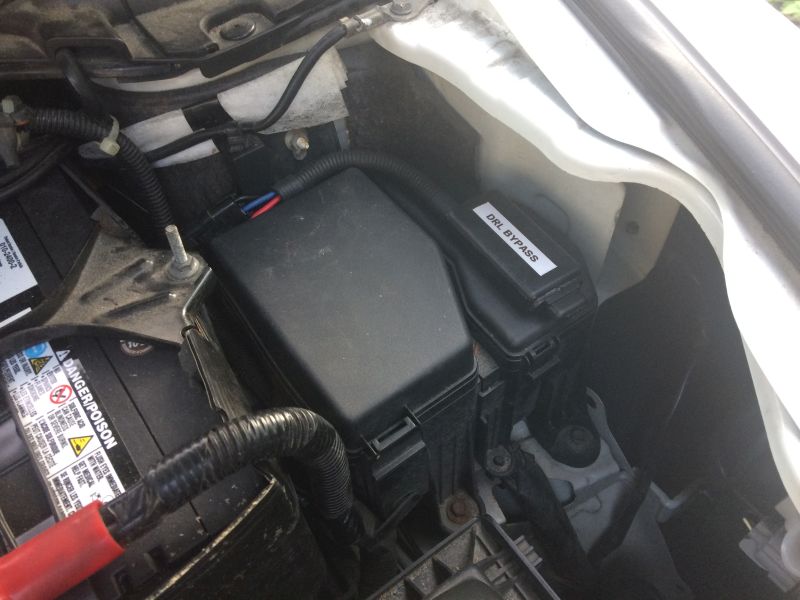
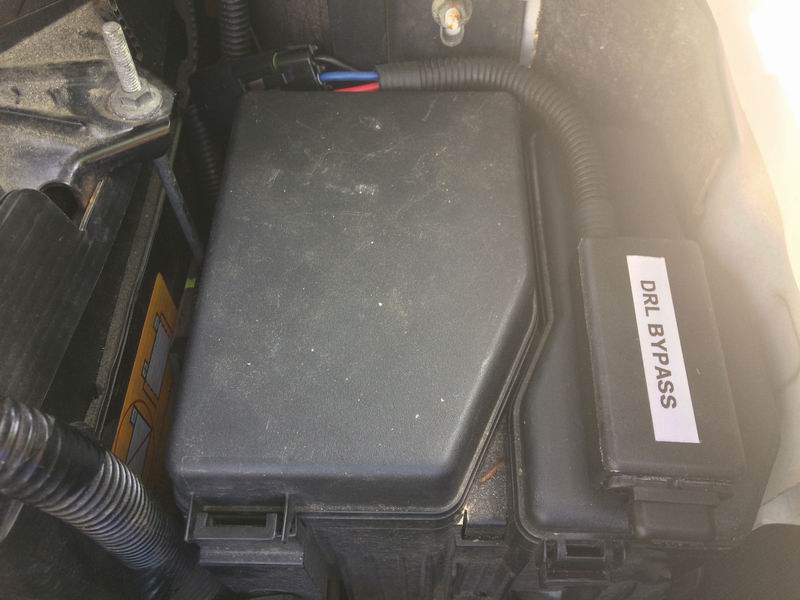
Remove the fuse box and relay box covers.
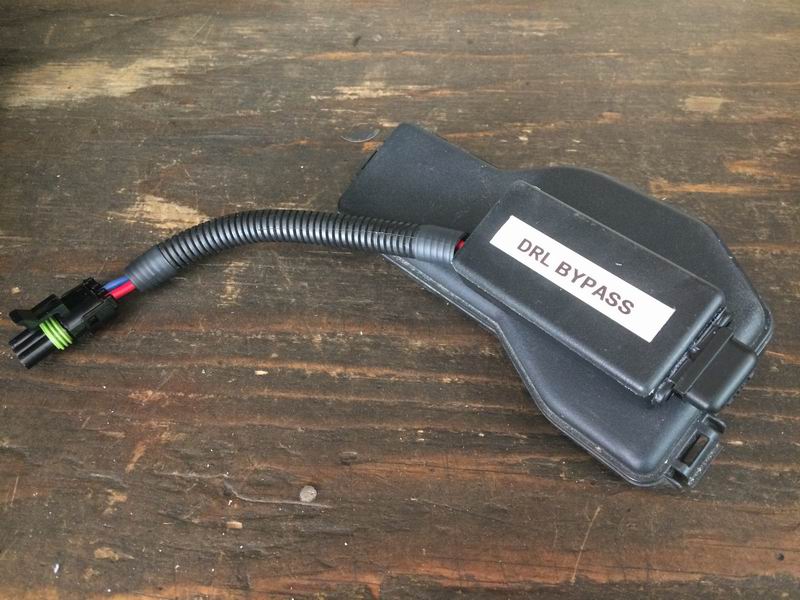
Control box stuck to the relay box cover.
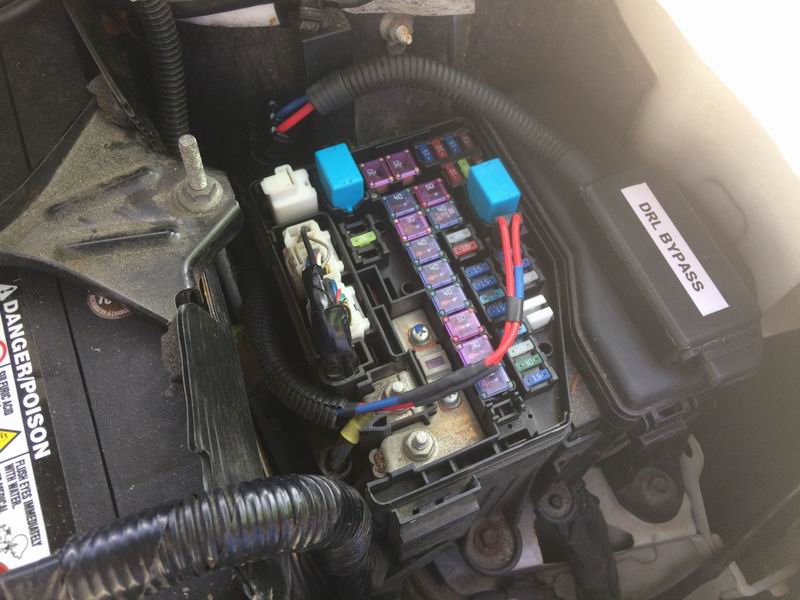
Hooked up to the fuse box.
 |
 |
 |
 |
 |
 |
 |
 |
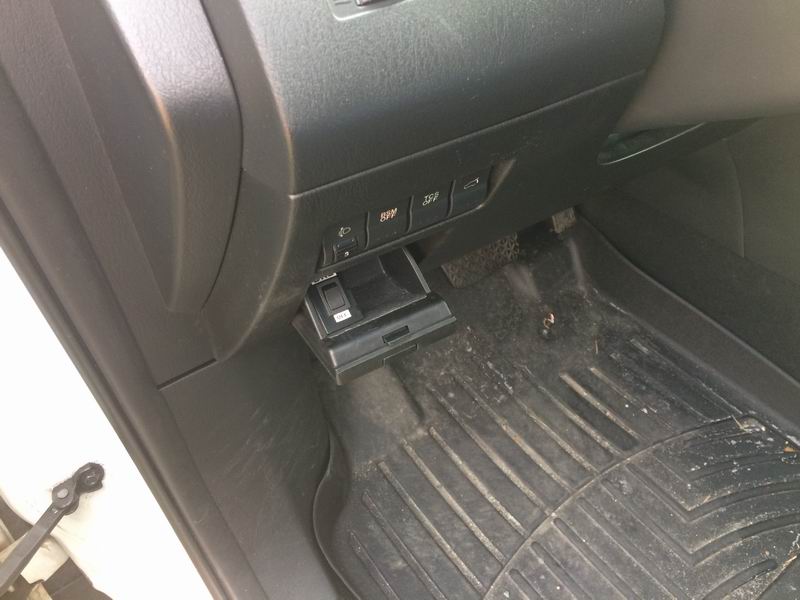
The ground wire goes to the switch in the dash. Another wire goes from the switch to a nut on the inside of the firewall, just behind the park-brake pedal. Now to make the switch mount.....
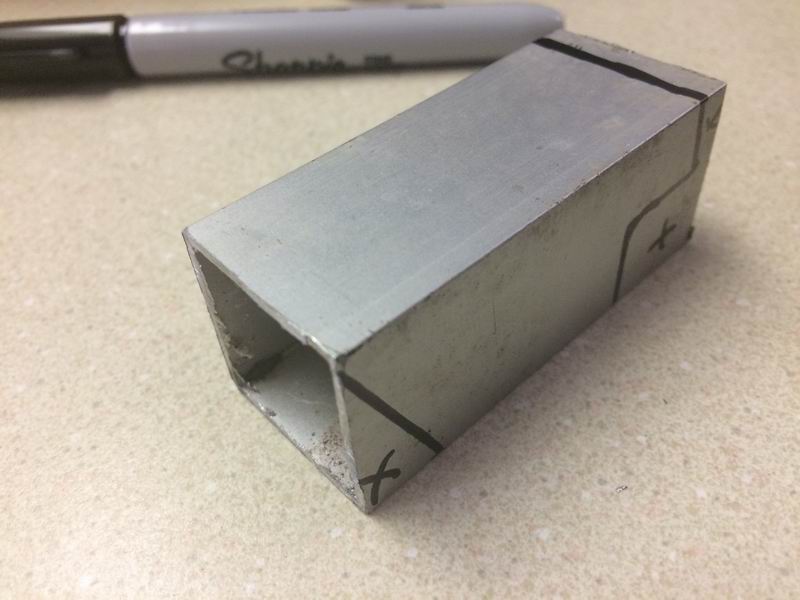
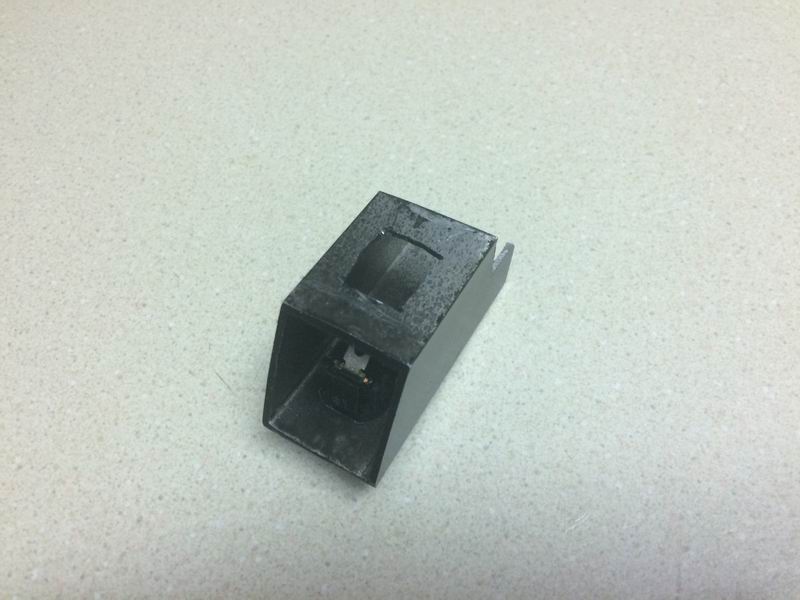
1" square aluminum tubing.
 |
 |
 |
 |
 |
 |
 |
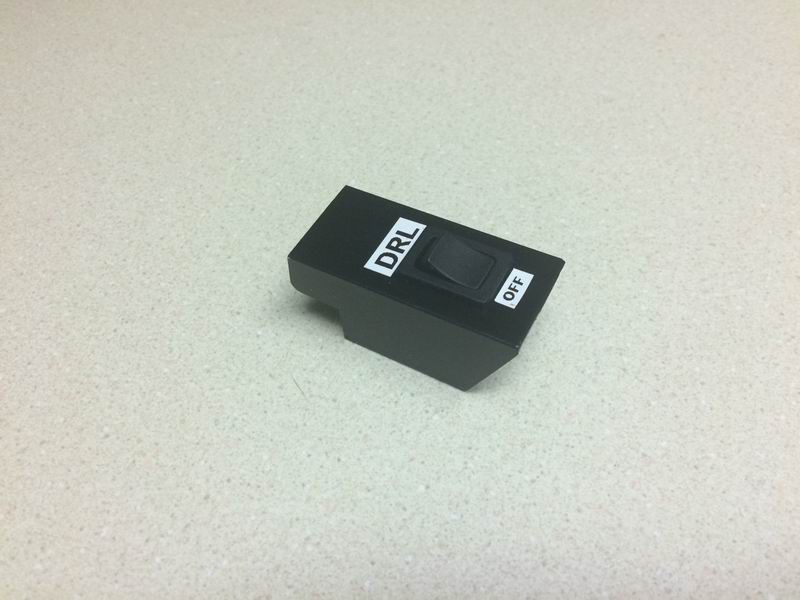
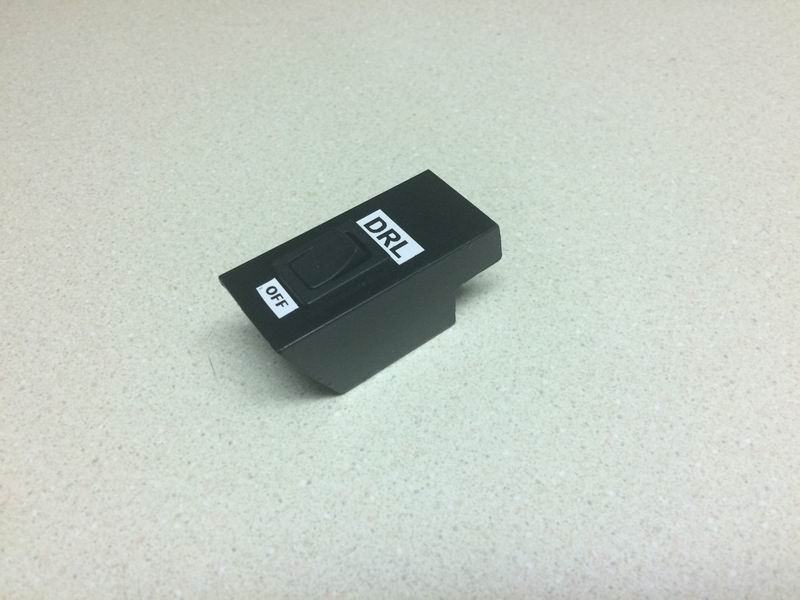
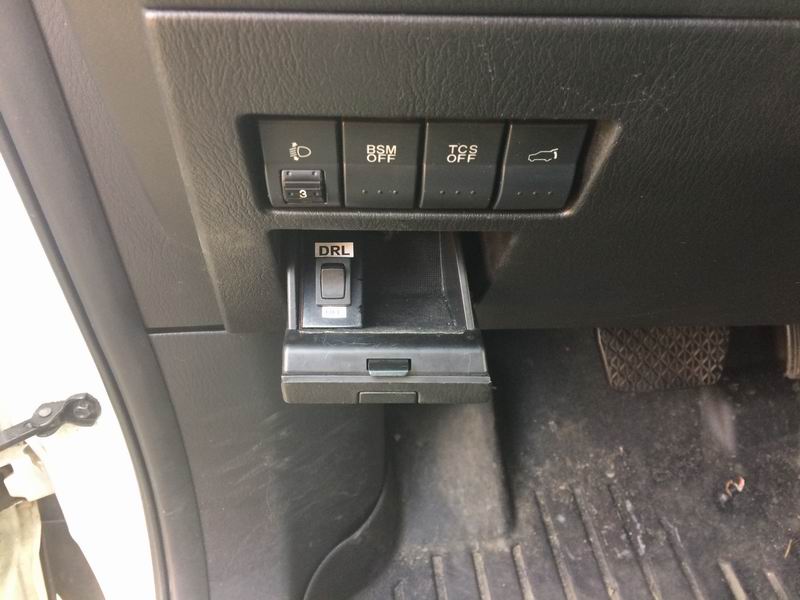
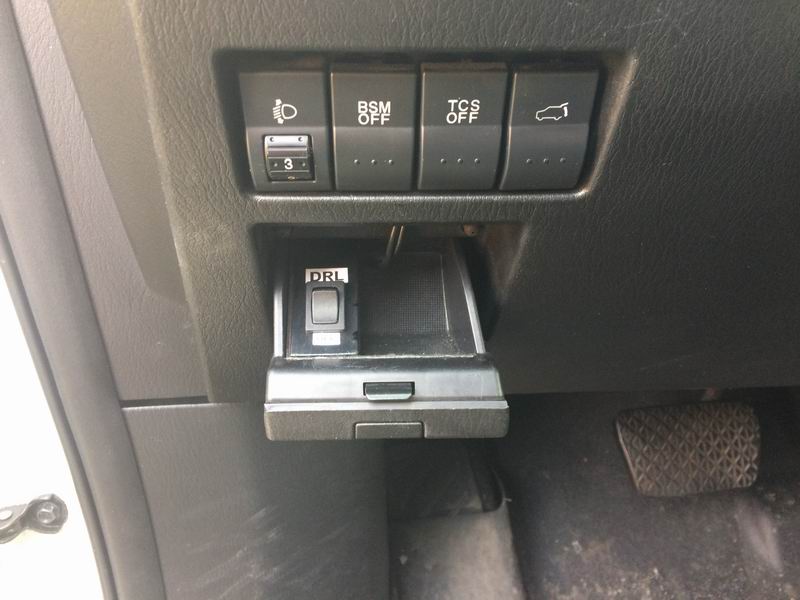
Cut and trimmed to size, painted, switch and labels in place.
 |
 |
 |
 |
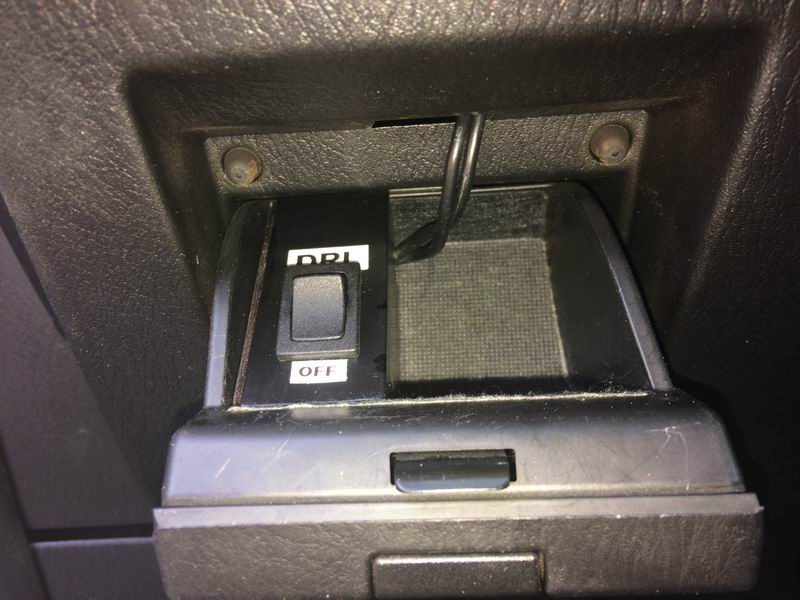 |
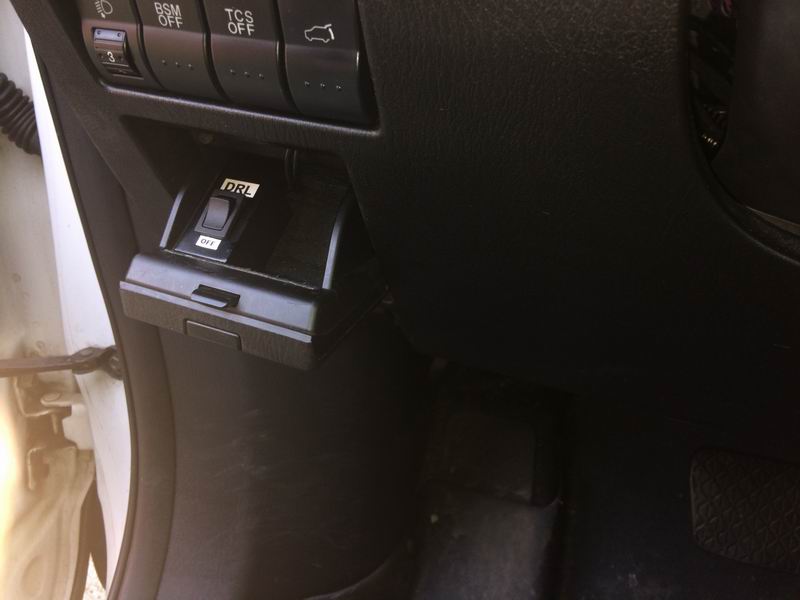
View from the drivers seat.
To summarize what this does.....
| DRL SWITCH |
||
| POSITION |
RESULT |
SIDE
EFFECT |
| On |
DRL's work
as normal |
- |
| Off |
DRL's do not illuminate ** | Hi-Beams do
not work |
If you have any comments, suggestions, or see any errors, please let me know..... cbradley@telus.net
Last updated on May 28/2020
All contents on this site
are
property of Chris Bradley. No content on this site may be reproduced
without the express permission of Chris Bradley.