Door Panel Lights
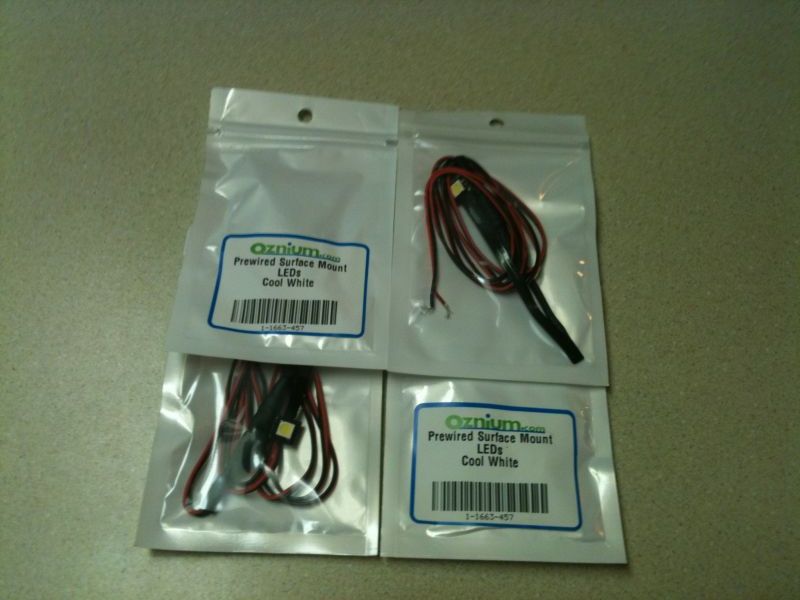
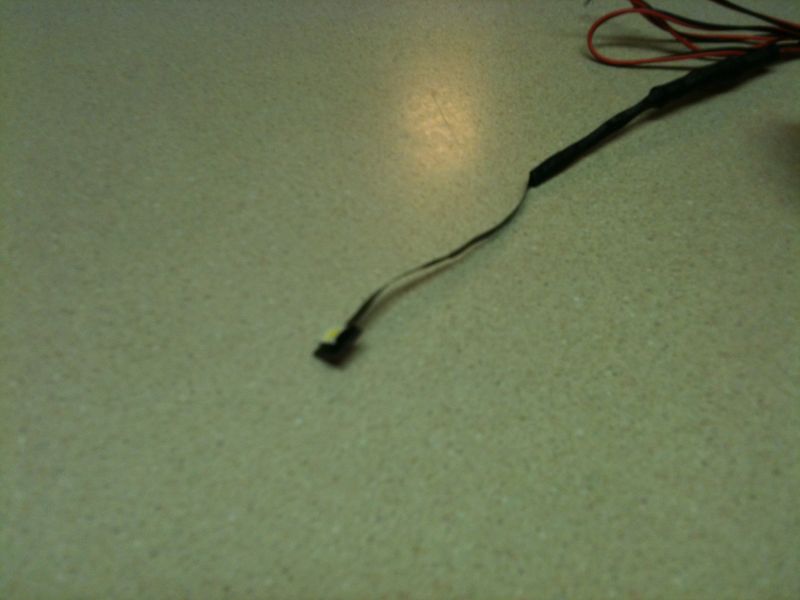
Oznium pre-wired surface mount LED in cool white.

Pretty bright for a single LED.
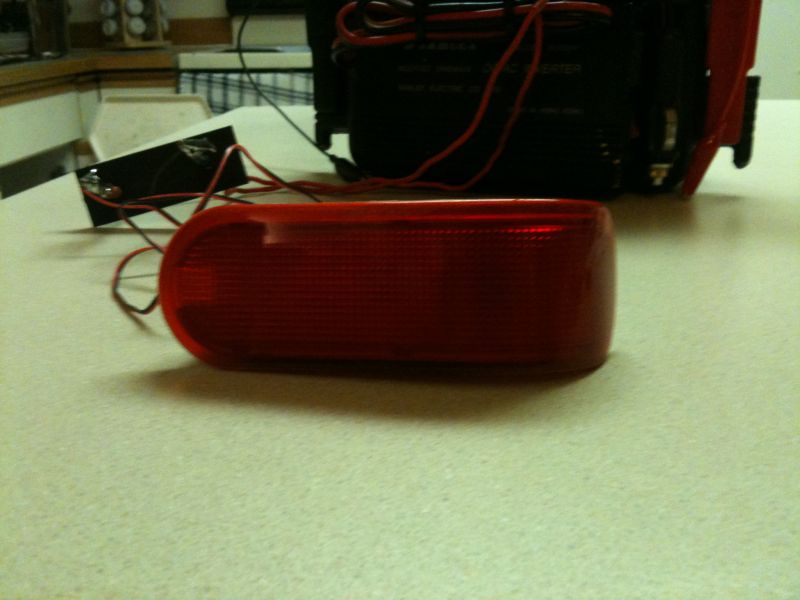
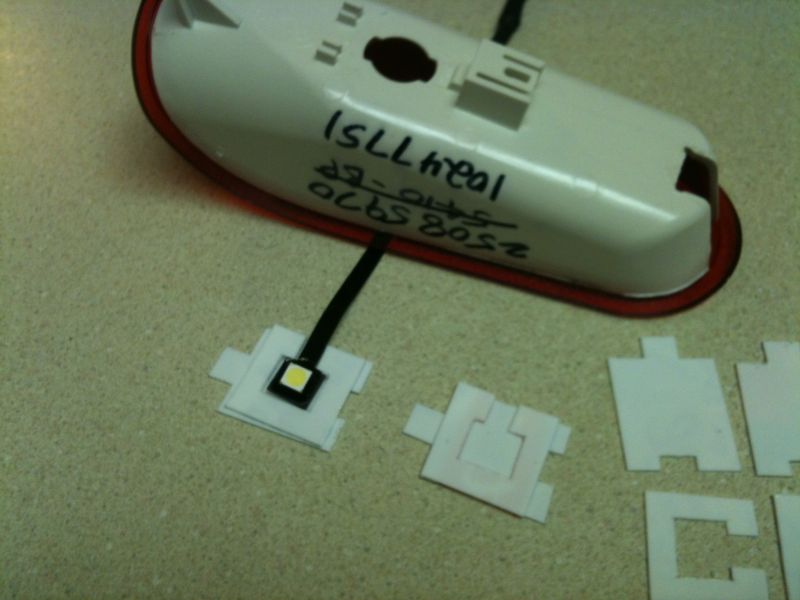
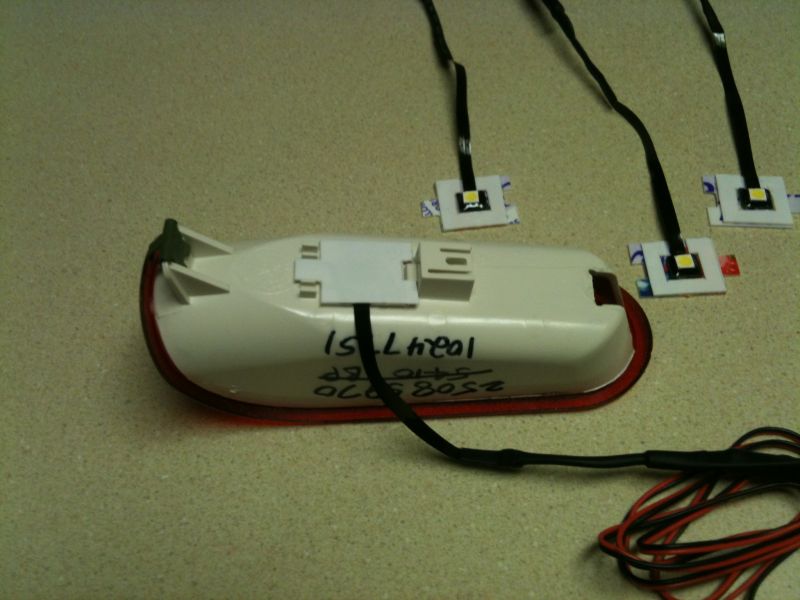
Door panel light.

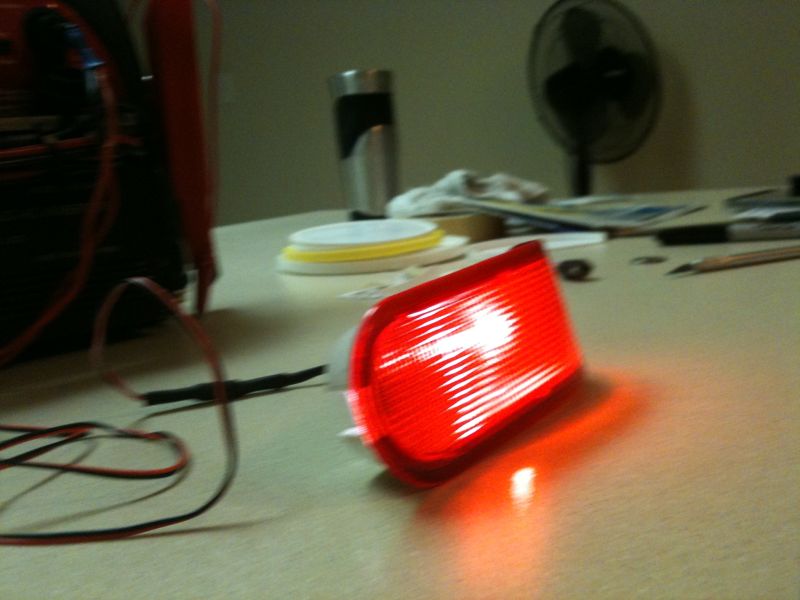
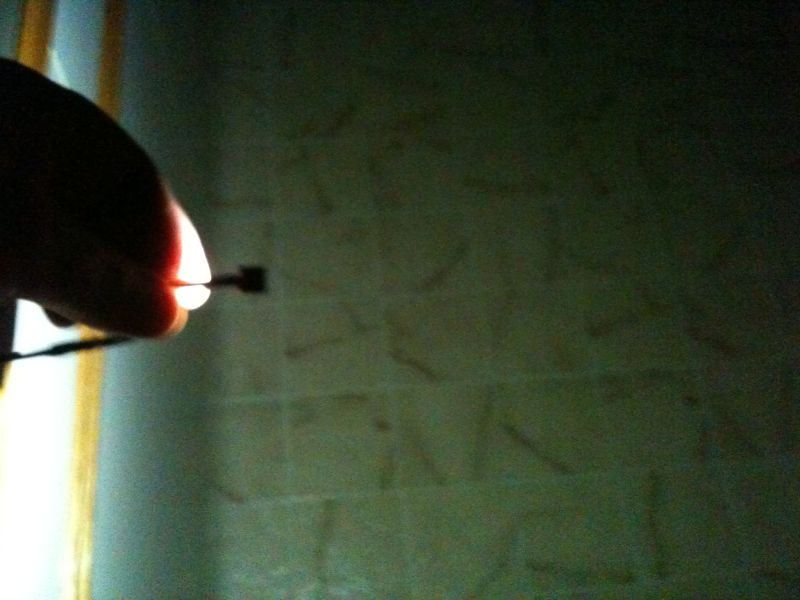
Test with LED.
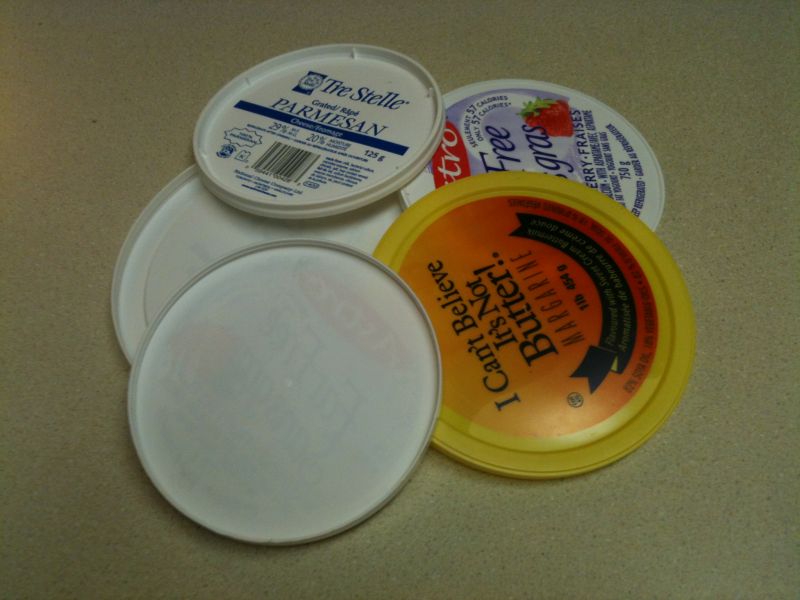
Material for the LED mount.

Top pieces.
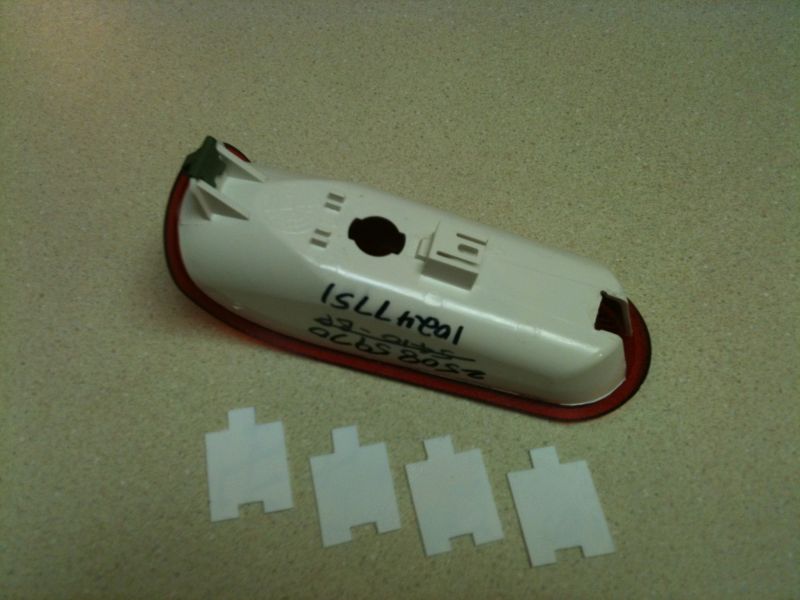

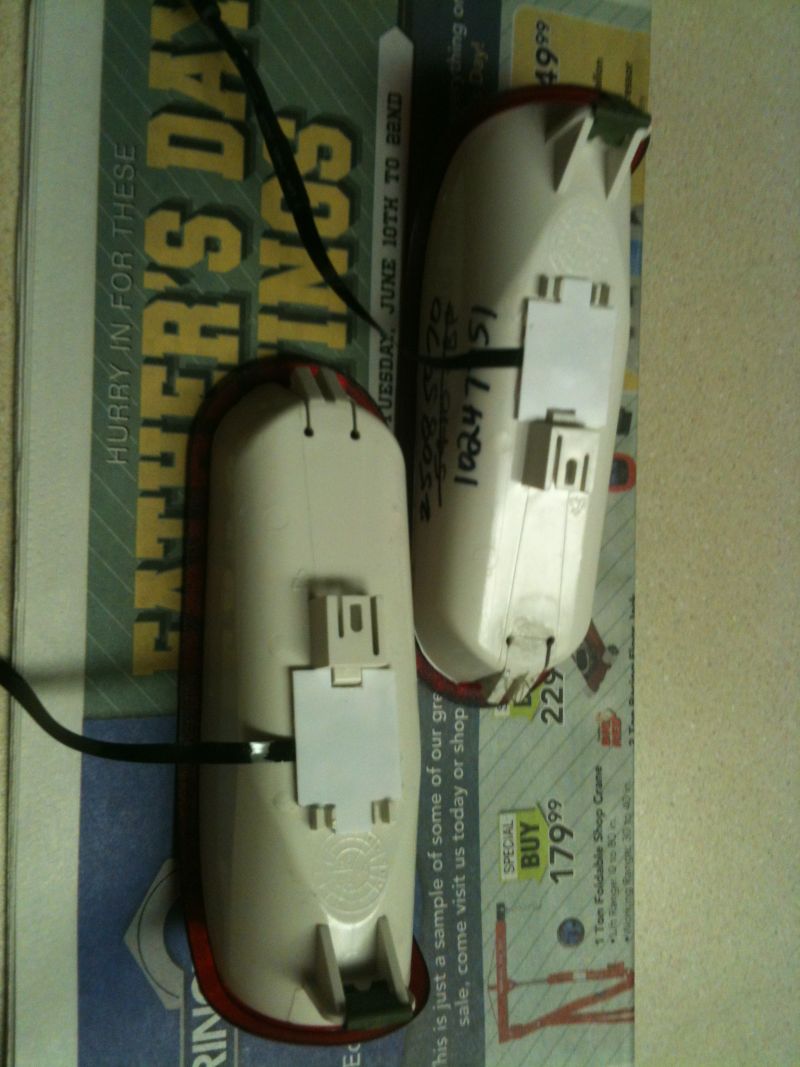
These will sit on the housing and hold the LED's. The tabs will keep them in place.
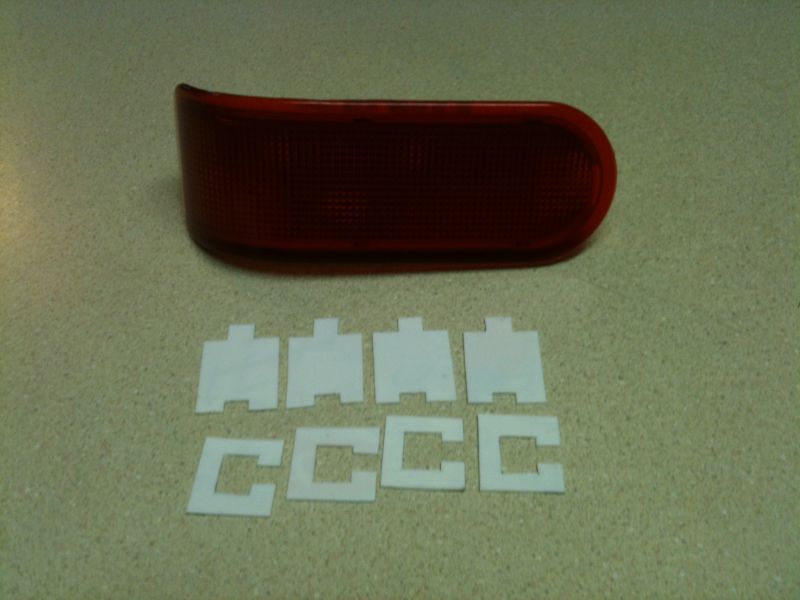
Bottom pieces; the "C" shape will keep the LED in place.
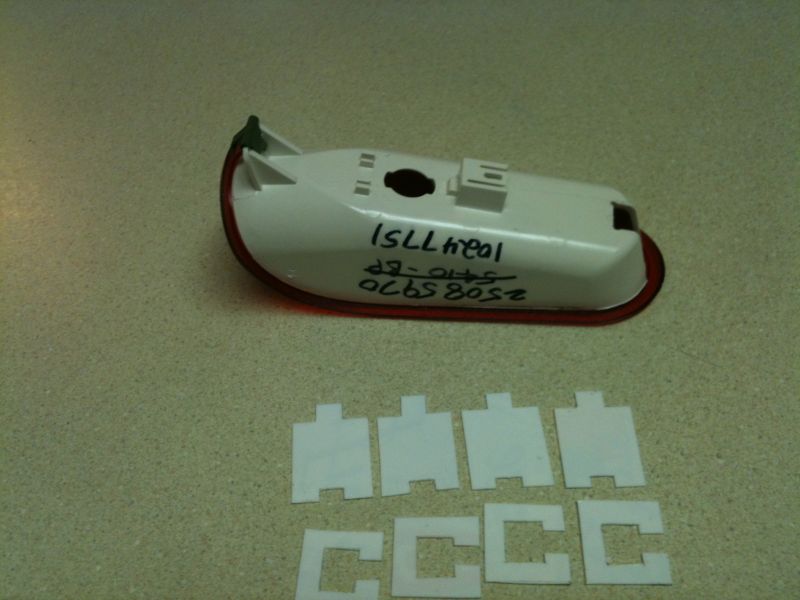
The notch is to let the ribbon cable pass through.
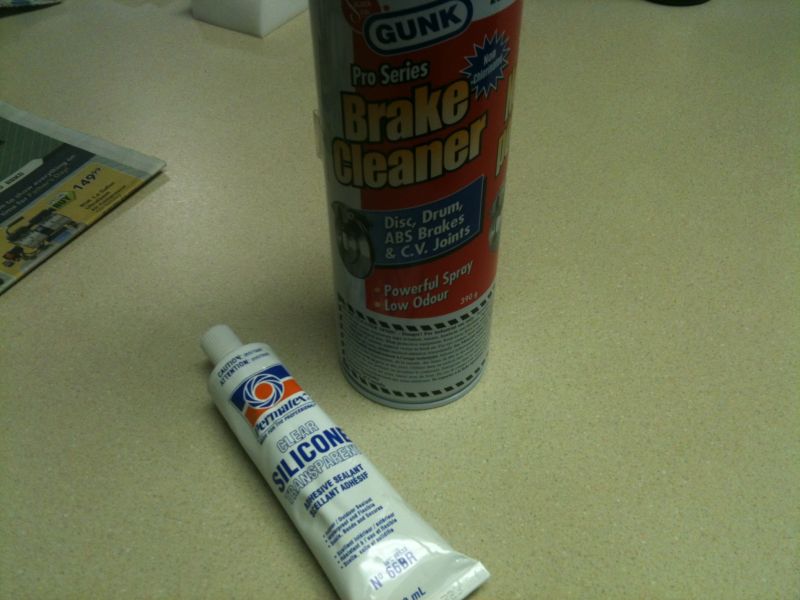
I used a two-part plastic epoxy to glue everything together.
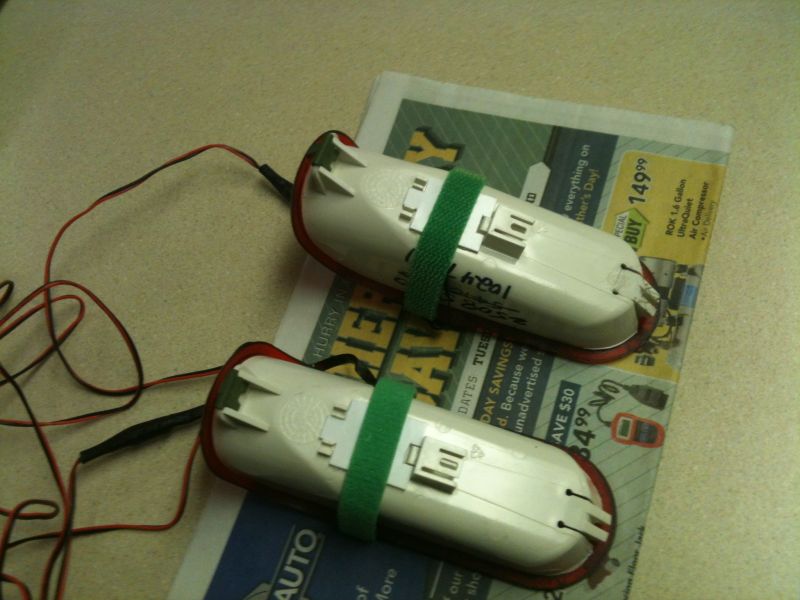
Final test fit.
June 14/2014
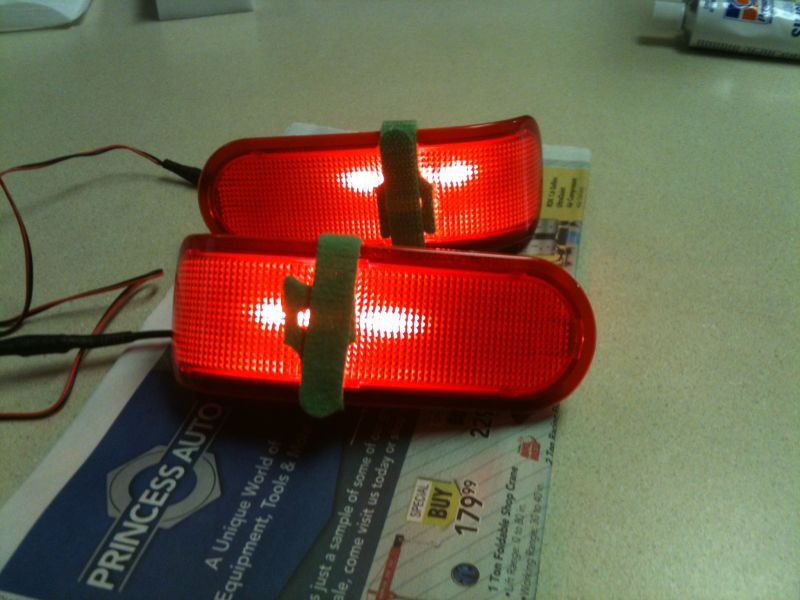
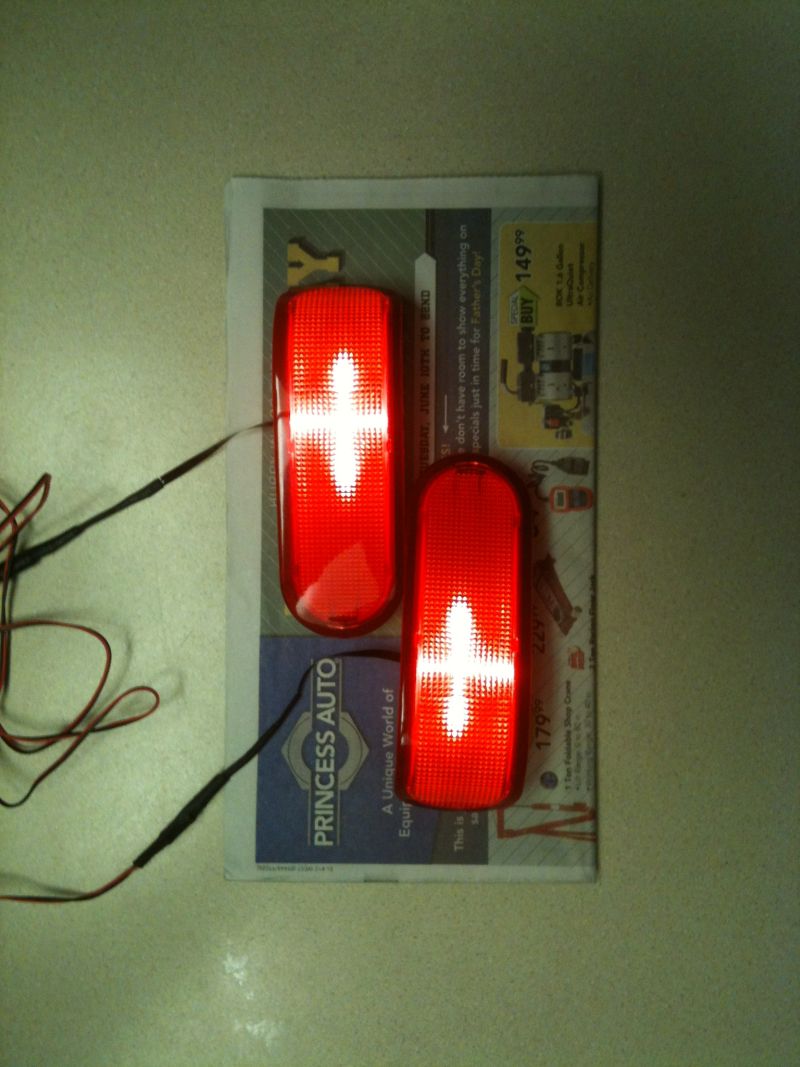
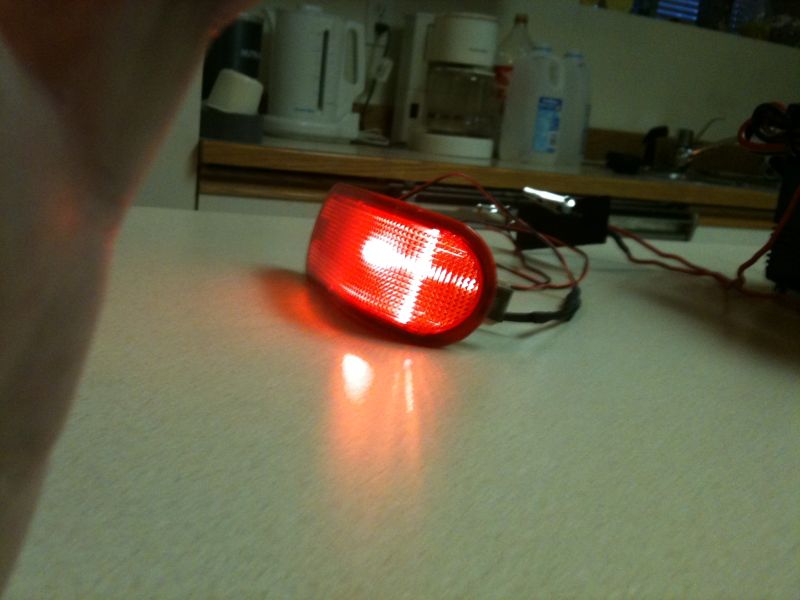
The brightness of the LED creates this "cross". I suspect this will bother me.
May 9/2017
Back on this project.....
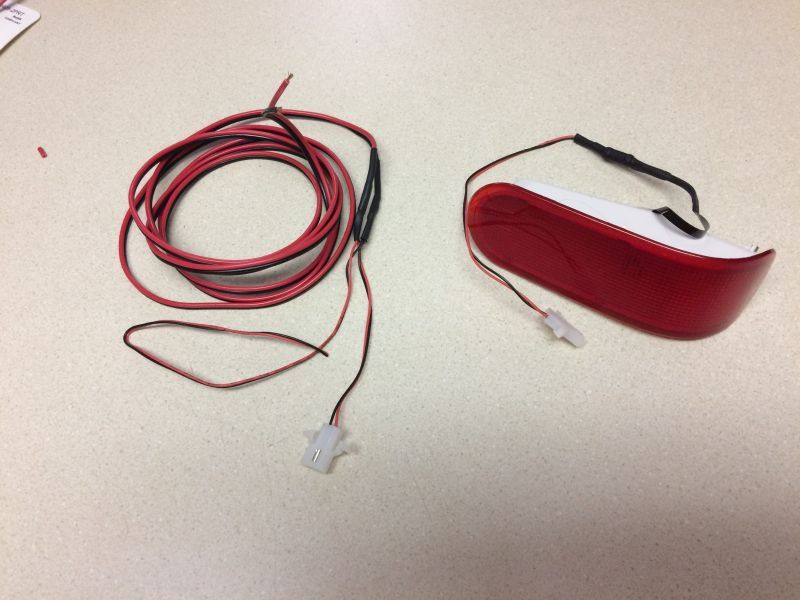
Wire harness to run in the door. It splits to a plug for the door
light, and the other end is for some future door handle lighting.
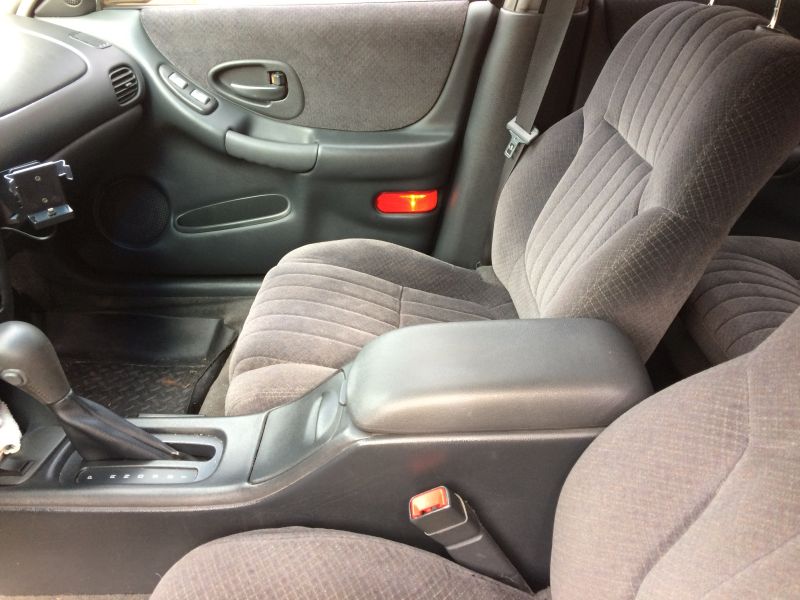
Right front, stock with no light or wiring.
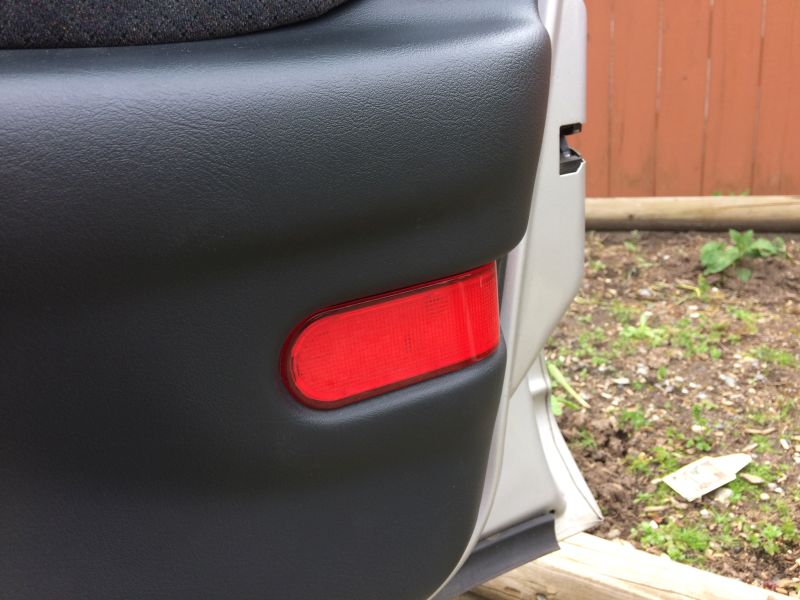
Right front, door re-assembled, wiring run to kick panel, lit with power supply.

Left front, stock with no light or wiring.

Left front, door re-assembled, wiring run to kick panel, lit with power supply.
May 10/2017

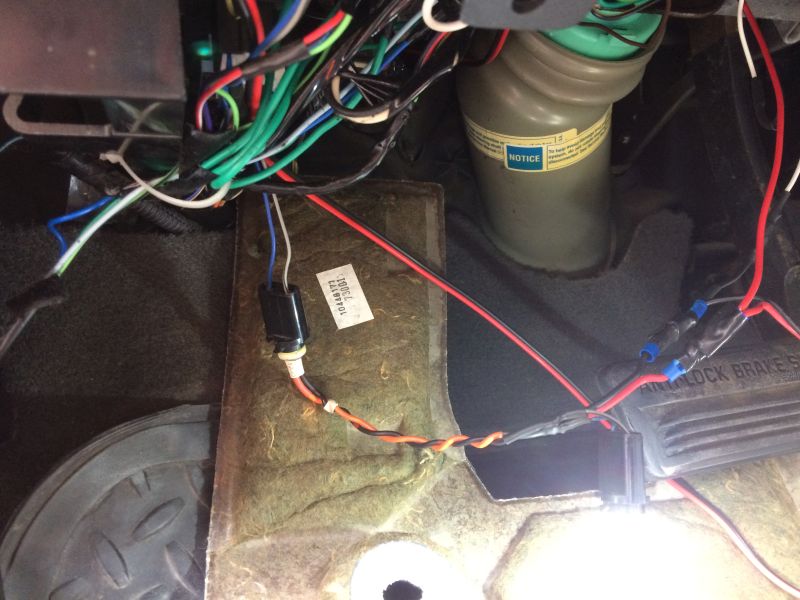
Front doors wired. I made a 194 adapter harness that plugs into the dome light socket; didn't feel like hacking the wiring.

Front doors done.
May 11/2017
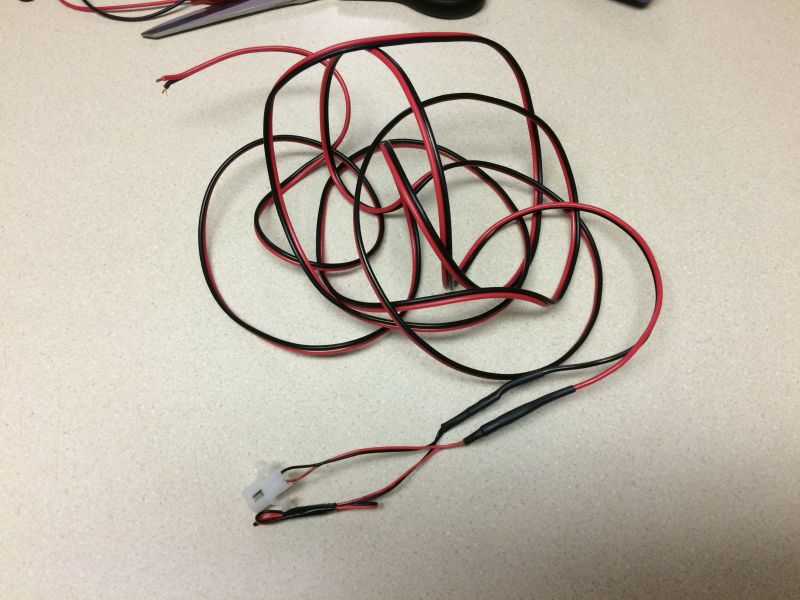
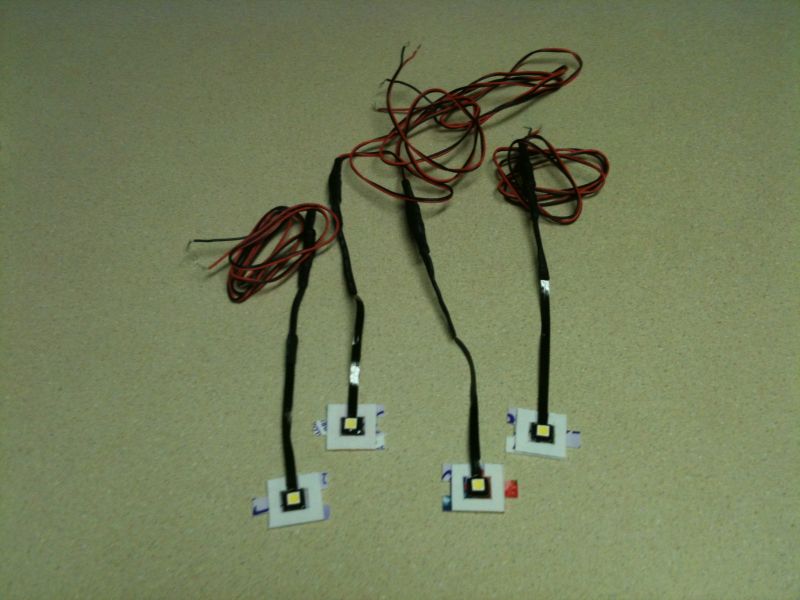
Wiring harness #3.
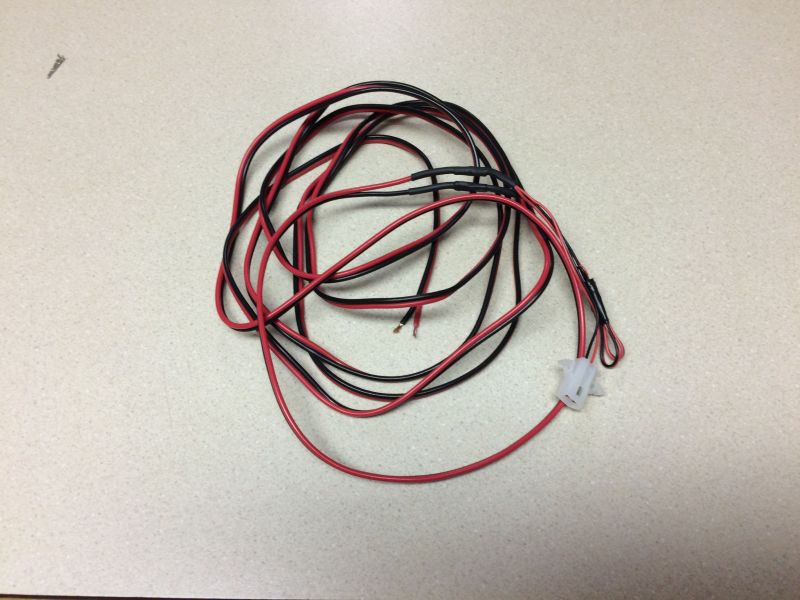
Wiring harness #4.
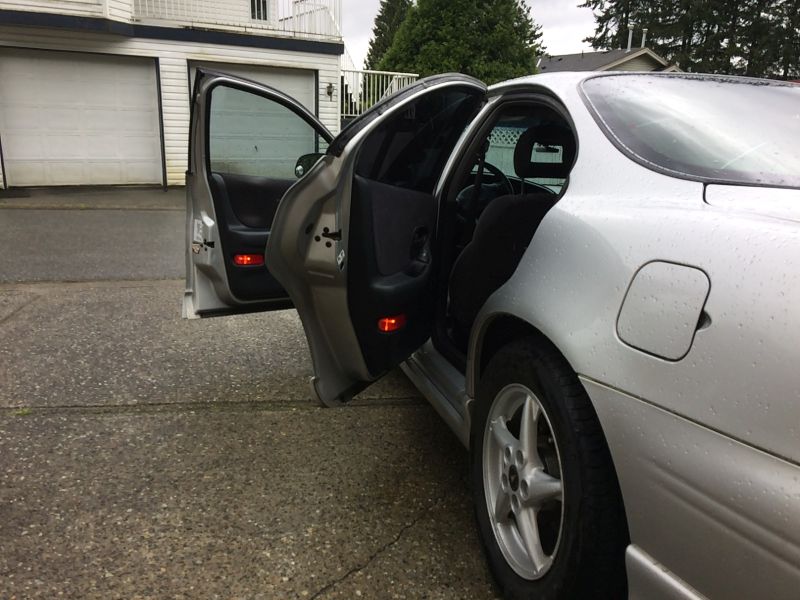
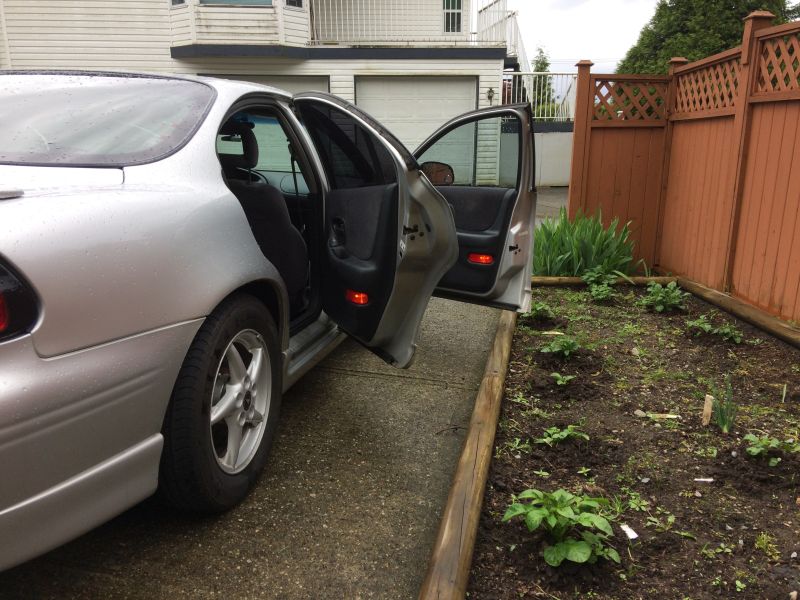
All done.
If you have any comments, suggestions, or see any errors, please let me know..... cbradley@telus.net
Last updated on May 11/2017
All contents on this site are property of Chris Bradley. No content on this site may be reproduced without the express permission of Chris Bradley.