HID Headlights (Projector Retrofit)
March
24/2013
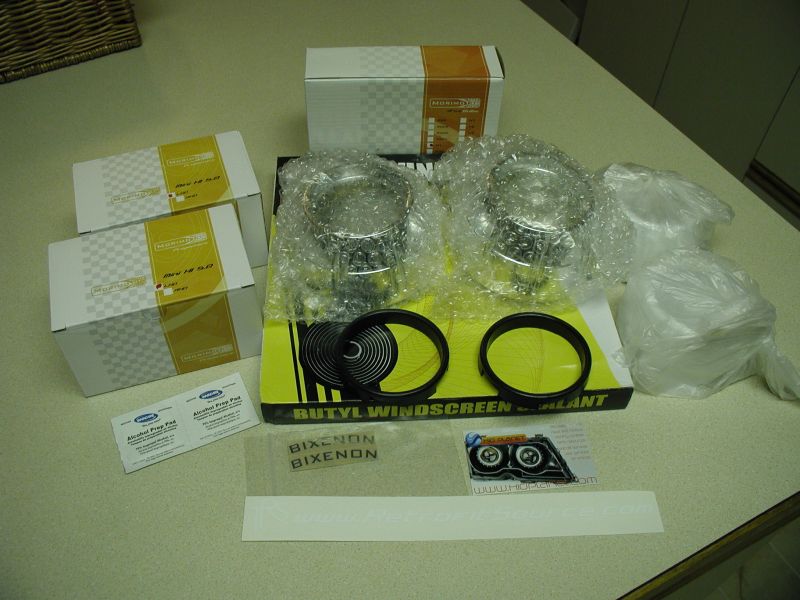
Projector parts from The Retrofit Source.
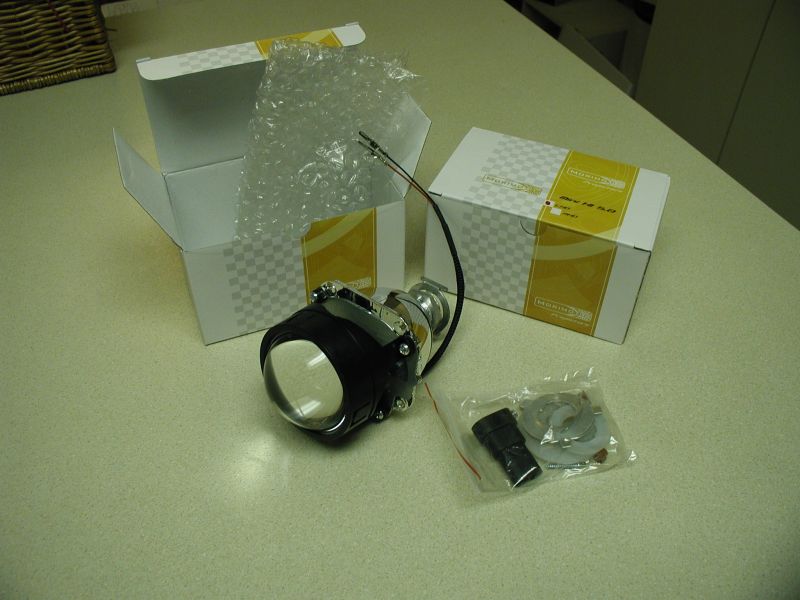
Morimoto Mini H1 5.0 Bi-Xenon projectors.
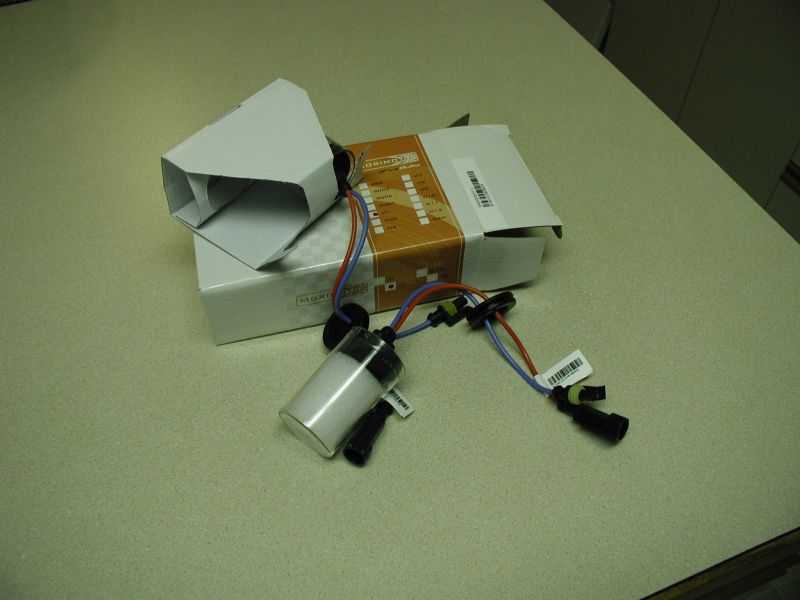
Morimoto 3Five H1 5000K bulbs.
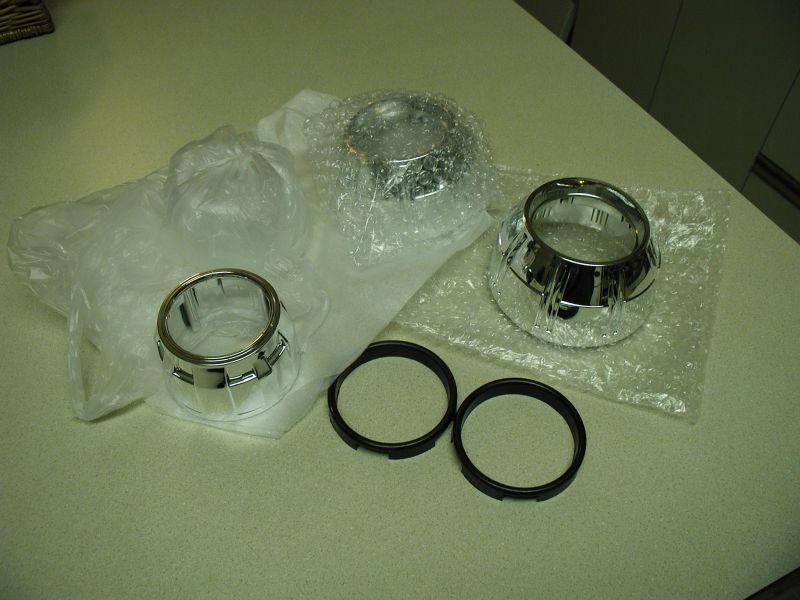
Mini Gatling Gun and Bullet shrouds.
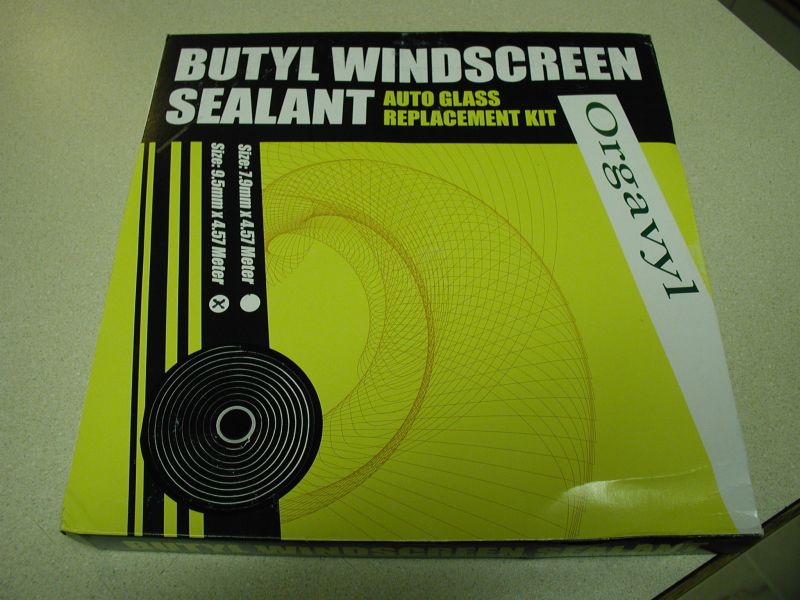
Butyl Rubber glue.
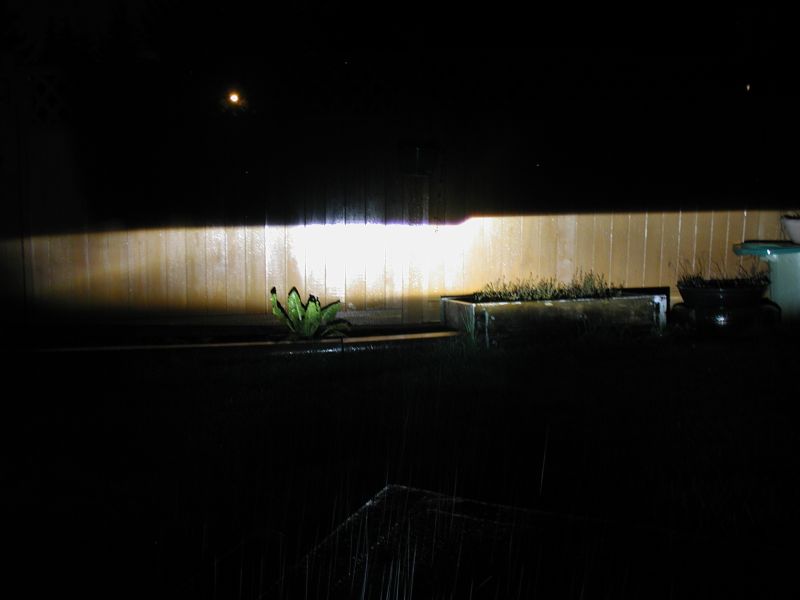
A quick test.
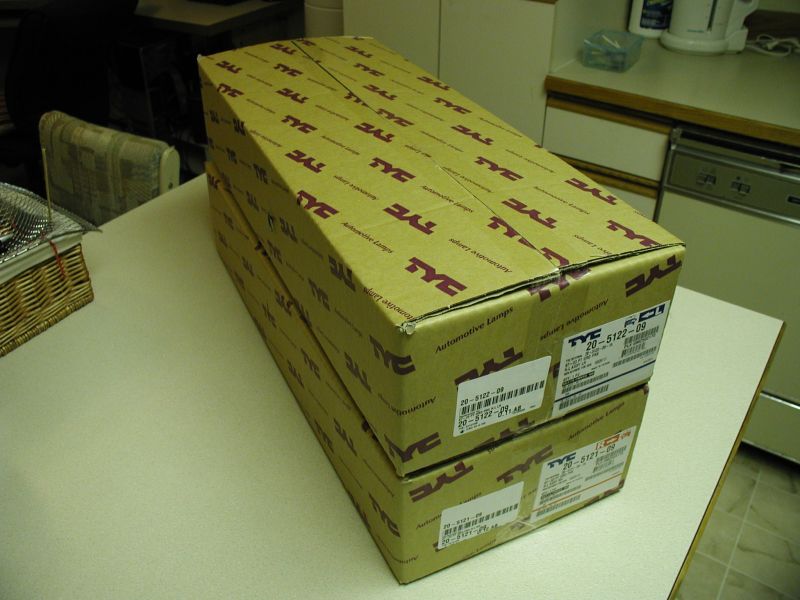

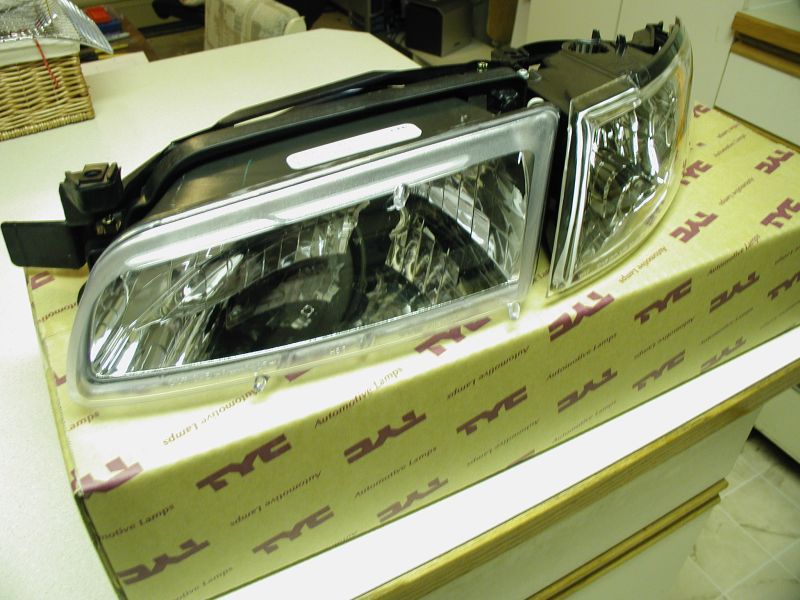
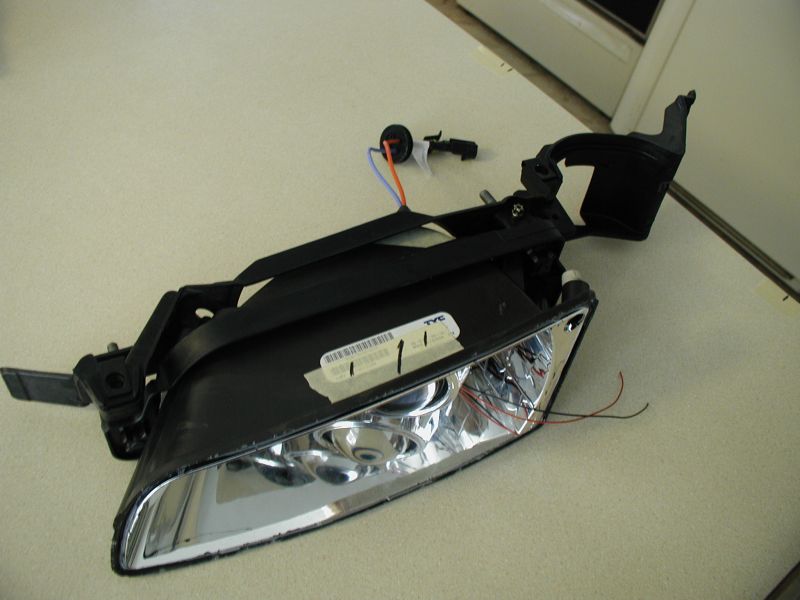
New headlight housings from RockAuto.
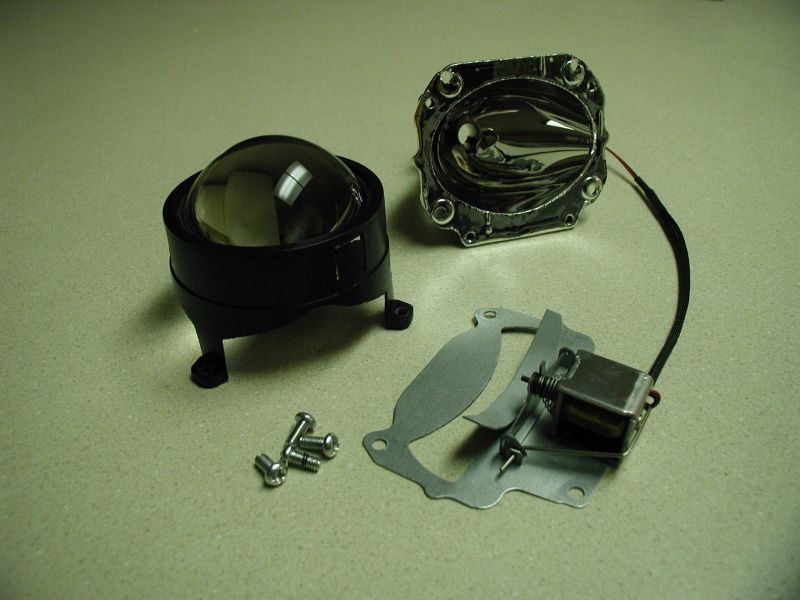
Projector taken apart.
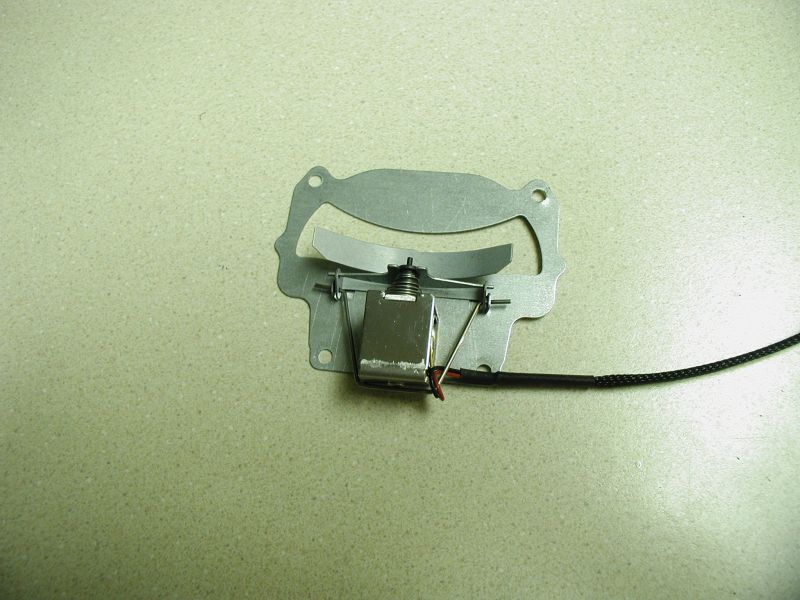
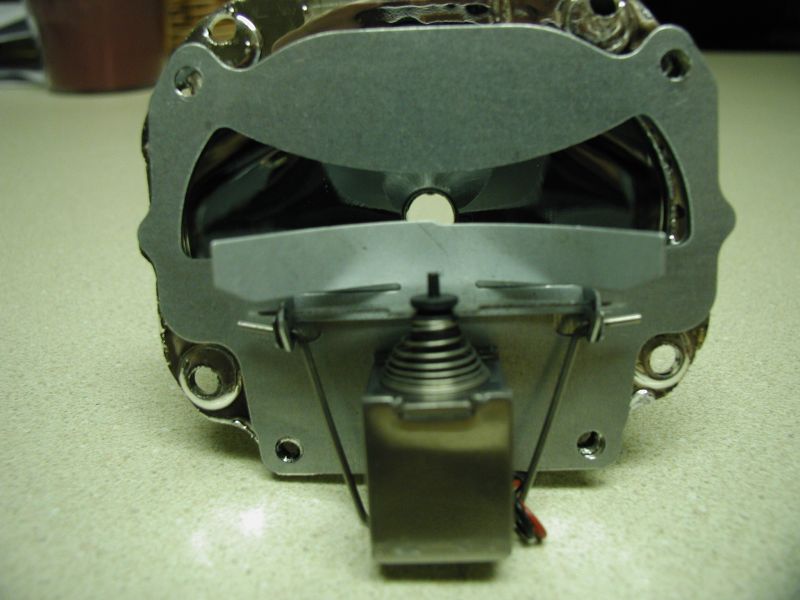
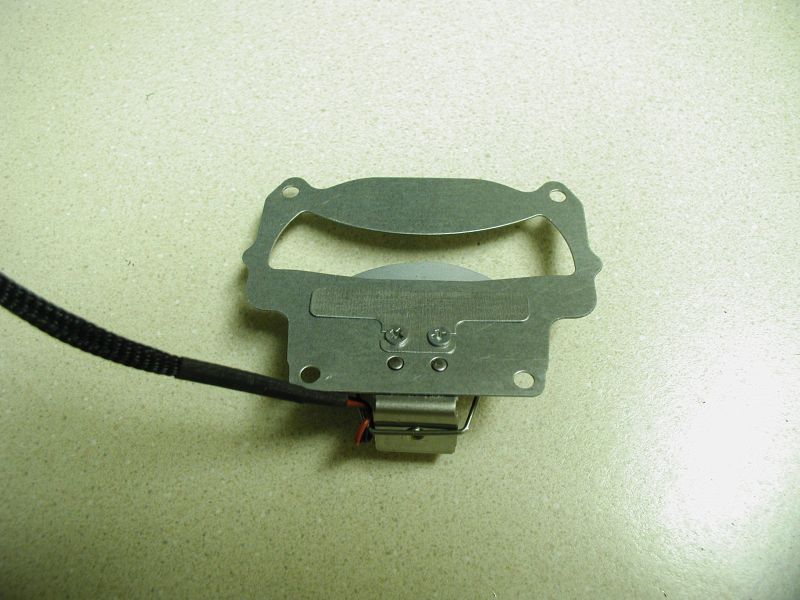
The shield, front and rear.
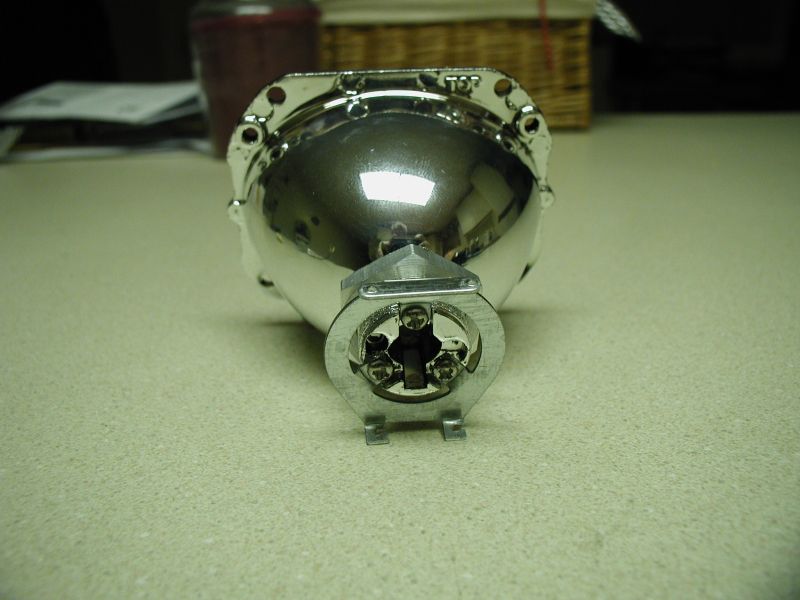
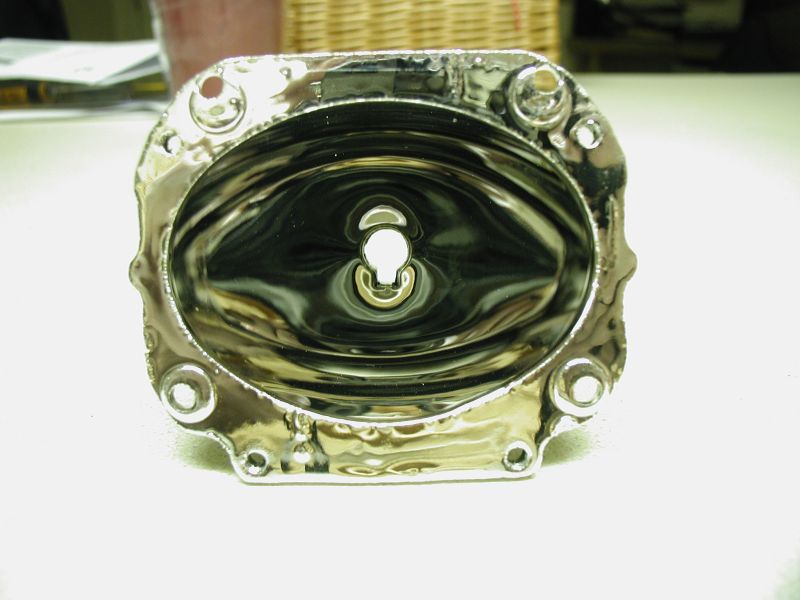

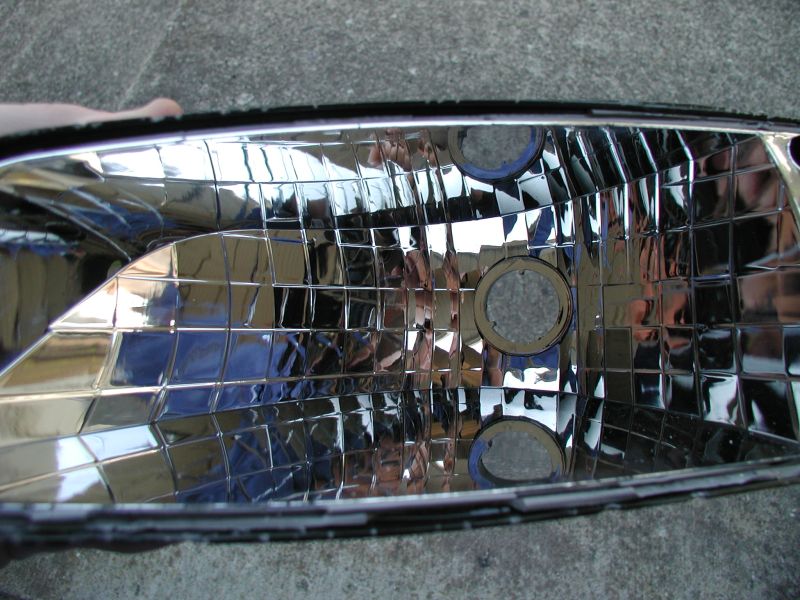
And finally the reflector.
July 11/2013
I took some time today to attempt removing the lens from one of the headlights; it went pretty well.
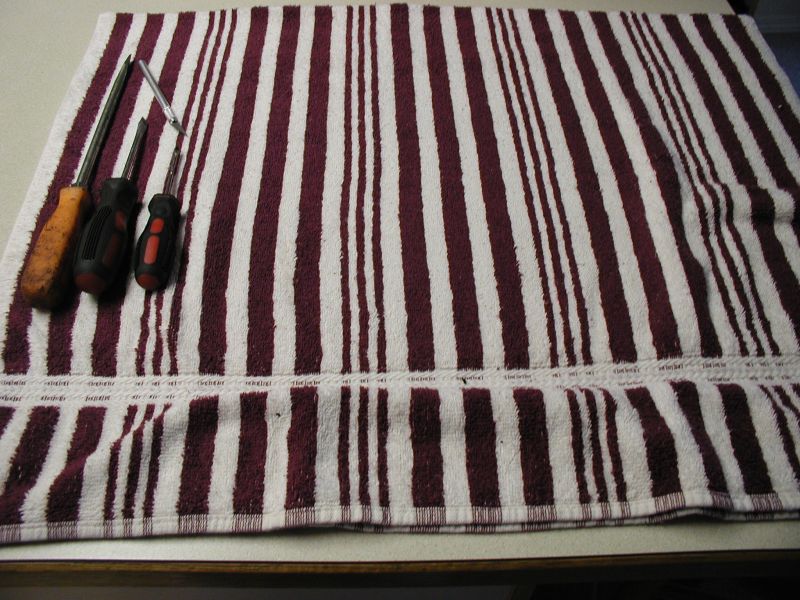
Tools of the day; 3 sizes of flathead screwdrivers and a knife.
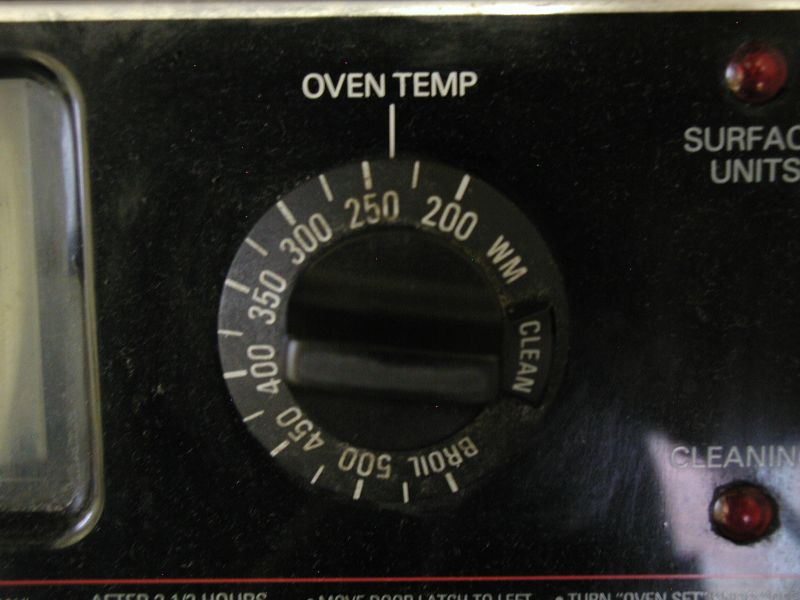
For this light I did 250* for just over 27 minutes. I was slow in prying the
lens off, so I had to put it back in the over for another 4 minutes.
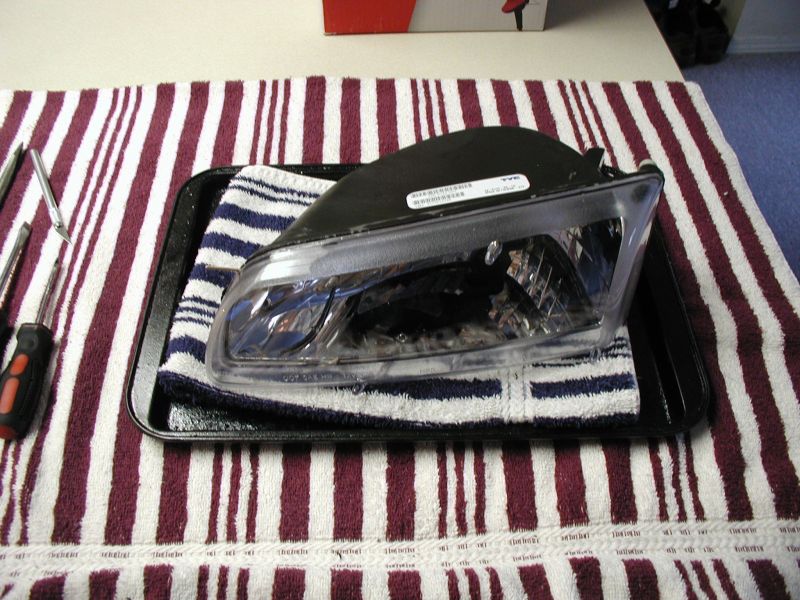
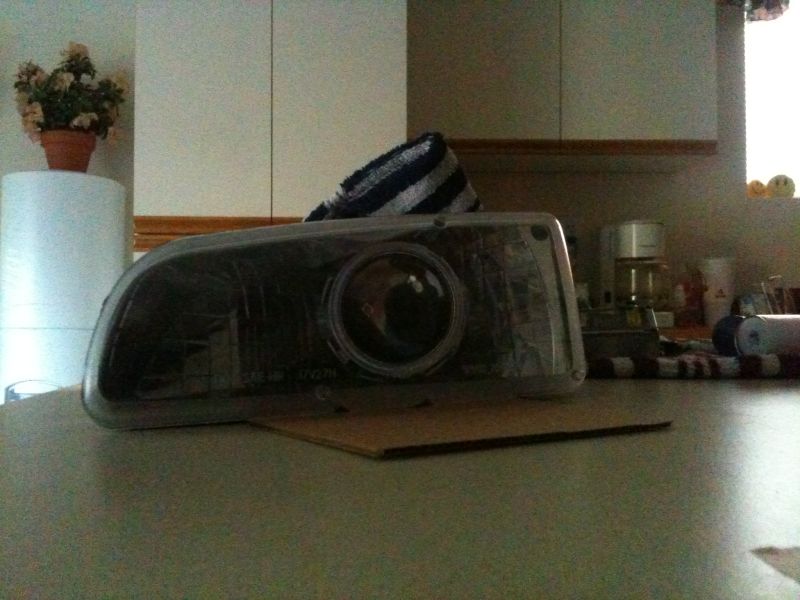
Fresh out of the oven.
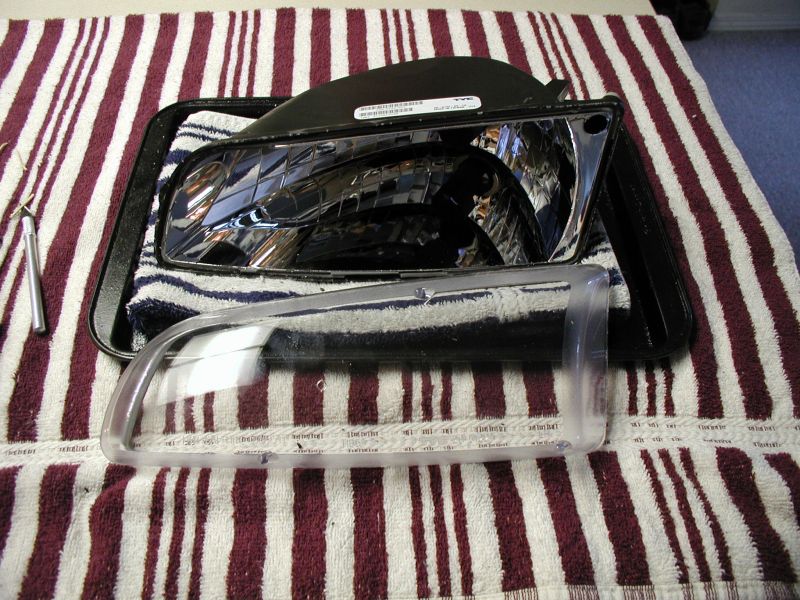
Lens separated.
July 12/2013
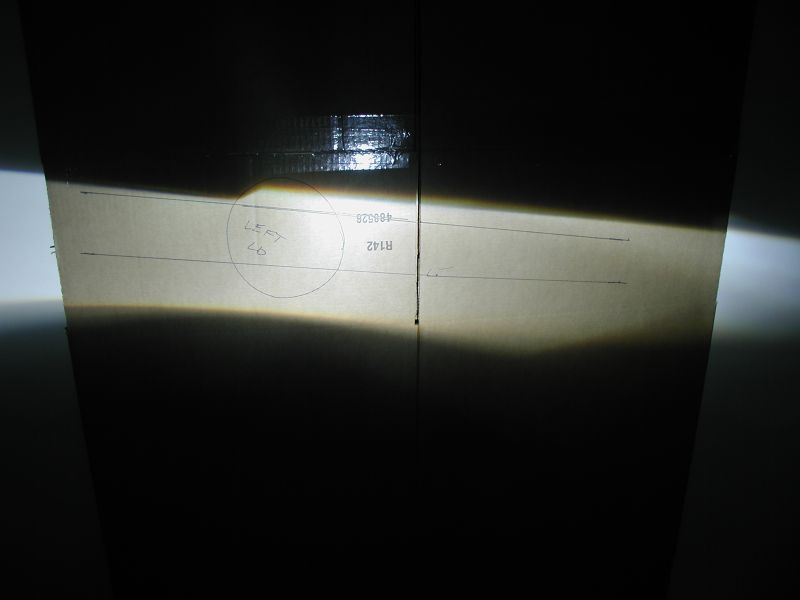
Put some more time in on the lights. Set upa jig to get the OE light pattern and got one housing mocked up.....
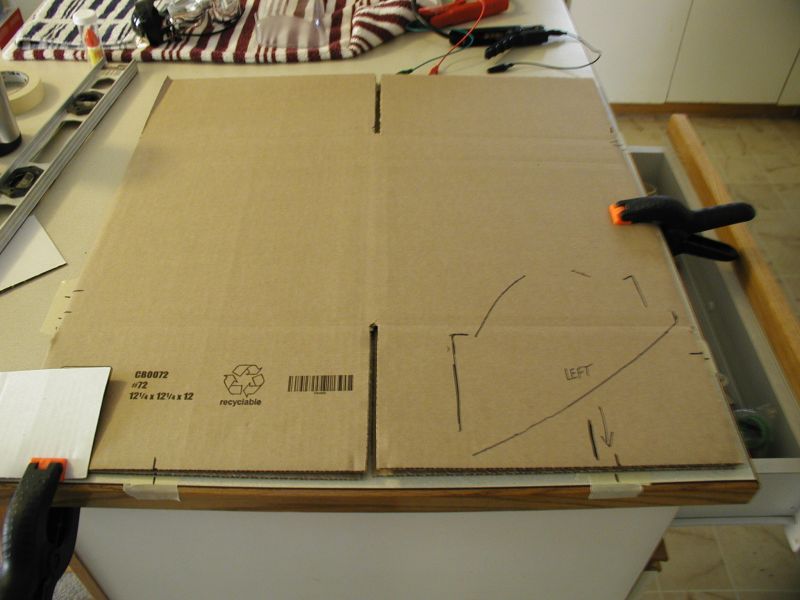
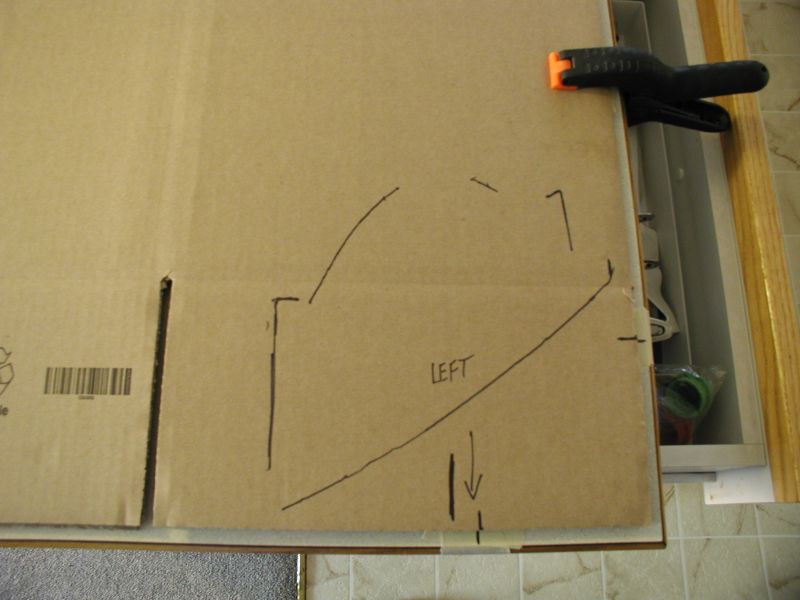

My alignment jig.
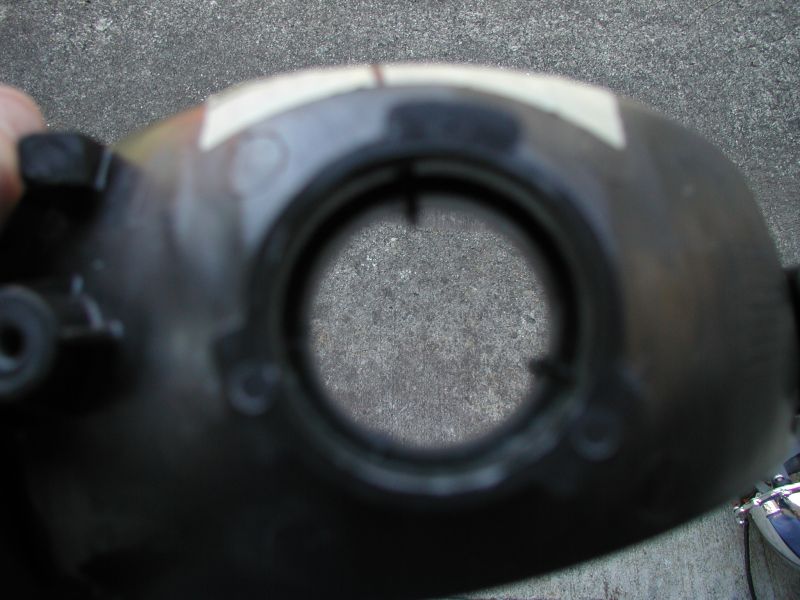
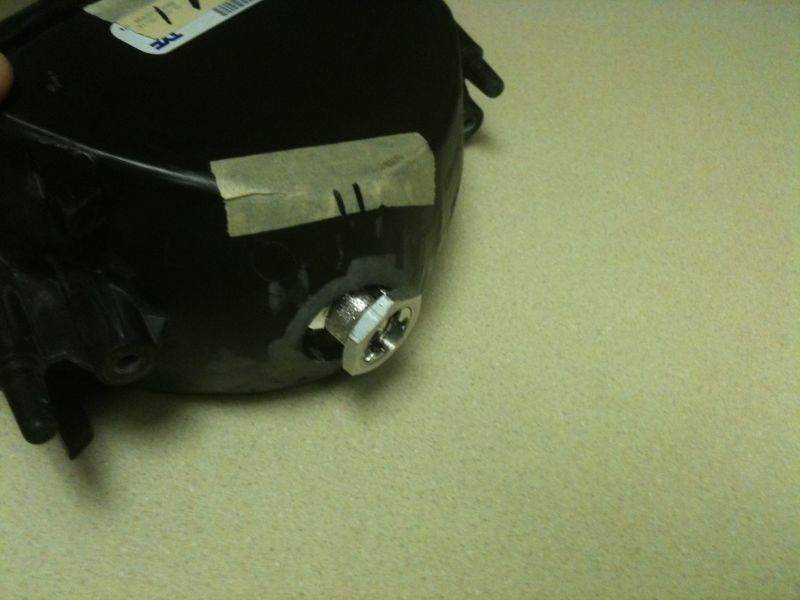
Remove the metal piece that surrounded the light bulb.
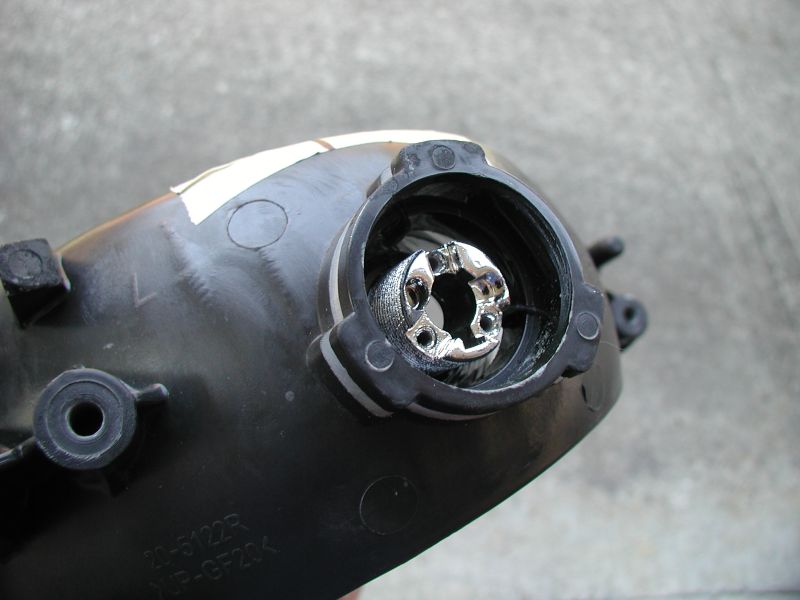
The old mounting area has to go.
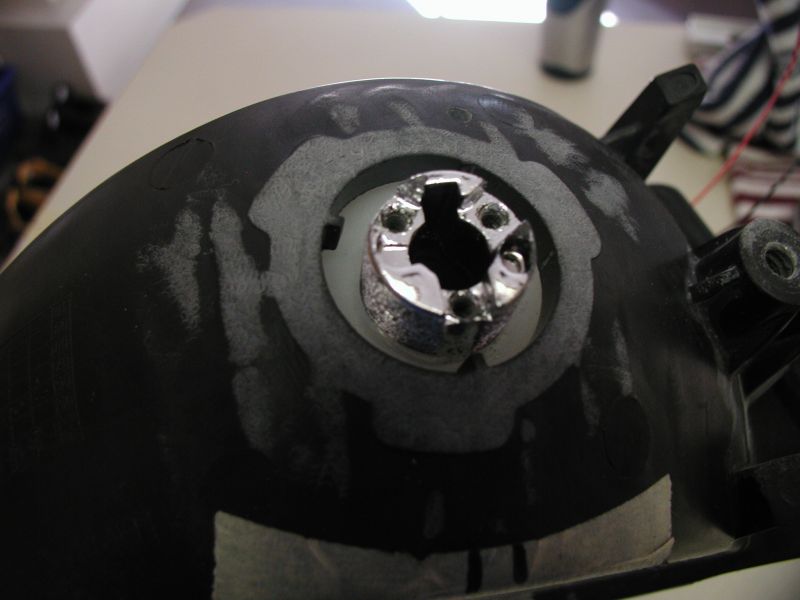
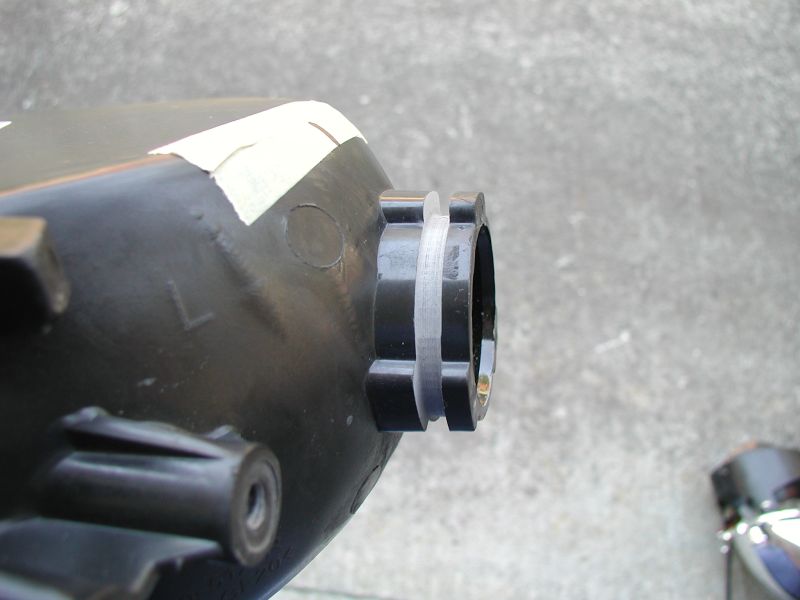
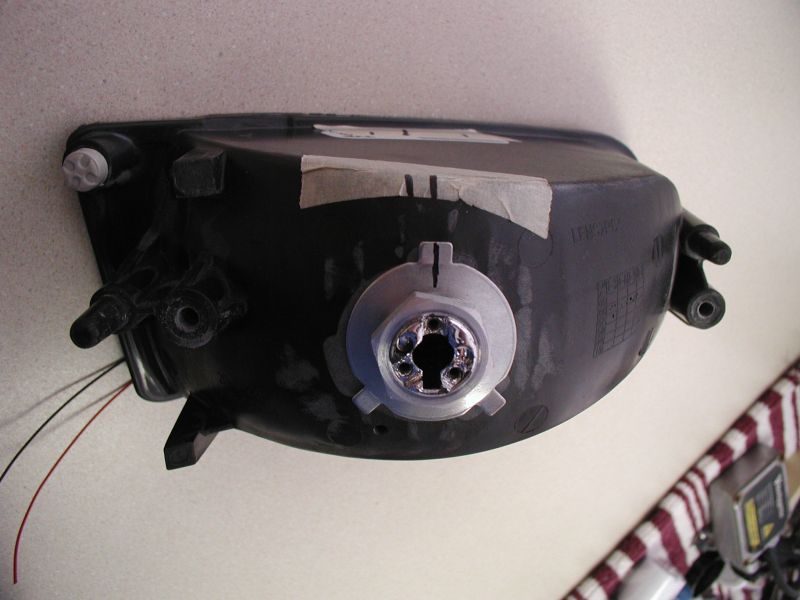
Sanded down to be almost flush with the rest of the housing.
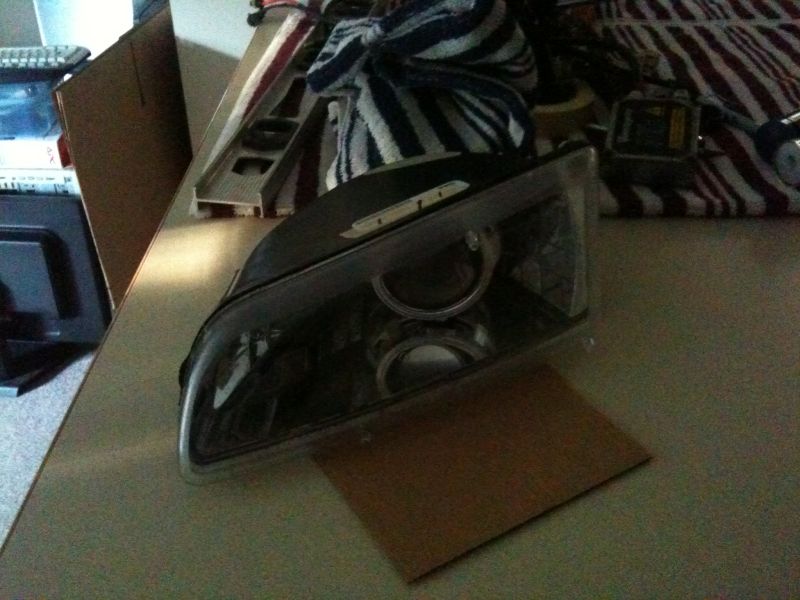
Test fit of the projector.
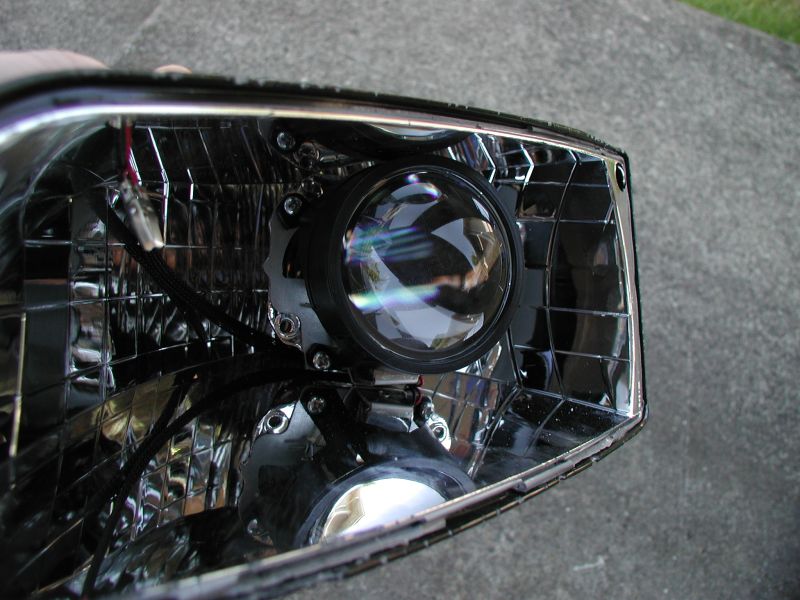
Test fit of the projector with no shroud.

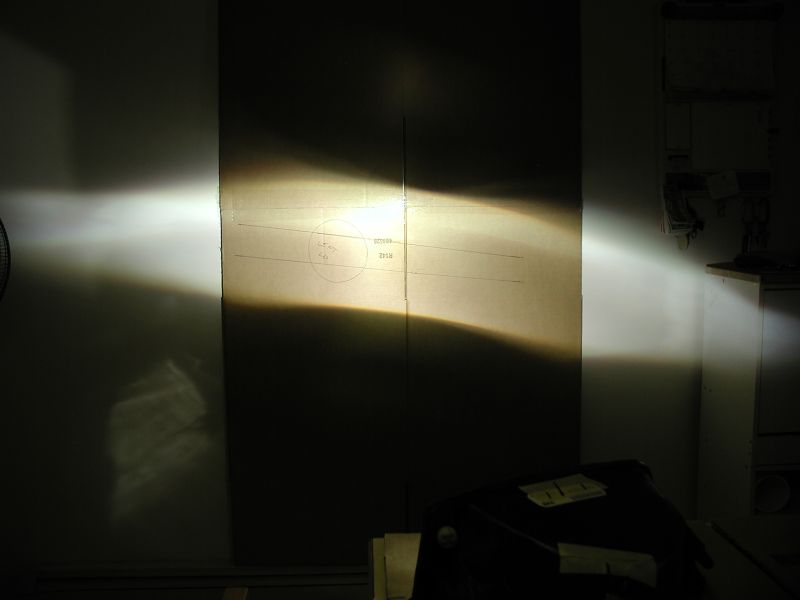
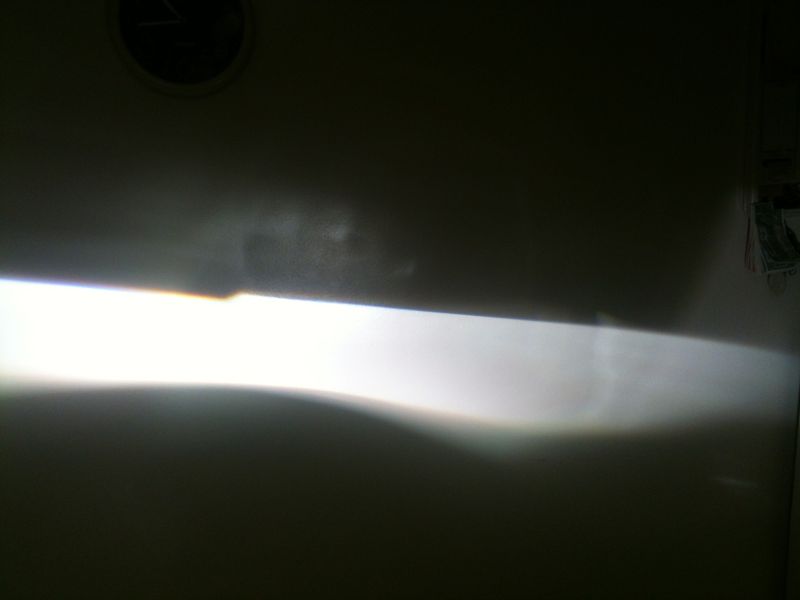
Low beam test; beam is tilting low to the right and angled to far to the right.
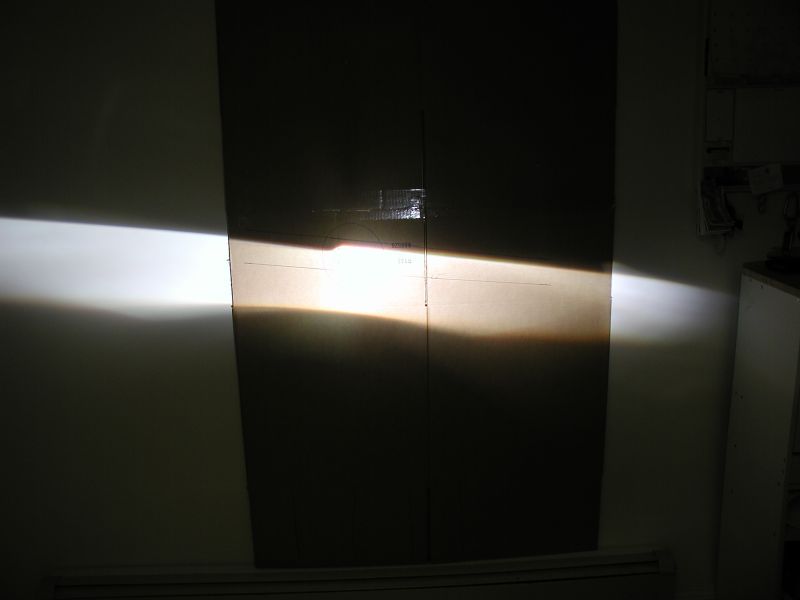
Hi beam test.
I had to head out, so I put the lights in some spare brackets and will to an "in car" test later.

In car test; confirmed to be tilting low to the right and angled to far to the right.
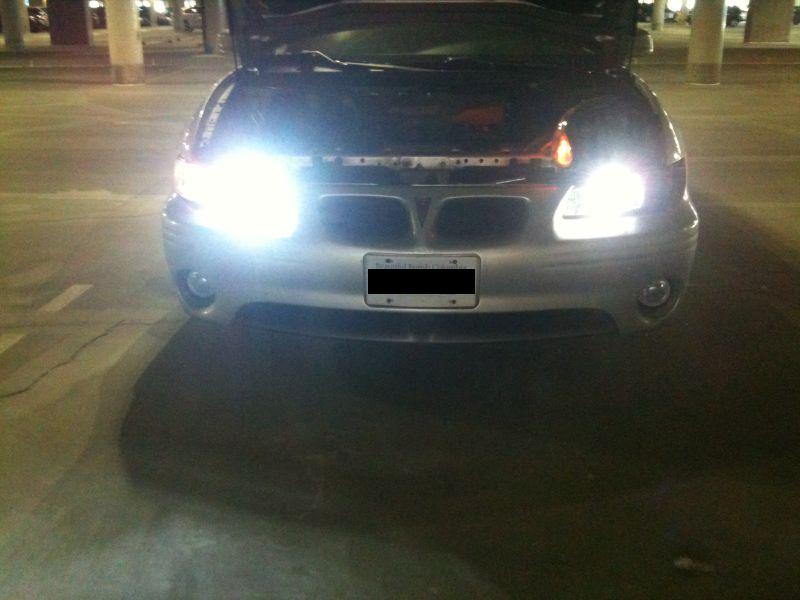
6K vs 5K, and much less glare.
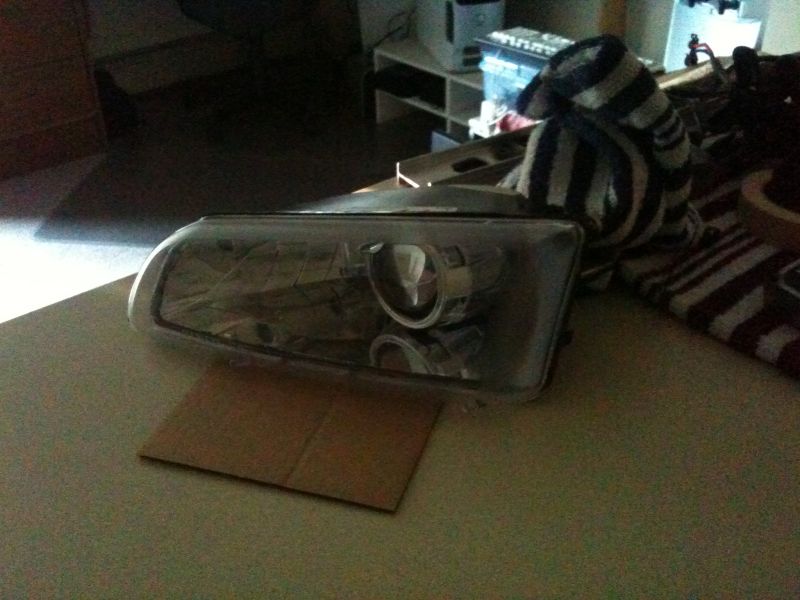
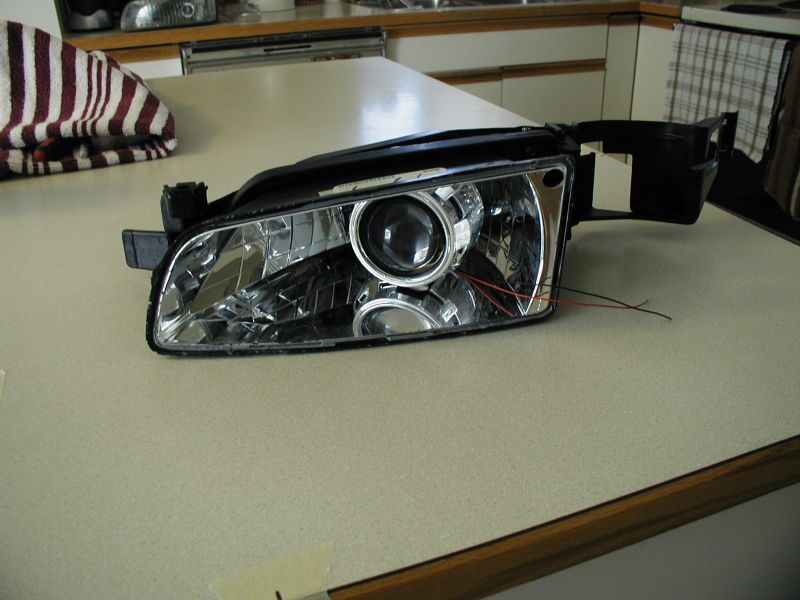
A few pics with the lens leaning in place.
July 15/2013
I couldn't get the projector sitting properly, so I removed the thick gasket and shroud to make it easier.
Holding the projector in the housing; I was able to get it sitting where it needed to be.

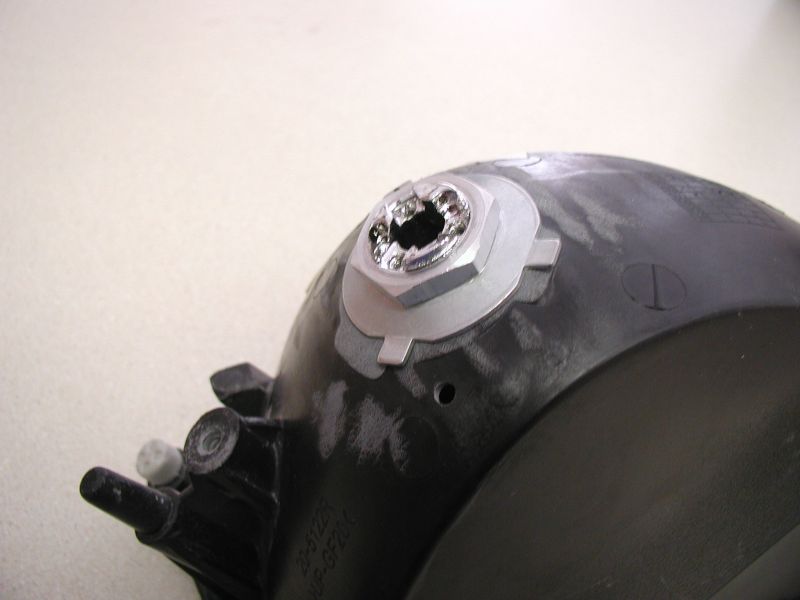
This is how the stem of the projector needs to sit.
July 16/2013
After doing a little research, I found that my issue was the shroud not being trimmed enough. I also had to trim a bit
off the projector housing. After hitting the hi-spots, I was able to get the alignment that I needed.
Needs a little tweaking, but I have good adjustment now.

To Do (Projector):
- paint (flat black) back of the shield and cut-off
- sharpie the lens
June 2014
Due to lack of time, I failed at this project. I ended up buying a pair of retrofits.
If you have any comments, suggestions, or see any errors, please let
me know..... cbradley@telus.net

Projector parts from The Retrofit Source.

Morimoto Mini H1 5.0 Bi-Xenon projectors.

Morimoto 3Five H1 5000K bulbs.

Mini Gatling Gun and Bullet shrouds.

Butyl Rubber glue.

A quick test.


New headlight housings from RockAuto.

Projector taken apart.


The shield, front and rear.


And finally the reflector.
July 11/2013
I took some time today to attempt removing the lens from one of the headlights; it went pretty well.

Tools of the day; 3 sizes of flathead screwdrivers and a knife.


For this light I did 250* for just over 27 minutes. I was slow in prying the
lens off, so I had to put it back in the over for another 4 minutes.

Fresh out of the oven.

Lens separated.
July 12/2013
Put some more time in on the lights. Set upa jig to get the OE light pattern and got one housing mocked up.....


My alignment jig.

Remove the metal piece that surrounded the light bulb.


The old mounting area has to go.

Sanded down to be almost flush with the rest of the housing.


Test fit of the projector.

Test fit of the projector with no shroud.

Low beam test; beam is tilting low to the right and angled to far to the right.

Hi beam test.


I had to head out, so I put the lights in some spare brackets and will to an "in car" test later.

In car test; confirmed to be tilting low to the right and angled to far to the right.

6K vs 5K, and much less glare.


A few pics with the lens leaning in place.
July 15/2013
I couldn't get the projector sitting properly, so I removed the thick gasket and shroud to make it easier.

Holding the projector in the housing; I was able to get it sitting where it needed to be.


This is how the stem of the projector needs to sit.
July 16/2013
After doing a little research, I found that my issue was the shroud not being trimmed enough. I also had to trim a bit
off the projector housing. After hitting the hi-spots, I was able to get the alignment that I needed.


Needs a little tweaking, but I have good adjustment now.
To Do (Projector):
- paint (flat black) back of the shield and cut-off
- sharpie the lens
June 2014
Due to lack of time, I failed at this project. I ended up buying a pair of retrofits.
| Resource
Info |
|
| AA1Car.com |
High
Intensity Discharge (HID) Headlights |
| ClubGP: |
Mini Morimoto H1 Projector Retrofit |
| Focus Fanatics: |
How To Open Your Headlights / Retrofit Projectors |
| FAQLighting: |
Automotive Lighting FAQ |
| FAQLighting: |
Projectors
And History |
| GPONA: |
04-08 Pontiac Grand Prix Projector Retrofit
Write Up |
| GPONA: |
Let There Be Light (Morimoto Projector Retrofit) |
| GrandPrixForums.net: |
97-03 Retrofit Resources |
| GrandPrixForums.net: |
HID Projector Retrofit Advice And Tips |
| HID Planet: |
HID Planet |
| HID Planet: |
The HID Planet University |
| HID Planet: |
Headlight Retrofits |
| HID Planet: |
Photo Albums: Pontiac Grand Prix |
| HID Planet: |
Grand Prix Valeo Retro! Very Unique!!!! |
| HID Planet: |
97 Grand Prix GTP Morimoto H1 Mini |
| HID Planet: |
2001 Retro On A Grand Prix GTP |
| Illusion Lighting: |
Stage II Projector Retrofit |
| Photobucket: |
1997GPSE |
| RetroFit Lab Blog |
Two Types Of HID Projectors |
| The Retrofit Source: |
The Retrofit
Source |
| The Retrofit Source: |
Buyers
Guide |
Last updated on February 21/2016
All contents on this site are
property of Chris Bradley. No content on this site may be reproduced
without the express permission of Chris Bradley.