HID Headlights (Projector Retrofit)
Due to lack of time, I failed at this project. I ended up having a set of lights made for me by Classy Retrofits.
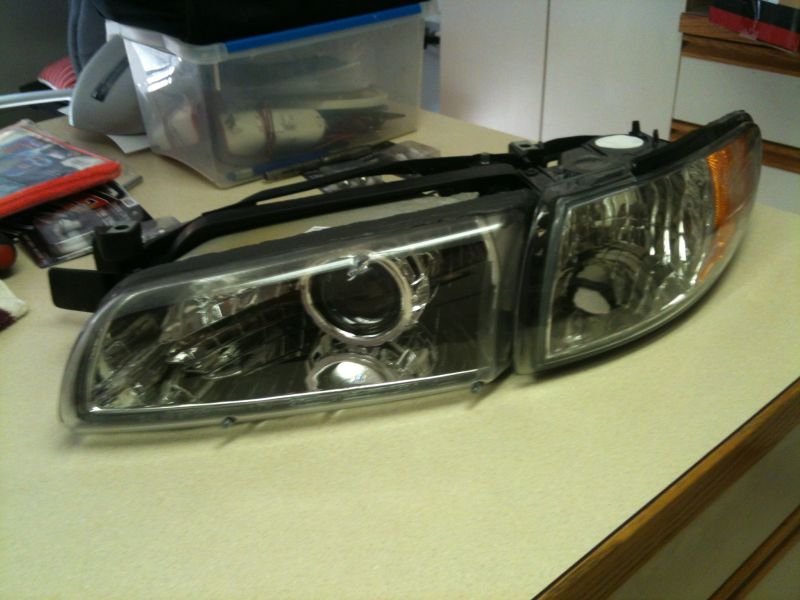
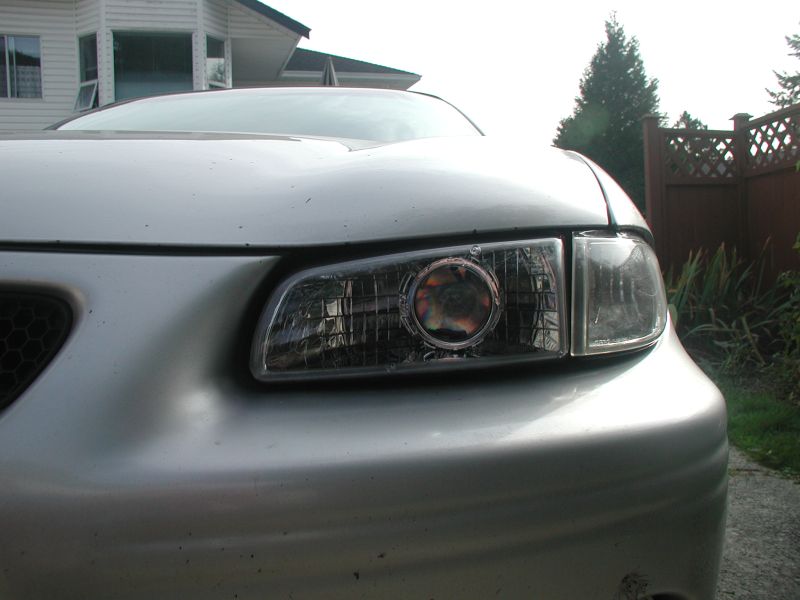
The new lights; GM housings and Morimito projectors.
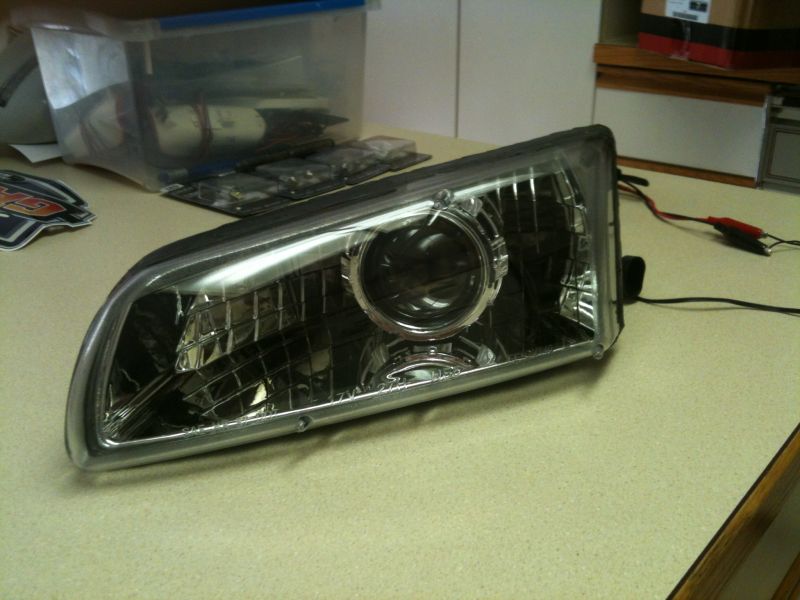
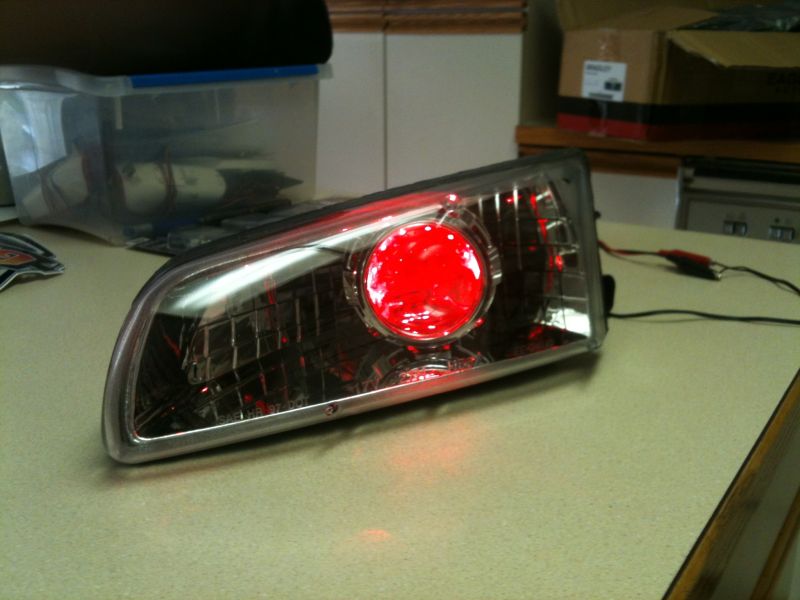
I only need the headlight housing. I had a red LED "demon eyes installed for kicks.

Backside of the housing.
Drivers housing installed; 6000K PNP on passenger, 5000K projector on driver.
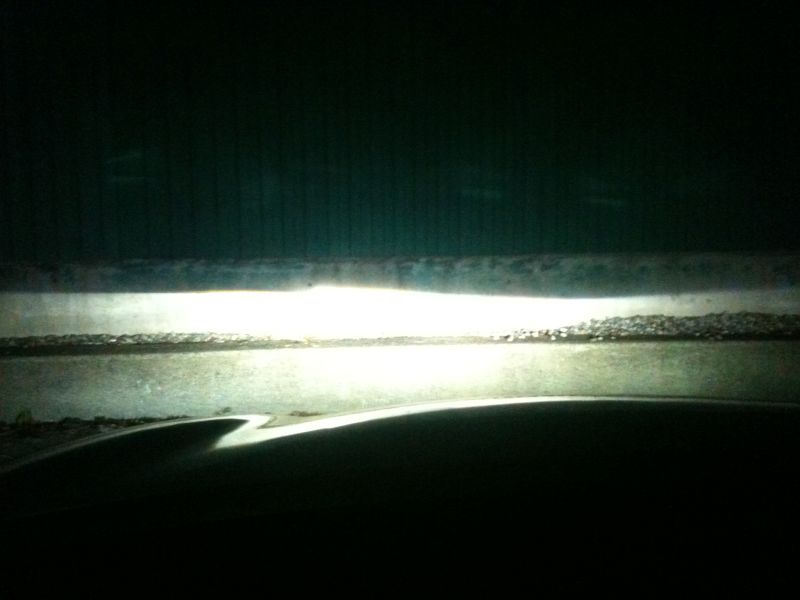
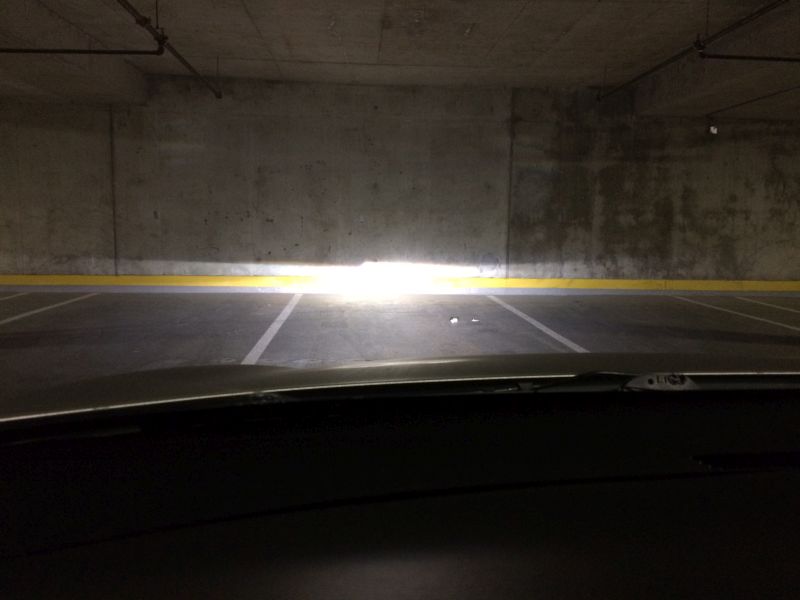
Beam pattern; the drivers side is a little off in the rotation.
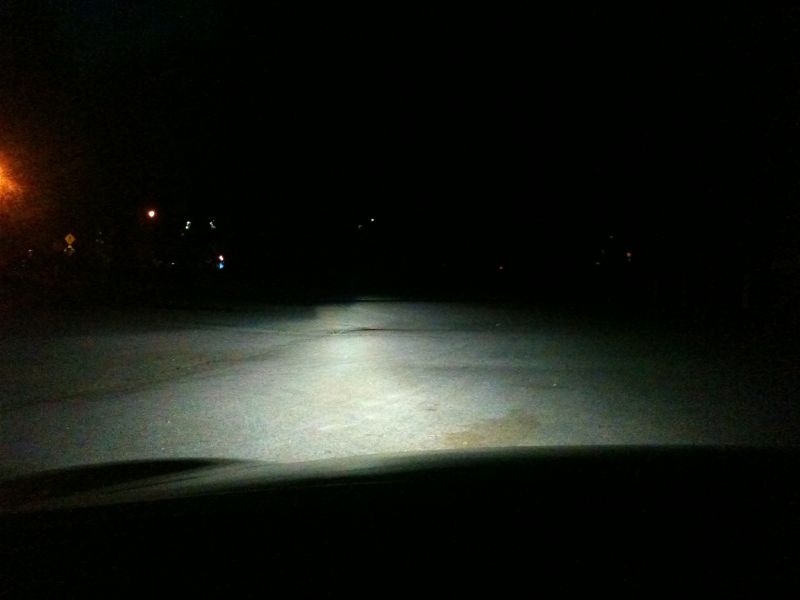
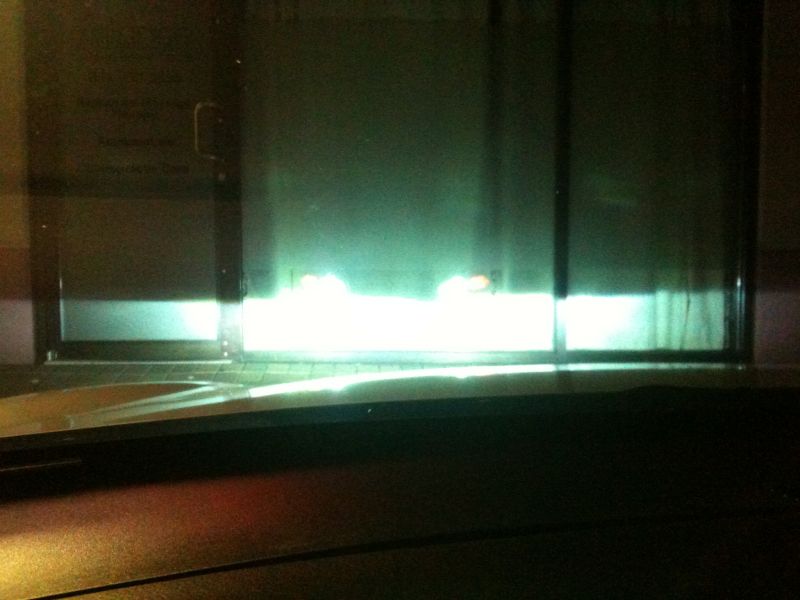
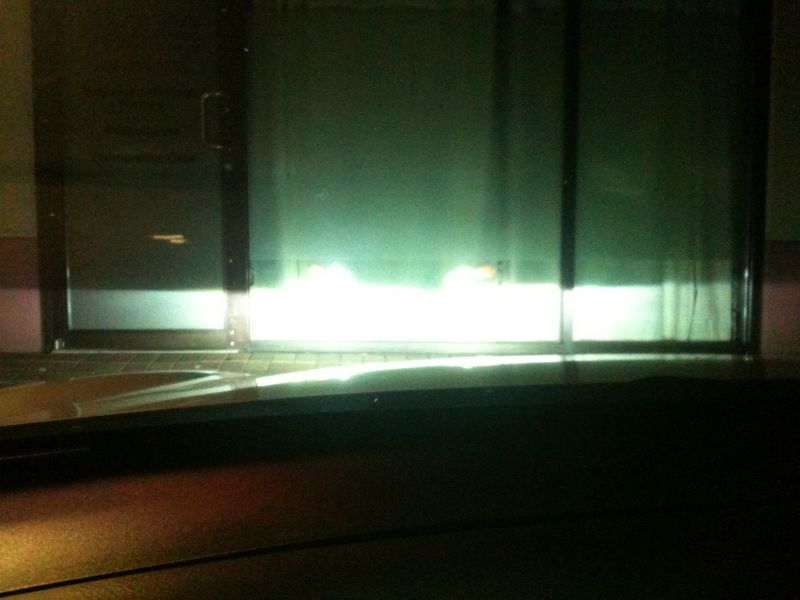
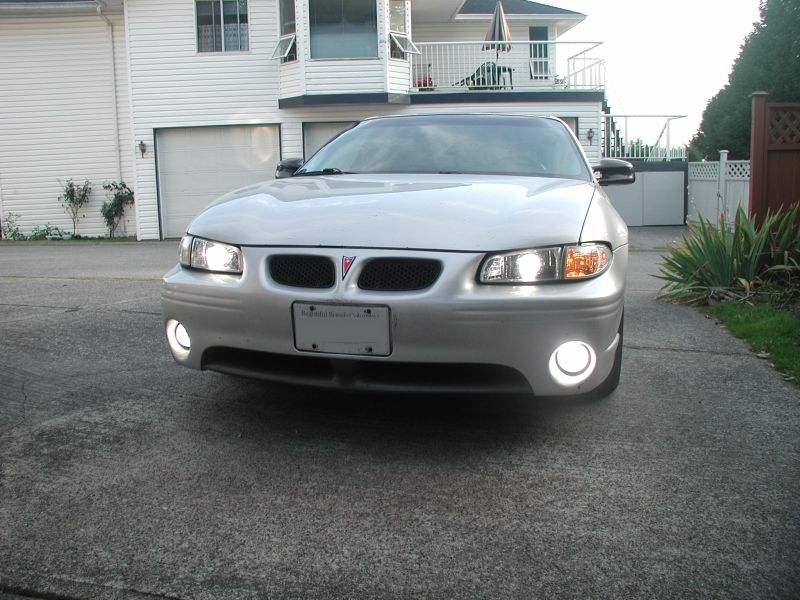
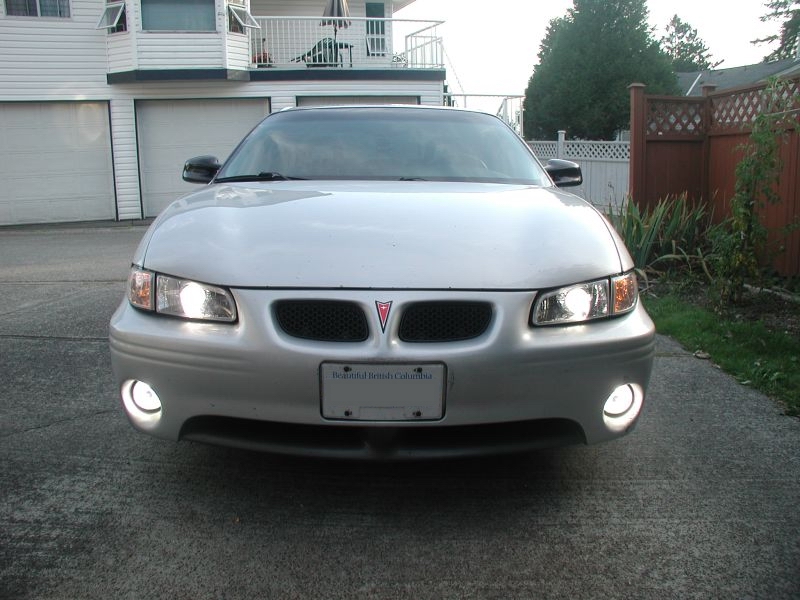
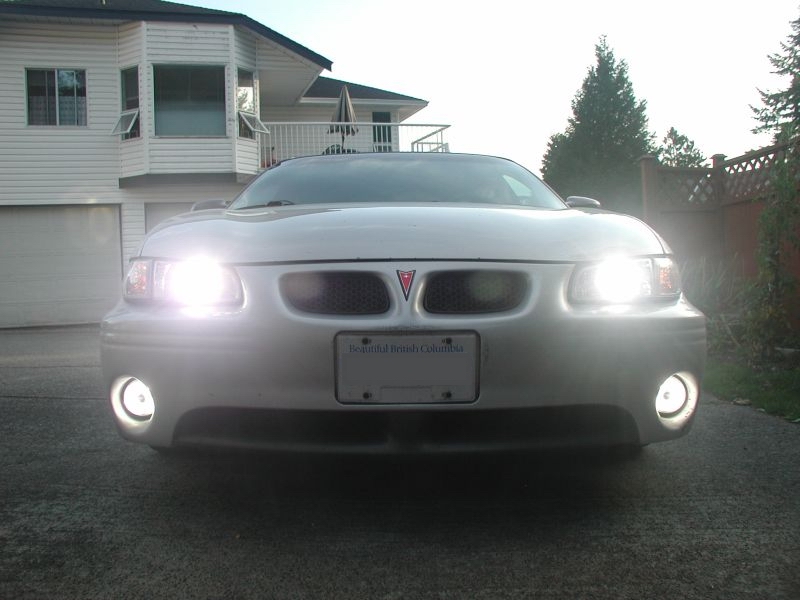
Low beams and fog lights.
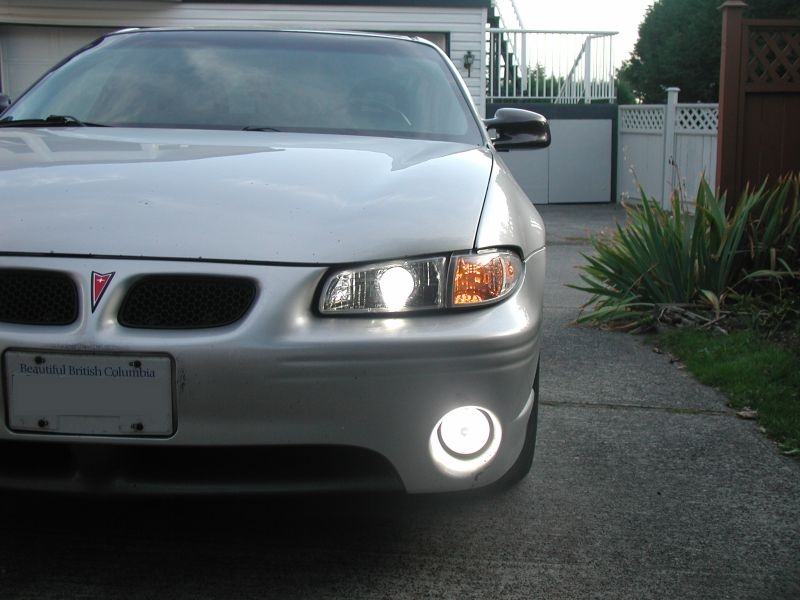
Fog lights.
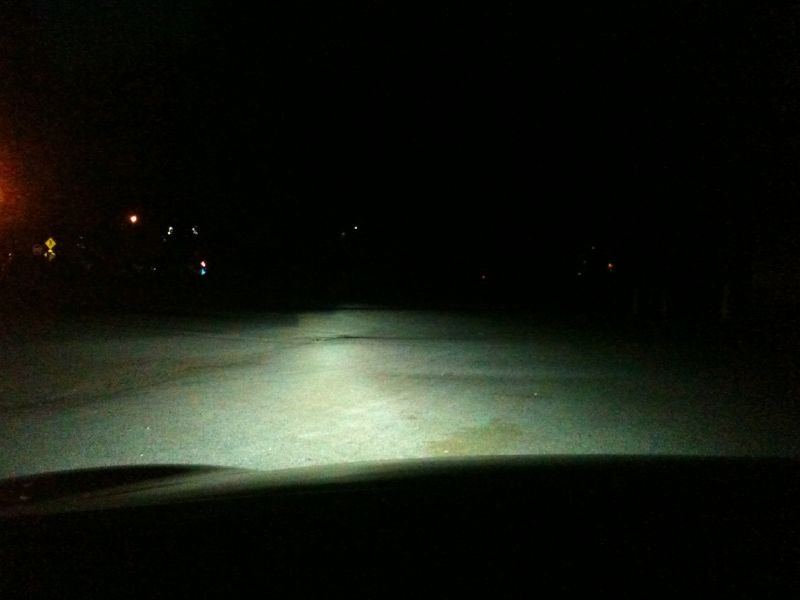
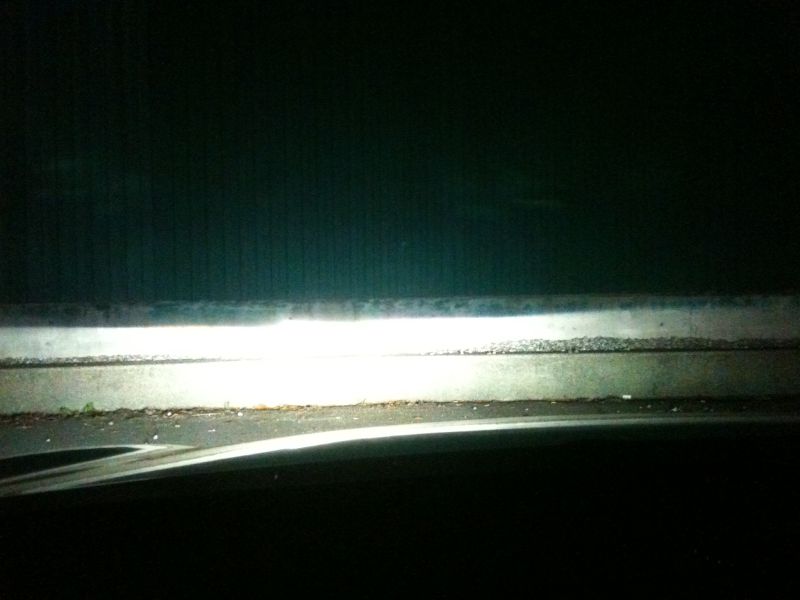
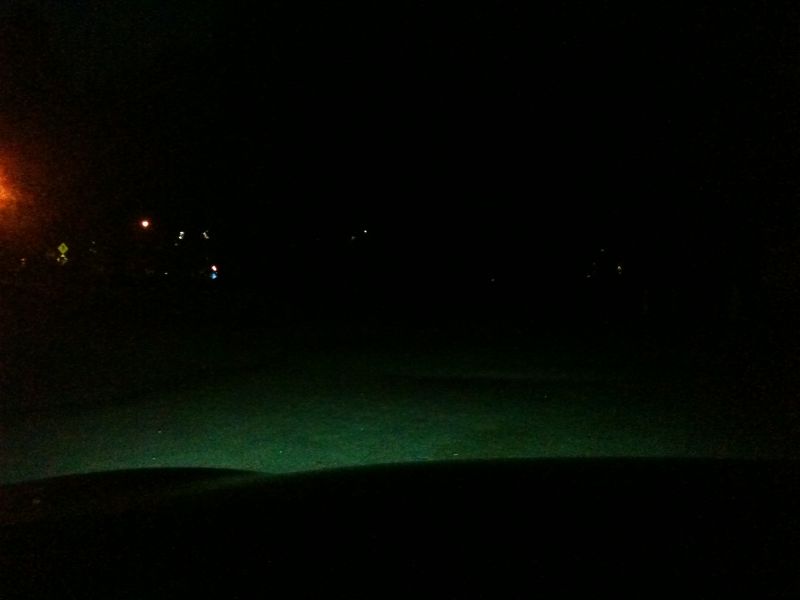
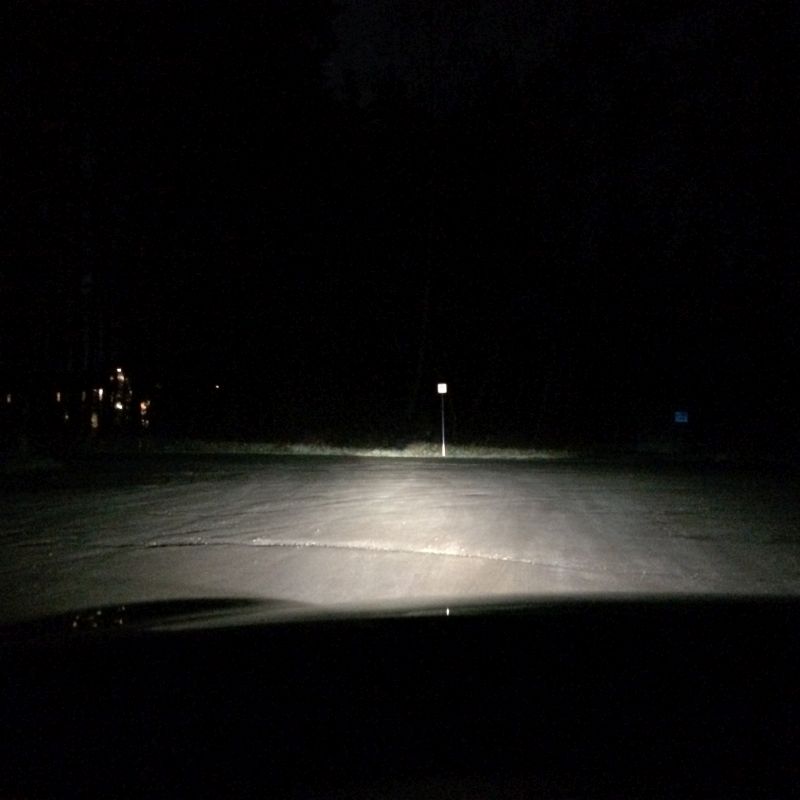
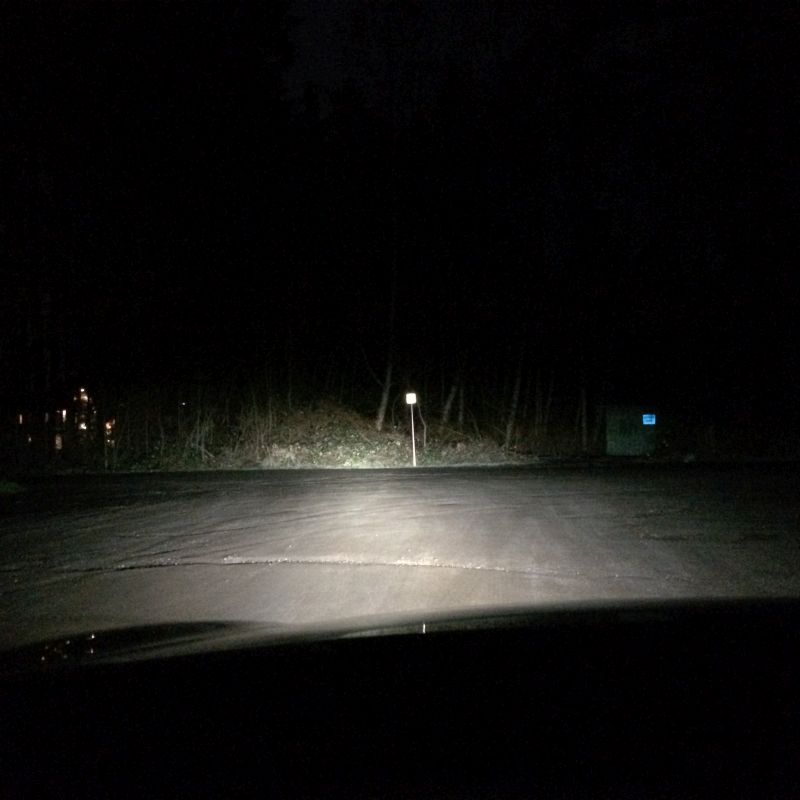
Low beams.
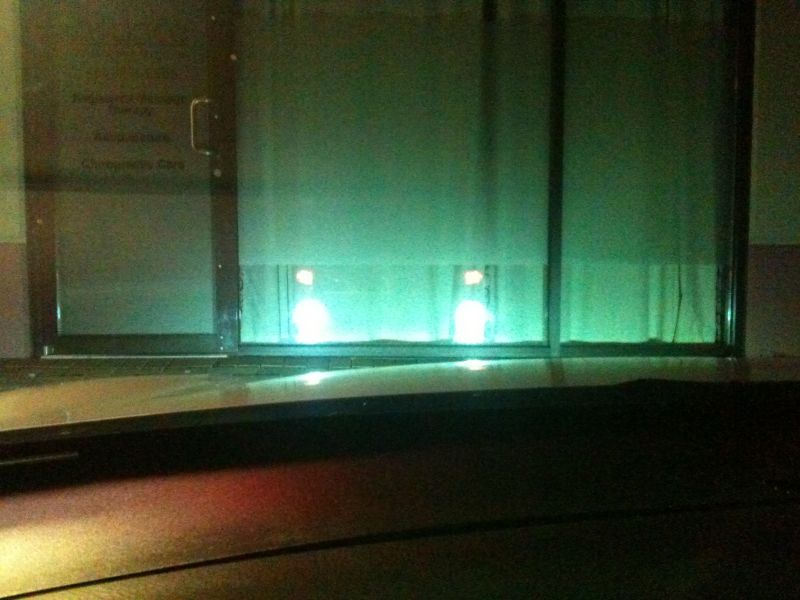
Reflection of fog lights.
Reflection of low beams.
Reflection of low beams and fogs.
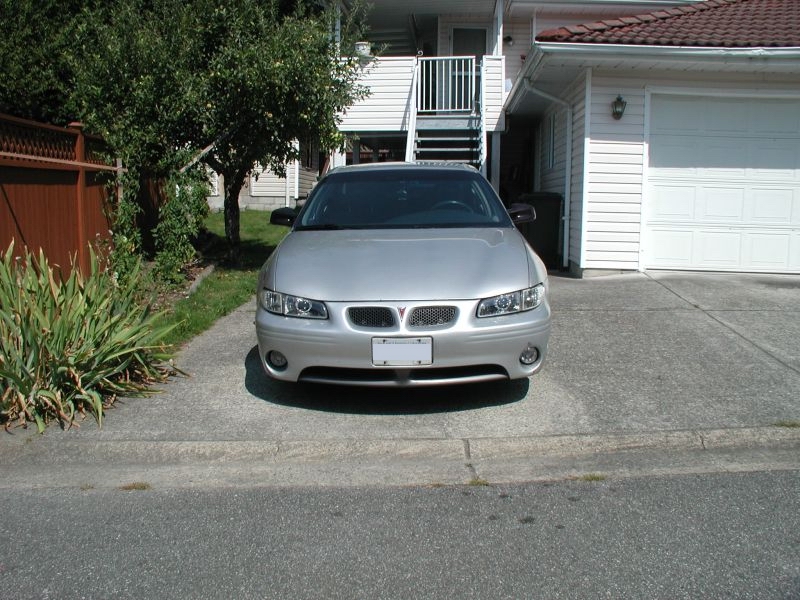
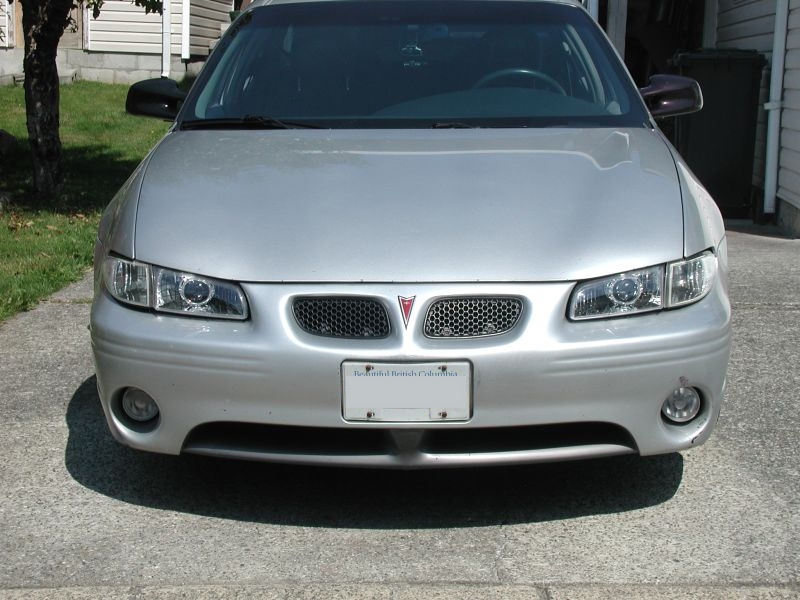
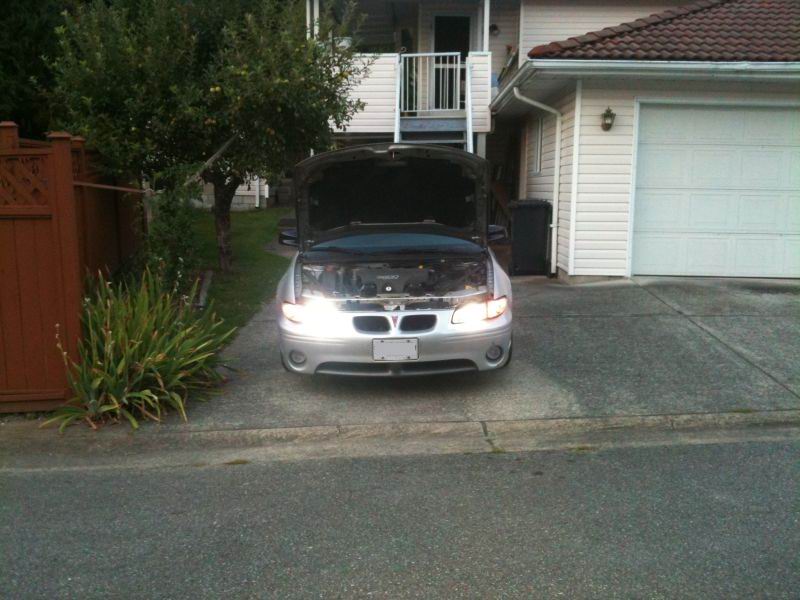
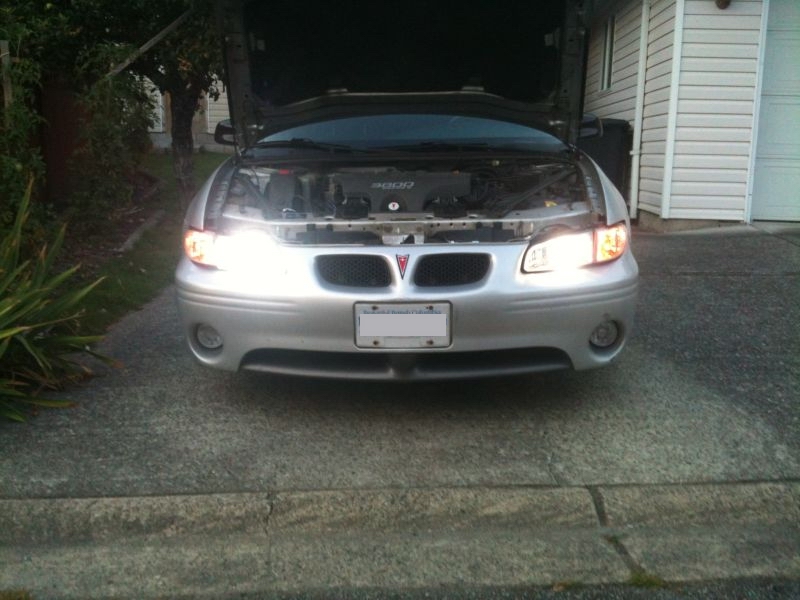
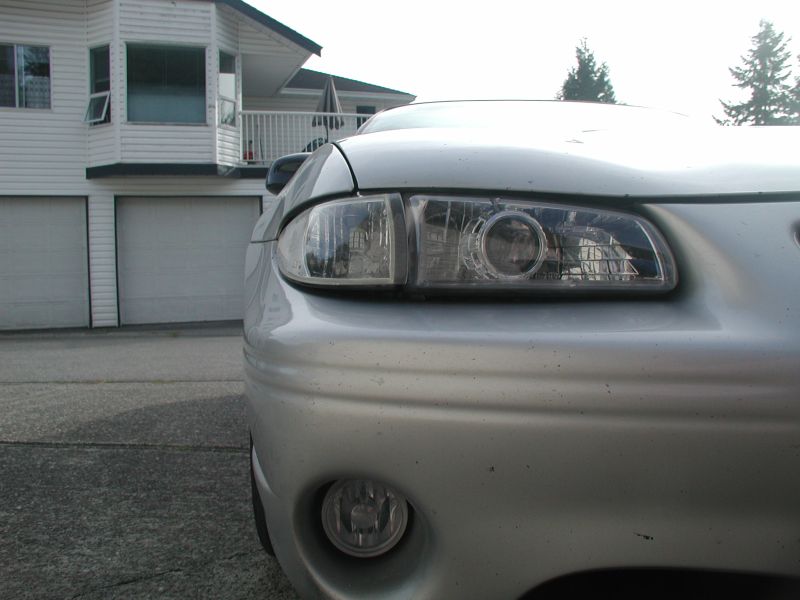
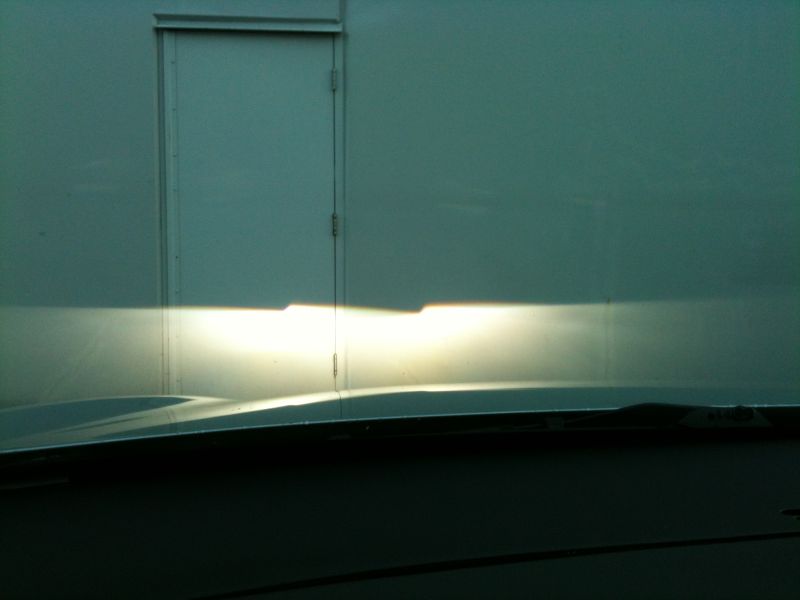
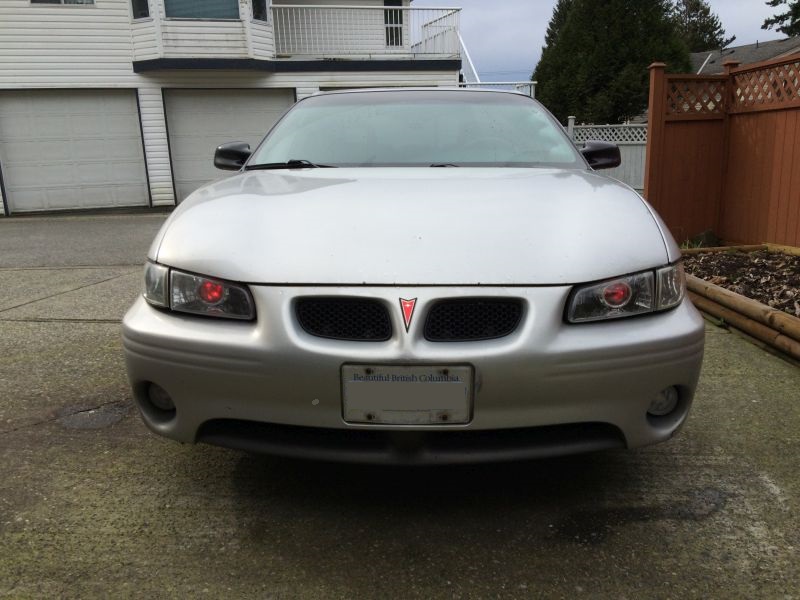
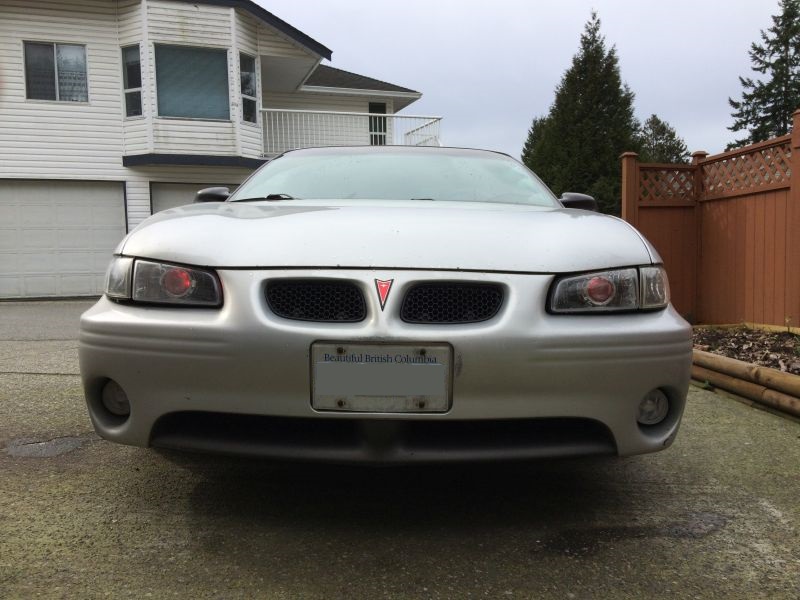
Daytime pictures of the headlights.
Cut-off line in the daylight.
August 27/14
Some pictures of the headlights and the foglights.....
5000K headlights, 5000K fog lights.
August 30/14

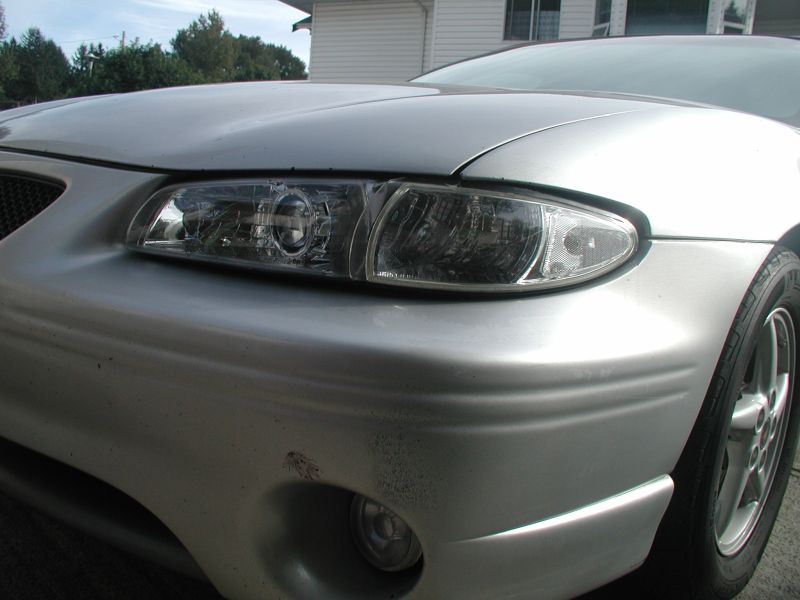
Showing the poor fit of the headlights and corner lighs.
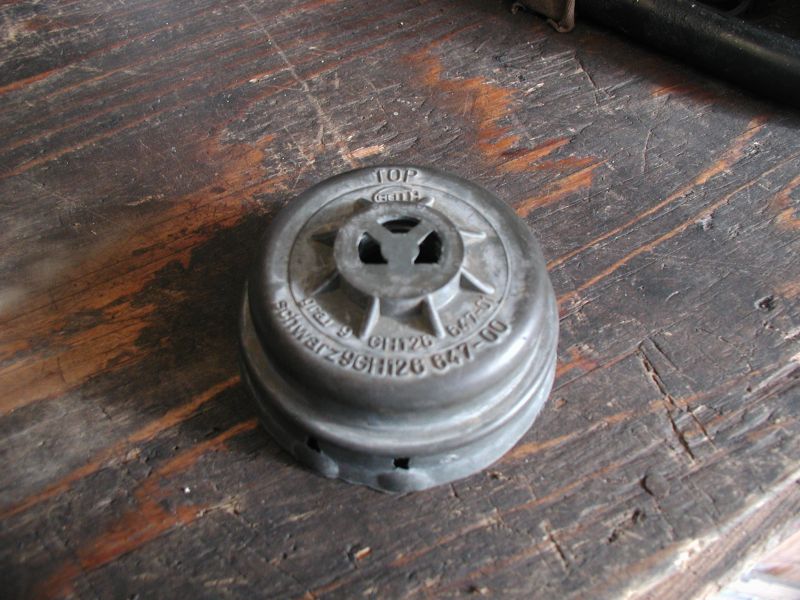
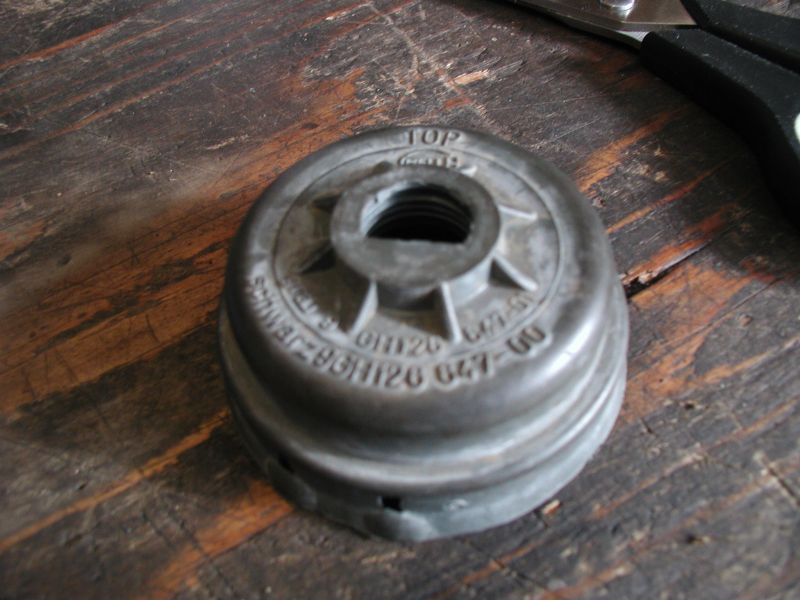
I had some of these rubber boots left over from some other lights. Decided to use
them on the backside or the projectors to keep any water from hitting them directly.
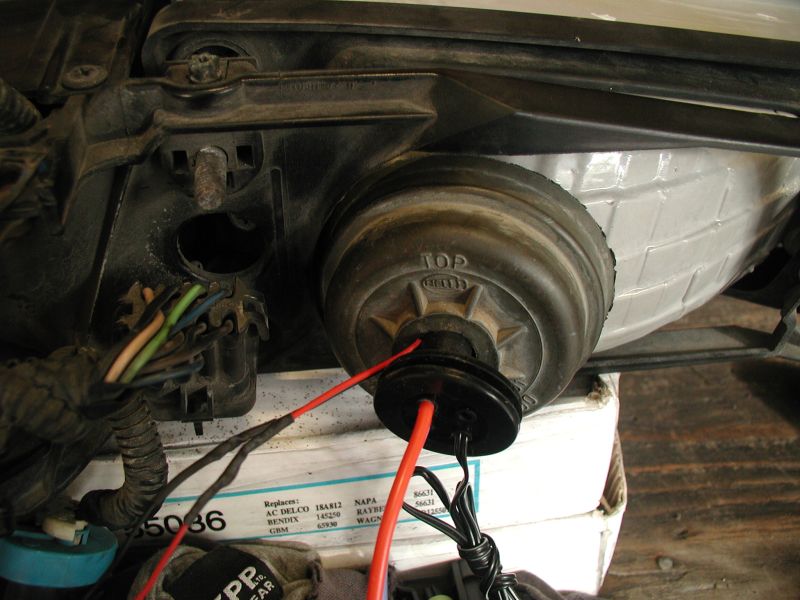
Perfect fit.
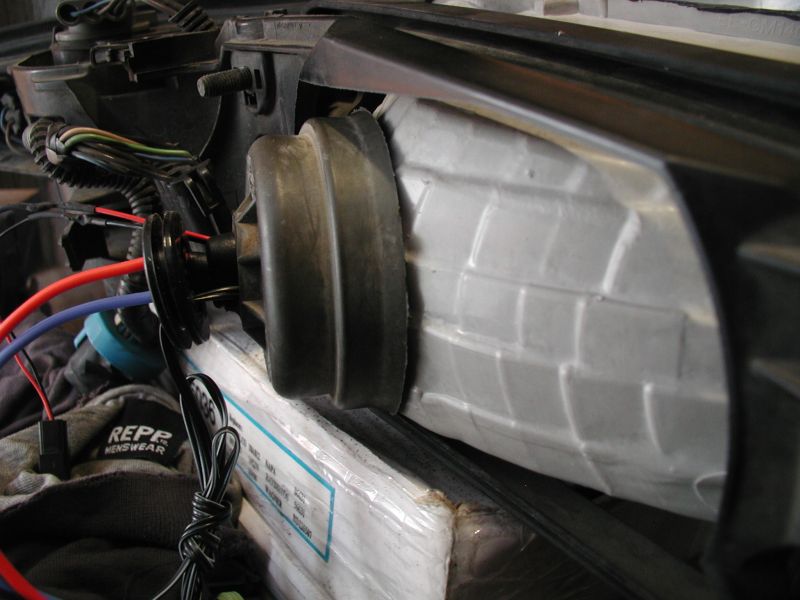

The grommet keeps it in place.
September 3/2014
I couldn't get the hi-beams to work with my old Beamers headlight wiring harness, so I got a new one from TRS.
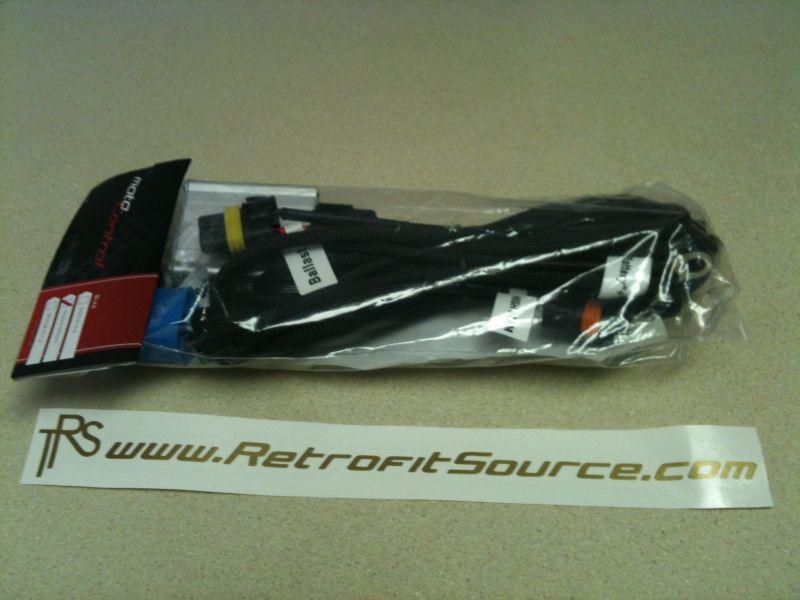
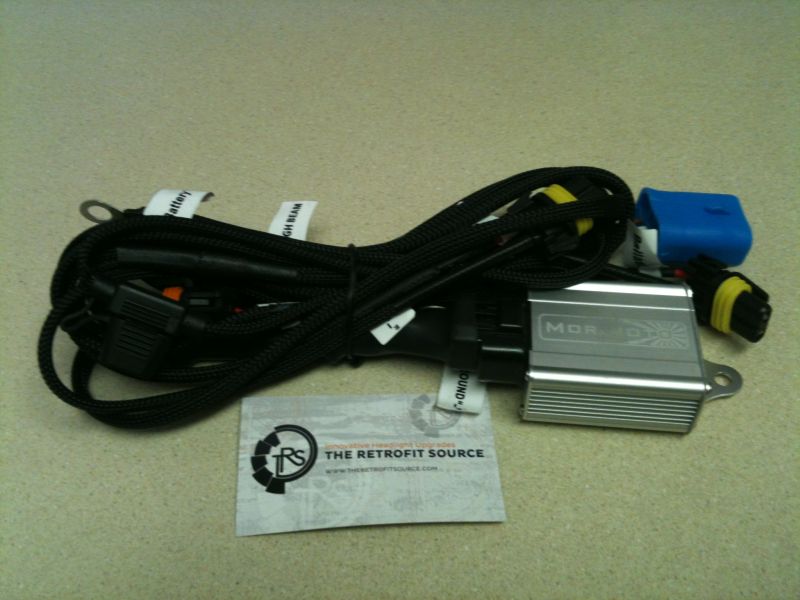
Motocontrol BiXenon 9007/9004 wiring harness.
September 6/2014
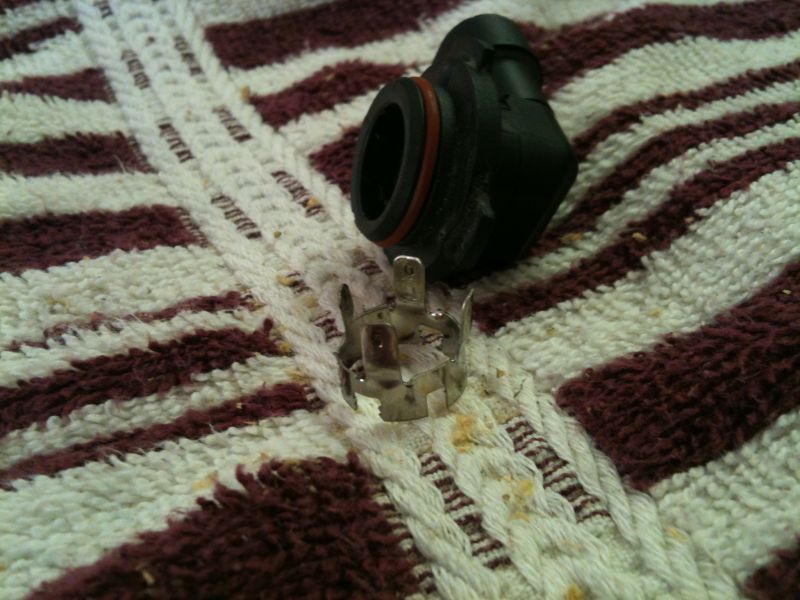
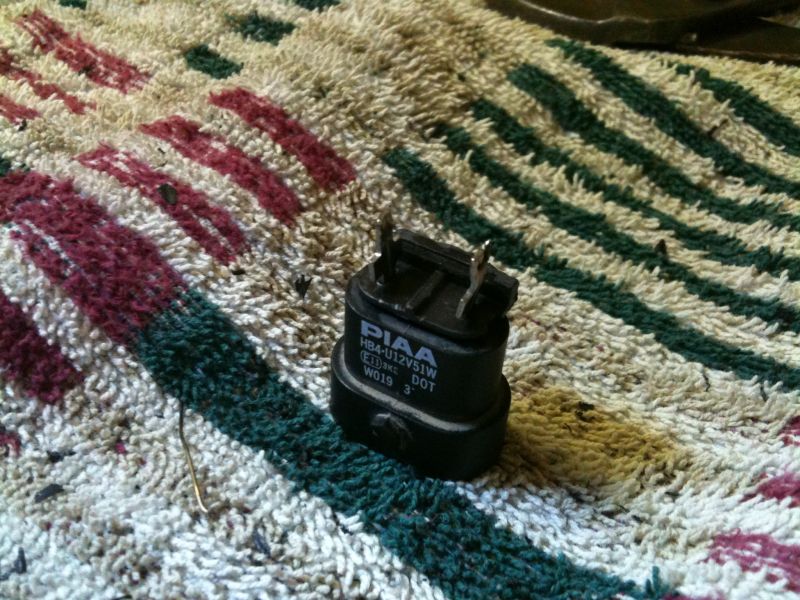
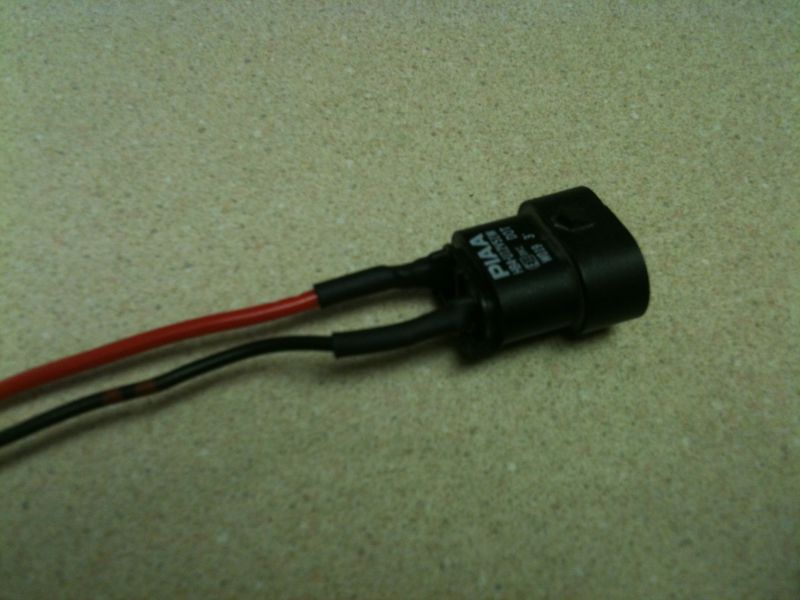
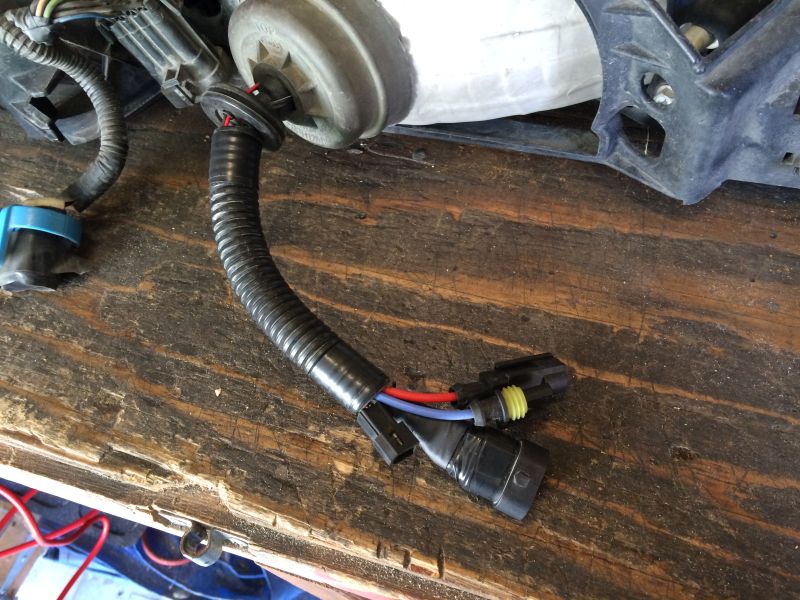
Took some old 880 bulbs and broke them down so I could use the plug ends for the hi-beams.

Wiggle the bulb to separate it from the base.
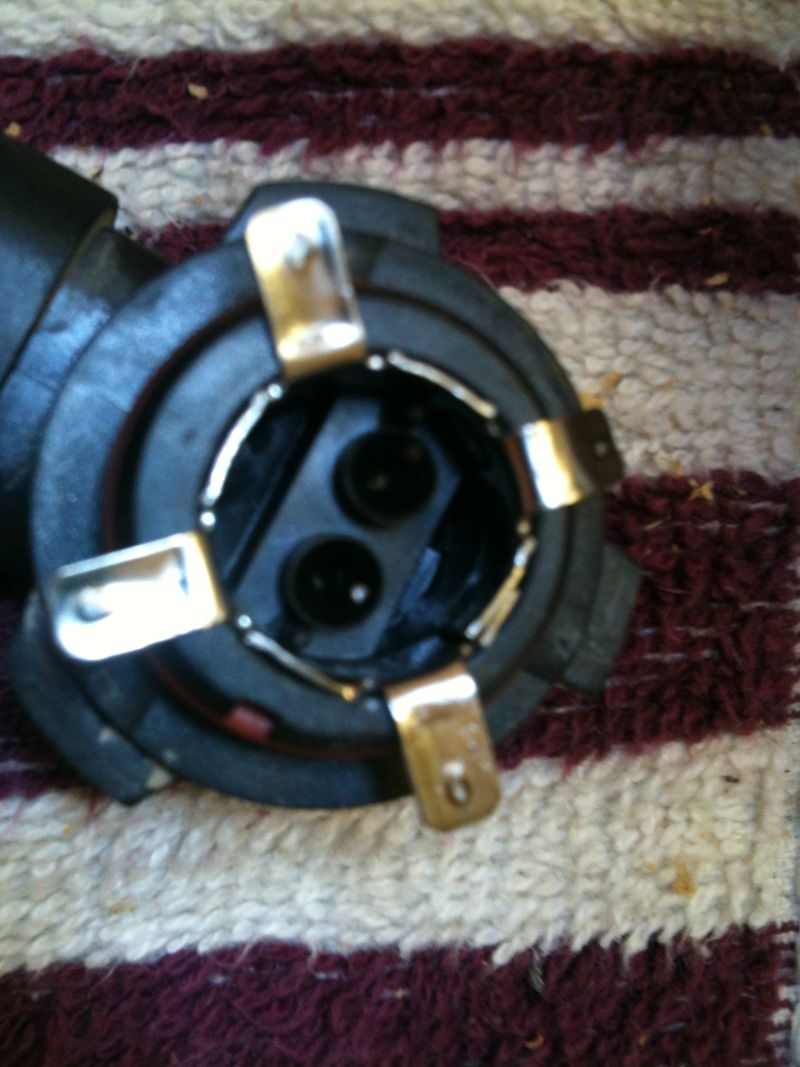
This is what you will have.
Remove the metal piece.
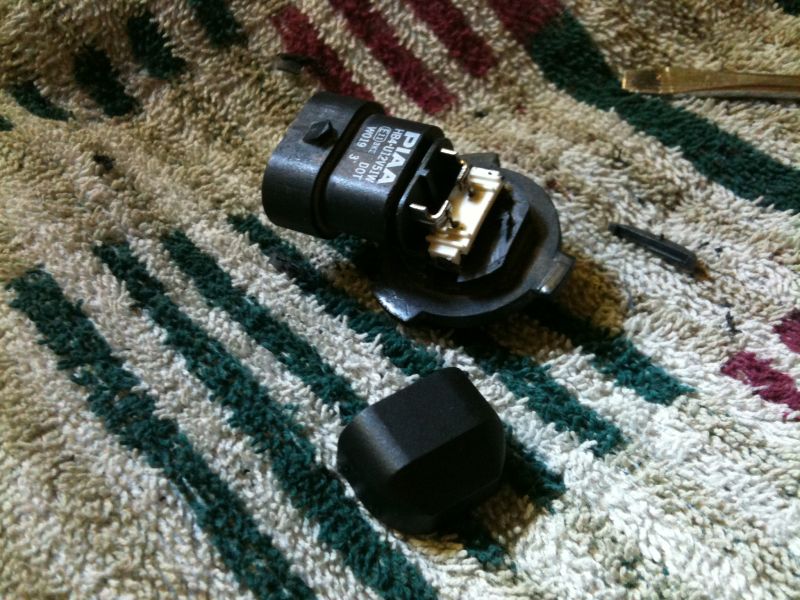
Remove the cover that protects the electrical connections and un-solder them.
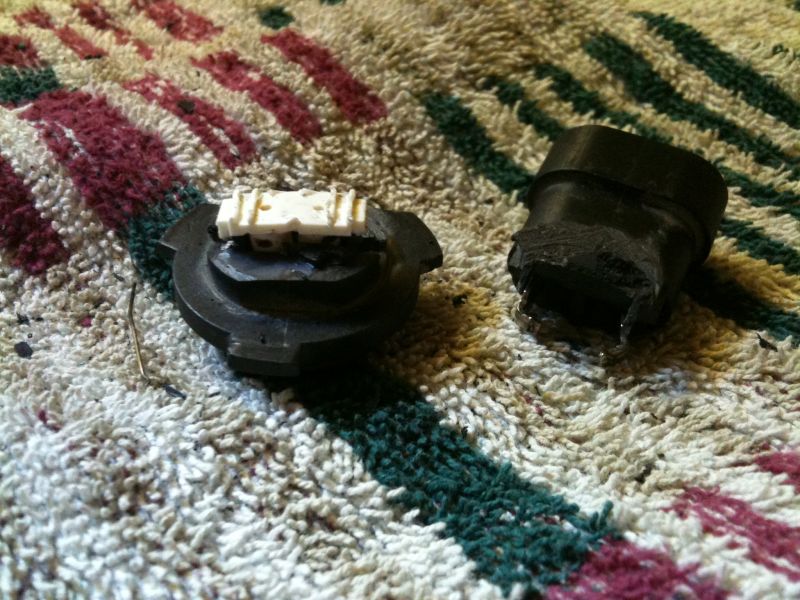
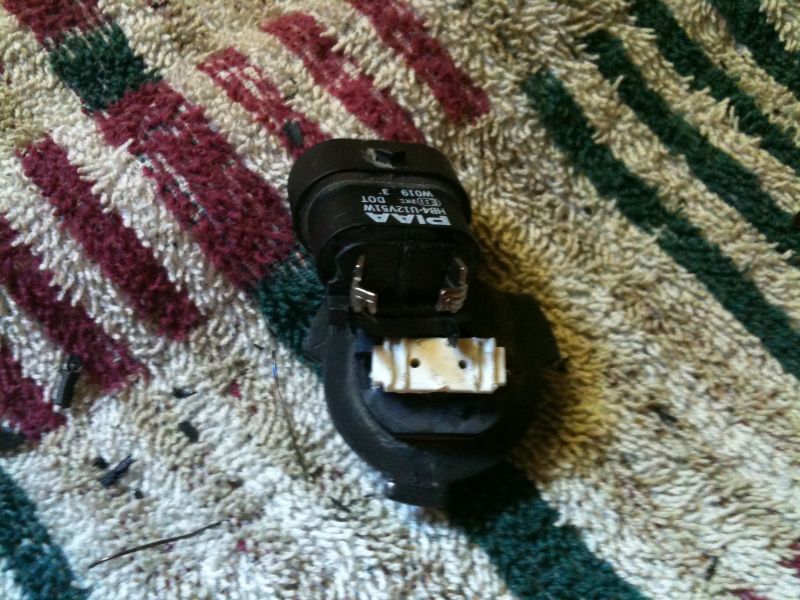
Grind off the mounting base.
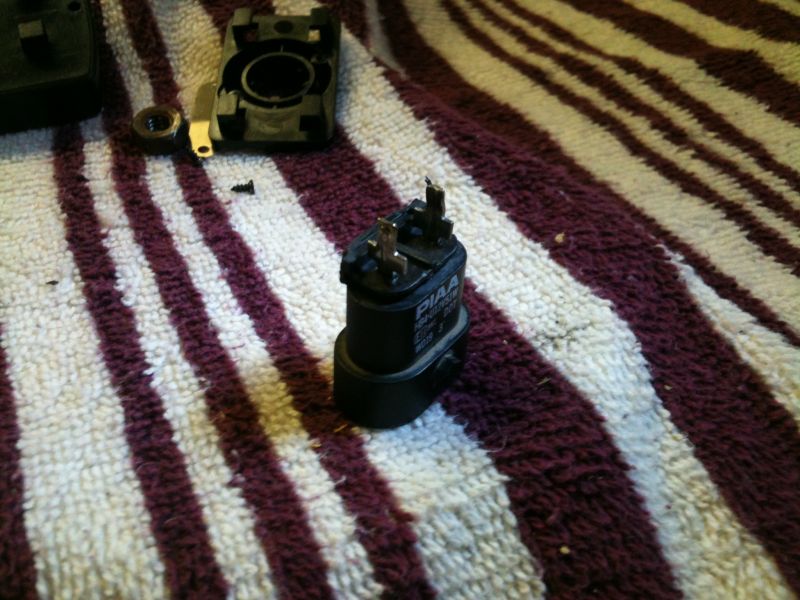
Ready for some wire.
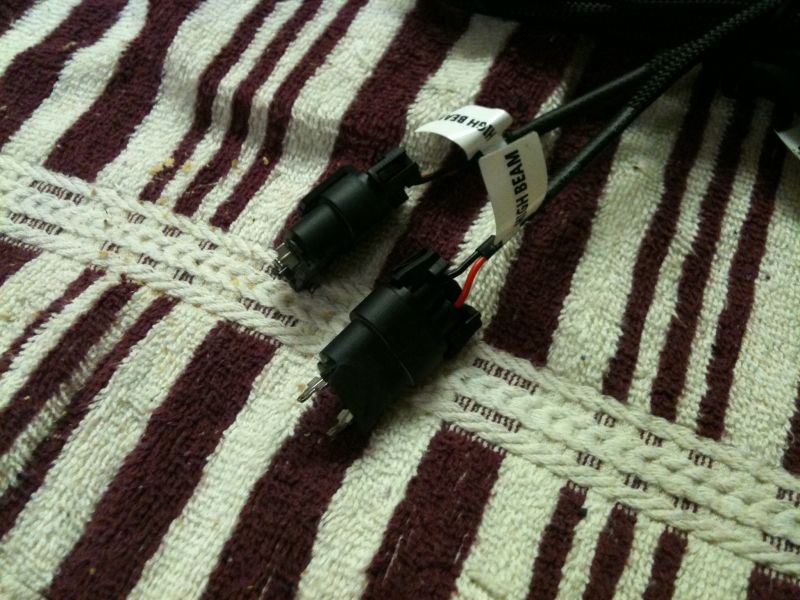
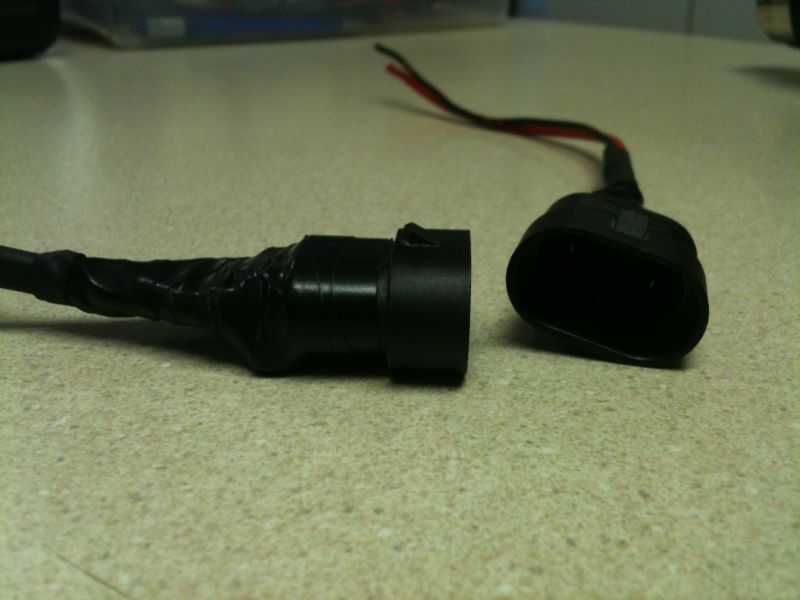
Test fit to the hi-beam plugs of the TRS wiring harness.
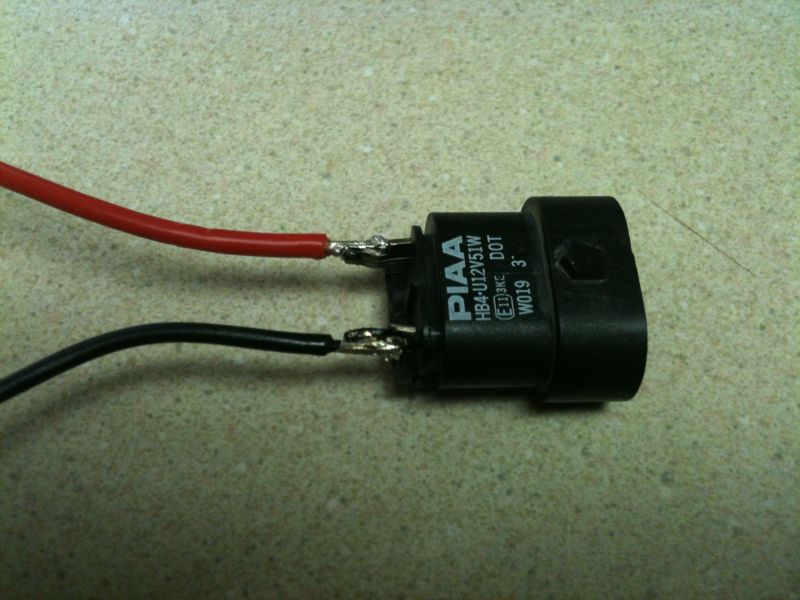
Wires soldered on.
Shrink tubed and taped up.
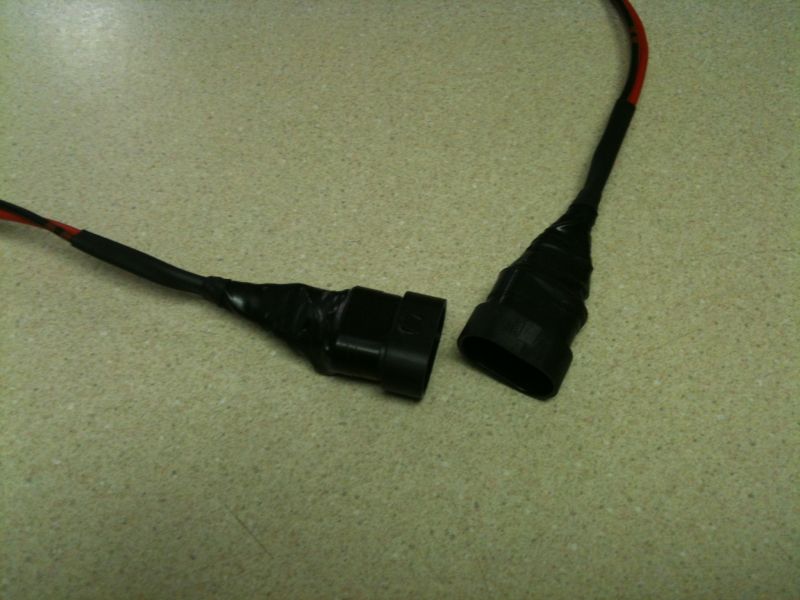
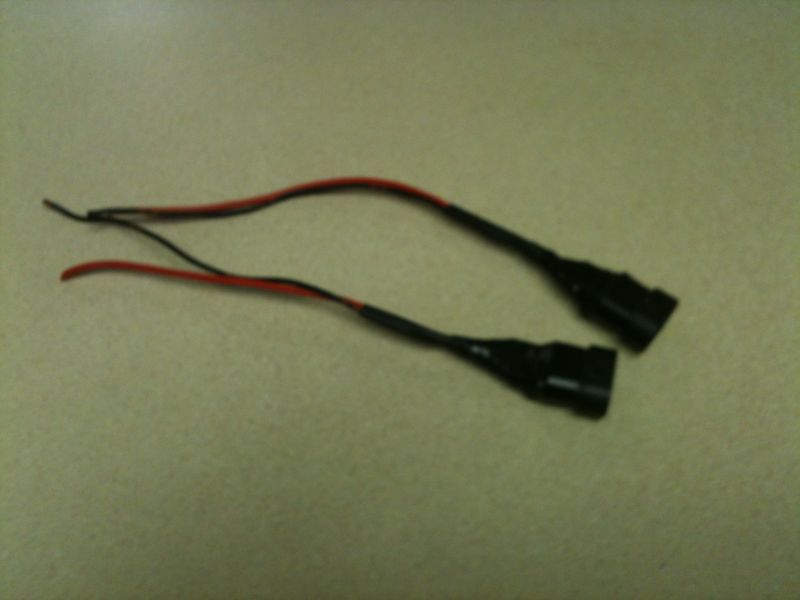
Ready to be attached to the hi-beam side of the headlights.
September 9/2014
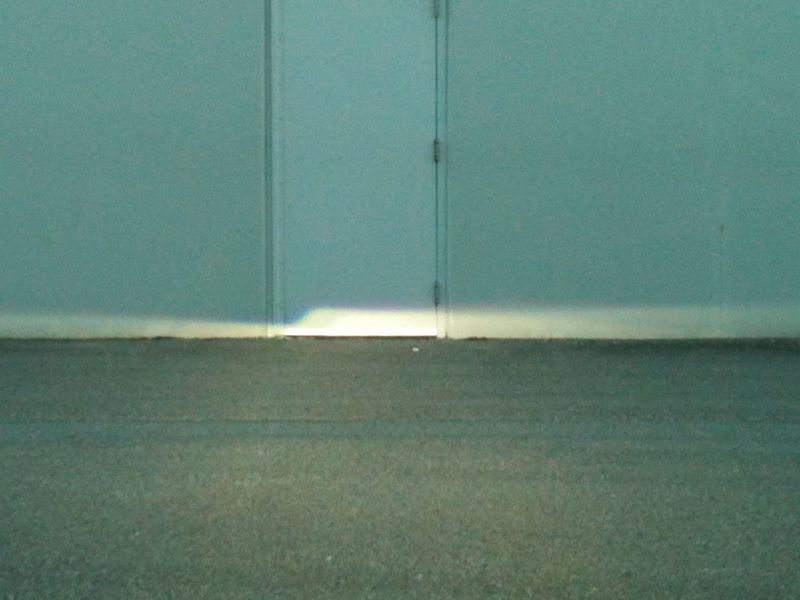
Cut-off line.
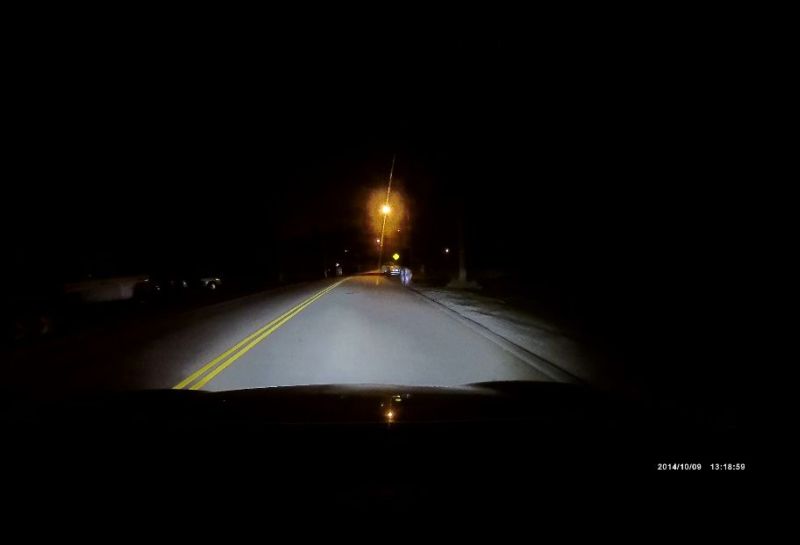
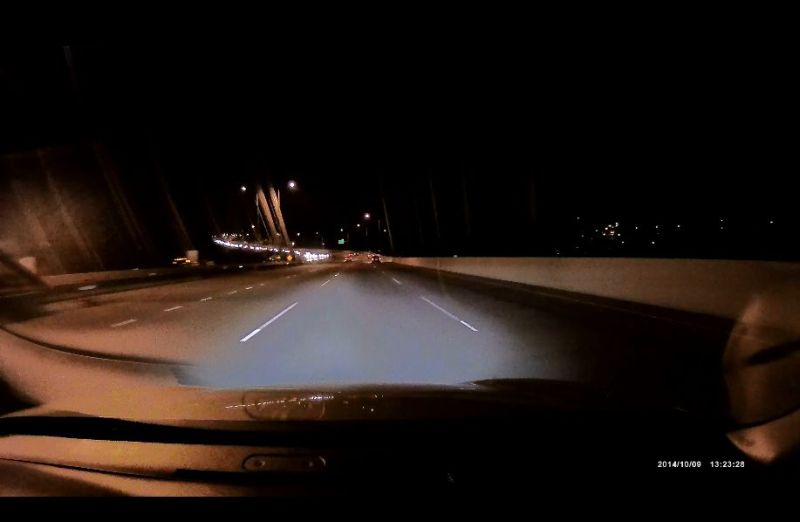
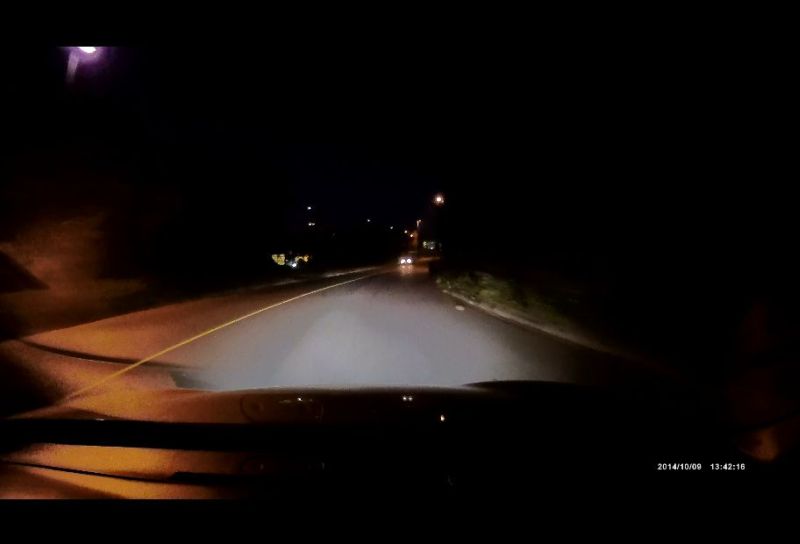
October 9/2014
Some night shots of the low beams.

February 20/2016
This kind of put on the backburner and forgotten. Finally installed the TRS headlight wiring harness.....
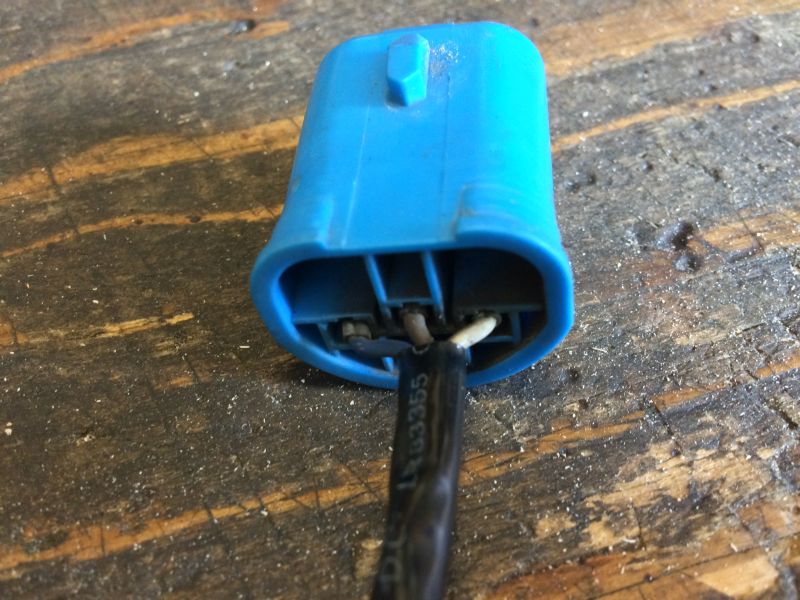
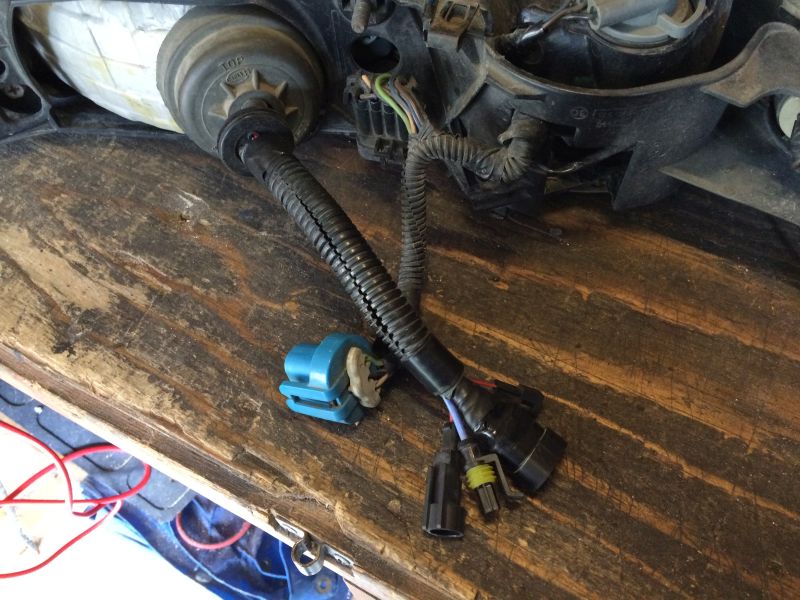
Old Beamers harness.
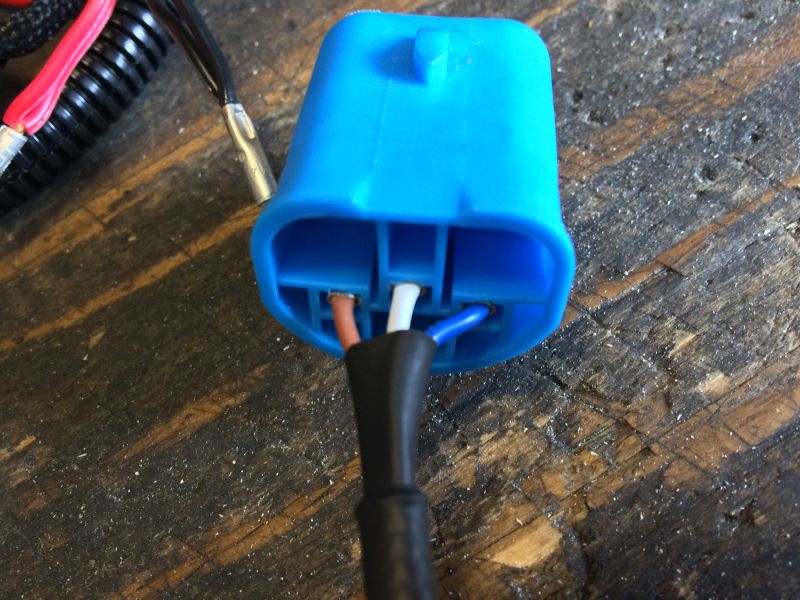
New TRS harness.
The blue and brown wires needed to be swapped.
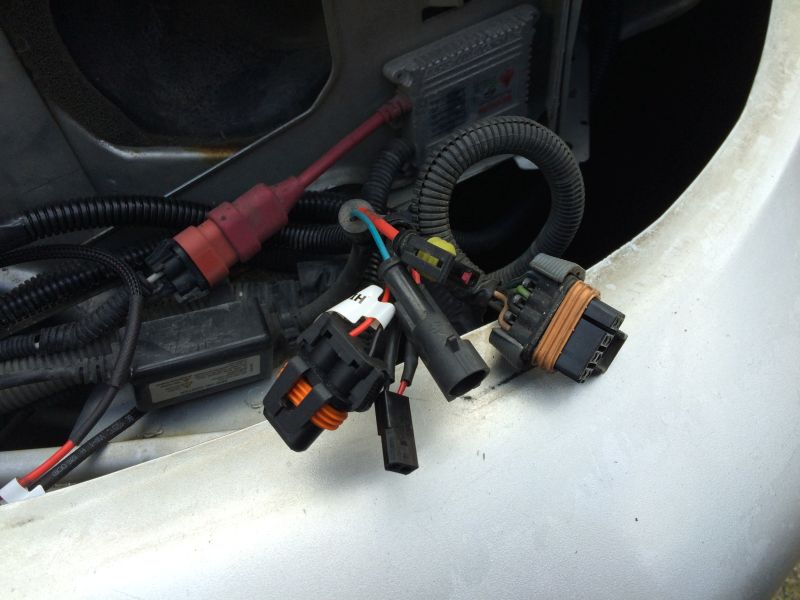
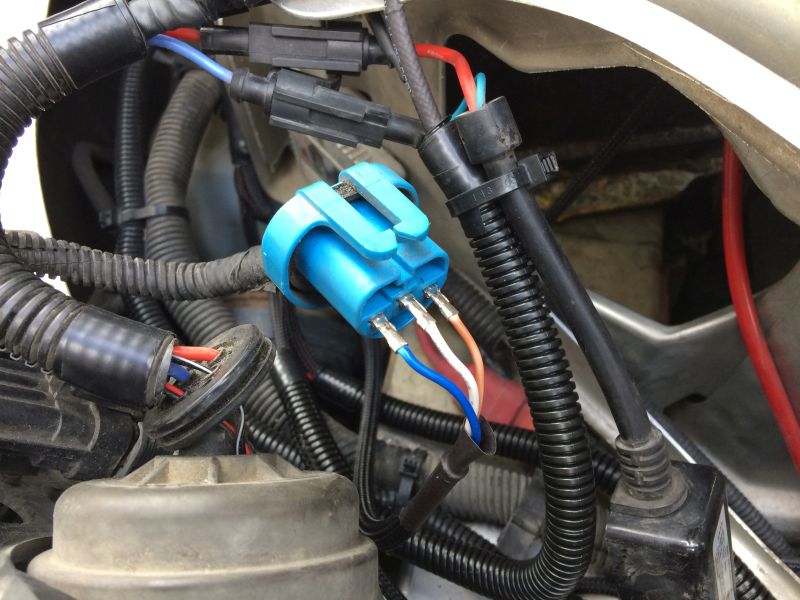
Left side headlight wiring; lo-beam, hi-beam and demon eyes.
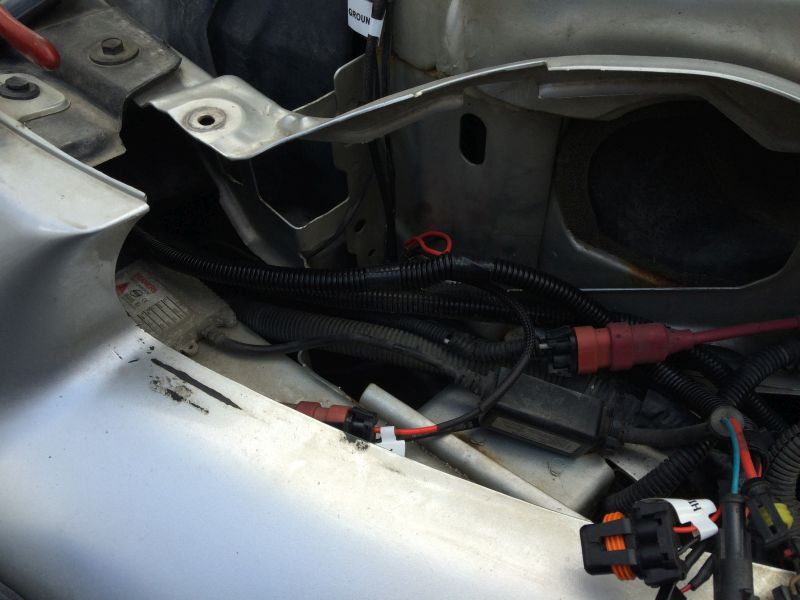
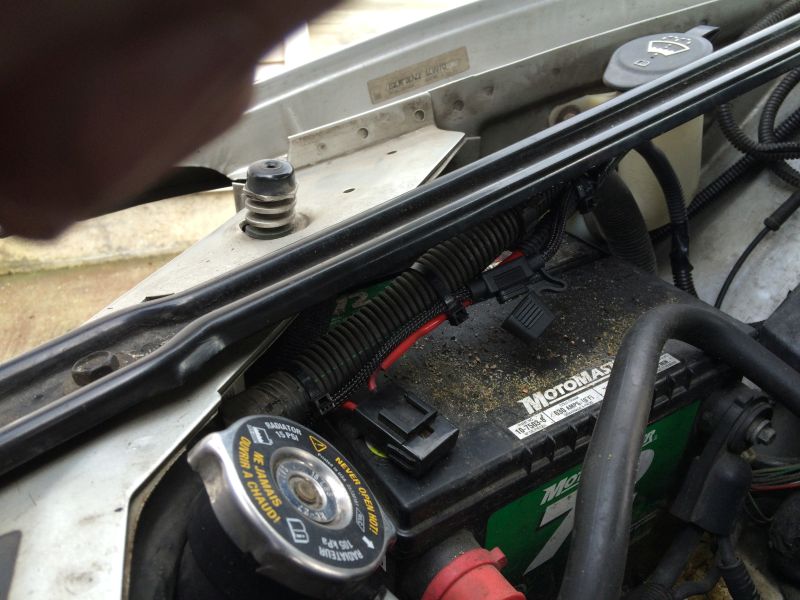
Relay mounted in behind the right fender.
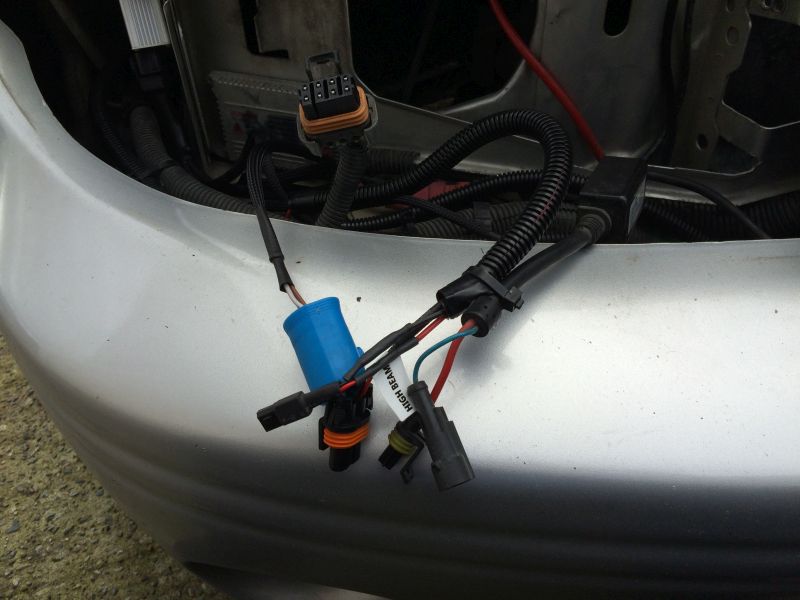
Right side headlight wiring; lo-beam, hi-beam and demon eyes.
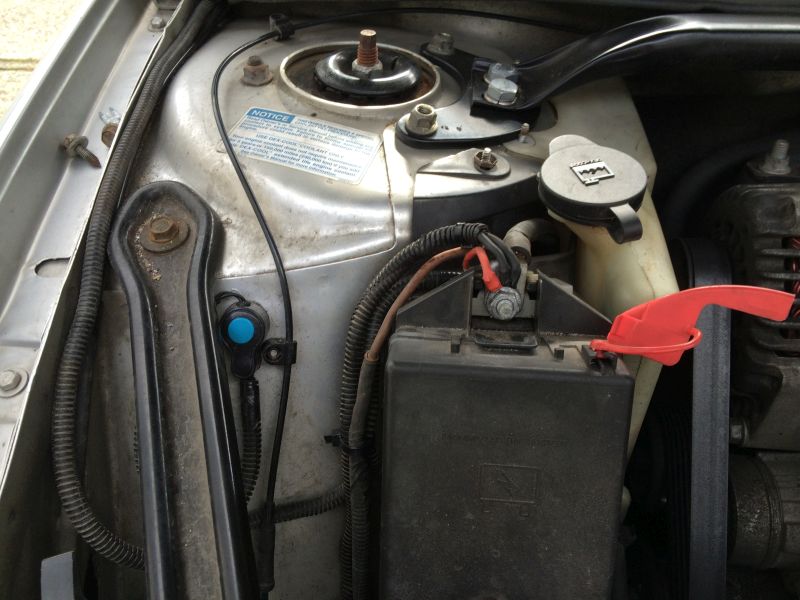
Power wire is the same as before.
The old relay.
Low beams.

Hi Beams.
I ran some of the wiring for the demon eyes; I still have
to run the wiring into the interior and install a switch.
February 21/2016
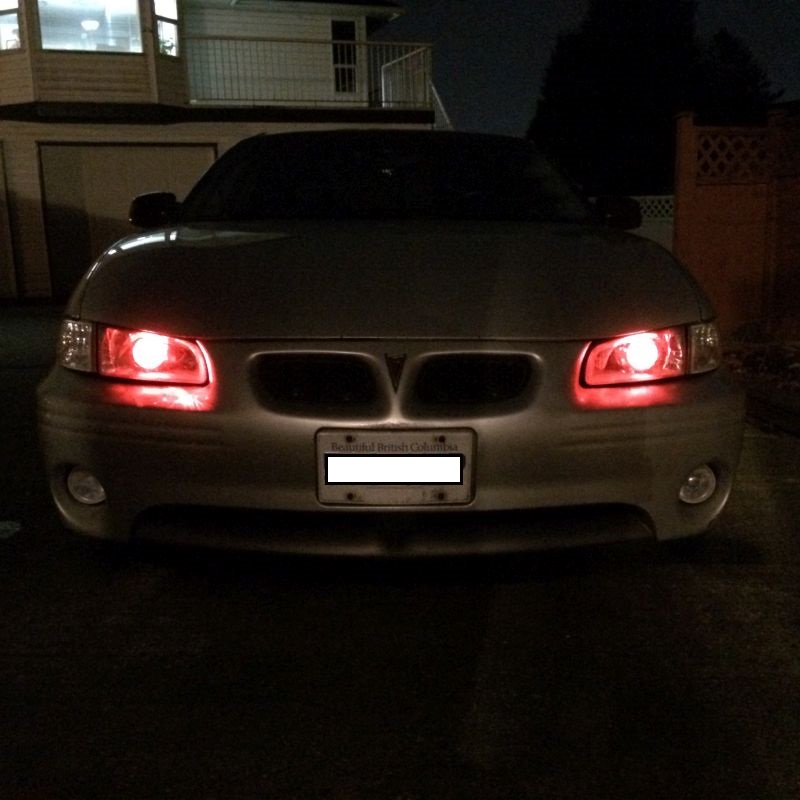
Daytime with the demon eyes.
Here is the write-up on the Demon Eyes.
November 5/2017
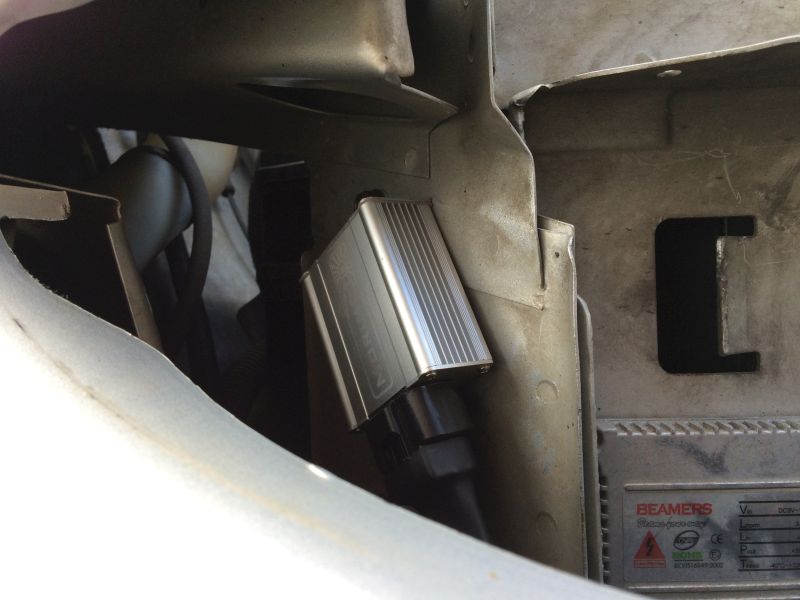
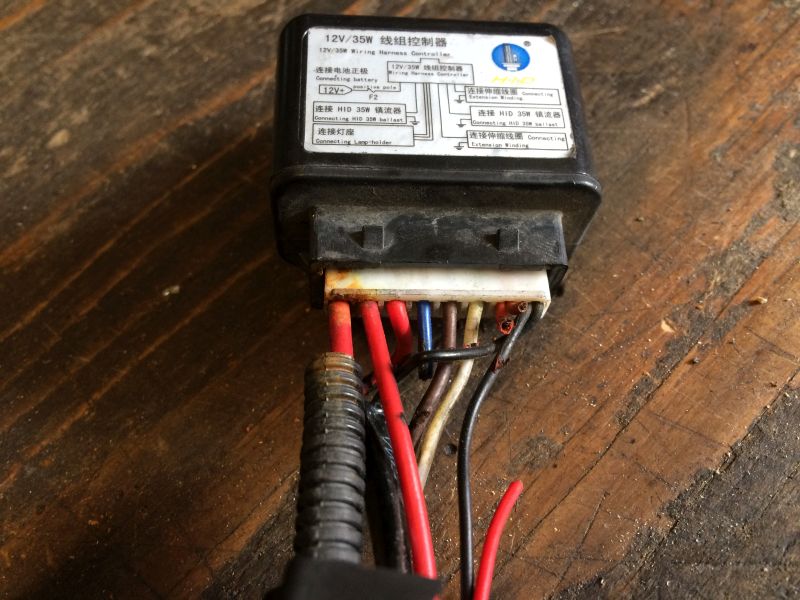
The left headlight started "not firing" when first turned on. This lasted about a week before it would not come on at all. Did some testing and found the ballast had failed.
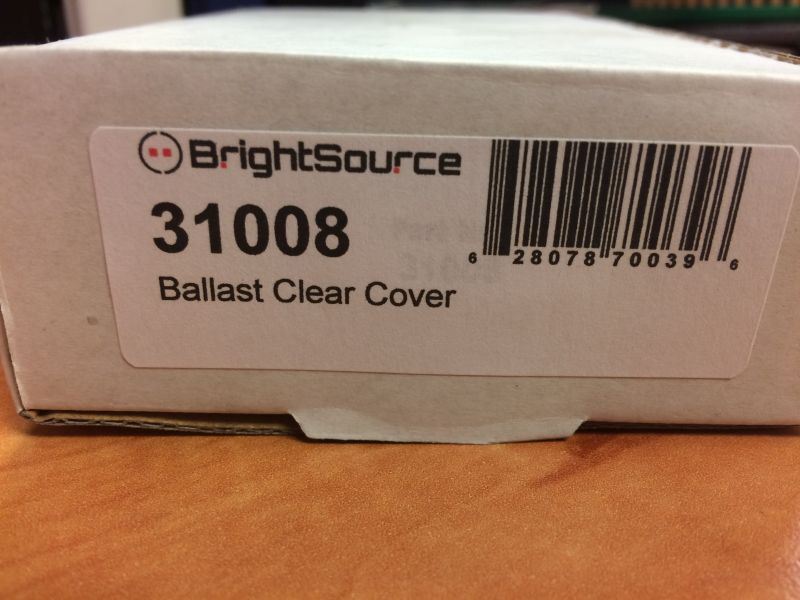
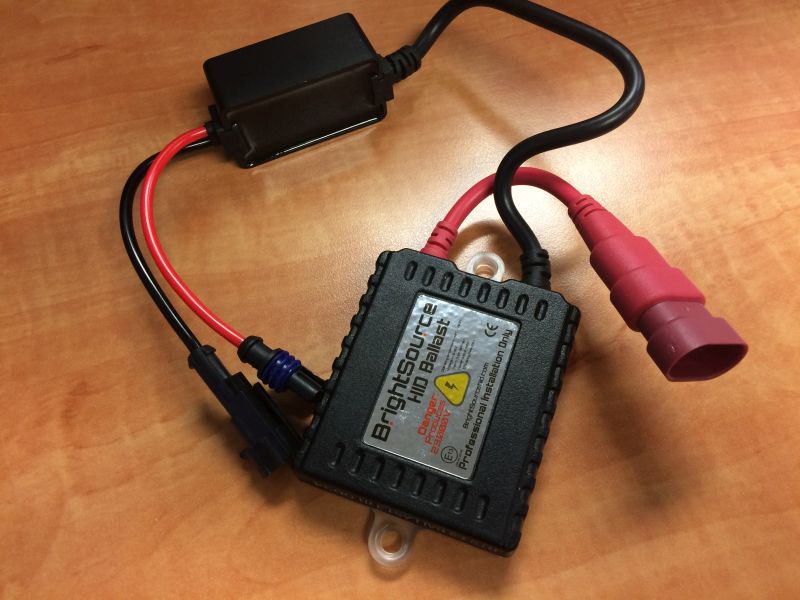

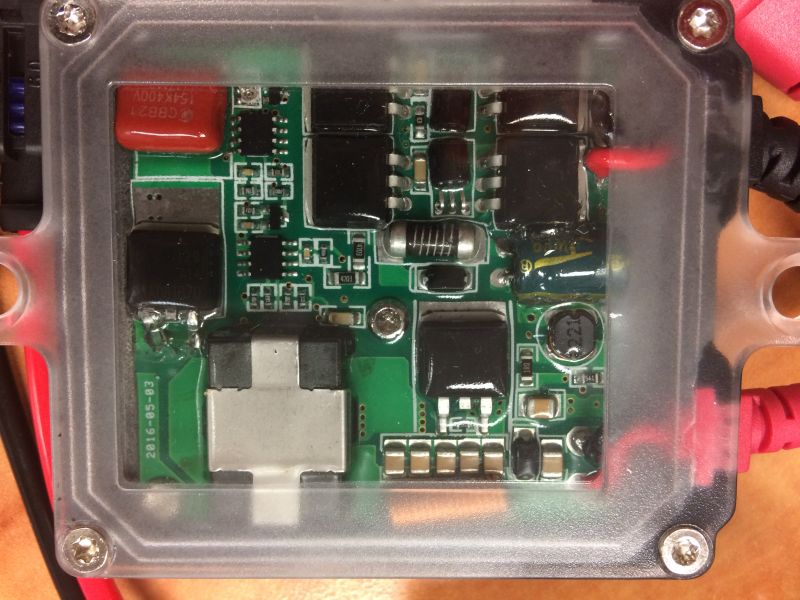
BrightSource #31008 35w ballast.
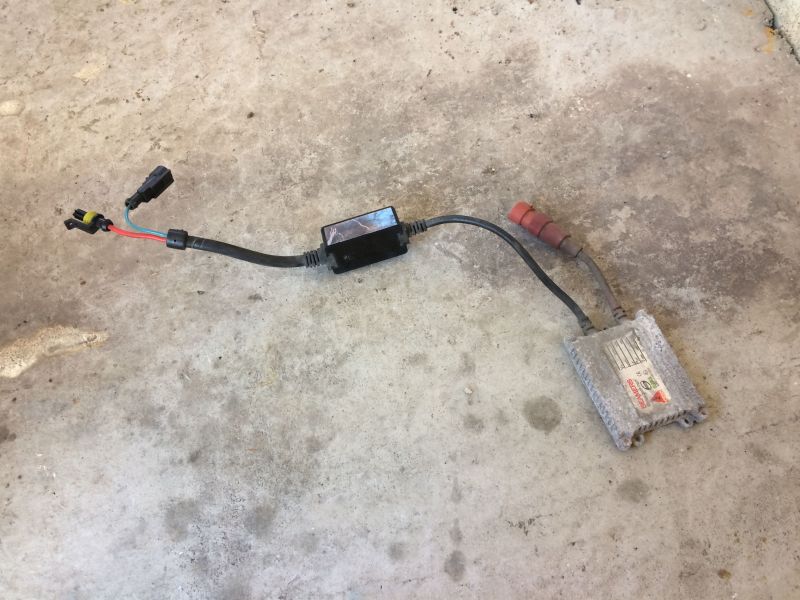
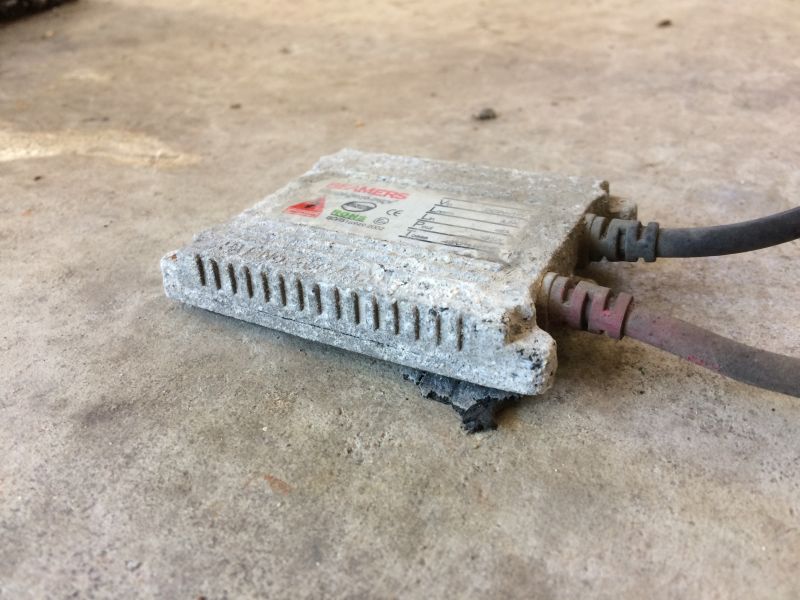
The old Beamers ballast; installed 7 years ago.
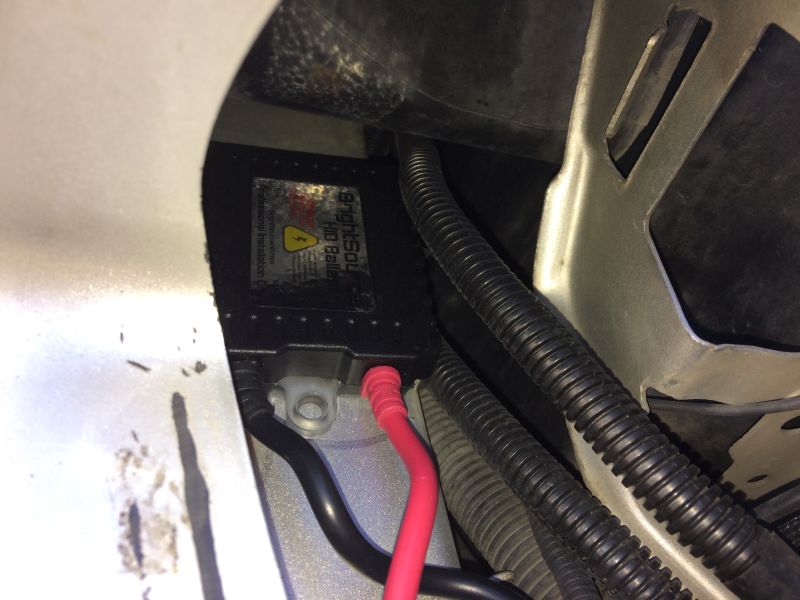
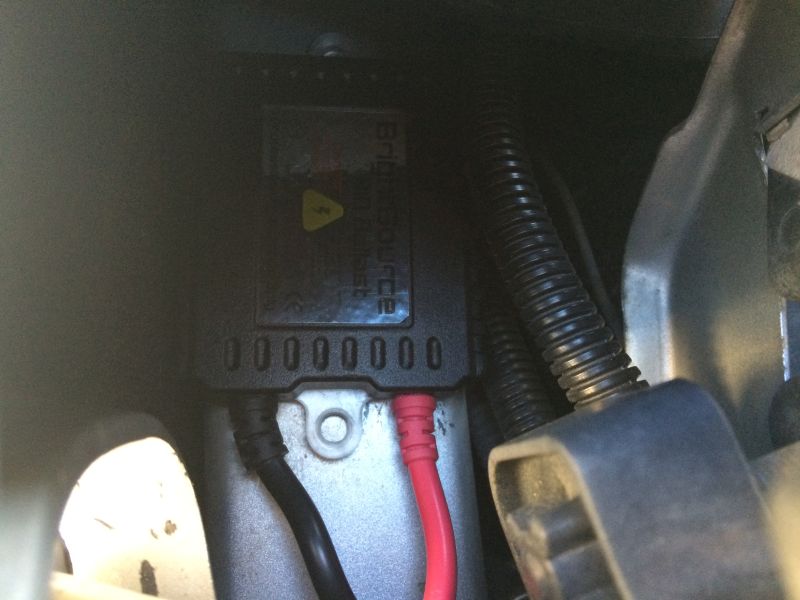
New ballast installed.
Last updated on November 5/2017
All contents on this site are
property of Chris Bradley. No content on this site may be reproduced
without the express permission of Chris Bradley.