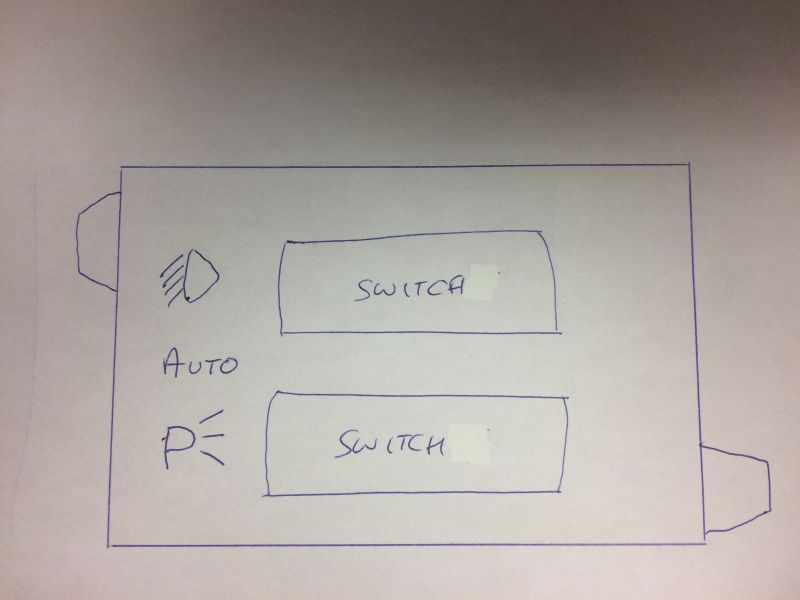
Low Light Mode Switch
Shortly after removing the yellow wire noted above, my "auto-on" feature started turning on all the time (light or dark). I'm not sure why it does this, but I've come used to it, and use it as DRL's; I usually
have the fog lights on too. Recently I've had the desire for some control over this feature, so decided to put a switch in place. A fellow GP owner recently did the same, but used a factory fog light switch,
giving a more stock look. I liked this idea, so plan on doing mine the same way, but will add a second switch (control the "auto-on" headlights and park lights) and mount them horizontaly.
For clarification, the proper name for the "auto-on" (also referred to as "sentinel" or "twilight") system is "low light mode".
| Low Light Mode headlight
bypass w/factory fog light switch |
|||||
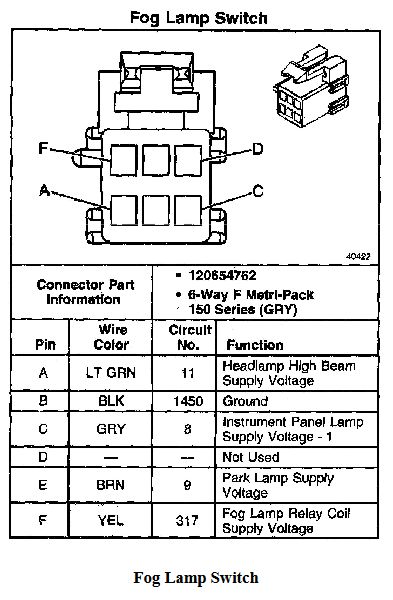
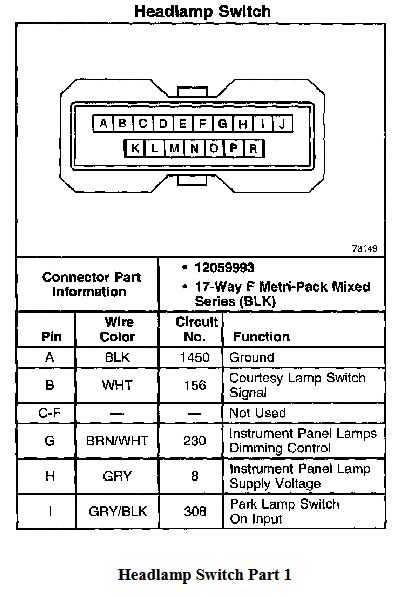
| Foglight Switch Connector |
Connector |
||||
| Pin |
Colour | Location |
Colour |
Pin |
|
| A |
LT GRN |
--> |
headlight
switch |
BLK |
A |
| B |
BLK |
--> |
headlight switch | BLK |
A |
| C |
GRY |
--> |
headlight switch | GRY |
H |
| D |
- |
--> |
- |
- |
- |
| E |
BRN |
--> |
to DRL
Module (C1) |
YEL |
F |
| F |
YEL |
--> |
from DRL
Module |
YEL |
F |
| Low Light Mode park light bypass w/factory fog light switch | |||||
| Foglight Switch Connector |
Connector | ||||
| Pin |
Colour | Location |
Colour |
Pin |
|
| A |
LT GRN |
--> |
headlight switch | BLK |
A |
| B |
BLK |
--> |
headlight switch | BLK |
A |
| C |
GRY |
--> |
headlight switch | GRY |
H |
| D |
- |
--> |
- |
- |
- |
| E |
BRN |
--> |
to DRL
Module (C1) |
BRN |
H |
| F |
YEL |
--> |
from DRL
Module |
BRN |
H |
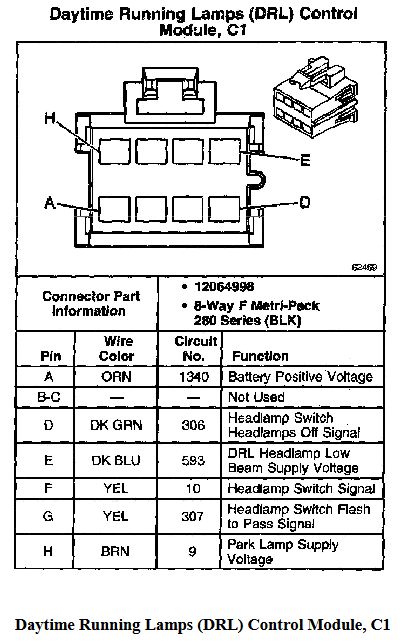
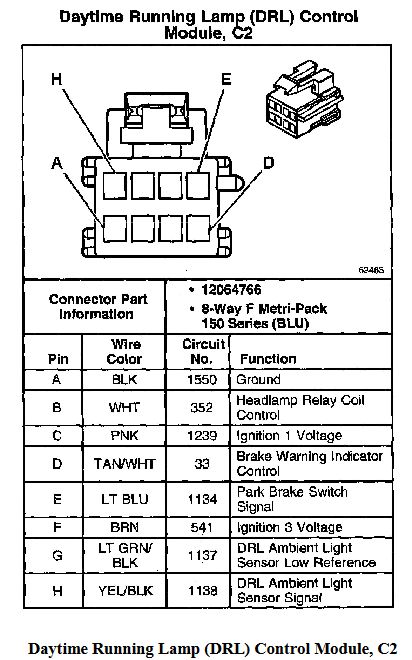
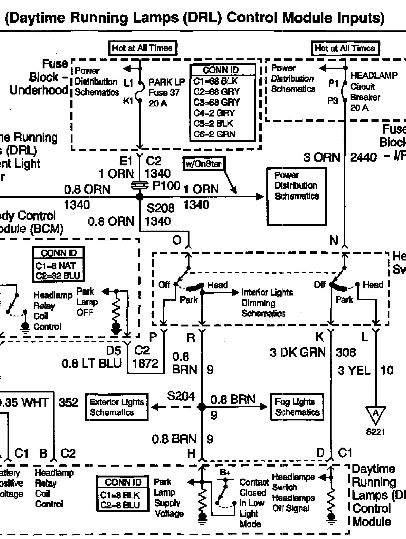
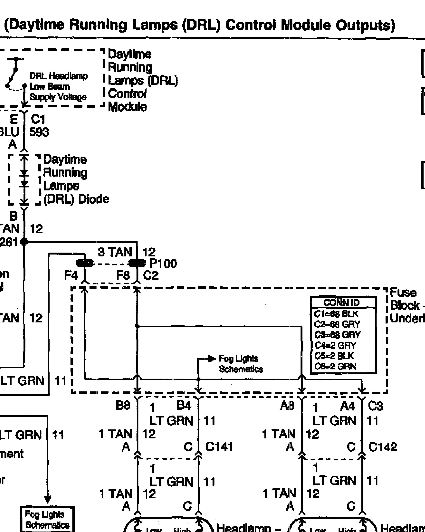
| Connector/Wiring Schematics |
|||
 |
 |
 |
 |
| DRL
Module (C1) |
DRL Module (C2) | DRL Module Inputs | DRL Module Outputs |
 |
 |
 |
| Fog Lamp
Switch |
Headlamp
Switch (part 1) |
Headlamp
Switch (part 2) |
January 25, 2018
January 26, 2018
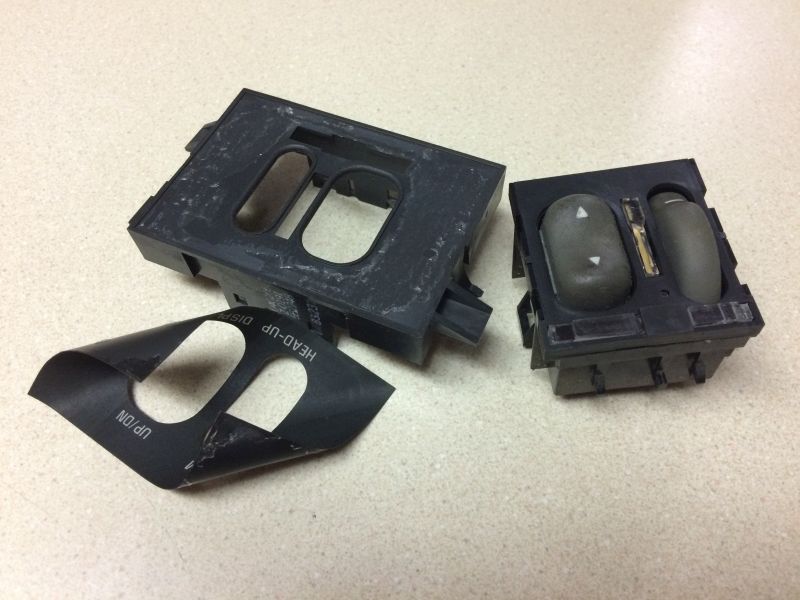

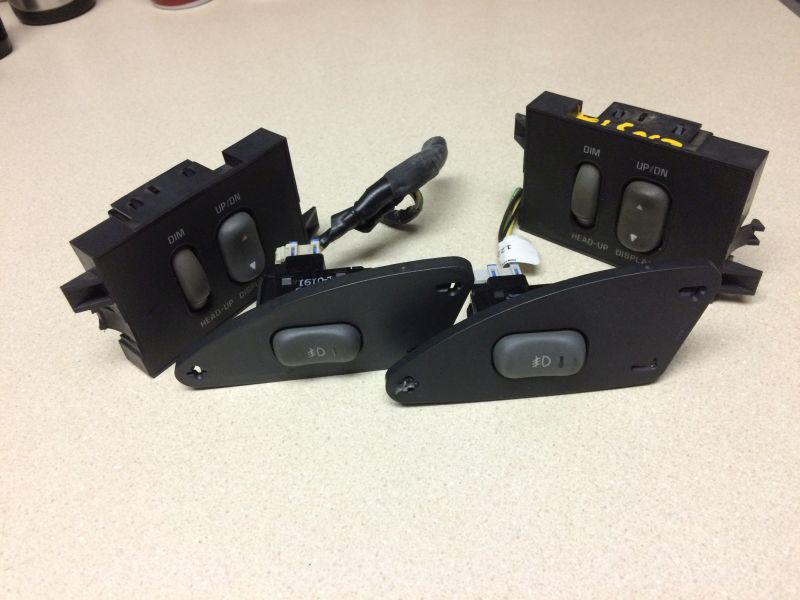
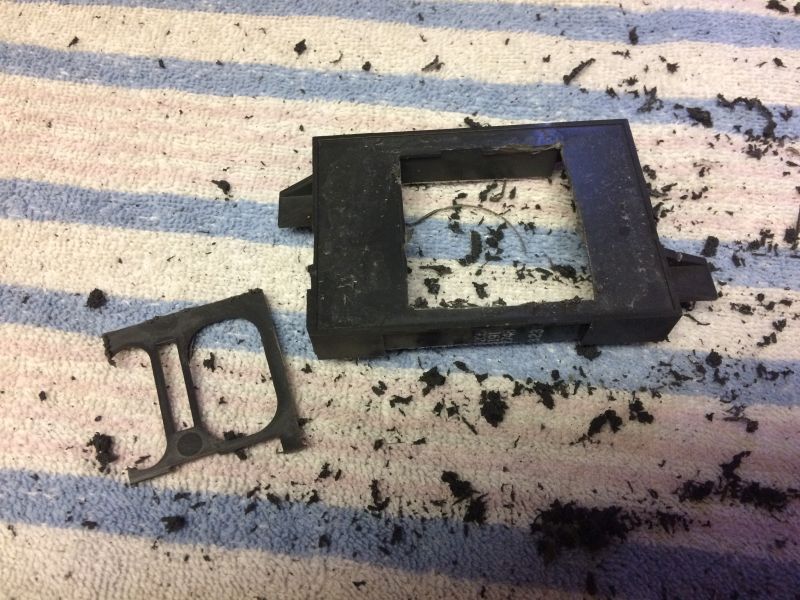
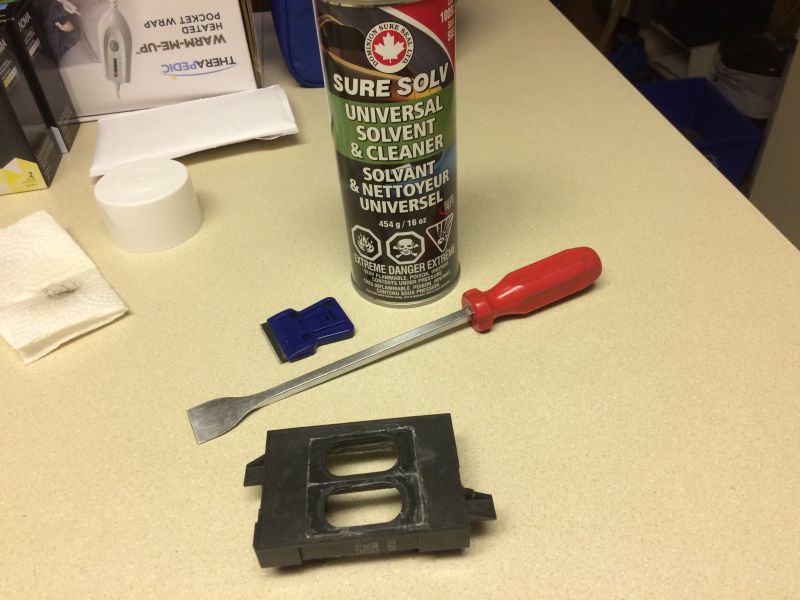
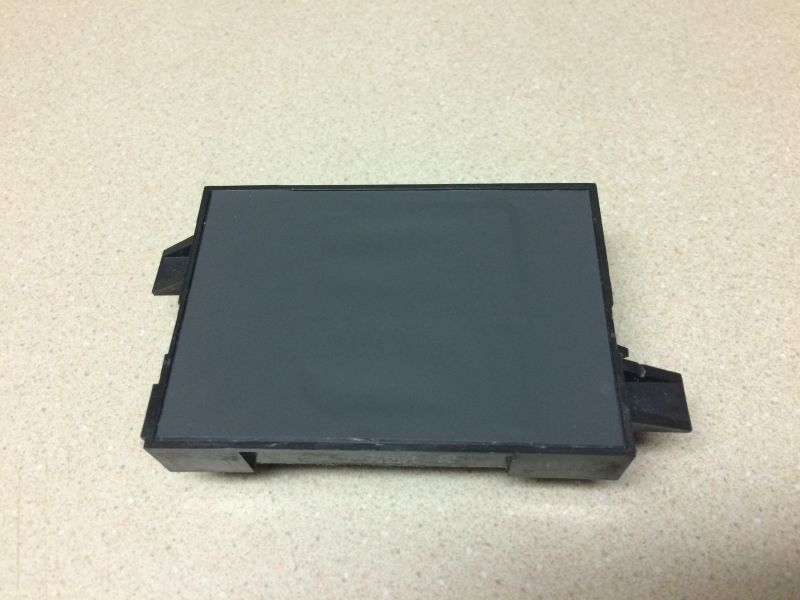
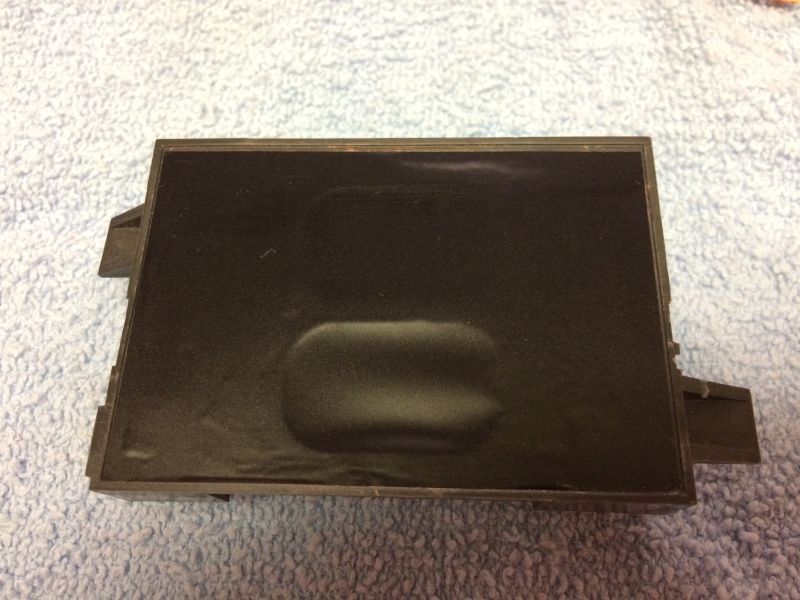
HUD switch; remove the switch assembly and overlay.
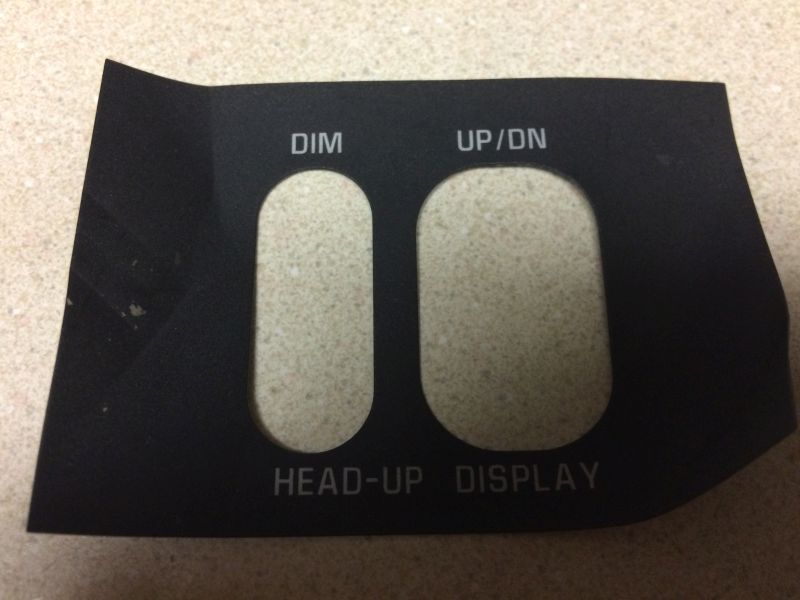
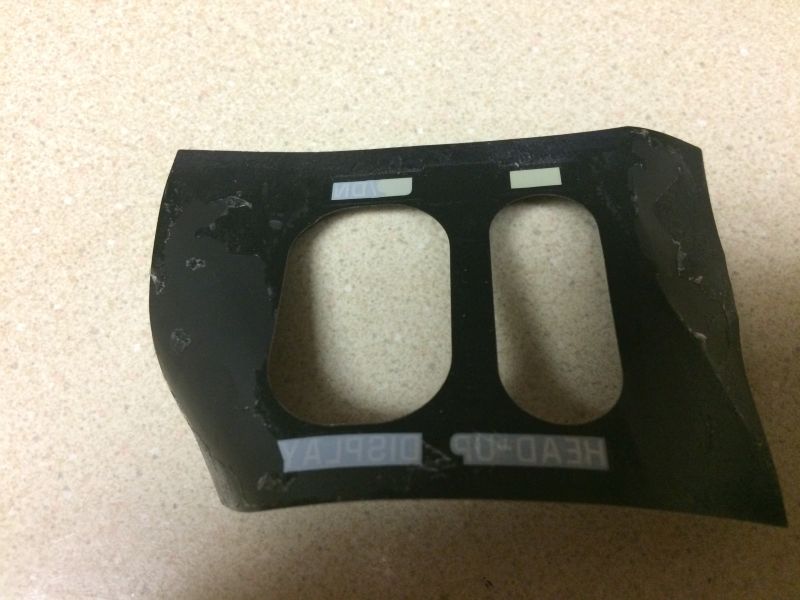
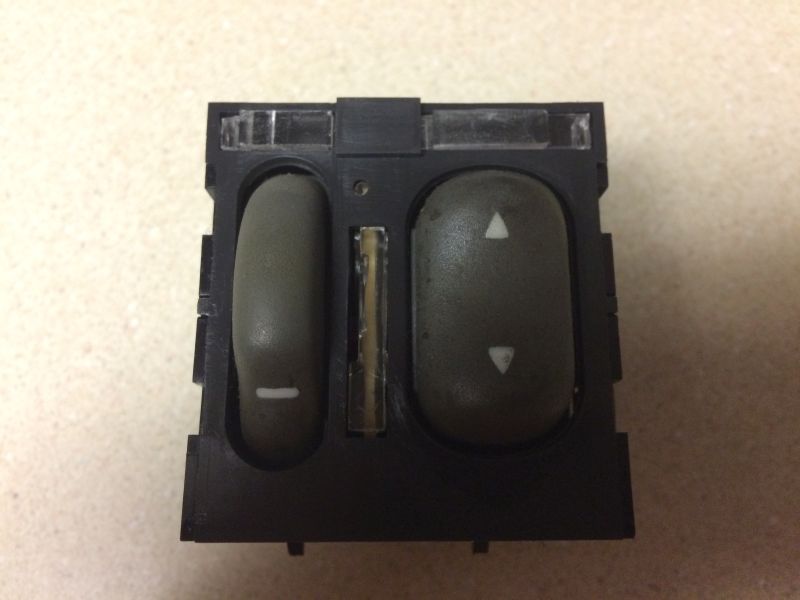
Note how the overlay let the dash lights through the letters.
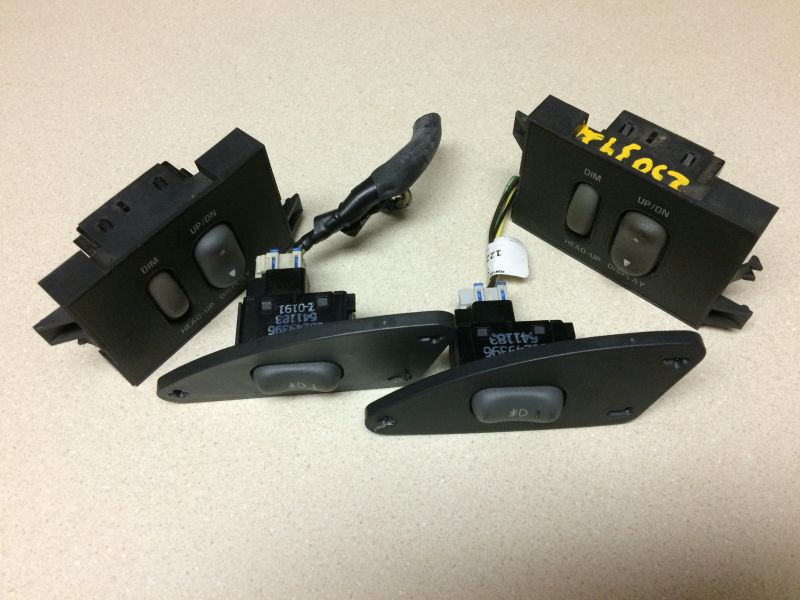
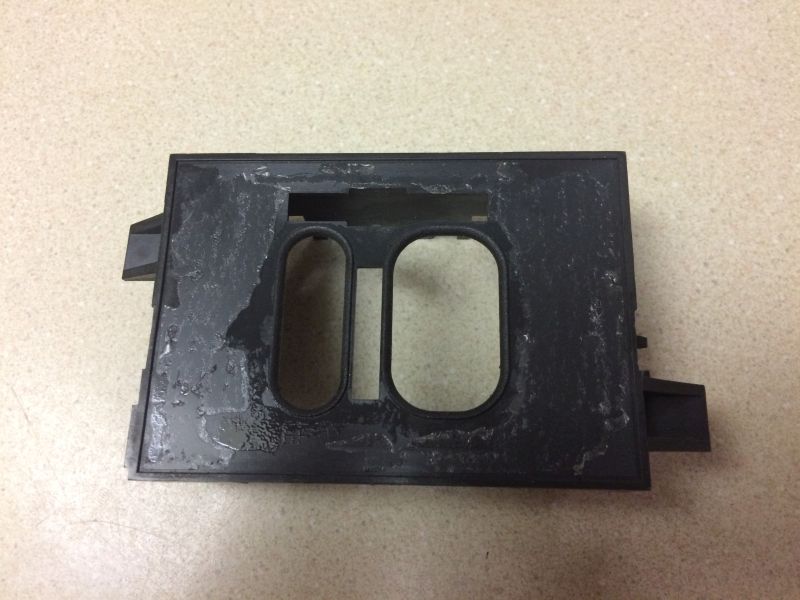
Cut off the two tabs that hold the switch in place.
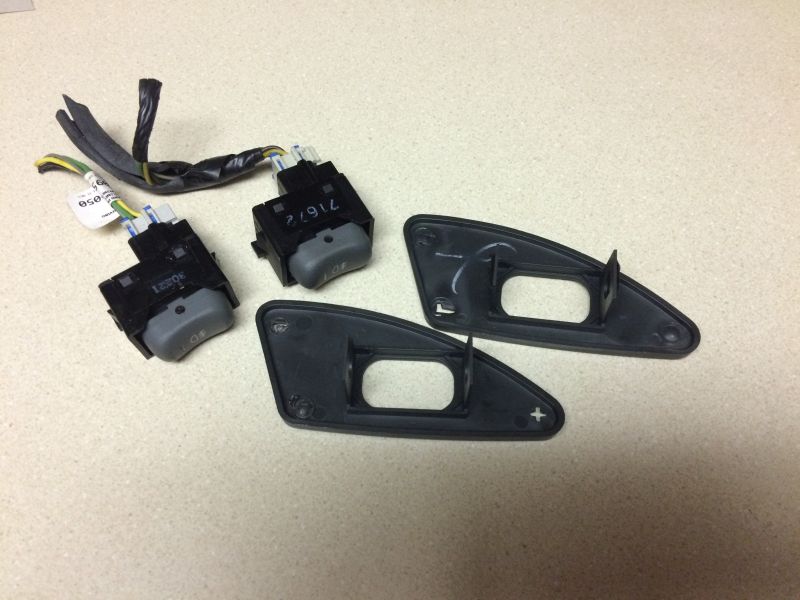
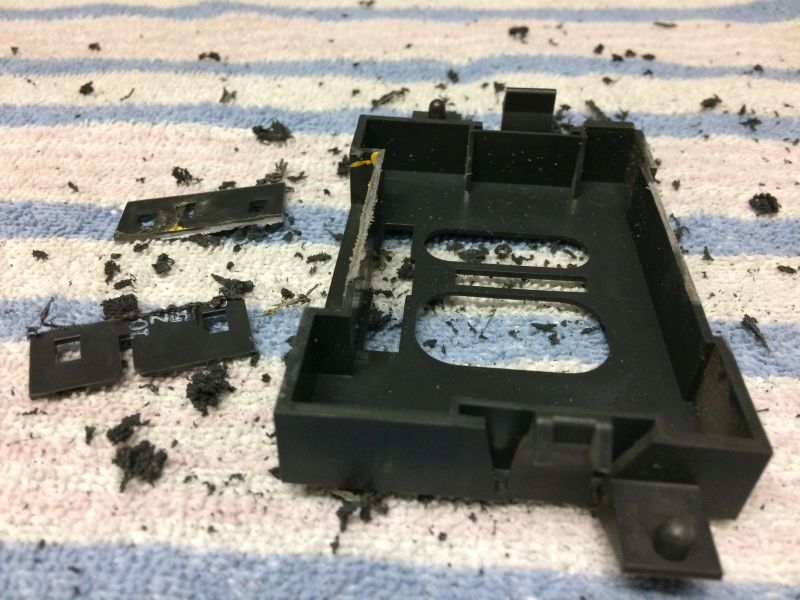
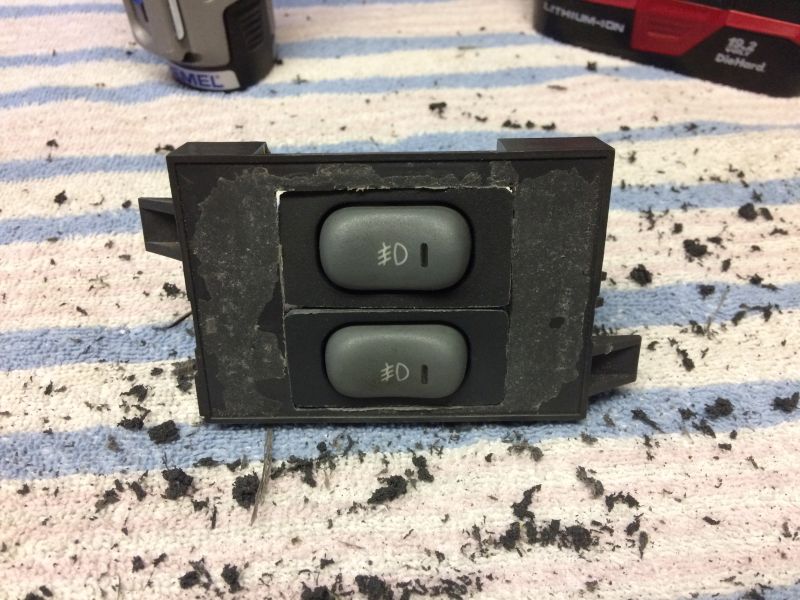
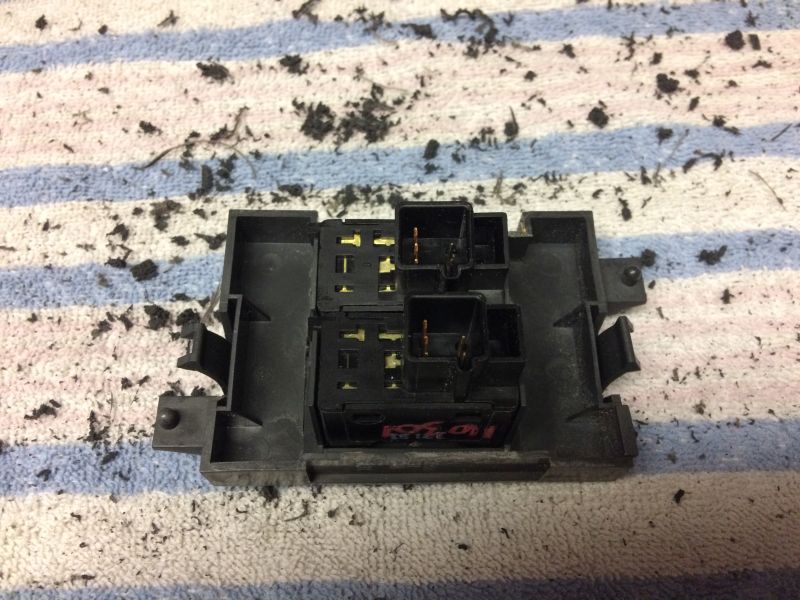
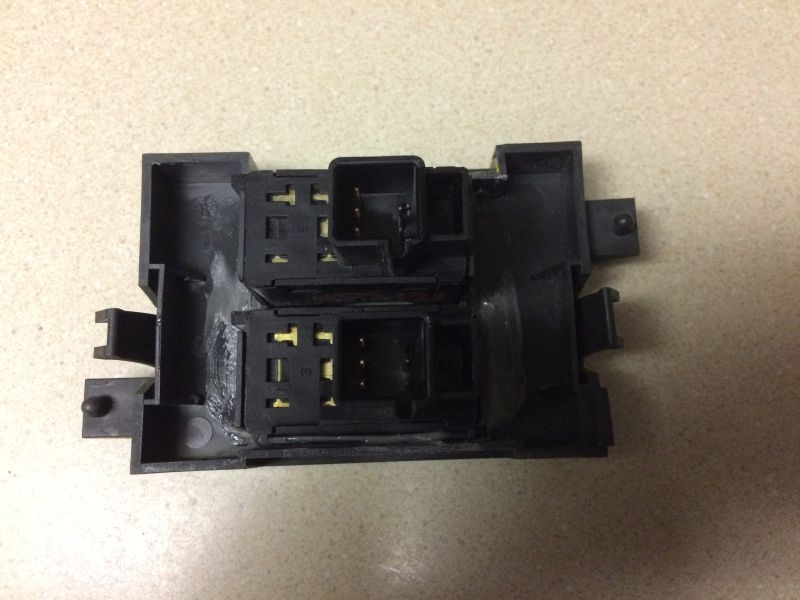
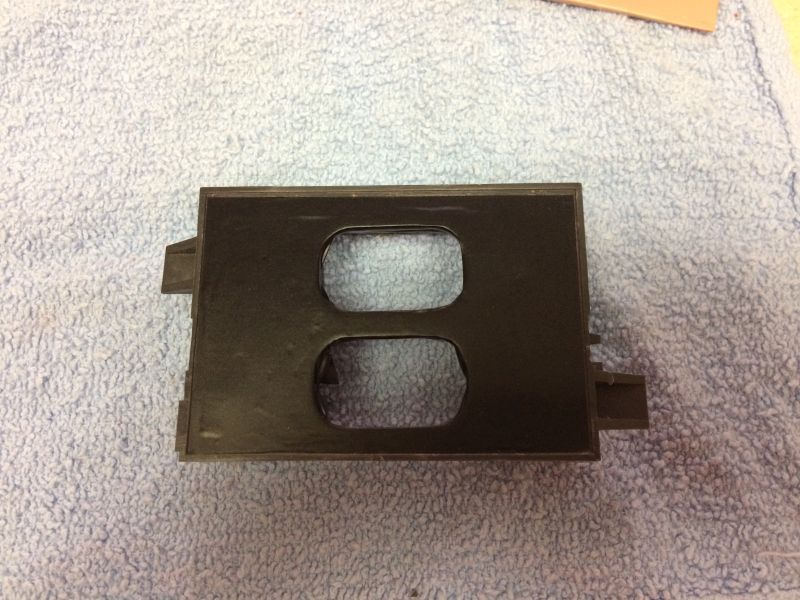
Foglight switches with mounting bezels; remove the switches.

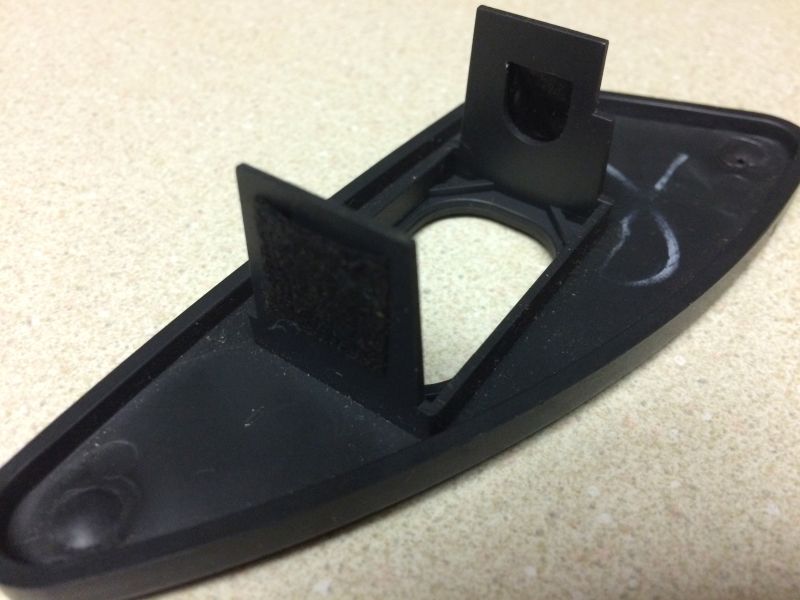
You want to keep the part that holds the switch.
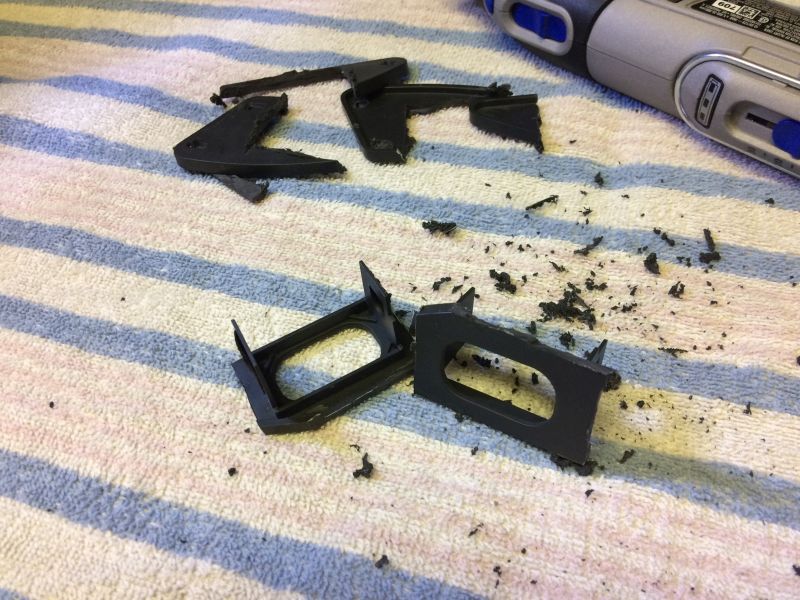
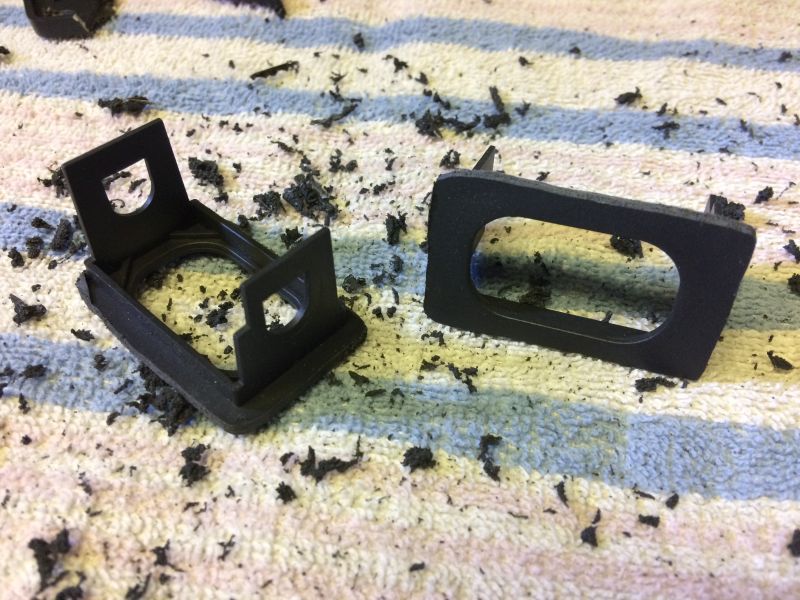
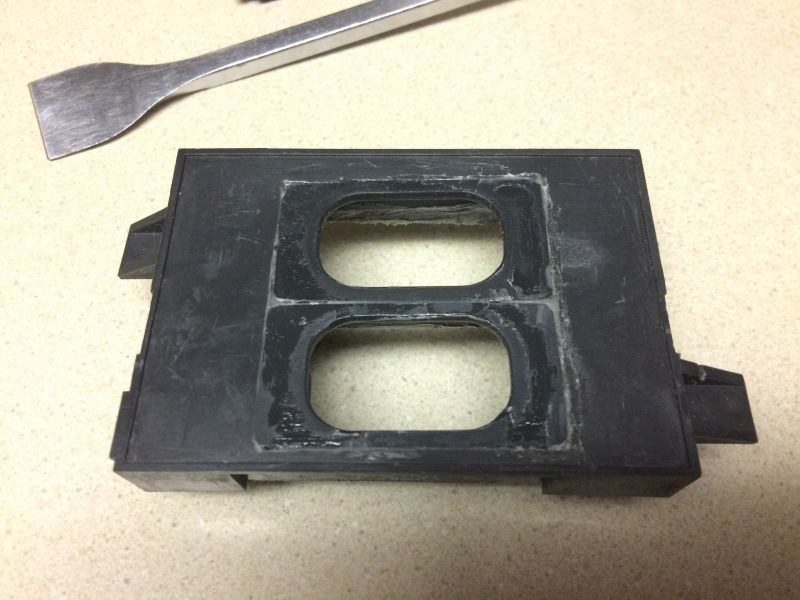
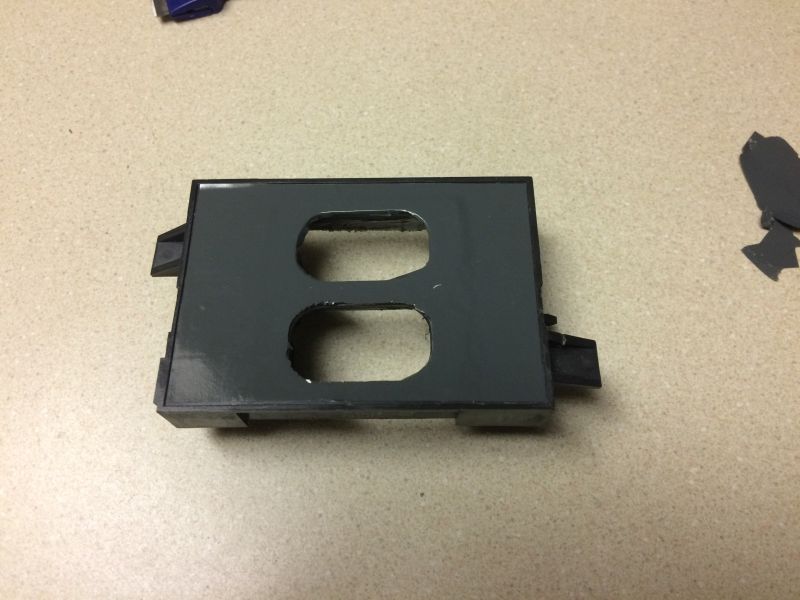
First cut. The long sides got trimmed flush, and the short ends I left about 1/8" lip left.
Test fit.
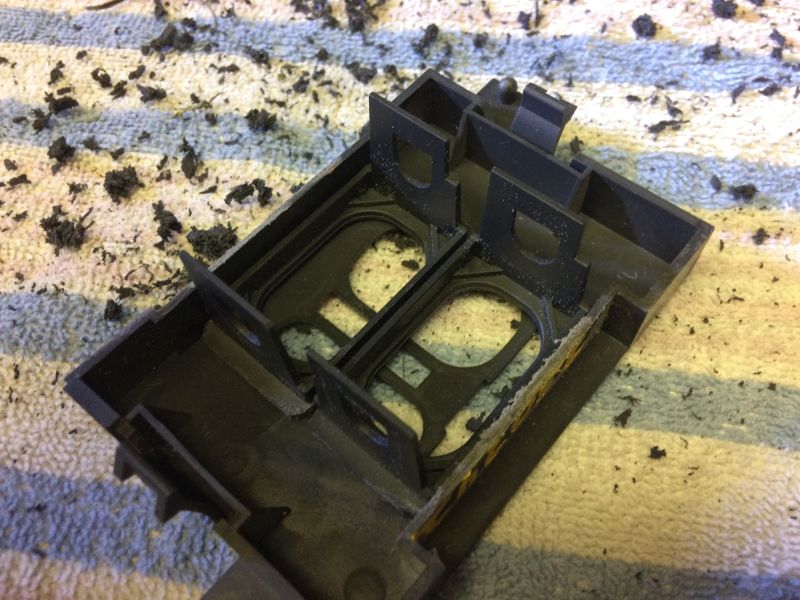
Remove the original holes.
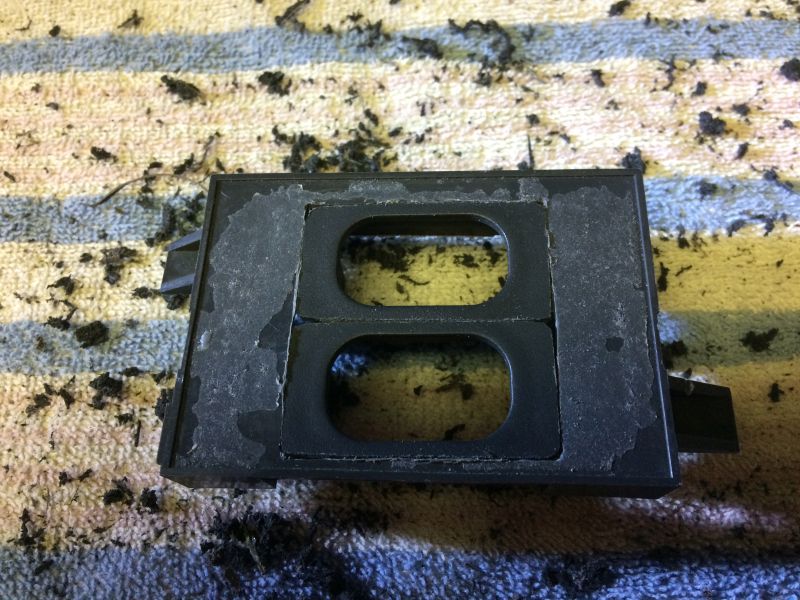
Another test fit.
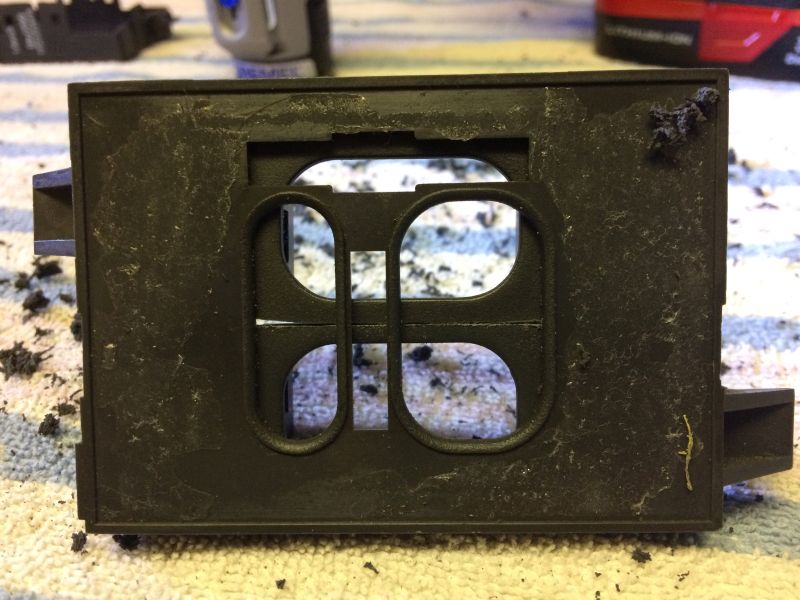
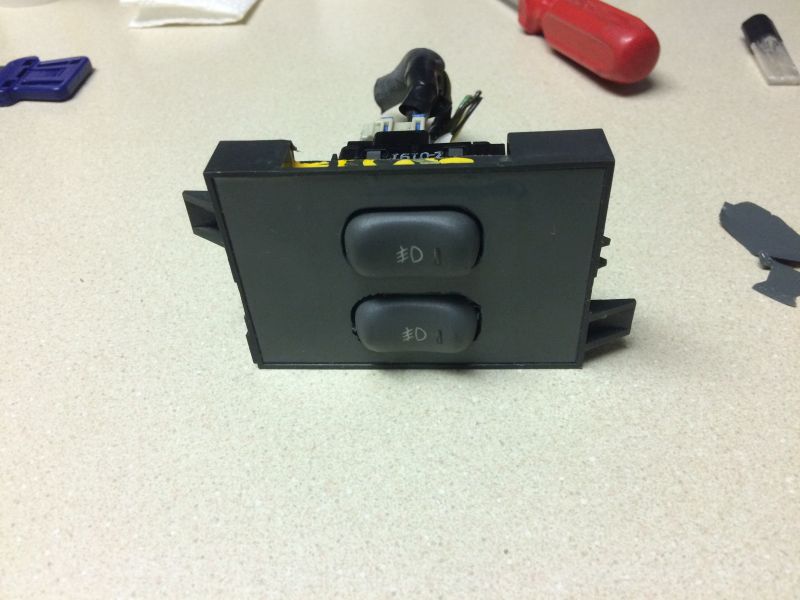
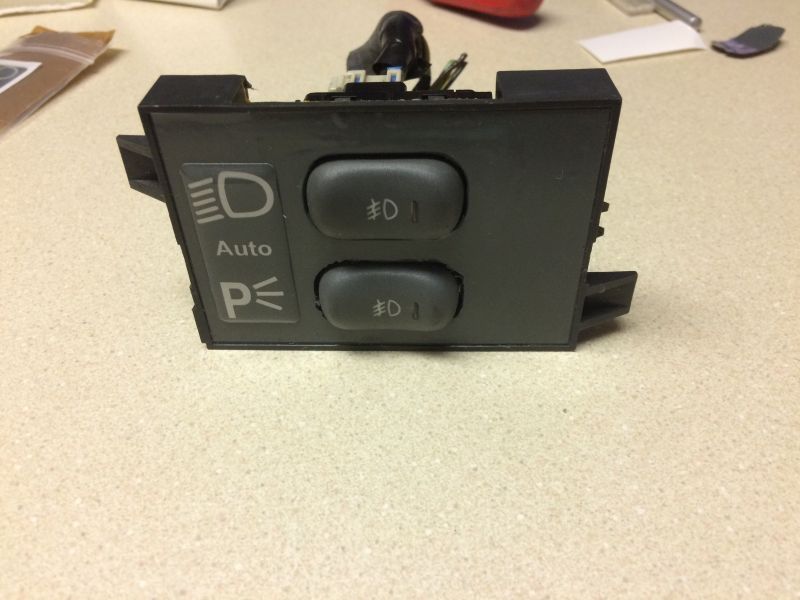
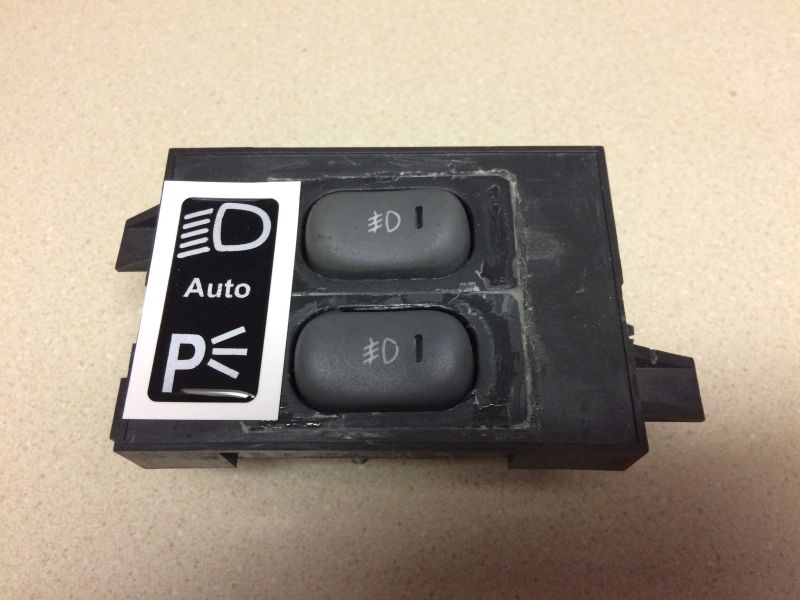
Another test fit with the switches; everything lines up nicely.
February 1, 2018
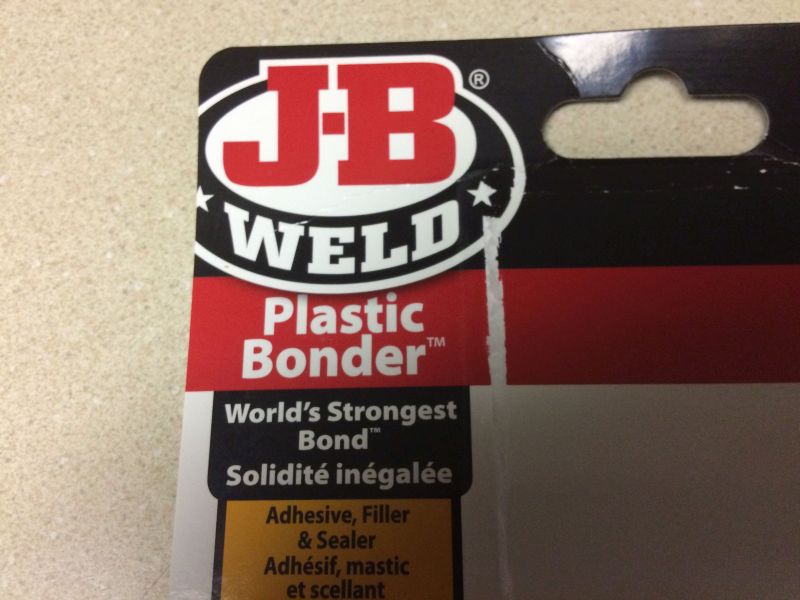
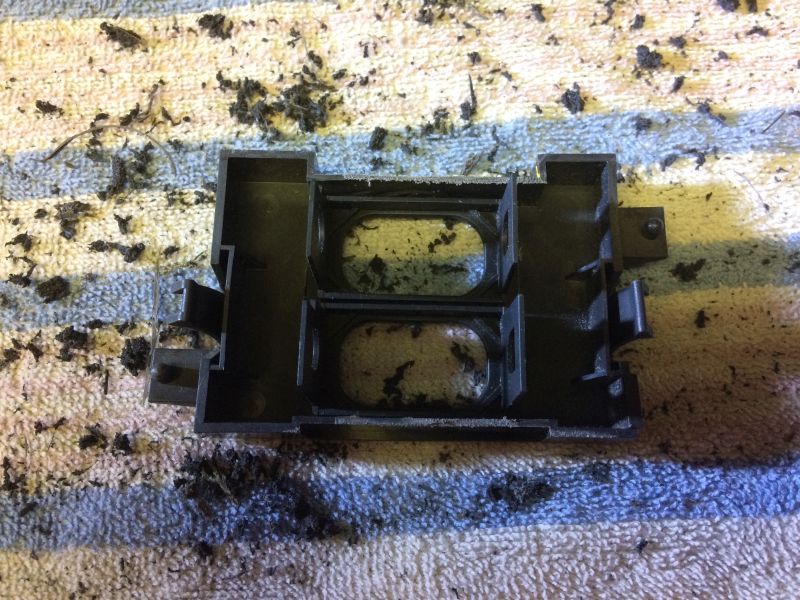
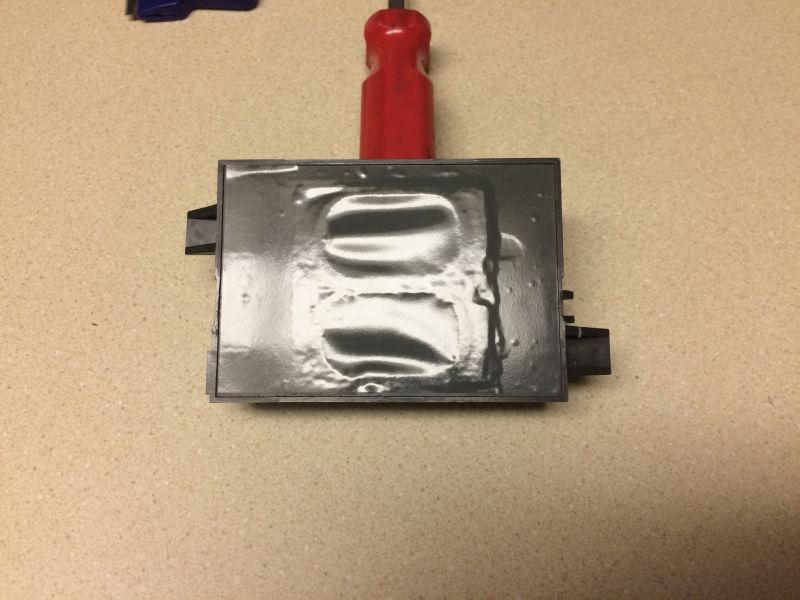
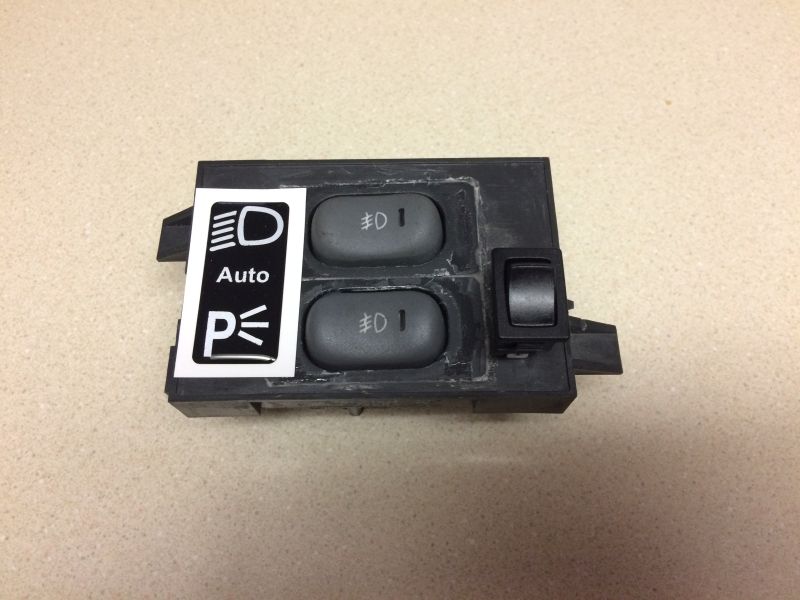
JB Weld plastic bonder to keep everything together.

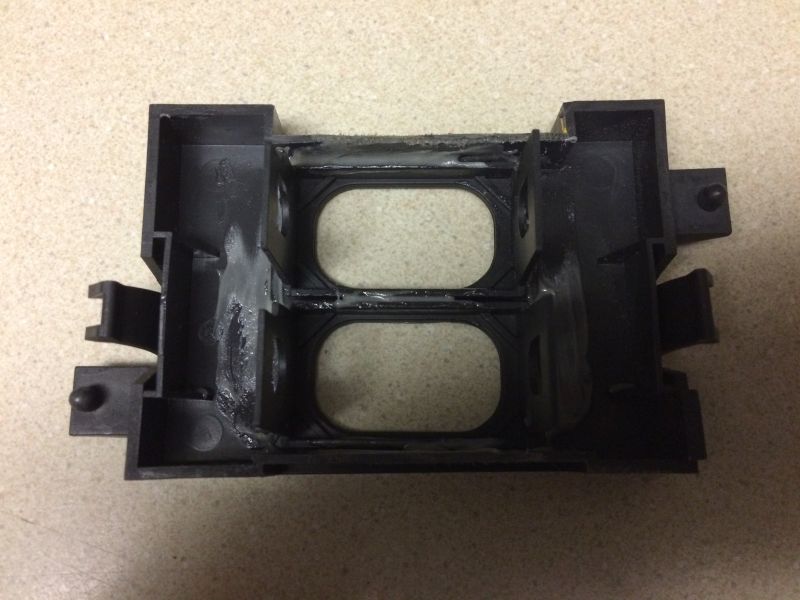
After the 30 minute cure time, everytging is nice and solid.
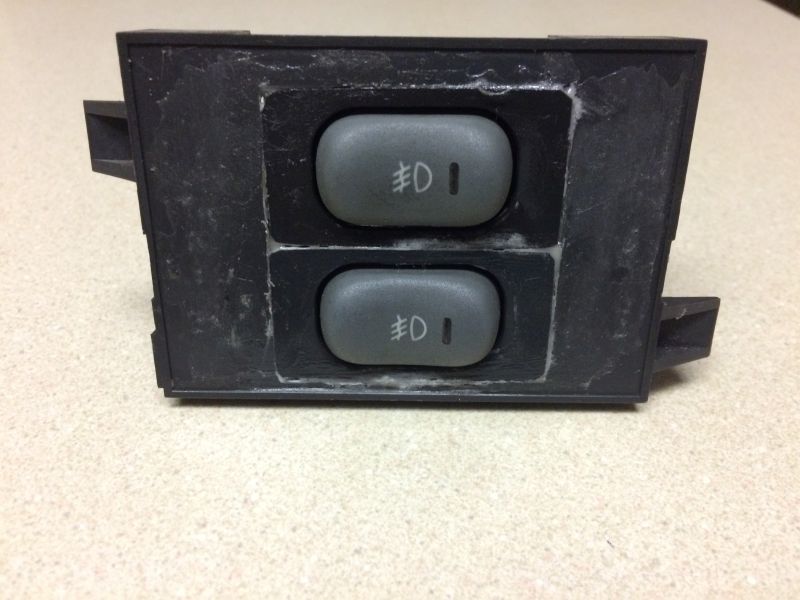
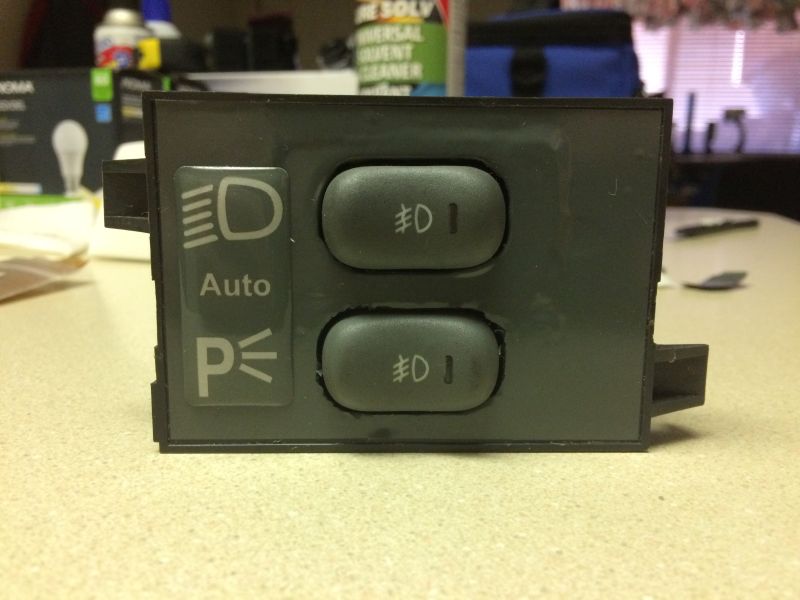
Another test with the switches.
February 8, 2018
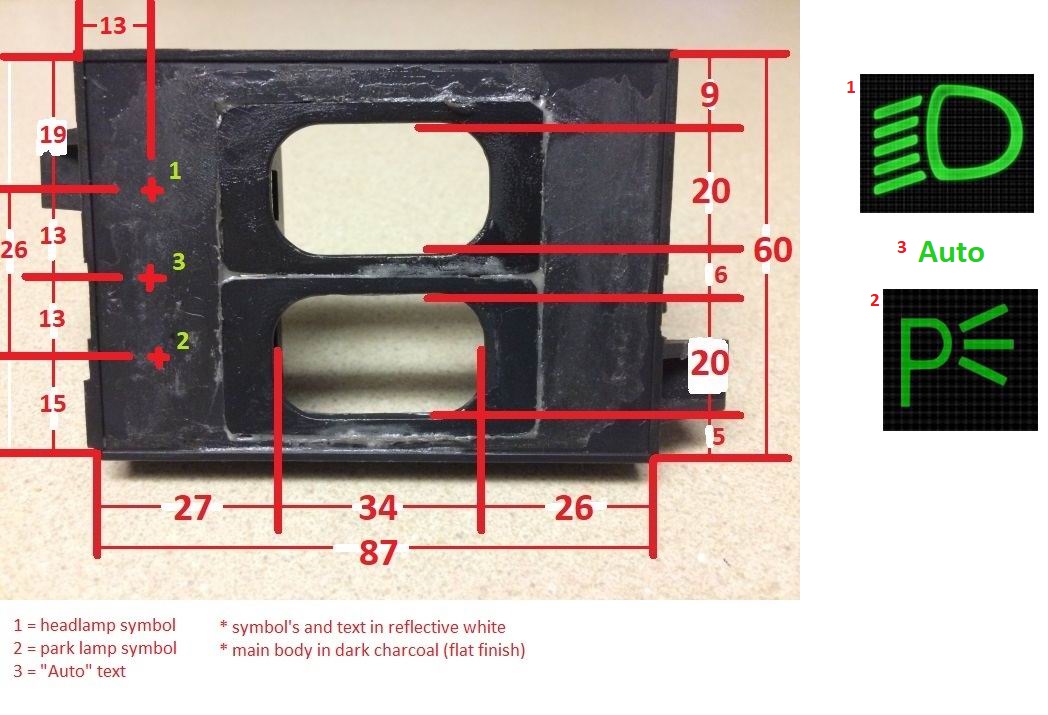
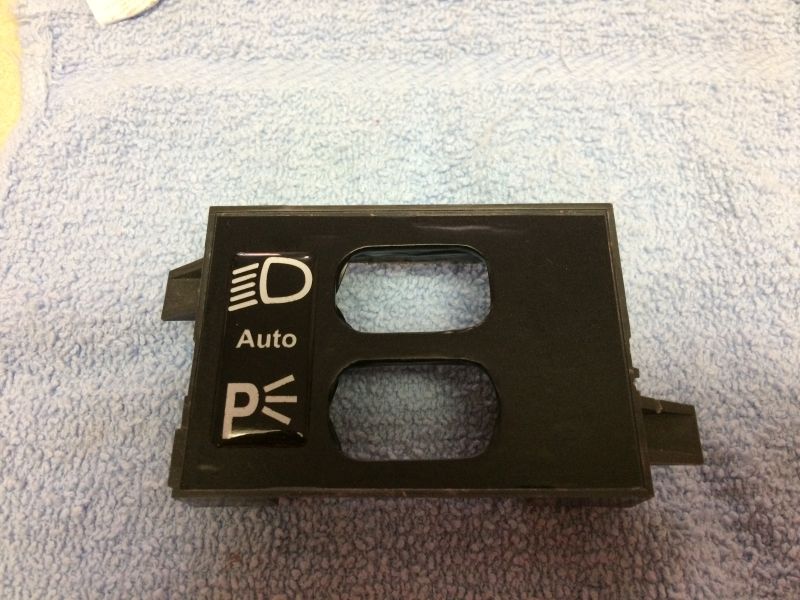
What I want for a new overlay.
First proto-type by Reflective Concepts; the colour is their "dark charcoal metallic".
February 13, 2018

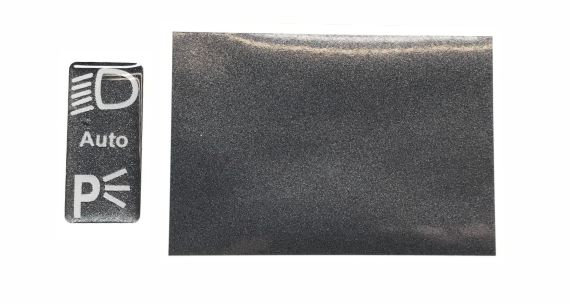
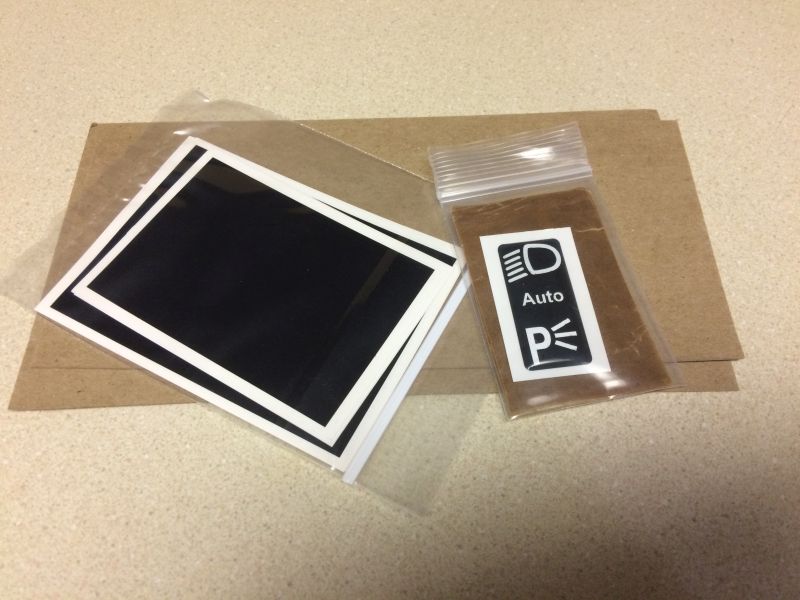
Order arrived from Reflective Concepts.
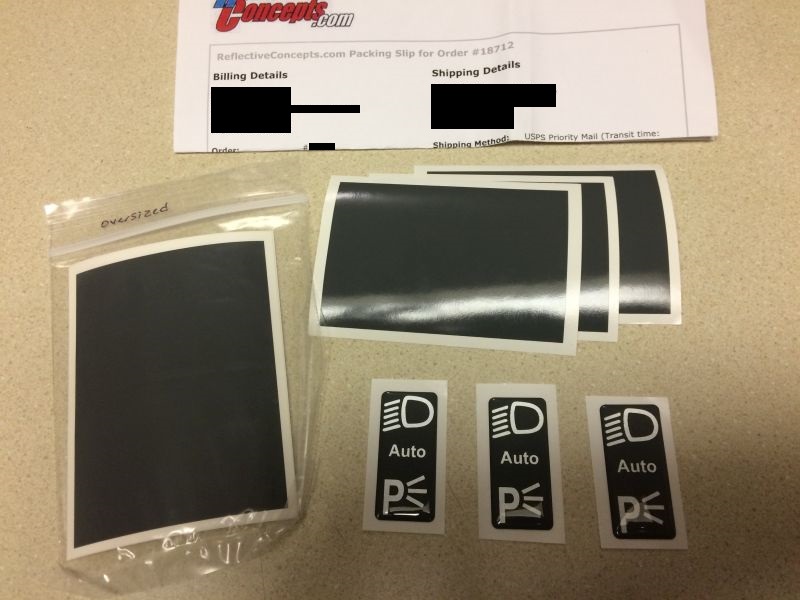
This colour is their "battleship grey". They sent me 3 pieces cut to fit, 2 oversized
pieces, and 3 reflective dome pieces with the symbols and text in reflective silver.
March 3, 2018
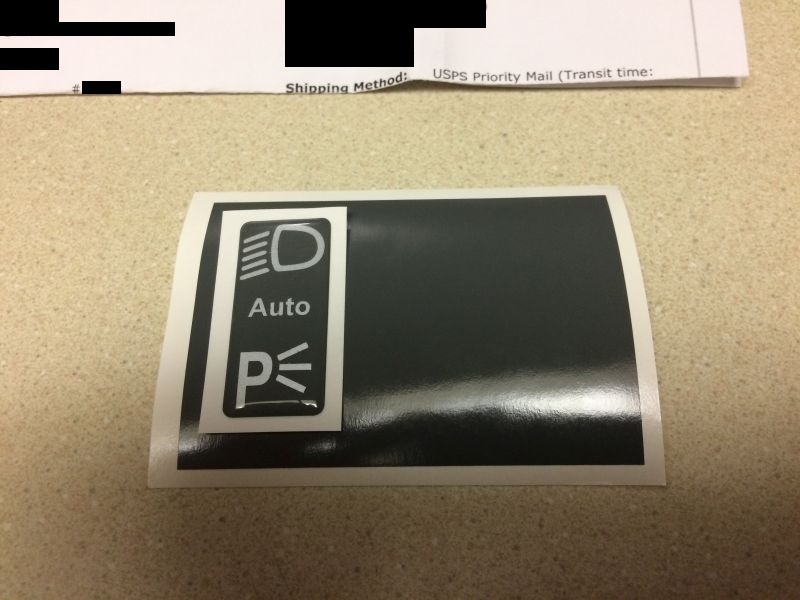
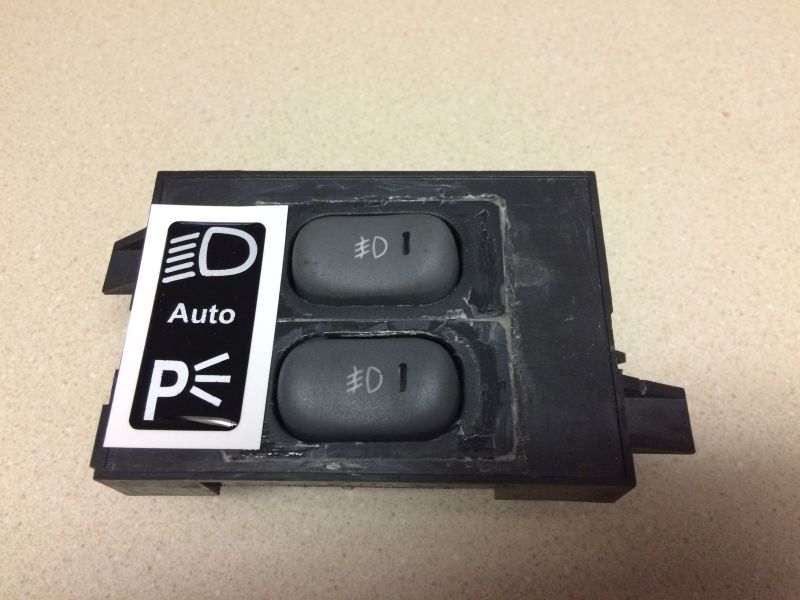
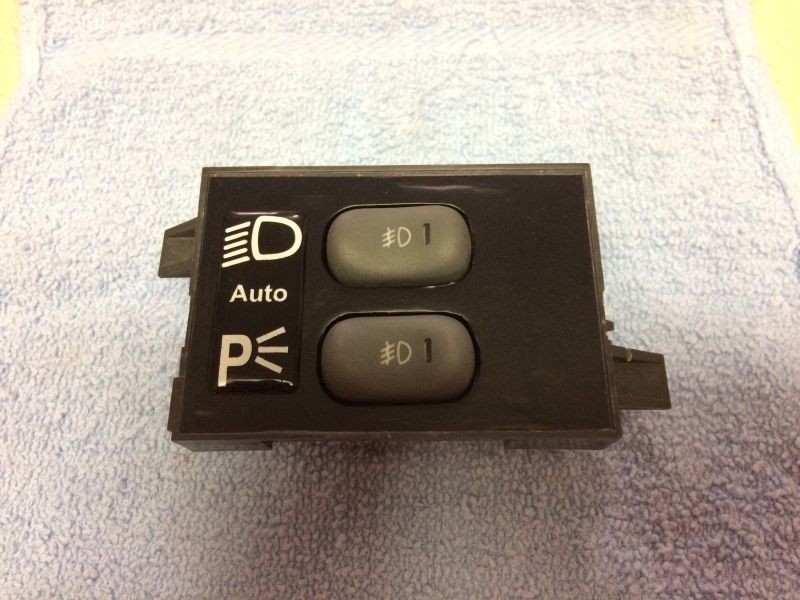
Did a test fit of the decals.....
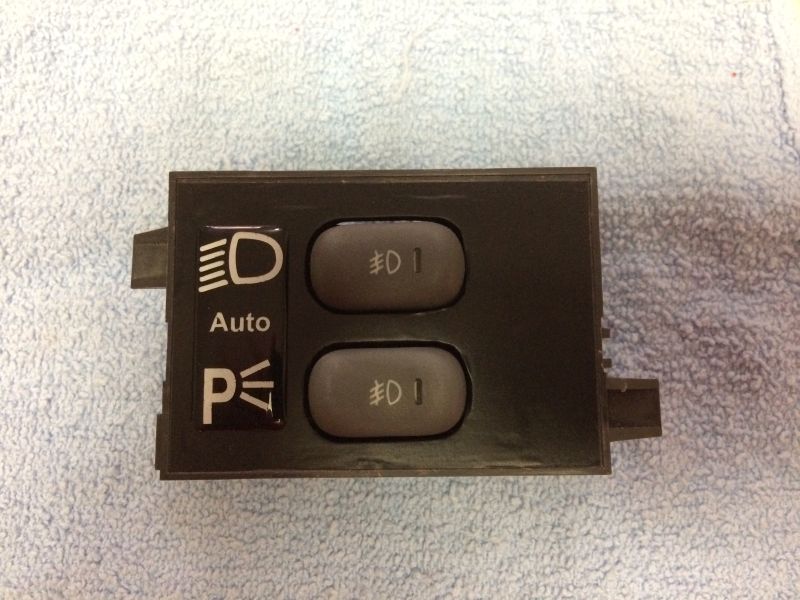
I don't like the colour, and the seams are way more visible than I though they would be.
March 17, 2018
Second set. Went with flat black on the big decal, and gloss black on the small one.
April 21/2018
Test fitting.
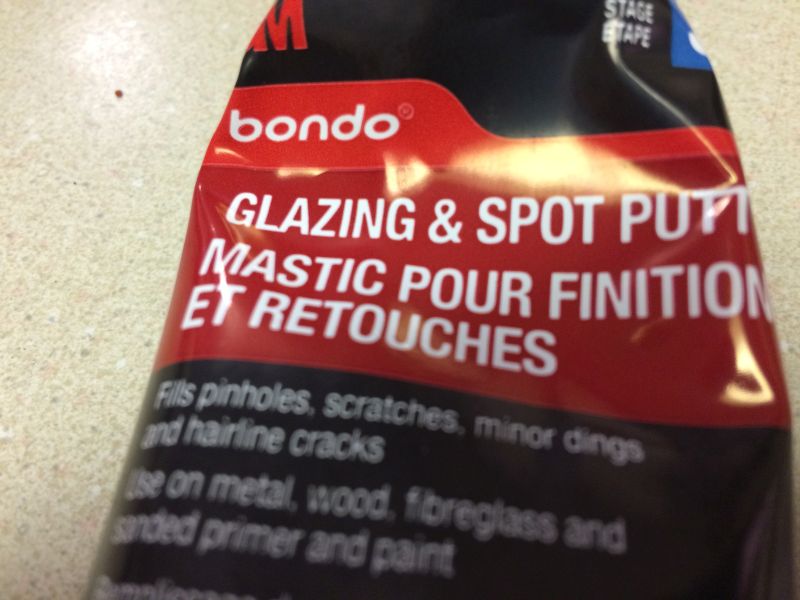
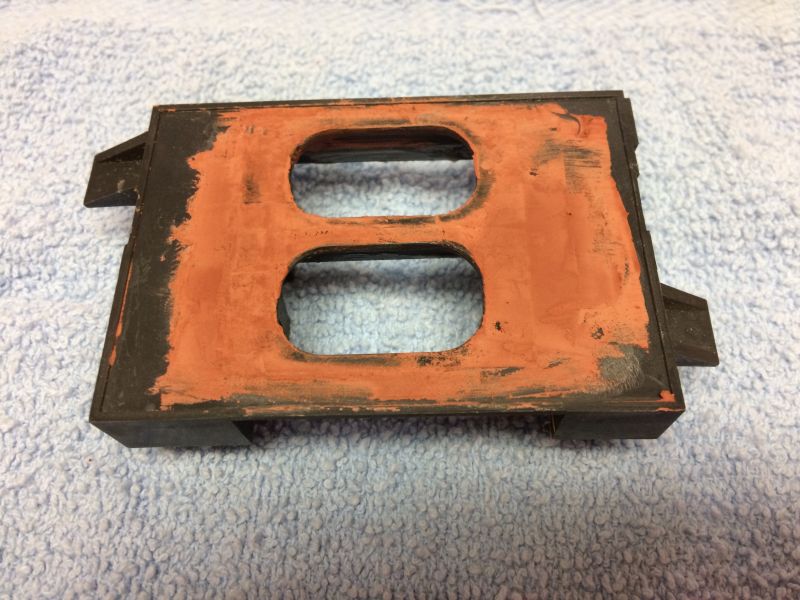
Used spot putty to smooth the surface out.
Test.

A bit more sanding.
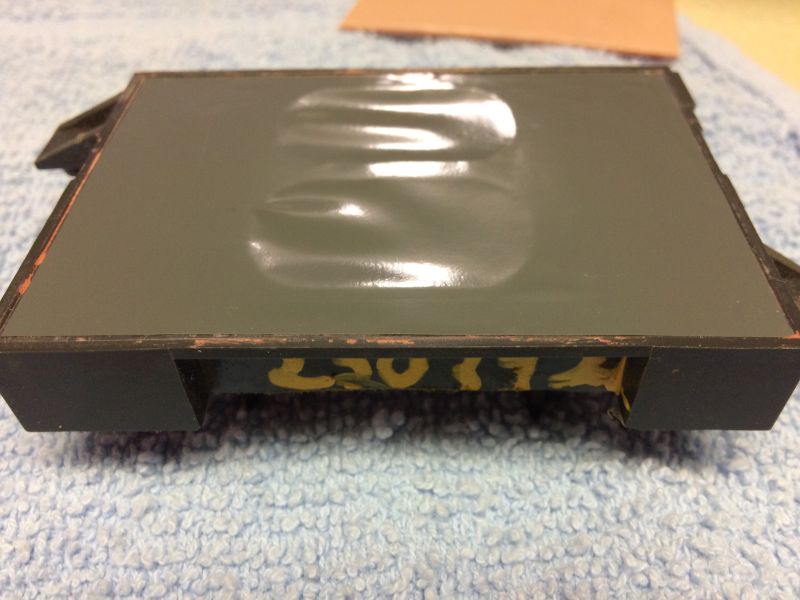
Black vinyl applied. You can see some imperfections at certain angles, but once in the vehicle, they won't be seen.
April 24/2018
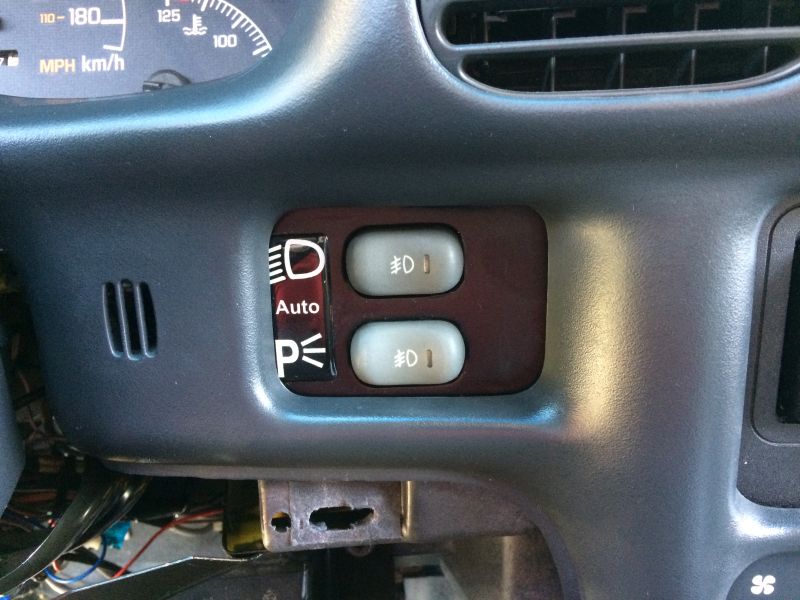
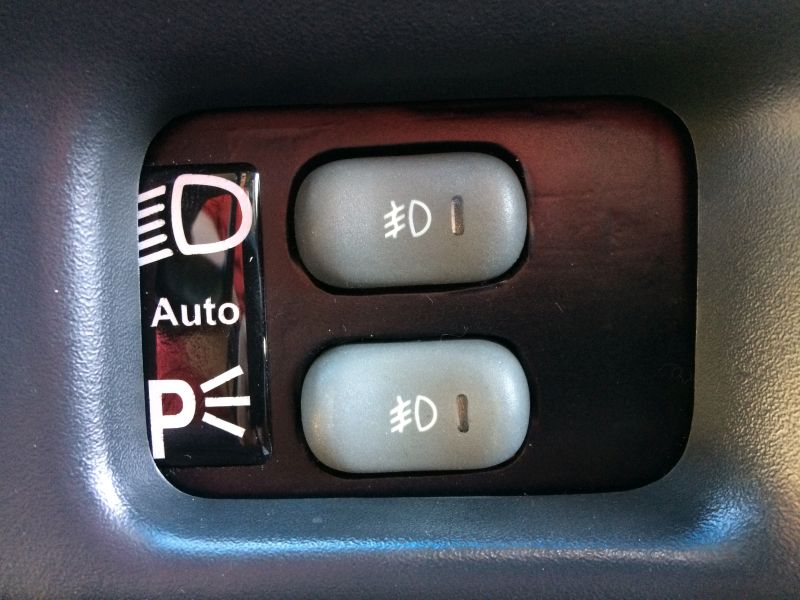
Test fit in the right cubby; didn't factor it being off-center when behind the dash.
If you have any comments, suggestions, or see any errors, please let me know..... cbradley@telus.net
Last updated on April
21/2018
All contents on this site
are
property of Chris Bradley. No content on this site may be reproduced
without the express permission of Chris Bradley.