Fuel Door
July 7/2019
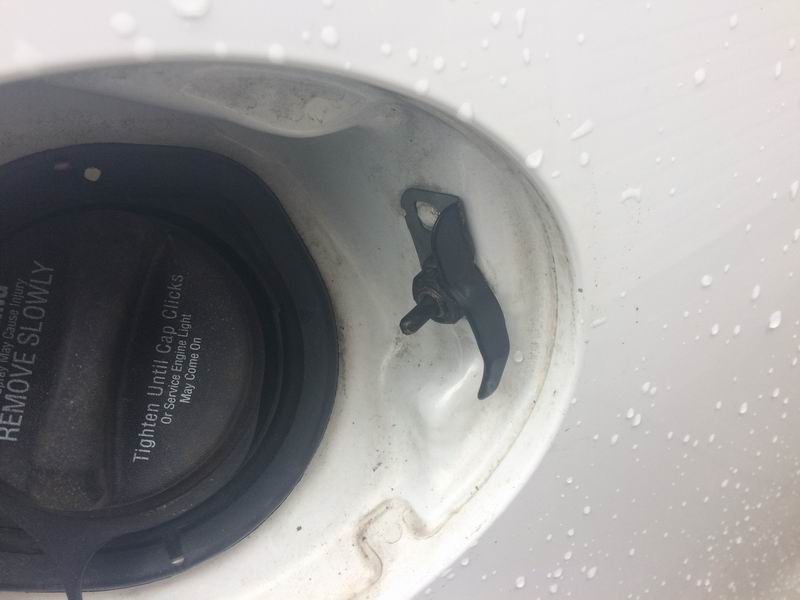
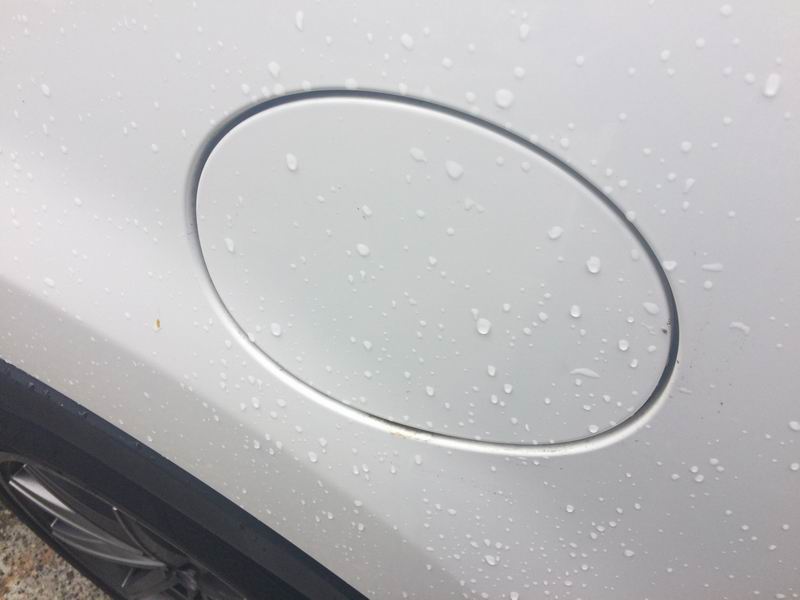
When I bought the CX-9, the previous owner mentioned how the fuel door was broken, and he just used a credit card when he had to open it. This must be fixed!
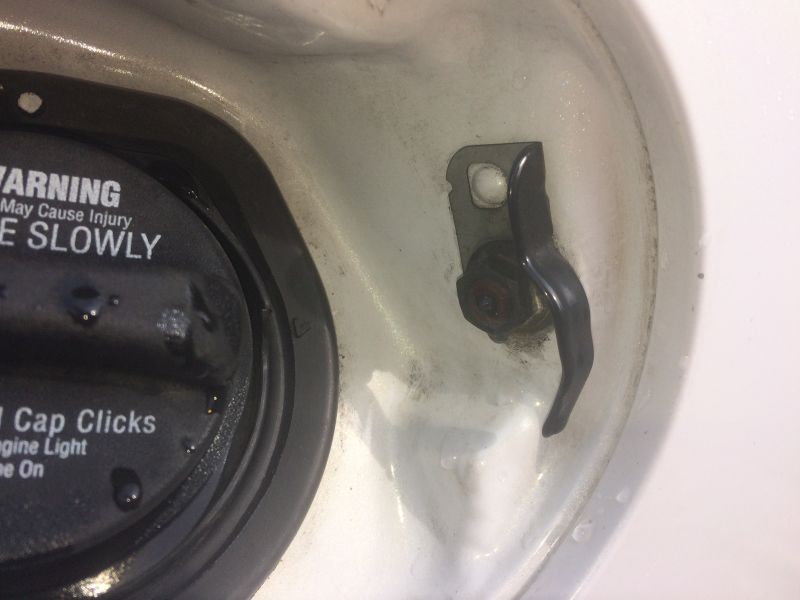
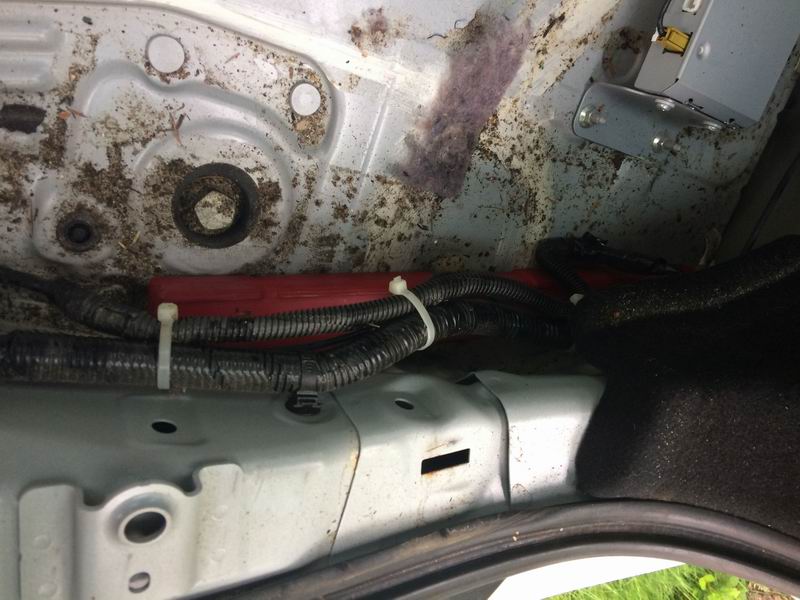
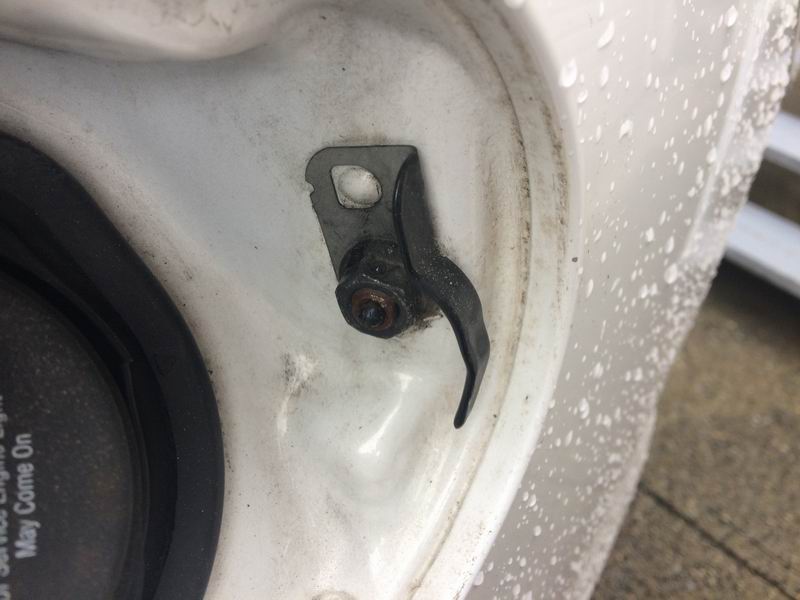
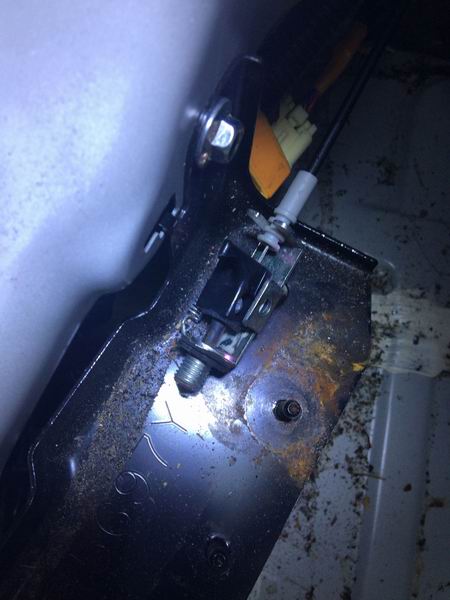
My seized fuel door release.
May 10/2019

What the release mechanism looks like.
| HOW TO LOCATE AND REMOVE REAR INERIOR PANELS |
|||
 |
 |
 |
 |
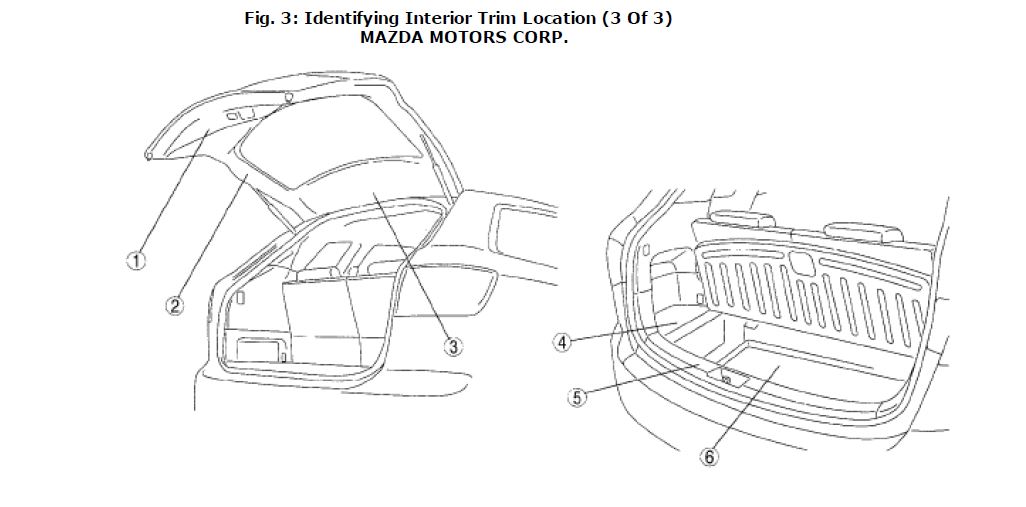
| Interior
Trim Locations. |
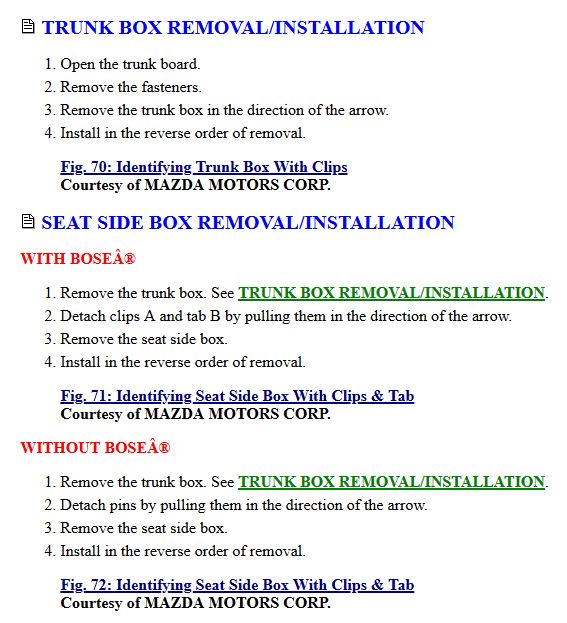
Interior
Trim Removal Steps. |
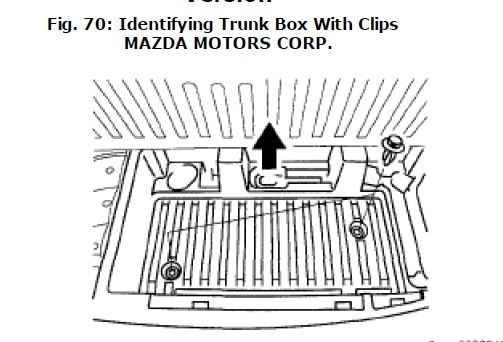
Interior
Trim: Fig70 - Identifying Trunk Box With Clips. |
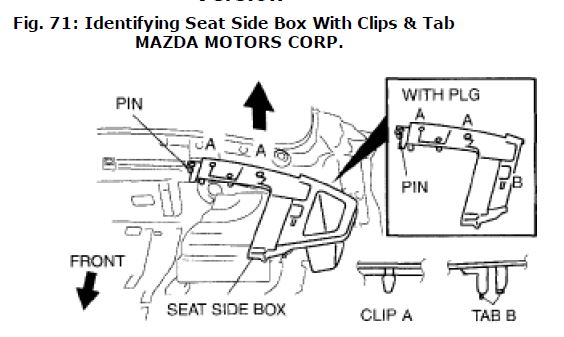
Interior
Trim: Fig.71 - Identifying Seat SideBox With Clips And Tabs. |
Video by eTrailer showing how to remove the rear interior panels.
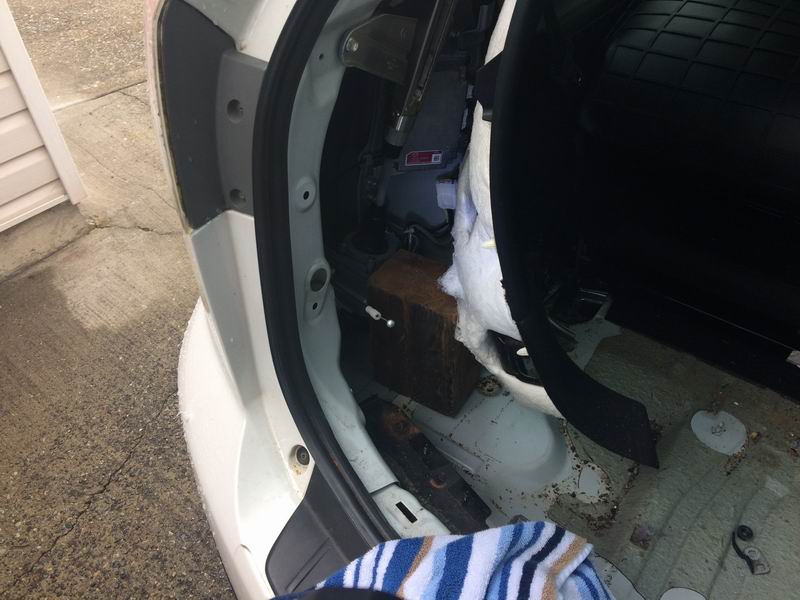
Quarter panel and components.
May 13/2020
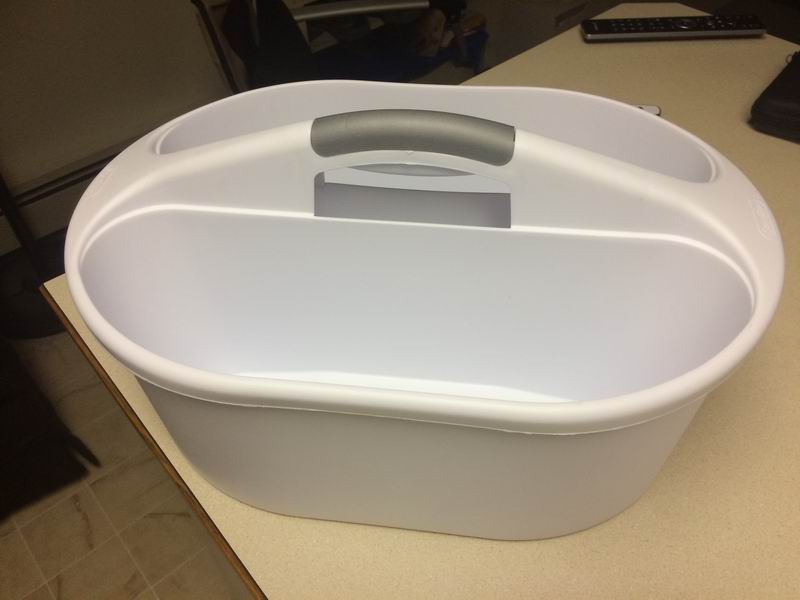

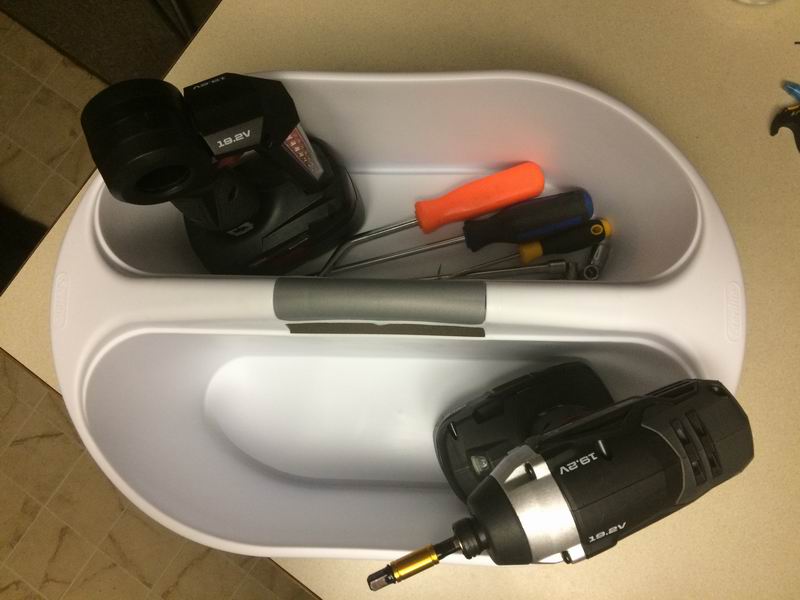

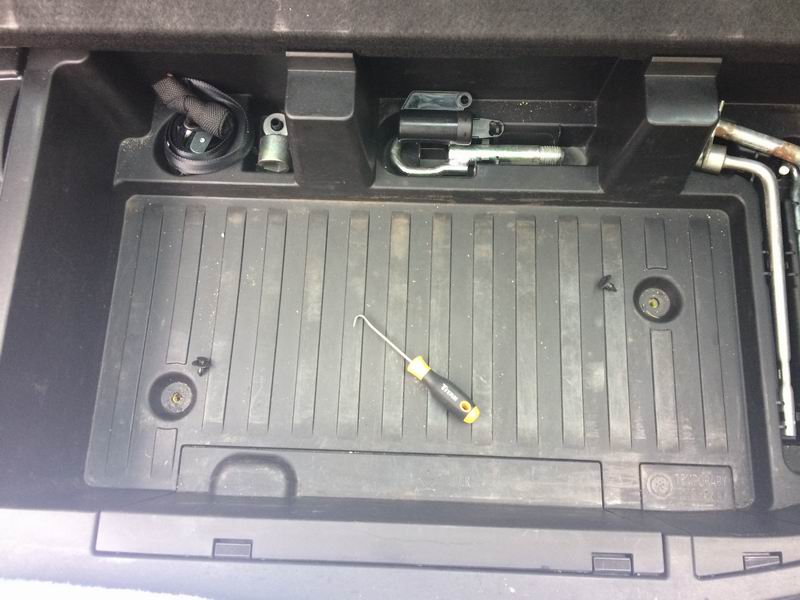
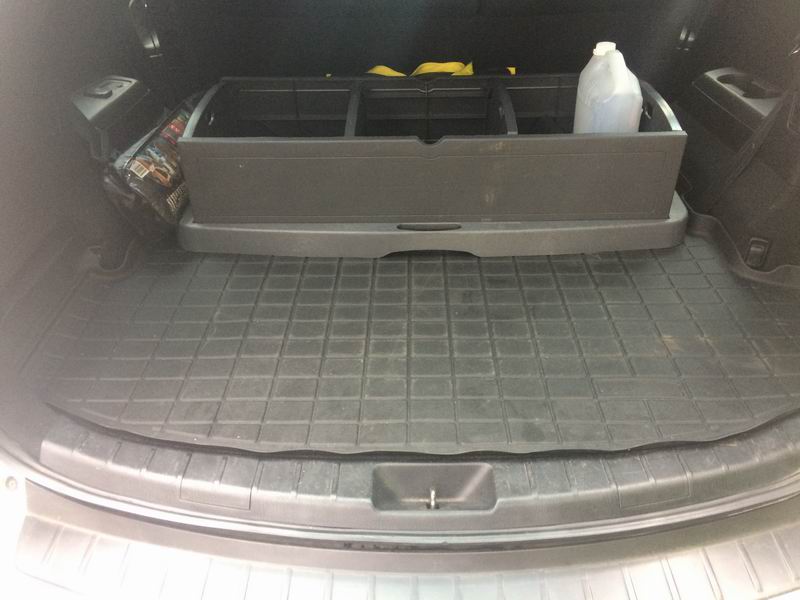
First time using my new tool caddy.
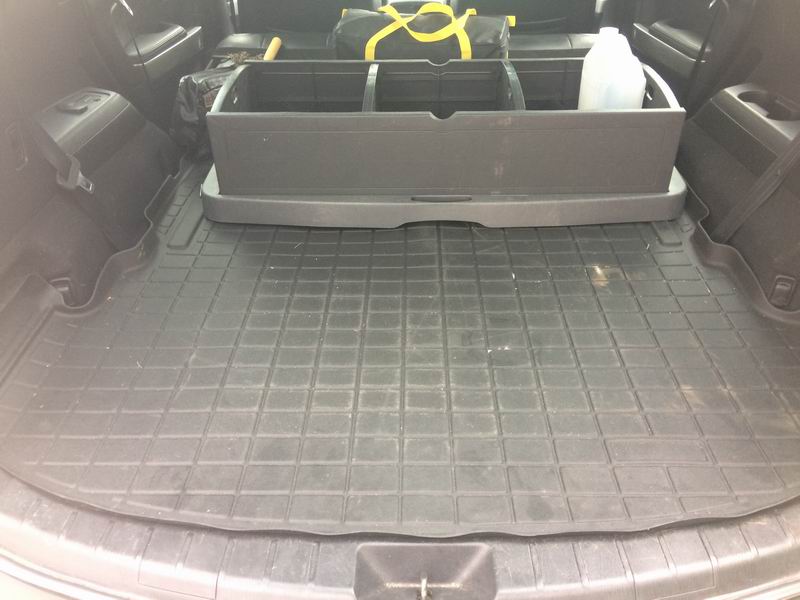
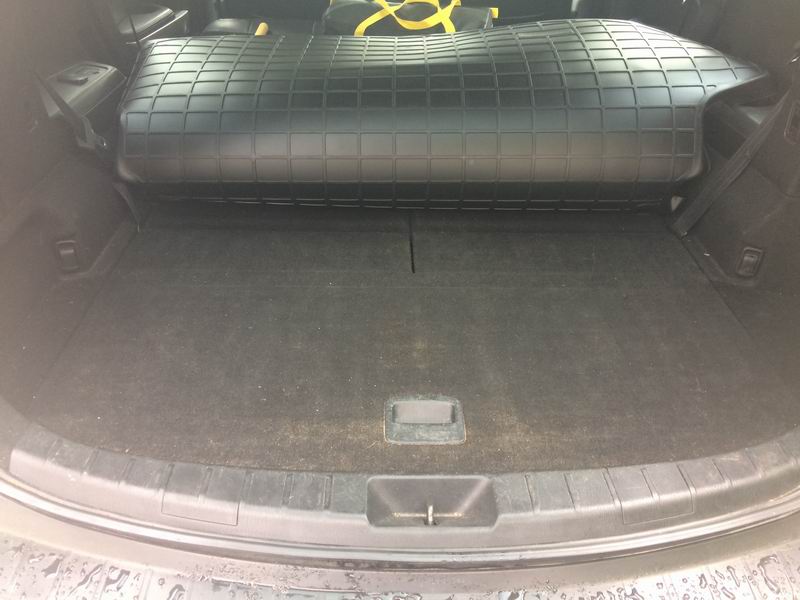


Remove the cargo liner and clean out the trunk box.
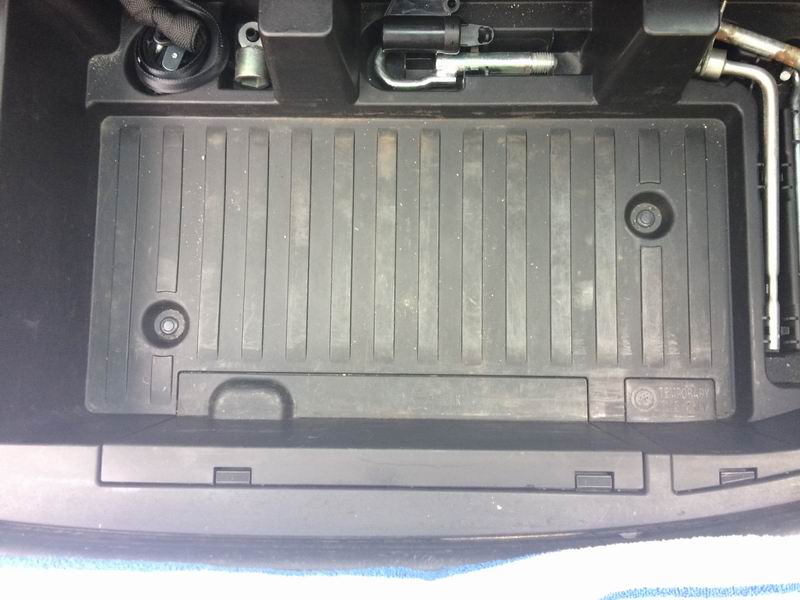
Remove the two plastic push-pins.


Lift and remove the trunk box.
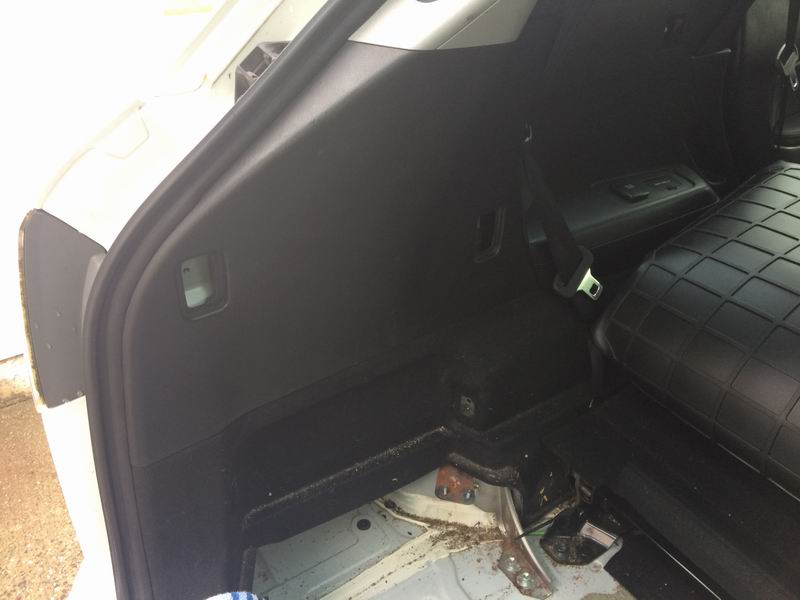
Lift and remove the side corner trim.
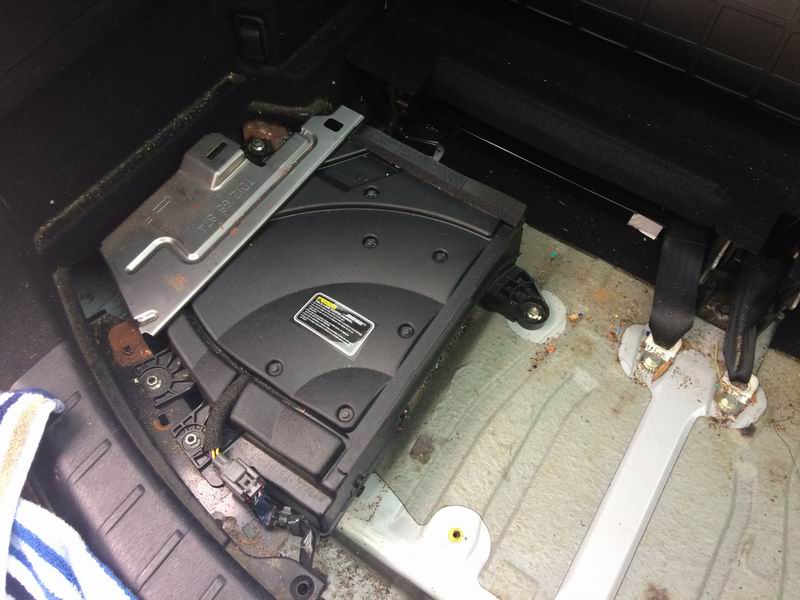
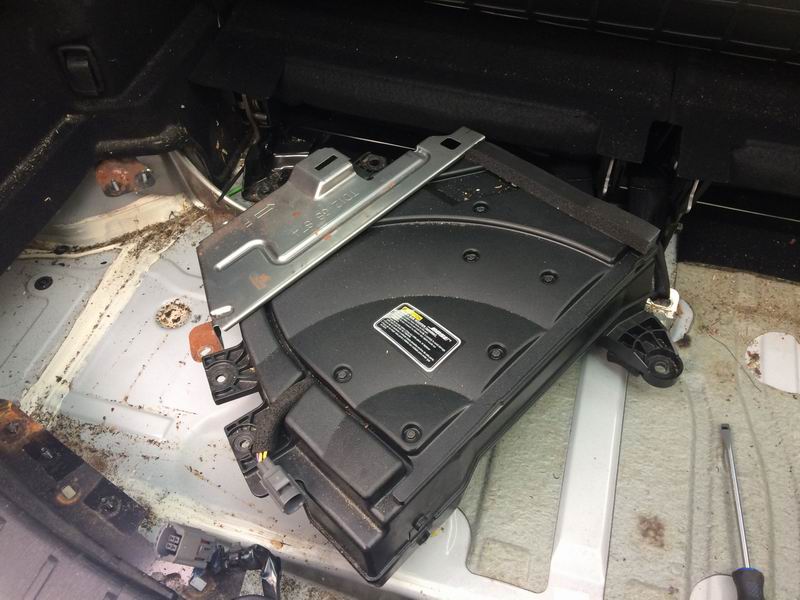
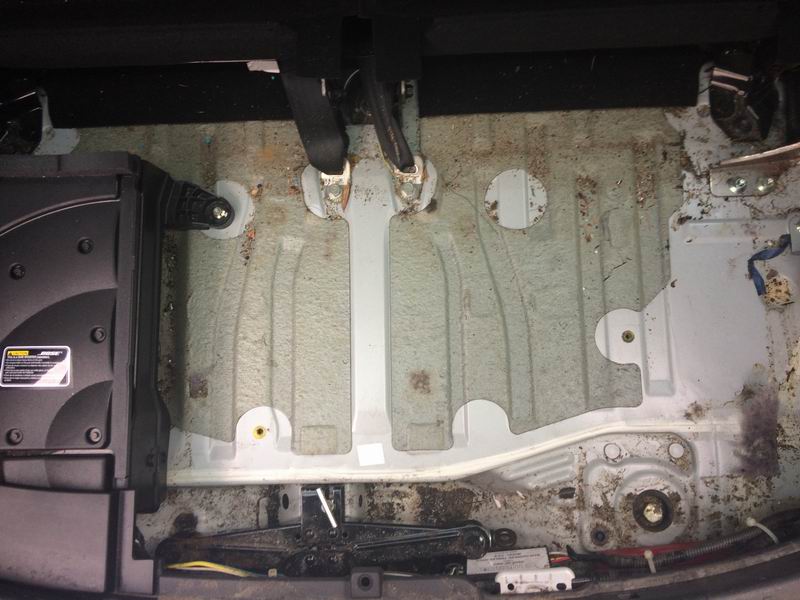
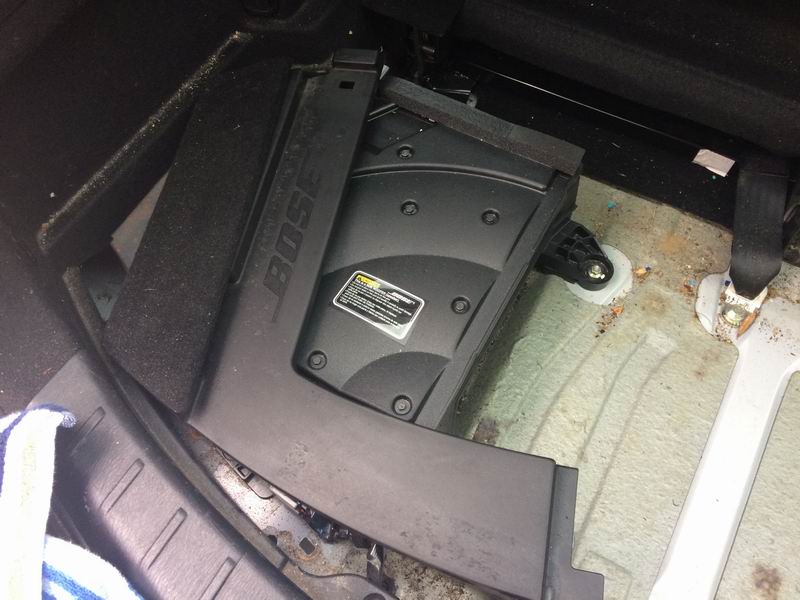
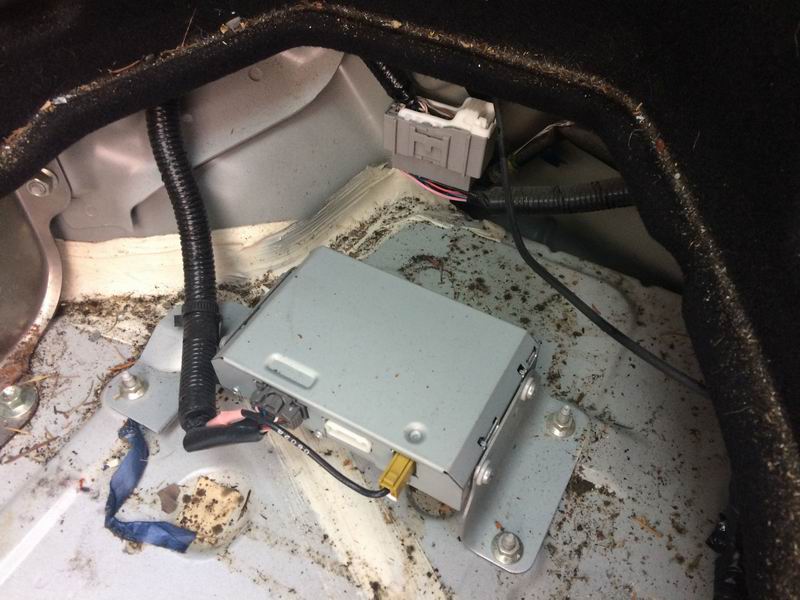
Lift and remove the subwoofer (6x 10mm nuts).

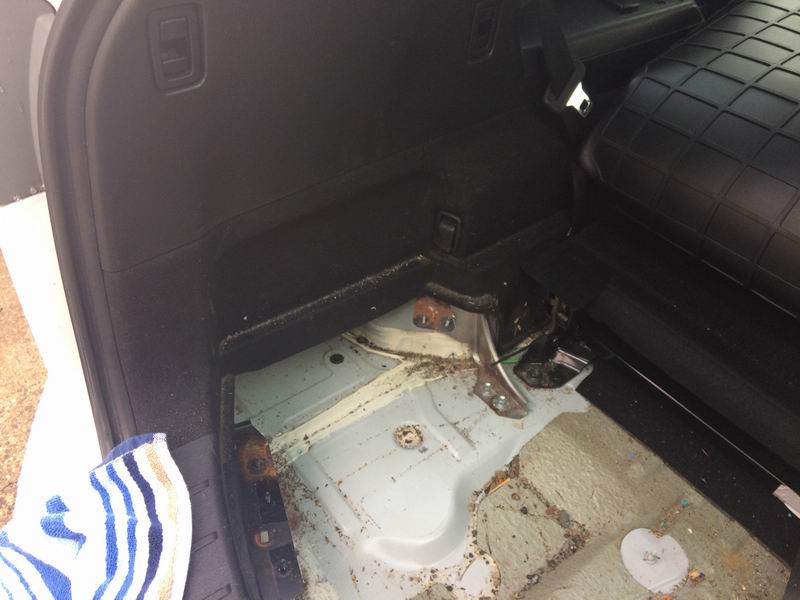
Lots of space now.
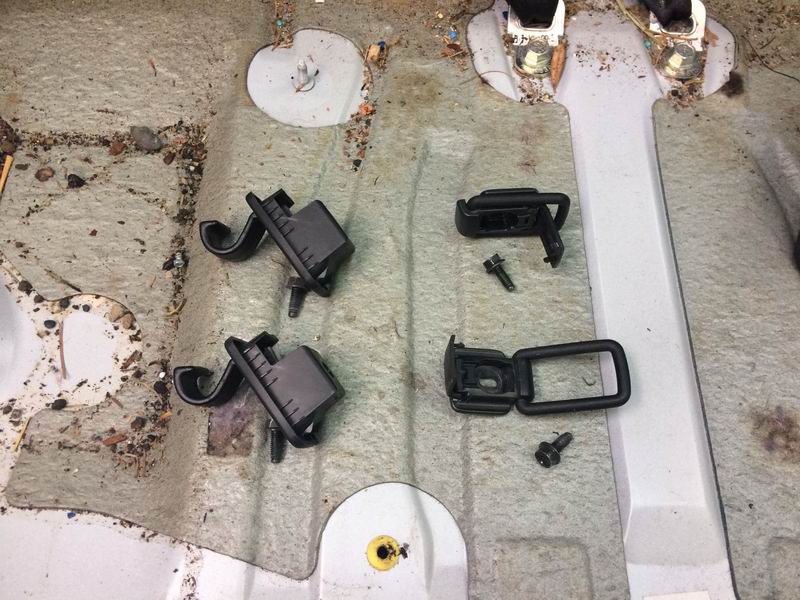
Remove the 4 cargo tie downs (4x 10mm nuts).

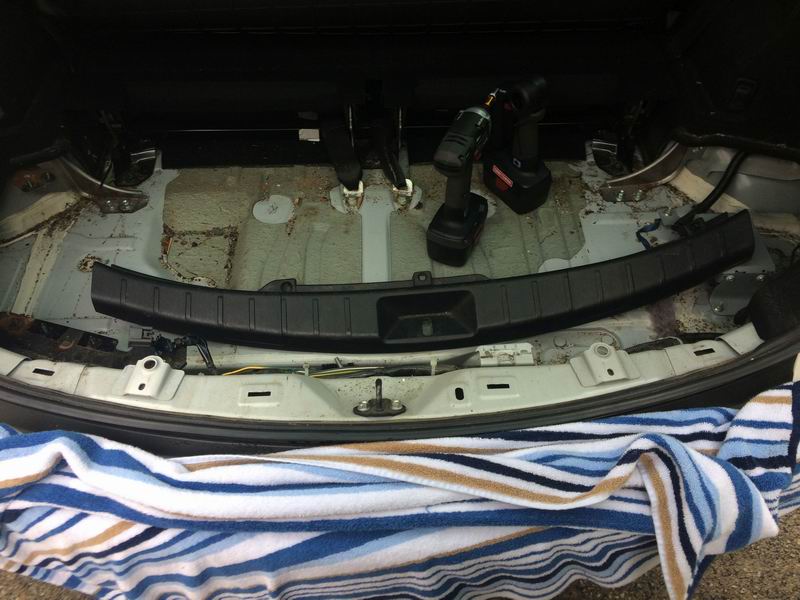
Lift and remove the end trim.
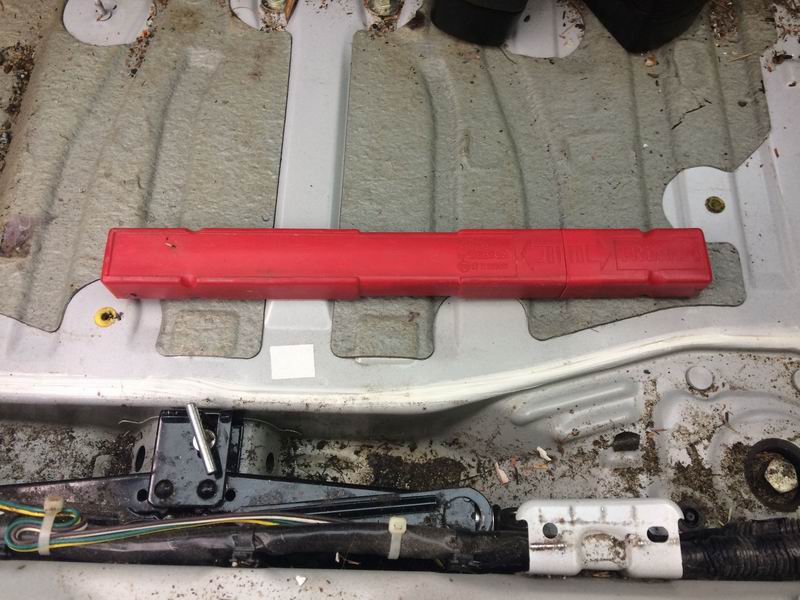
General image.
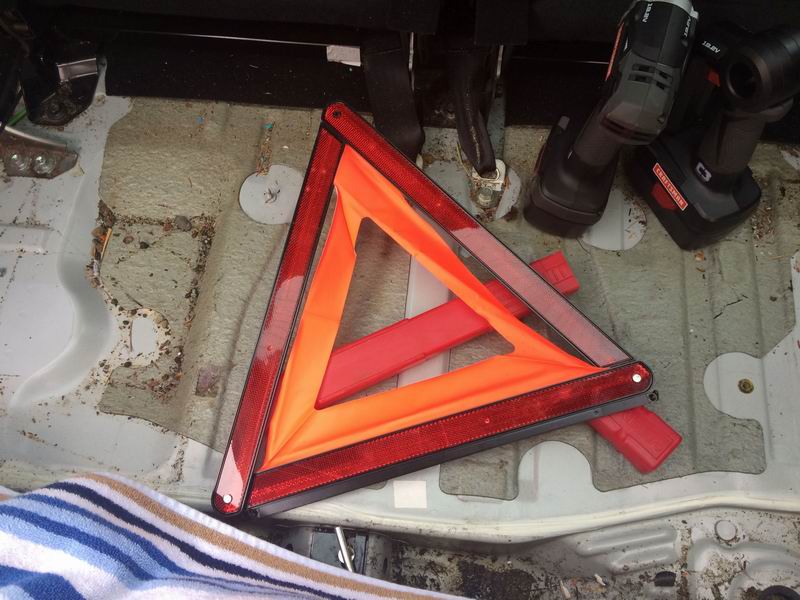
Saw this tucked in the corner. I always want one. LOL
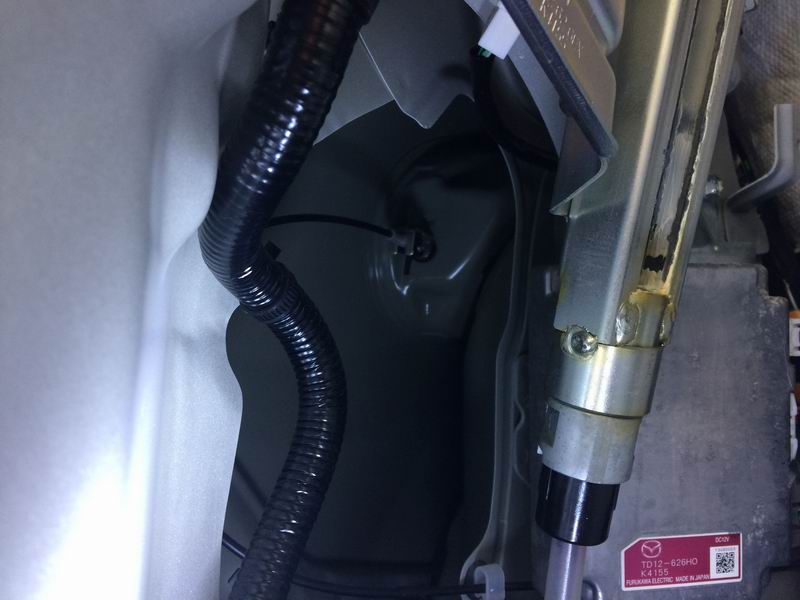
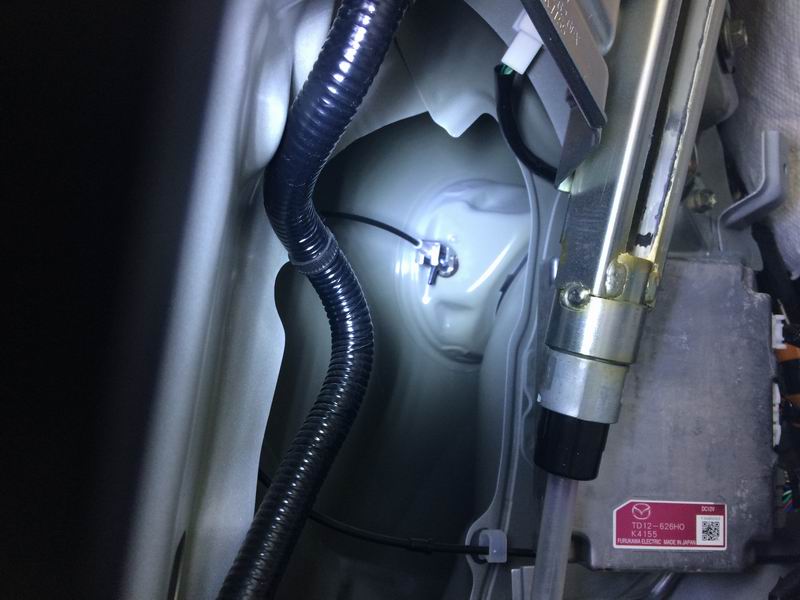
And now we can see the release mechanism.
Remove the 14mm nut holding the mechanism in place.
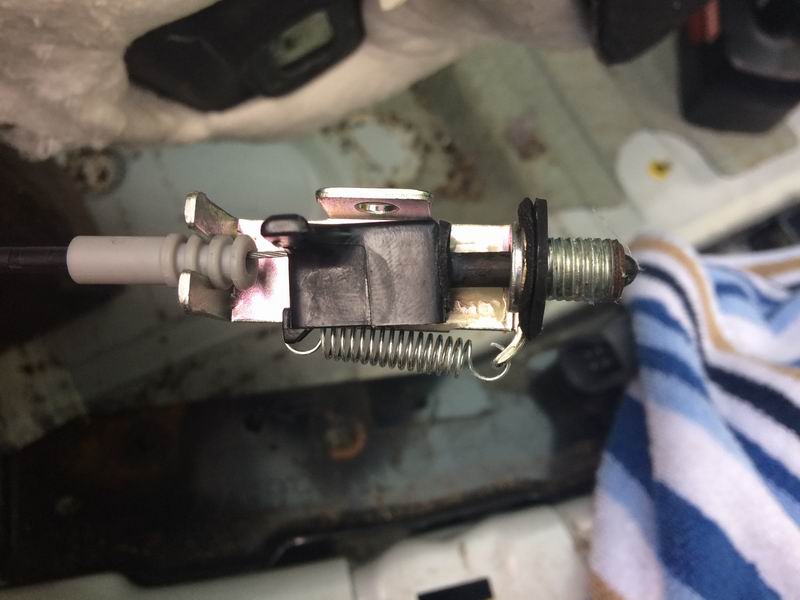
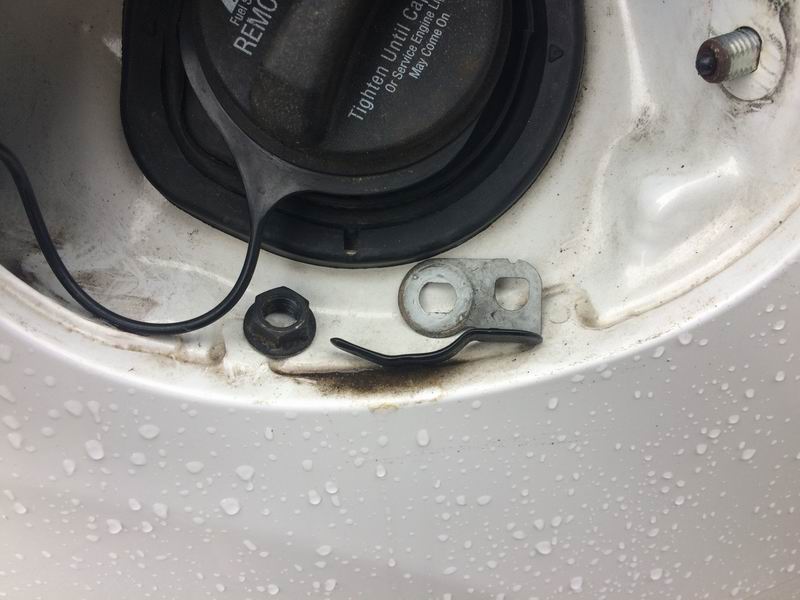
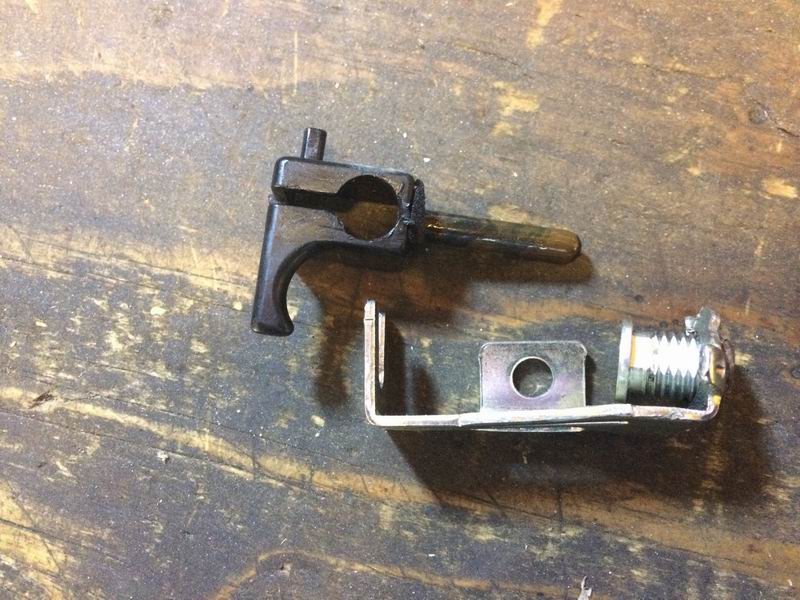
The release mechanism.
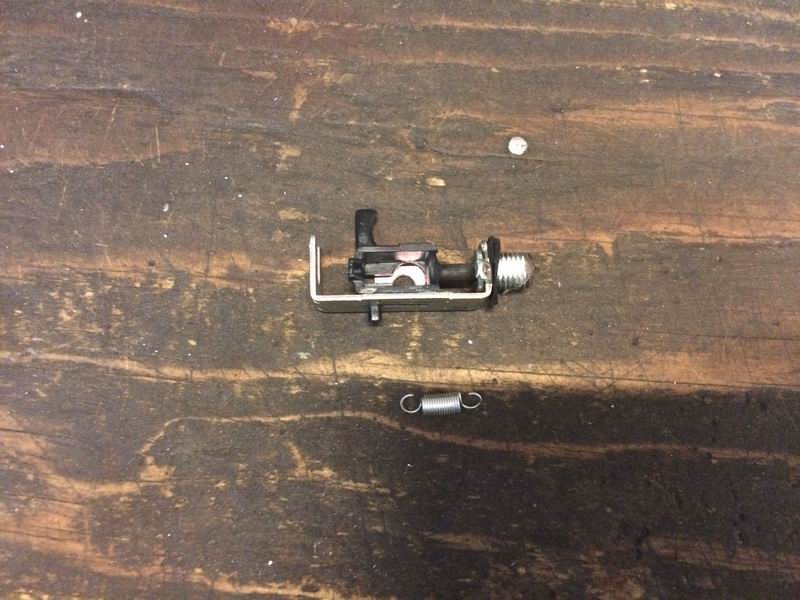
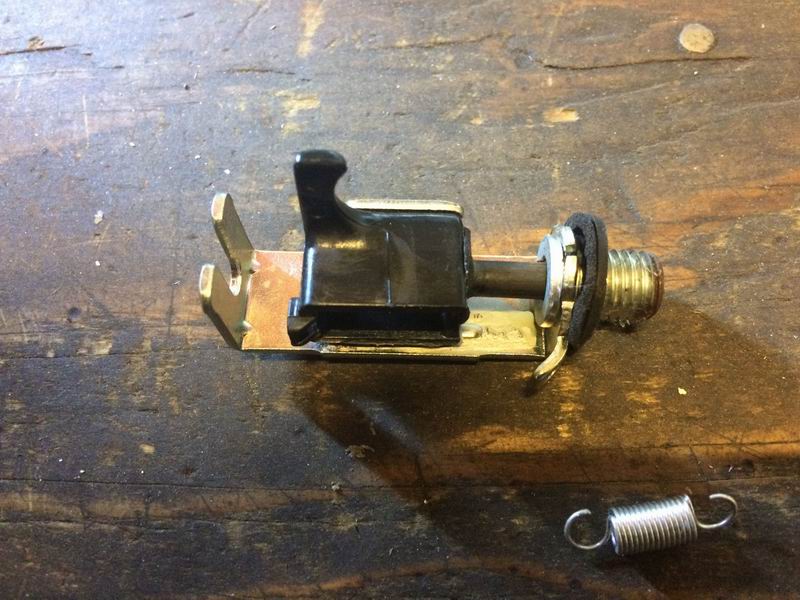
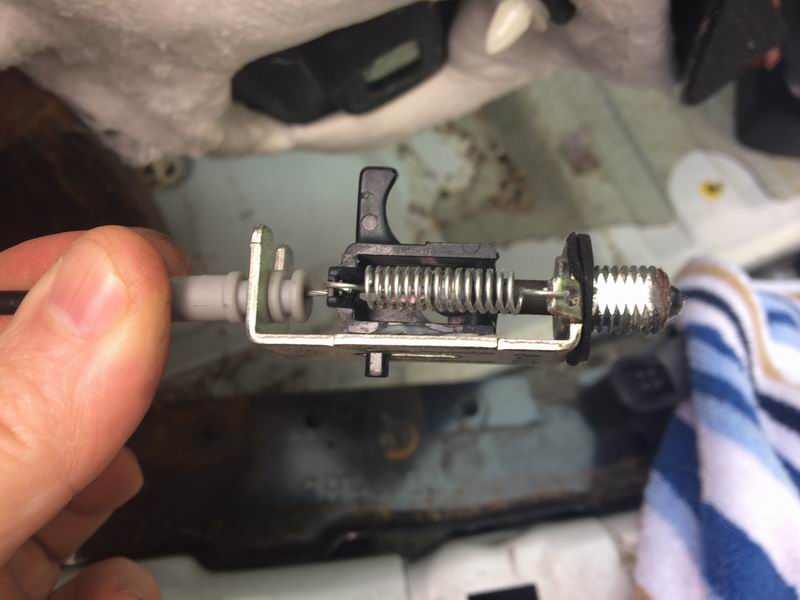
Remove the return spring.
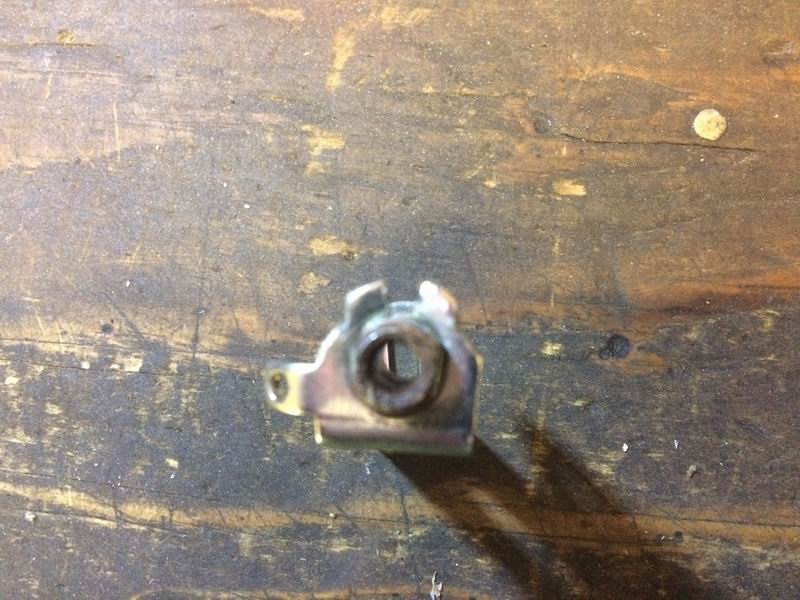
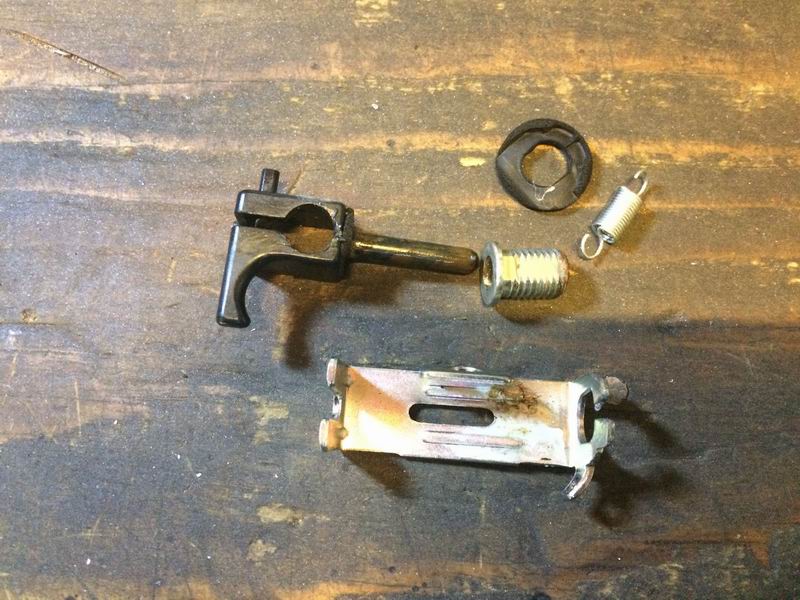
Pry the two ears enough to loosen the nut so it can slide out.
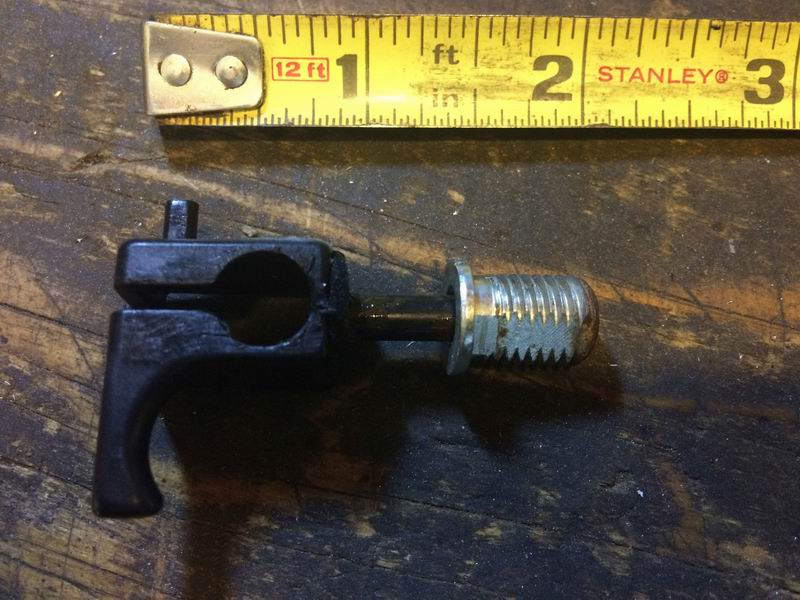
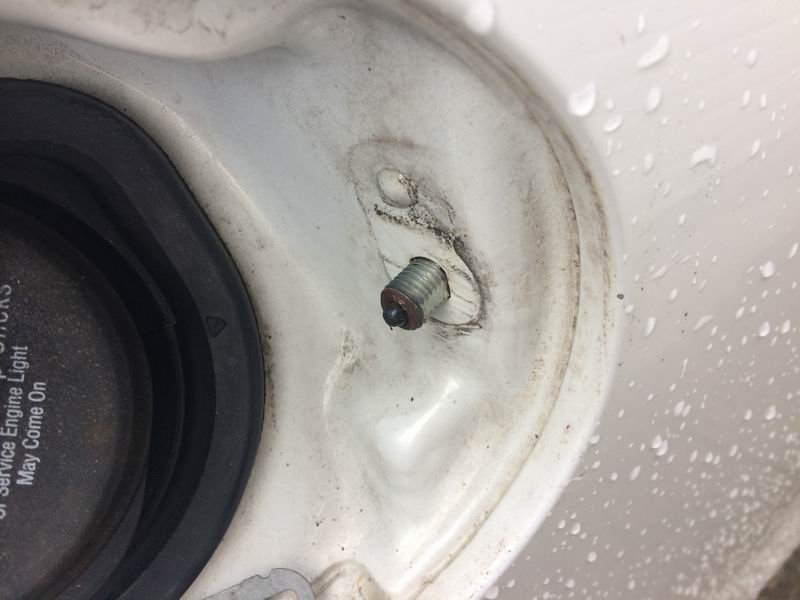
This is as far as it could go; the end of the nut had a teeny tiny amount
of corrosion on it which stopped the plastic piece from doong its job.

A light cleaning with a 3/16" drill bit did the job.
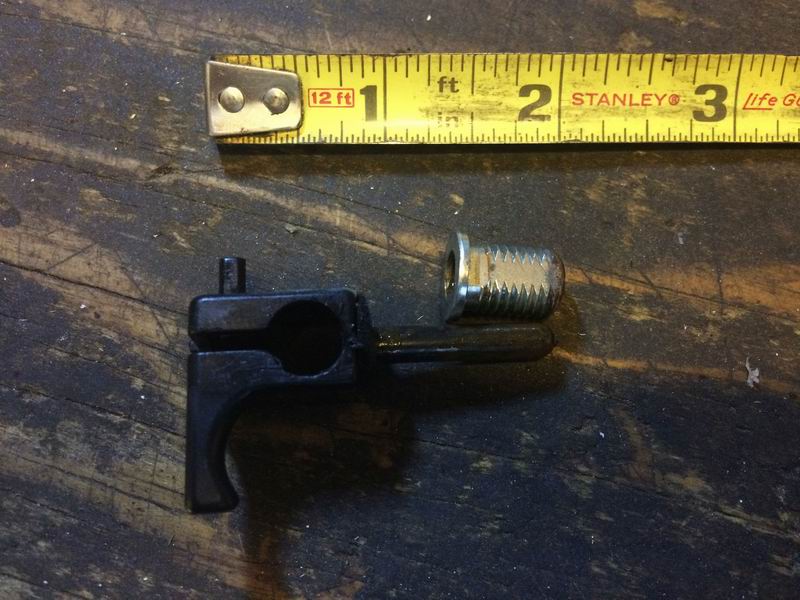
Testing the release mechanism.

Release mechanism back in place and tested.
Final test.
All done.
If you have any comments, suggestions, or see any errors, please let me know..... cbradley@telus.net
Last updated on May 13/2020
All contents on this site
are
property of Chris Bradley. No content on this site may be reproduced
without the express permission of Chris Bradley.